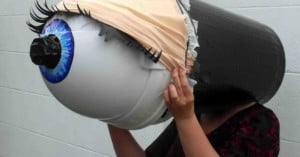
StrobePack: Wearable Portrait Studio and Cutting-Edge Fashion Statement
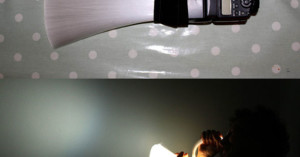
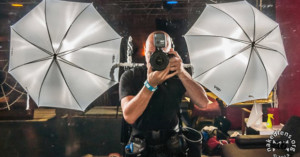
You can spot-meter and bounce strobes all you want, but on-location portrait photography can still be a pain the butt. Unless you take your studio lighting rig with you.
You can spot-meter and bounce strobes all you want, but on-location portrait photography can still be a pain the butt. Unless you take your studio lighting rig with you.
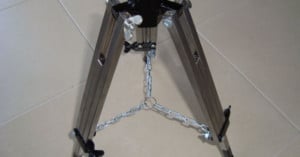
Are you the type of person who enjoys using things built using your own two hands? 20-year-old Croatian tinkerer CroBuilder is like that too. He recently spent 10 hours in his workshop building a camera tripod from scratch.
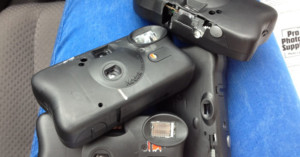
When visiting Lancaster, Pennsylvania recently, Portland, Oregon-based photographer Lindsey Boccia made the mistake of not bringing her camera bag along for the journey. Boccia wanted to play around with analog photography, so she decided to buy some disposable cameras.
Earlier this year I tried Polaroid emulsion lifts for the first time. An emulsion lift (or emulsion transfer) is when the emulsion layer is removed from a sheet of instant film and then transferred to a different surface.
A couple of days ago, we shared a great little DIY project by Phoenix-based photographer Dan Tabár. Since he sometimes has to shoot on quiet soundstages where camera noise is not an option, he created a makeshift sound blimp for his Nikon D800 for only about $80 -- a professional sound blimp would have run him closer to $1,000.
The magic of 3D printing has led to the creation of a few pretty cool DIY projects we've featured in the past. In the world of cameras, we've seen everything from lens adapters to flash diffusers make their way into the real world via the 3D printer and some plastic.
Photographer Justin Quinnell is a pinhole photography master. Over the years we've featured his work taking six-month long pinhole exposures that show sun trails, as well as his DIY camera obscura kit that allowed you to display an upside-down version of the outside world in the room of your choice.
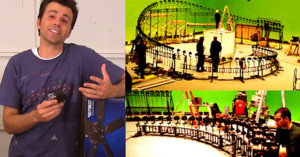
Creating time-slices (better known as the bullet time effect) where you freeze a moment in time and move around your subject is an expensive thing. It's expensive mainly because it requires that you have several cameras at your disposal.
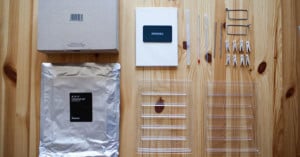
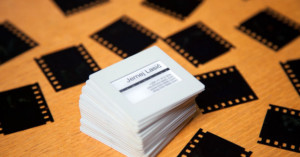
Want to make some business cards for your photography business that stand out from among traditional cards? Try making some in the style of 35mm film slides. Last week we shared photographer Lars Swanson's beautiful slide cards, and this week we have a step-by-step look at how you can make something similar.
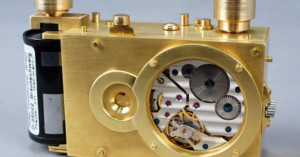
Pinhole cameras can be easily and cheaply made using things you have lying around the house... or you can go to the opposite end of the spectrum and fashion yourself a highly intricate pinhole camera. That's what Korean photographer Kwanghun Hyun did with his Heartbeat cameras. The two cameras created so far feature one crazy design choice: they use intricate watch movements as their internal timing mechanisms.
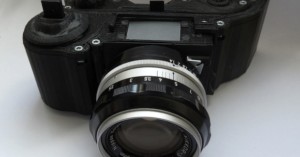
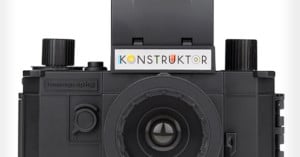
You may have seen built-it-yourself 35mm pinhole cameras before, but have you ever seen a DIY SLR? Lomography today announced the Konstruktor, a camera it calls "the world's first 35mm do-it-yourself" SLR camera. If you loved building model airplanes as a kid, this is one camera kit you're going to love.
Phoenix-based photographer Dan Tabár sometimes shoots on sound stages, sets, and quiet studios -- locations where a loud camera would either cause problems or cause angry glares and murderous thoughts. Needing a way to surpress the shutter sound of his Nikon D800 -- he says the "quiet mode is a joke" -- Tabár decided to create his own DIY sound blimp.
Raspberry Pi's new Camera Module is starting to hit store shelves, and we're starting to see some interesting photo experiments being done with the simple programmable camera kit.
A bit of clever thinking from San Francisco Instructables member Amanda Ghassei has produced some really creative 3D-printed images from nothing but old photographs.
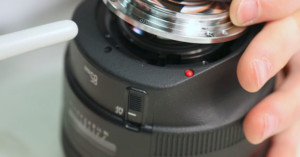
Here's a question I get asked about 15 times a week: “How can I get the dust out of my lens?” The right answer is you don’t. All lenses have dust in them and it doesn’t affect the images at all 99% of the time. Even if you clean it all out, it will be back after you use the lens a few times.
Want to shoot insanely cool Matrix-style "bullet time" footage at home? You can do so with a single rig built out of relatively cheap components.
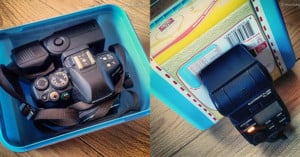
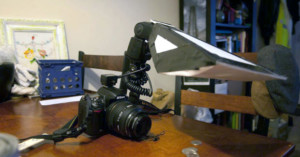
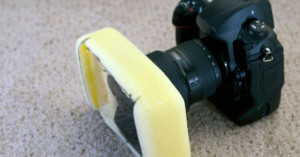
Dublin, Ireland-based photographer Maciej Pietuszynski was doing a bit of spring cleaning recently when he decided to upgrade a plastic box he has been using to carry his camera and flash unit. His idea was to give the box an extra job as a makeshift softbox in addition to its storage/transportation/protection duties.
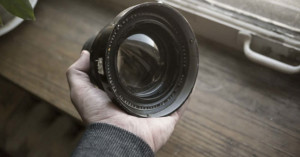
Originally produced for the US military in WW2, the Kodak Aero Ektar 178mm f/2.5 is a large-format monster of a lens. Mounted in bombers, facing down at Europe, this lens was sold to the US government for the price of a family car. It found its way into military surplus after the war, and was widely used in journalism and by professional photographers.
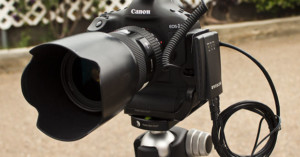
Wireless connectivity is one of the hot features in the camera world these days, and many (if not most) new cameras either have built-in wireless connectivity or an optional wireless adapter that provides the feature. Unfortunately, the wireless adapters are often quite pricey, especially for higher-end cameras.
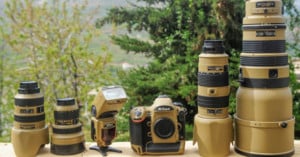
Lebanese photographer Alexy Joffre Frangieh is a professional time-lapse creator, and often puts his camera gear in extremely hot environments to create his shots. In order to help dissipate heat, he decided to give one of his kits a custom paint job. The resulting kit looks like something a military might officially assign its combat photographers.
More and more photographers are attempting to build their own DIY lightboxes these days as they look for ways to easily digitize their film at home using a digital camera. However, a common problem that plagues these lightboxes is vignetting -- lighting is uneven and shadows form gradients near the edges of the surface.
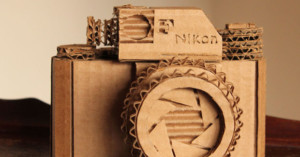
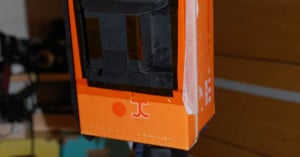
Marta Crass of Knoxville, Tennessee is quite handy with cardboard. She runs an Etsy shop called CisforCardboard that's dedicated to her custom cardboard art. She handcrafts signs, wall hangings, letters, and anything else you can dream up... including cameras.
Here's a step-by-step tutorial on how you can make a pretty nice flash diffuser for your macro setup for just a little time and a little money.
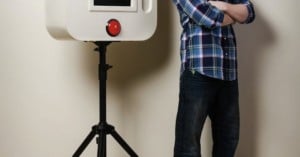
Using just a few pieces of wood, some serious DIY know-how and an Arduino, photographer and Instructables user Alexander Morris built this really cool, Instagram-inspired photo booth as a fun extra for events and parties. Fortunately for us, he uploaded a ton of pictures and instructions so that anybody with a little bit of time and skill can put one together for themselves.
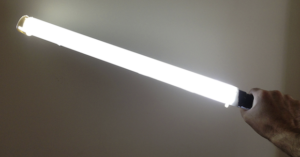
Westcott's lightsaber-style Ice Light is popular among photographers, but the $500 price tag is a bit prohibitory to some. Fortunately for those who either don't want or can't afford to spend the money on the real thing, photographer Simon Ellingworth has come up with a cheap DIY version that'll only run you about $30.
A little while ago, we introduced you to photographer Ed Pingol's Cullinator, a Mac app that played nice with a PC gaming controller and helped you to significantly speed up your Lightroom workflow. As many of you pointed out, however, the Cullinator could easily be turned into a DIY project, and it looks like photographer Paul Snow of Photo Thoughts was listening.
Flect is a simple device I developed to take photos through glass without reflections or glare from the surrounding environment. Here's a step-by-step tutorial on how to make one for yourself.
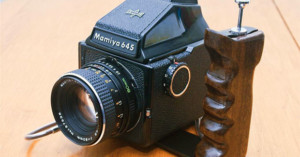
Canadian photographer and DIY enthusiast Matt Bechberger wanted to improve the ergonomics of his Mamiya 645 medium format camera without shelling out money for an "expensive, hard to find, and ugly" grip, so he decided to make his own. He ended up creating a beautiful custom wooden grip that attaches to the bottom of the camera and features a shutter release at the top.
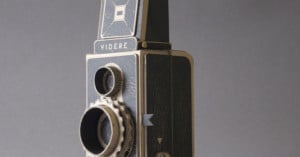
London-based photographer Kelly Angood has had quite a tumultuous year so far in 2013. Last month she announced that she would be turning her popular cardboard medium format camera design into a proper do-it-yourself kit. After launching a Kickstarter campaign to take preorders, she quickly raised over £23,000 (~$34,000) from over 600 supporters.
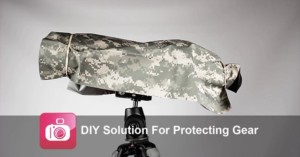
When it comes to protecting our gear, we tend to go for the expensive because, as they say, "you get what you pay for." But once in a while, a simple idea that helps you save a few bucks may not be such a bad thing.
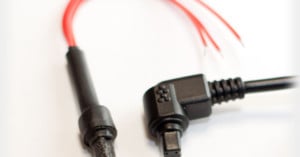
Here's something that may not be relevant to most of you, but if you enjoy dabbling in do-it-yourself gear hacks you might find it interesting. Milan-based photographer and freelance engineer Andrea Biffi came up with an interesting way of creating a shutter release cable connector for his Canon DSLR. Instead of buying an actual remote and slicing off the plug end, he decided to cast his own out of hard rubber.
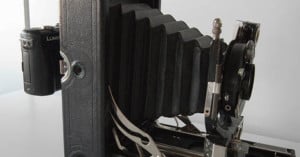
My name is David Lo, and I am a street photographer who enjoys taking vintage cameras, digitizing them, and then using them for street photography. This is a walkthrough on my process of modifying a camera.
Here's a tutorial on how to capture an exploding water balloon in the precise moment the balloon pops, while the water still holds the shape of a balloon. I didn’t want to invest any money in laser barriers or something similar, so I built a very simple mechanism. It doesn't give me perfect timing, but it produces acceptable results.
This camera is a poor man's large format camera. It is made with a simple shoebox acting as a dark room.
Photographer Váncsa Domokos created a neat do-it-yourself camera accessory that uses optical fibers to control the direction and intensity of a flash unit's light. Instead of having light come directly out of the flash unit, the accessory redirects it through a thick bundle of optical fibers, allowing you to point the light in any direction -- and in different directions if you'd like.
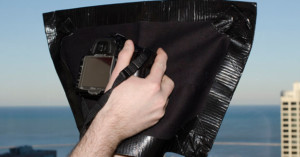
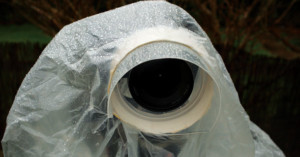
In the past, we've shared how you can create a cheap and simple rain cover for your camera and lens using a Ziploc bag. While that solution is effective in protecting your gear, it might make it a bit difficult to adjust your lens and operate the rings.
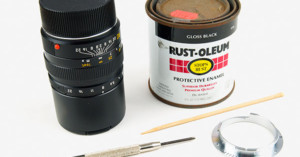
Newer Leica lenses have a special lens code on the mount flange of each lens that informs the camera of what's mounted on it, and allows lens-related EXIF data to be embedded inside photographs. If you have an older Leica lens or a third-party lens on your hands, you might not have this special code, but did you know that you can apply the code manually to a code-less lens using black and white paint? …
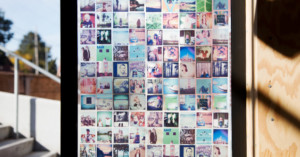
Here's another creative way to put those thousands of archived Instagram shots to some practical use, courtesy of the folks over at Photojojo. A fun DIY project, this step-by-step will show you how to turn the window of your choice into a stained glass-inspired photography display.
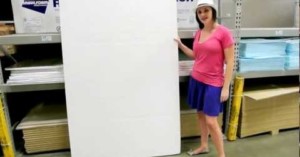
Here's a cheap, long-lasting DIY option for those of you in need of another backdrop and/or reflector for your studio shoots. Put together by photographer Tiffany Angeles, this short video shows you all of the materials you'll need to create your own sturdy backdrop/reflector combo in the comfort of your own home.
A few years ago, photographer Samuel Chapman of The Rocket Factory found himself with an annoying problem on his hands. After purchasing a number of neutral density filters for his DSLR, he found that Nikon's $2,000 14-24mm lens didn't have any good way of being used with a filter.
It’s fairly well known that not all lenses are created equal. Put that in combination with manufacturing variables and lenses don’t always perfectly align with the camera mount. Generally the differences are minor and for the most part negligible, but I buy old Minolta lenses from eBay and I want to get the best bang for buck out of them.
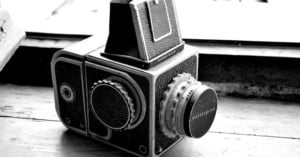
Remember that beautiful cardboard Hasselblad created by designer Kelly Angood a couple of years ago and released as a PDF template? If you'd like to build your own but don't want to go through the trouble of printing the design onto cardboard and cutting out the pieces, you'll be glad to know that Angood is working on launching a do-it-yourself kit for the camera.
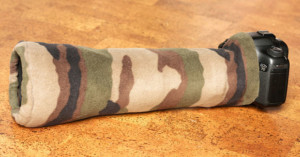
Here's a thrifty DIY idea courtesy of Netherlands-based photo enthusiast Rob Gipman. After getting rain on his lens a while ago, Gipman decided to take an unwanted piece of water-resistant fleece and make a do-it-yourself covering for his Canon 100-400mm lens.
When I started planning a series titled DreamWorld, one of the first characters that came to me was a dryad: a nature spirit representing our connection with nature. I saw her as a strong, benevolent queen, keeping watch over the woodland creatures and protecting them. The first concept I came up with that made my heart pitter-patter with excitement was the idea of building a huge crown for her from sticks and branches. I had no idea how I was going to accomplish this, but I had a vision. And I …
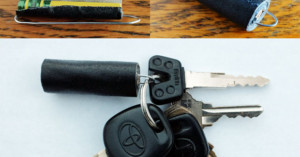
David Hobby over at Strobist shares a fantastic idea for photographers who would like to always have some gaffers tape handy at all times: …
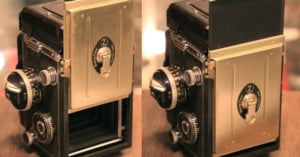
Here's an interesting fusion of analog camera technologies: Kevin over at the Hong Kong-based photo site FilMe figured out how to make his Rolleiflex twin-lens reflex camera shoot Fujifilm Instax instant photos.
Big focal length usually translates into big money. If you don't have thousands to spend on a high-quality far-reaching super-telephoto lens, the fine folks over at Screaming Tree Films came up with this 800mm Frankenlens that'll only make your wallet around $100 lighter (as opposed to thousands).
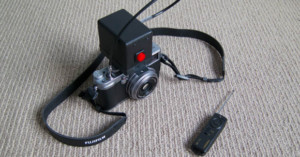
I need the ability to wirelessly take photos, but my Fujifilm X100 did not have a conventional shutter release -- it has the old fashioned ”cable” release.
Photographs printed onto wood are hangable, durable, and sustainable. The technique I use at Wood Craft Photos involves printing the image onto a special film, preparing a wood panel with custom gel medium, and then combining, leaving the wood grain in the light colored areas of the image showing through.
Launched in 1992 and discontinued in 1996, Nikon's Nikonos RS was considered one of the best underwater photography solutions back in the 90s. The cameras and the 50mm f/2.8 macro, 28mm, 13mm fisheye, and 20-35mm lenses still sell for relatively high prices these days. Unfortunately for Nikon enthusiasts, the RS mount lenses were not compatible with F mount cameras... until now.