Modding a Vintage Camera for Digital Use
My name is David Lo, and I am a street photographer who enjoys taking vintage cameras, digitizing them, and then using them for street photography. This is a walkthrough on my process of modifying a camera.
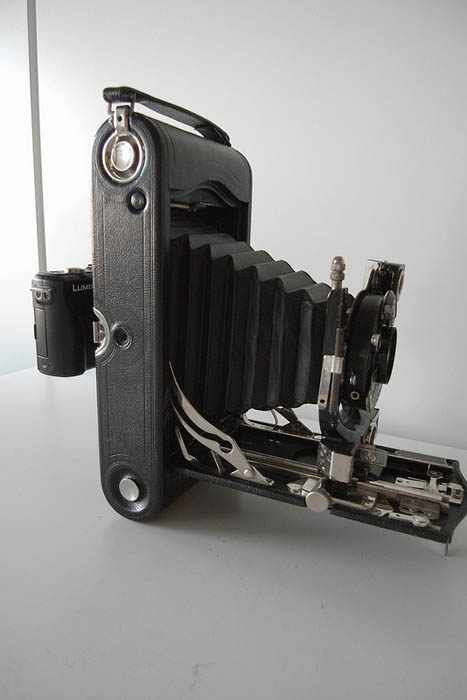
Here I’ve decided to do the project on a 1916 Kodak Autographic 3A Special. You need a camera with some sort of bellows, or a focusing lens apparatus. For instance, I would really love to convert a Kodak Instamatic, but it’s got no adjustable lens or bellows, and the back is so small that it would look rather awkward after modification.
A significant part of the experience is the joy of going out and using the modified vintage camera. Plus it gives the camera a “second life”. Its previous owner might have put but a few dozen rolls through it at the most, unless his name was Gary Winogrand, however, you’ll be able to shoot a few thousand free exposures digitally. I think it’s better than just ripping off the lens and mounting it onto a Micro 4/3, or letting it collect fungus on a shelf.
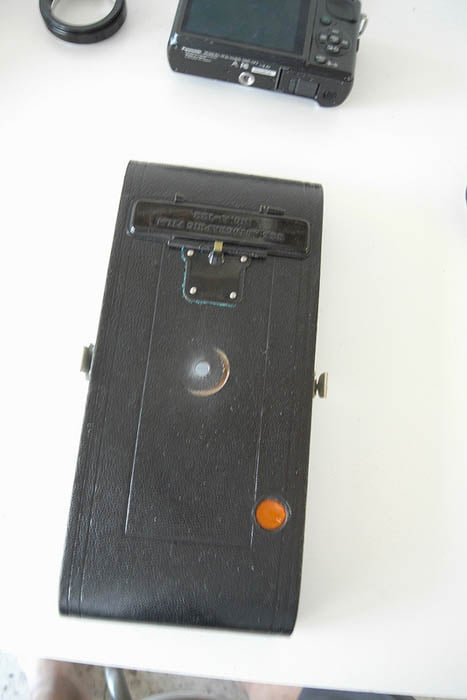
This camera was originally purchased at the now closed Photographer’s Place in Manhattan’s Soho district for $45 in the 1990’s.
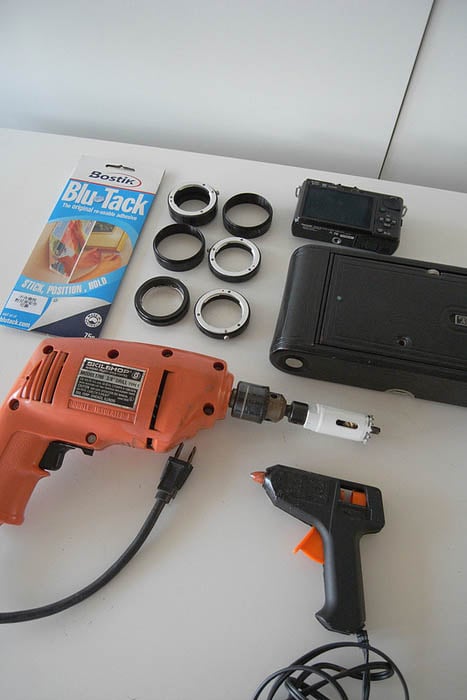
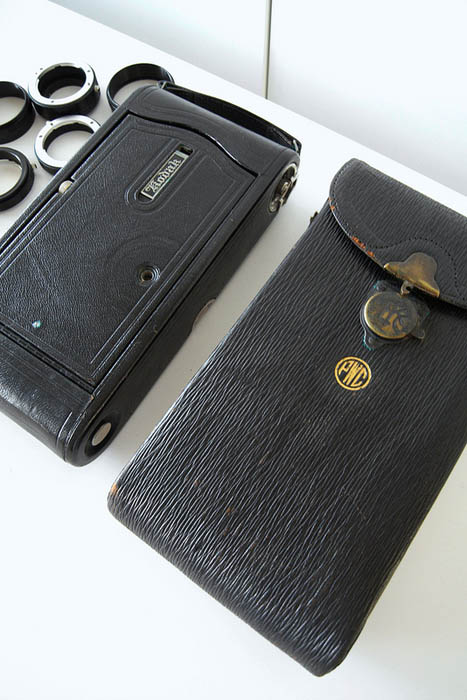
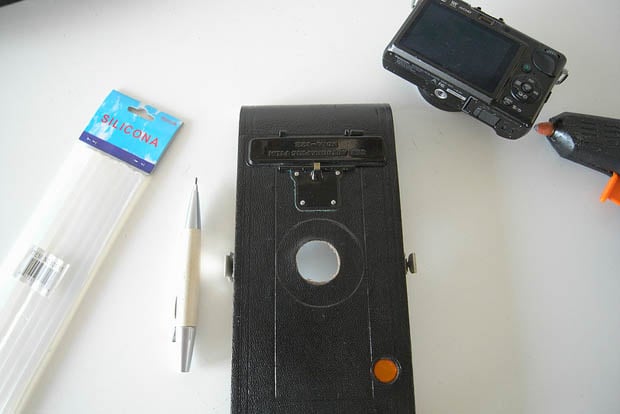
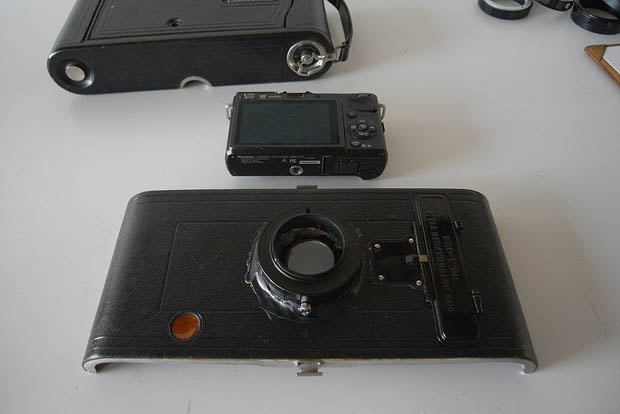
For drilling the hole in the back of the camera, you’ll need the materials seen above. Note the metal drill bit, and the spare M42 adapters. Of course, each vintage camera will be different. On some you might have to actually fabricate a back (sure it is possible, but I would need a lot of motivation to do so, like if it were a camera on my short list or you might not have to drill a hole at all and simply use the removable port hole door on some cameras.
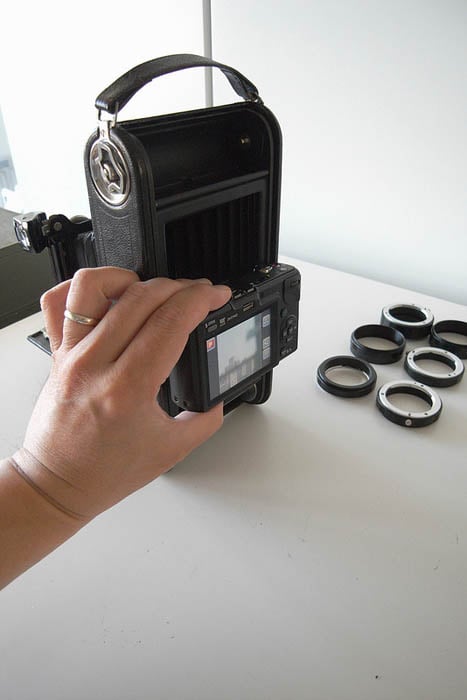
You can test a camera just by placing a Micro 4/3 camera without lens attached, at the area where the pressure plate should be. It will give you an idea of how the final set up will look. Remember when selecting a camera that the Micro 4/3 will have a crop factor which will increase the focal length.
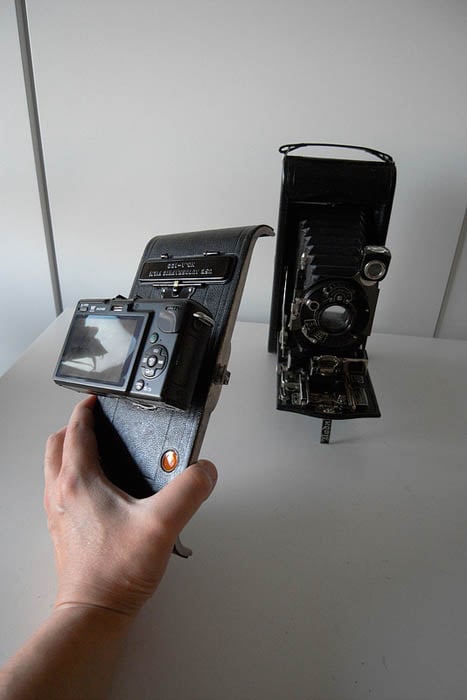
With such extreme focal lengths, 90, 130, 210, 300mm, all of the cameras I have modified feel different when I’m shooting them on the street. Plus, one cannot focus just by rack-and-pinion, you often are adjusting focus by moving the track, so it’s kind of like playing a trombone.
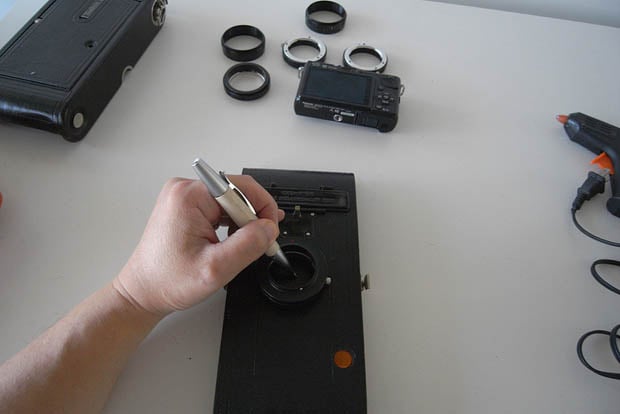
Mark the drill area as well as the center with a soft lead pencil. For some reason, it is very easy to mark and later on place the M42 adapter on off centre. You will have problems later if you don’t center this.

Buy a metal drill bit (approx. $10-15). Note that this photo is for illustrative purposes only as I drilled the hole outdoors. You should place a sheet of paper under the camera back as additional protection from scratches to the leather finish. Metal dust will be all over the place, wear safety goggles and doublecheck the direction of rotation of the drill. I once drilled in reverse by accident and the drill almost yanked my hand towards it.
Proceed with safety, and drill in pulses, not straight through. Proceed with this step at your own risk, or ask an experienced person to do it for you for a nominal fee. This is the most awkward and dangerous part of the job. I am not recommending it for anyone but experienced adults who have drill experience. I do this because I have the know-how.
Drill a little to get the positioning just right. You can see the metal in the middle underneath the leatherette. It’s going to be a long drill session… Go to sleep early the night before, and eat a decent breakfast so you can be at the camera “operating room” by 8AM.
My overall advice is to take your time in this project, as if you were smoking a pipe and reading a book. Depending upon the material of the back, this step may take a long time — or not.
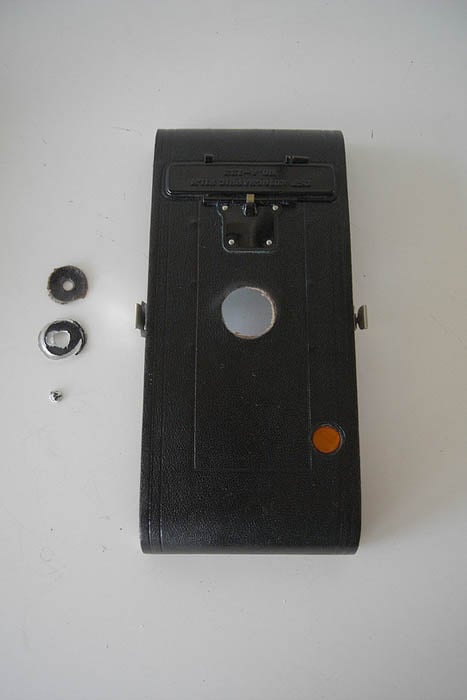
Drilling completed. On the left, from top to bottom: the leather cover, the full circular plate, and the first biopsy piece that came out first. Be sure to clean the opening and the entire back with a damp cloth and some alcohol. Be extra careful of any sharp flashing as you do so at the opening, blow out any additional metal dust between the leatherette and the metal at the opening as any dust that comes out later will probably land on your M4/3’s sensor, ouch! Finally send the bits to the lab or keep them with camera’s medical records.
After about 40 minutes of using a drill bit that I tried from both sides (the holes were different but at the 30 minute mark I finally cut through to the other side). In this phase I always find myself thinking scary thoughts like remembering someone who shot himself with an elephant gun while trying to clean it.
I know I’m repeating myself here, but the worst experience I had was drilling at night on an Agfa PD Clipper, a real vault of a camera. I had to switch to a high powered drill and nearly caught my hand in the drill on high speed.
Since then, I’ve learned to do it patiently, in spurts. Of course, if you have a drill press, you’re all set, as long as you have experience using it. With plastic cameras, you have to guard against the plastic shattering or drilling too quickly, so there you also have to go slowly and don’t let the machine get too hot.
After filling out the information on your modification journal, you can sit back and relax. What a happy sight! Have a well-deserved coffee and do wash your face, hands, and eyeglasses carefully of any metal dust. Trust me, it’s all over you. A duster nearby is very handy.
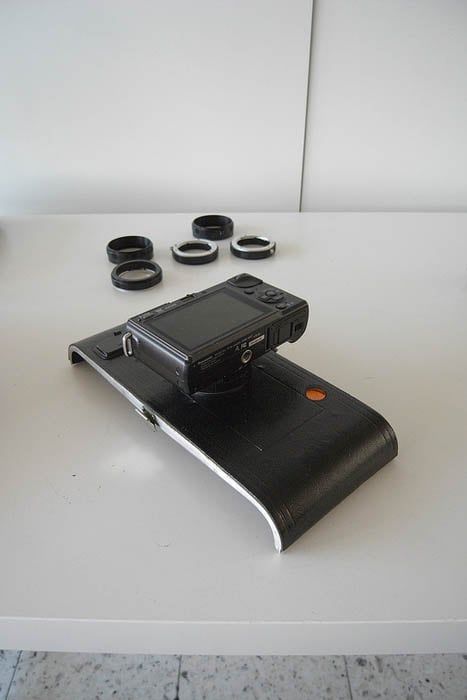
Here I’ve taken a break to get a fresh pack of glue sticks. You should use good glue. I’m using cheap stuff as this particular classic camera is so big I’ve decided to use longer M42 adapter rings and therefore I can easily attach/remove the digital camera back. I expect to be constantly refitting things with ease, so the glue isn’t as crucial to me.
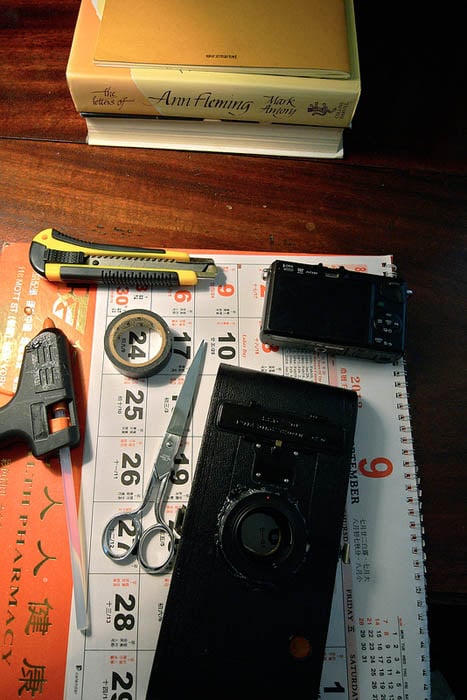
We’re now ready to begin the 2nd part of the process (actually, this is a later photo so please just humor me and pretend I haven’t done any gluing yet). The calendar is just to catch hot glue drips.
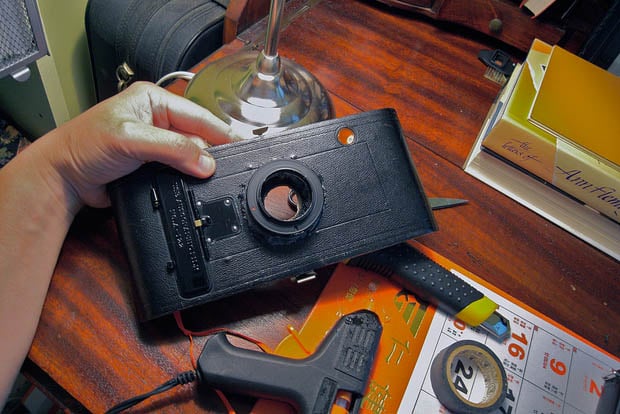
Here I’ve begun to place the 1st bits of glue down. It’s important to align the M42 rings properly. and to just glue a little to keep it together till you’re sure of the alignment. Then add much more glue afterwards. Do be careful when using a hot glue gun, it is also a dangerous tool and only to be used by experienced adults.
Testing my finished product after gluing, and going back to my 1st work area after the glue dries. Now I will attach small strips of black electrical tape to light seal the hole. You can paint the glued areas with black paint also at this stage.
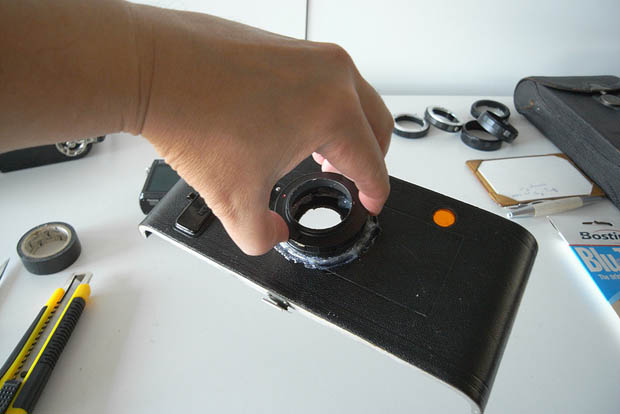
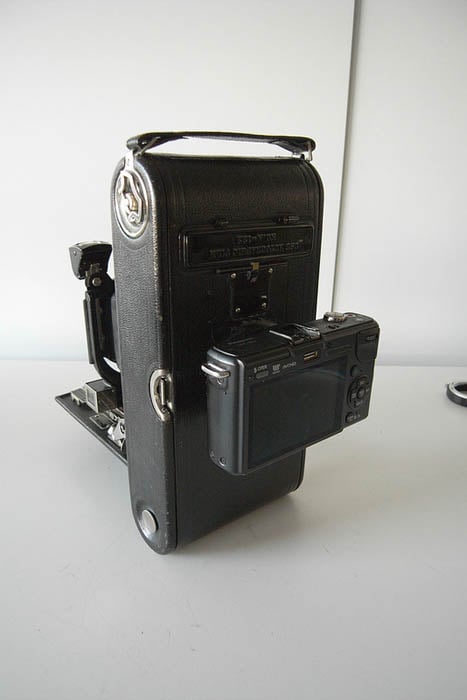
The finished digital camera back. You can totally relax now and use some alcohol and a towel to clean off the glue strands and electrical tape sticky residue, and to clean up or polish the camera. My chief concern here was that the back would be warped slightly due to the intensive drilling. But as it turned out the back fit perfectly.
Fitting on the back armor onto the robot (this is my fantasy). At this point all systems are go.
To me this looks a little like armor plating and robots. My imagination is a little too fertile. But, I love this image the best, because it says, I’m finished with my project.
The Lumix Gf2 is not the best camera for this vintage street setup, the GF1 or an Olympus would be much better. Also be prepared to have the thing knocked around as you go out and shoot. The mod camera will be extra heavy and will be a bit off balanced, as the digital back will be like a counterweight, so you may end up getting the thing dinged much more.
I have considered attaching a Leica M9 to the thing. There are a few small drawbacks to this idea though: (1) You’d have to be extra careful or your M9 might get damaged by getting dinged or simply by falling off (remember its a glue gun attachment), (2) the size of the M9 will make your end result even more bulky, and (3) the sensor of the M9 will get dirty much faster (mod shooting is a rough sport), Sso consider the cost of a Leica CLA, ouch! (4) the M9 is itself a showpiece, why would you dwarf a $7,000 aesthetic looking camera with a vintage by way of an attachment with glue and electrical tape, not to mention the problems with alignment? It kind of flies against all that is attractive about the M9, and (5) The problem of actually getting one. Only a fool would loan you an M9 to use it this way. It’s almost like hooking up an amp to a Steinway piano and putting the sound through a wonderfully retro mono speaker.
This camera is an armful and rests well in the crook of my left arm. When I go shooting with this, I can’t really carry a tote bag or a book or an ipad, this is it for me.
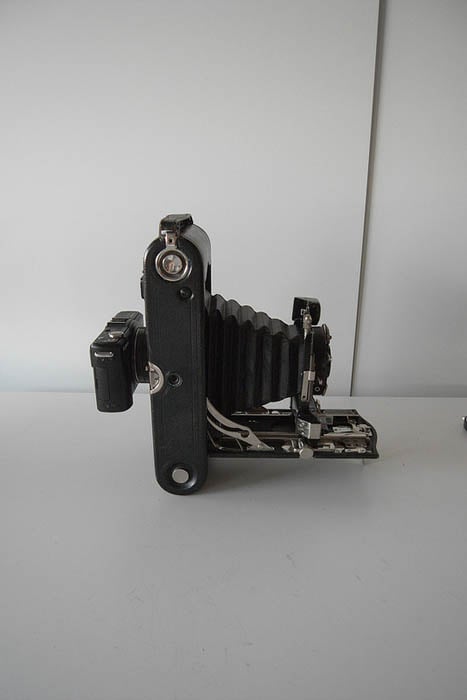
The front movements and aperture knob all affect the photographs taken, it is a very versatile machine.
Taking photos with most of these cameras are difficult. The experience is very similar to using a cheap telescope when we were young. One needs a lot of patience. One could use a cellphone camera, but that would be a wholly different experience. Trust me, a modified camera’s digitized shots are not the same as a vintage retro process in an iPhone app, or even the macro programs used in Lightroom.
Check some of my unprocessed mod photos and you will see. A Holga comes the closest, to my eyes, to the mod style. But the Holga will have essentially one ‘look’, as the signature imperfection(s) of the Holga lens will be pretty consistent across exposures.
However, with a mod you have bellows and shifts. A Lensbaby will come close to the mod style too, but the light leaks and imperfections of the ‘Holga’ fabrication are then not existent. A modified vintage will have all of these features, for better or worse, including its relic (reliquarian) quality which is to me it’s biggest appeal.
The weight of a modified camera is really important, because you will be holding it rather awkwardly to focus, and adjusting the bellows on the fly. It can be a strain. The best camera for me is the Polaroid swinger. It is both light and hefty enough to get a very comfortable almost therapeutic grip. However, it is very difficult to use in focus. In fact, the way to do so is by partially disassembling the thing! However, even with its frailties, I prefer it.
Here are some photographs I shot using this modded camera:
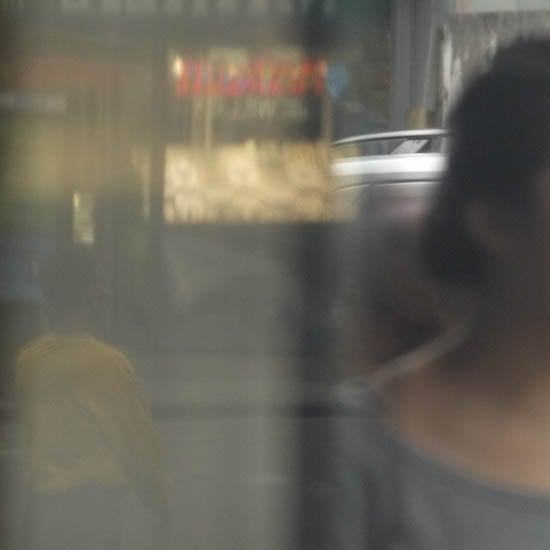
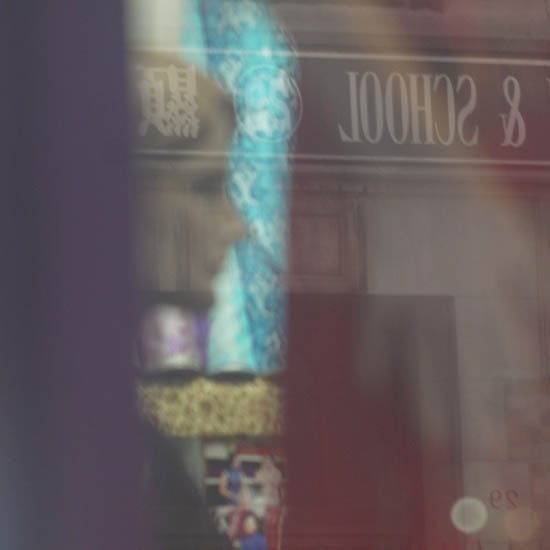
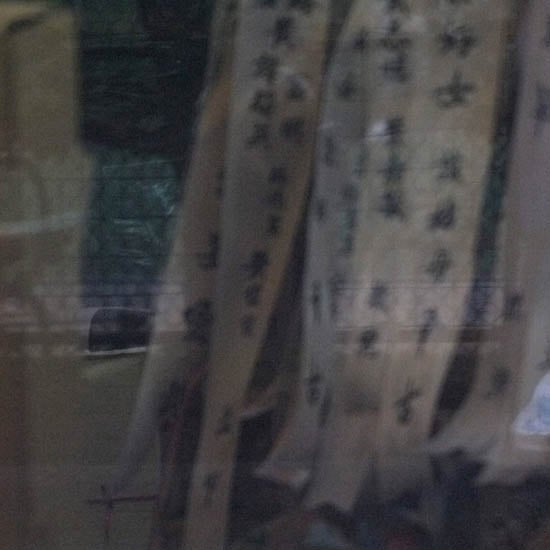
You can find more test photographs in this Flickr set.
About the author: David Lo is a street photographer and camera modification enthusiast based in New York City. Visit his Flickr page here.