Create a DIY Optical Fiber Attachment to Guide and Shape Your Flash’s Light
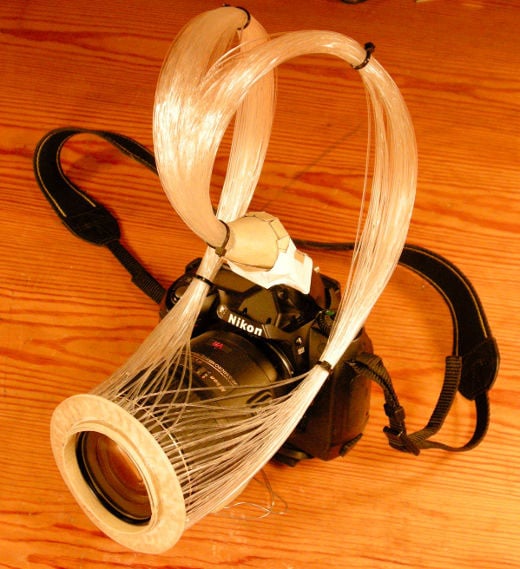
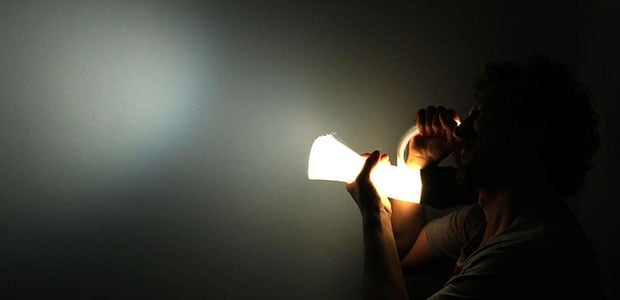
Photographer Váncsa Domokos created a neat do-it-yourself camera accessory that uses optical fibers to control the direction and intensity of a flash unit’s light. Instead of having light come directly out of the flash unit, the accessory redirects it through a thick bundle of optical fibers, allowing you to point the light in any direction — and in different directions if you’d like.
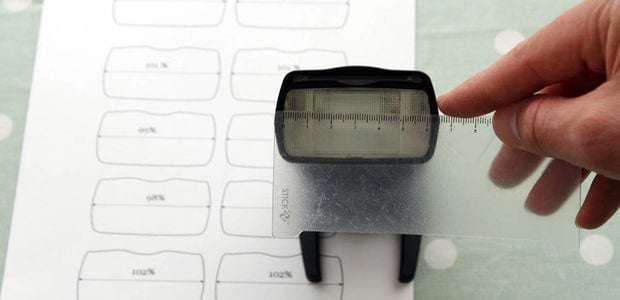
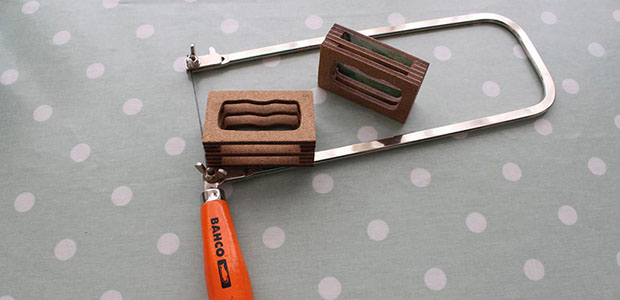

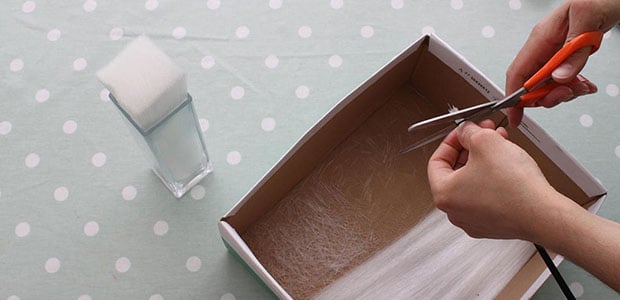
Next, you cut your optical fibers to size. Using a straw can help you make the lengths uniform, since it’s easier to measure and trim a smaller number of the fibers at one time. Once they’re cut to size, you need to bundle them together, and then glue the fibers into the bundles using epoxy resin.
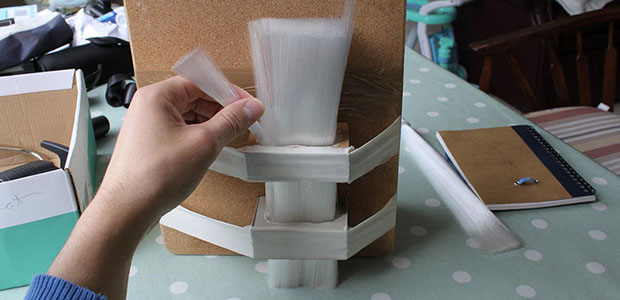
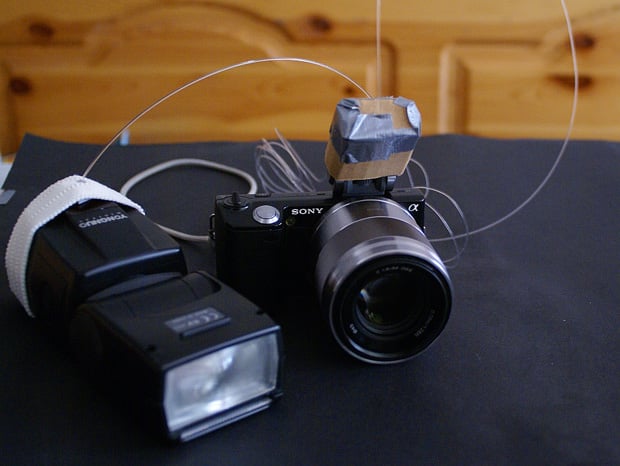
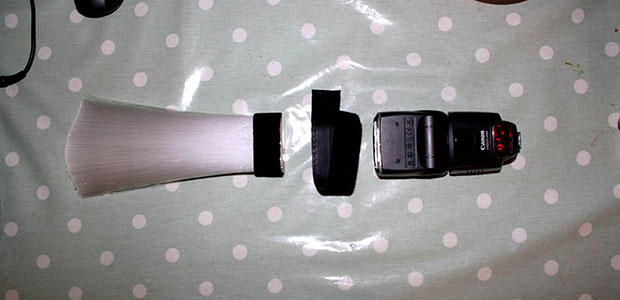
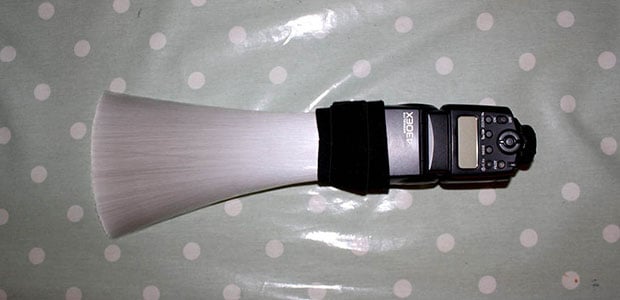
Once the bundle is prepared, the optical fibers, wood mount, and camera flash are joined together using strips of velcro:
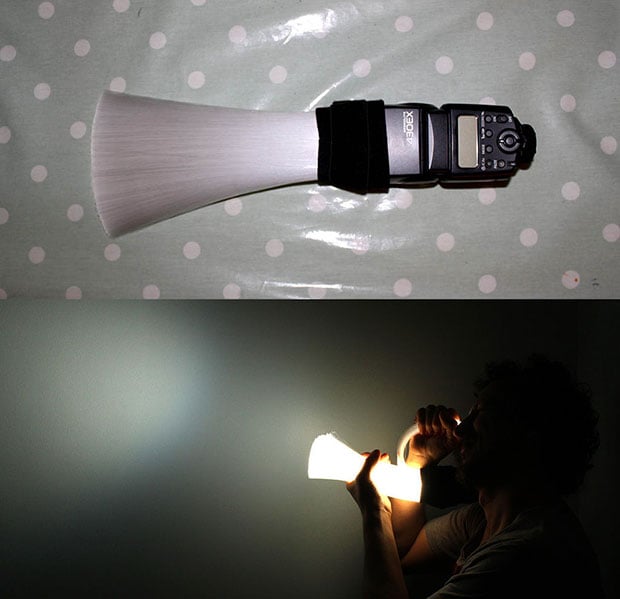
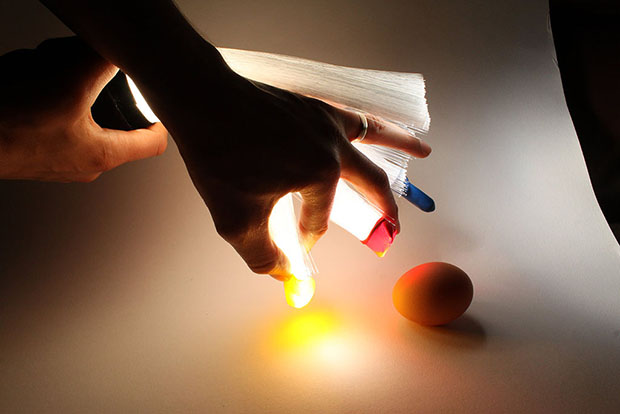
Voila! The accessory is done! What you use it for is up to you. Possible applications include attaching different colored filters to the ends of different groups of bundles and using your hands to direct different portions of the light in different directions:
If you’d like to create one of these accessories yourself, you can find a more detailed step-by-step tutorial on the build process over on Instructables.
Image creditsPhotographs by Váncsa Domokos/Instructables