How to Photograph Lightning, From Start to Finish
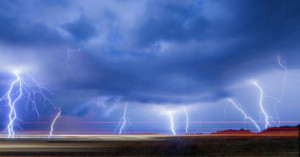
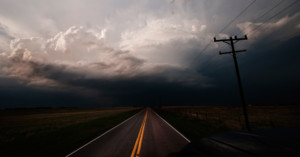
Now that storm season for North America is either already here (or coming soon), I thought it would be a good time to write a tutorial on how to photograph lightning.
In the video above, I'm shooting with a DSLR (a Canon 6D in this case) and everytime I snap off a shot it goes instantly to a web gallery... from the road anywhere. I got the idea while contemplating doing live video streaming for the first time this year. Not wanting to mess with another camera as I stormchase, I thought, it'd be cool to do the same thing but have the live page be for DSLR photographs.
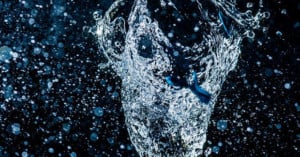
Refractographs are photographs of the beautiful patterns formed when light reflects and refracts through an object. Stunning as they look, you would think that there was a lot of post processing or digital manipulation involved, but there's not, and in the above video, photographer Rob Turney gives you a step-by-step guide to taking them yourself.
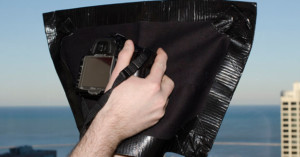
Flect is a simple device I developed to take photos through glass without reflections or glare from the surrounding environment. Here's a step-by-step tutorial on how to make one for yourself.
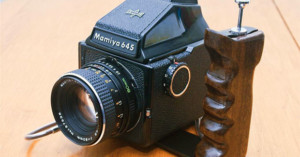
Canadian photographer and DIY enthusiast Matt Bechberger wanted to improve the ergonomics of his Mamiya 645 medium format camera without shelling out money for an "expensive, hard to find, and ugly" grip, so he decided to make his own. He ended up creating a beautiful custom wooden grip that attaches to the bottom of the camera and features a shutter release at the top.
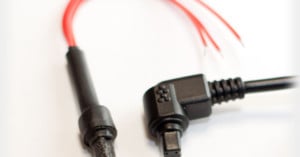
Here's something that may not be relevant to most of you, but if you enjoy dabbling in do-it-yourself gear hacks you might find it interesting. Milan-based photographer and freelance engineer Andrea Biffi came up with an interesting way of creating a shutter release cable connector for his Canon DSLR. Instead of buying an actual remote and slicing off the plug end, he decided to cast his own out of hard rubber.
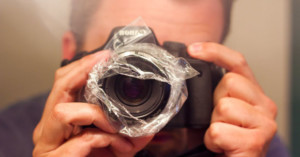
Photographer Jesse David McGrady has a super simple trick for adding a hazy, ethereal effect to your photographs: wrap a plastic sandwich bag around your lens. It sounds ridiculous and silly, but the results you get are actually quite nice!
In this post, I will share some of my techniques and experiences of backing up photos using a tablet while traveling.
Here's a tutorial on how to capture an exploding water balloon in the precise moment the balloon pops, while the water still holds the shape of a balloon. I didn’t want to invest any money in laser barriers or something similar, so I built a very simple mechanism. It doesn't give me perfect timing, but it produces acceptable results.
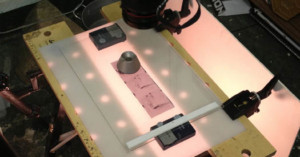
With the cost of my local neg scanner in London being £40/hour for a Hasselblad Flextight, I have been digitising using a DSLR for a quite a while. The results can be extremely good as long as a little time is put into the setup to begin with.
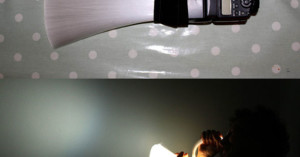
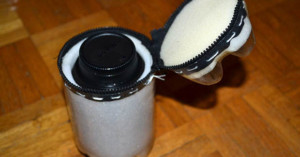
Photographer Váncsa Domokos created a neat do-it-yourself camera accessory that uses optical fibers to control the direction and intensity of a flash unit's light. Instead of having light come directly out of the flash unit, the accessory redirects it through a thick bundle of optical fibers, allowing you to point the light in any direction -- and in different directions if you'd like.
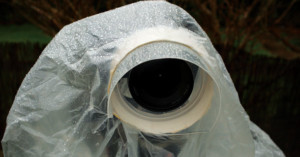
In the past, we've shared how you can create a cheap and simple rain cover for your camera and lens using a Ziploc bag. While that solution is effective in protecting your gear, it might make it a bit difficult to adjust your lens and operate the rings.
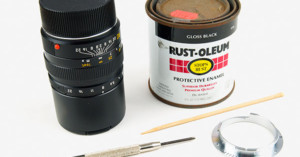
Newer Leica lenses have a special lens code on the mount flange of each lens that informs the camera of what's mounted on it, and allows lens-related EXIF data to be embedded inside photographs. If you have an older Leica lens or a third-party lens on your hands, you might not have this special code, but did you know that you can apply the code manually to a code-less lens using black and white paint? …

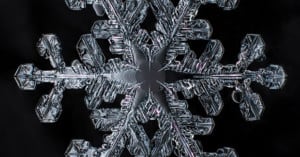
Winter can be a dull season for macro photographers. Many of the usual subjects are desolate, lifeless or invisible. However, there is one subject that's often in abundance outdoors (depending on where you live): snowflakes. There have been many strategies for photographing these ice crystals over the past century, but the simple stage of an old mitten is ideal.
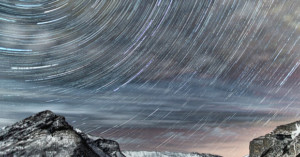
Some people have been asking for tips on how to do star trails. There seems to be a few misconceptions and a few different methods. Here's a tutorial on my personal technique.
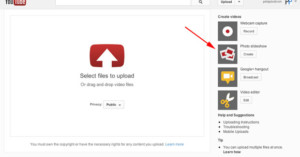
Did you know that YouTube isn't just for uploading videos? Google's popular video hosting service also has a special feature designed just for photo slideshows. If you've never considered using YouTube for photos, you may have never noticed the option, but it's right there on the Upload page.
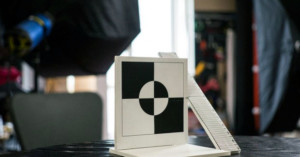
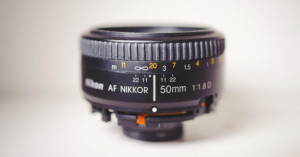
It’s fairly well known that not all lenses are created equal. Put that in combination with manufacturing variables and lenses don’t always perfectly align with the camera mount. Generally the differences are minor and for the most part negligible, but I buy old Minolta lenses from eBay and I want to get the best bang for buck out of them.
If you've been looking for a basic photography course online, here's something to hold you over until you find the right one for you. This "Photography (Basic)" course was put together by the U.S. Navy in 1993. And thanks to Reddit user clutch70706, you now have access to the full thing in PDF format.
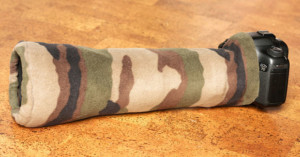
Here's a thrifty DIY idea courtesy of Netherlands-based photo enthusiast Rob Gipman. After getting rain on his lens a while ago, Gipman decided to take an unwanted piece of water-resistant fleece and make a do-it-yourself covering for his Canon 100-400mm lens.
David Hobby over at Strobist shares a fantastic idea for photographers who would like to always have some gaffers tape handy at all times: …

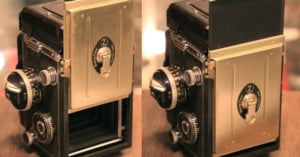
Here's an interesting fusion of analog camera technologies: Kevin over at the Hong Kong-based photo site FilMe figured out how to make his Rolleiflex twin-lens reflex camera shoot Fujifilm Instax instant photos.
Remember that slow-motion wildlife footage that consisted entirely of still photos animated with parallax? French photographer Sebastien Laban does the same thing, except with his wedding photographs.
Photographs printed onto wood are hangable, durable, and sustainable. The technique I use at Wood Craft Photos involves printing the image onto a special film, preparing a wood panel with custom gel medium, and then combining, leaving the wood grain in the light colored areas of the image showing through.
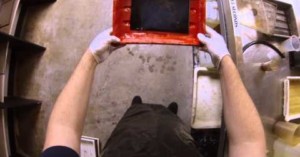
Here's a video that may be very interesting to you if you've never tried your hand at creating a tintype with wet plate collodion photography. Oklahoma City-based photographer Mark Zimmerman recently strapped a GoPro Hero 3 to his head and went through the entire process of creating a wet-plate photo on aluminum, from flowing the collodion in the beginning, through exposing it using his large format camera, and ending with a finished tintype photo of a camera.
Shooting a seasonal time-lapse poses several challenges. You have to figure out how to power the camera for a very long time, how to protect it from the elements, how to make sure nobody messes with it, and how to run your set-up for months without needing to check on it very often.
For beginners in the world of photography, getting a good grasp on the types of lenses available and when you might want to use them is an important step. So, given that there's a lot of glass out there, we thought we'd share this basic lens intro from Pentax.
The vast majority of my photographic work is environmental portraiture, corporate and editorial photography, and interiors, some of my commercial photography does include product photos. Quite honestly, some of this stuff is pretty straightforward, take a nice representative image of the product on a clean white backdrop so it integrates onto a website (also white) seamlessly. Sometimes a client gives me a bit more artistic license, and sometimes I get to do a shoot that's just for me.
Over the past 12 years, I have spent countless hours finding myself in places that many would deem “the middle of nowhere.” I’m not there in awe of the bland landscape, yet instead I am staring up into the blue sky in hopes that the tiny little air molecules above me will develop into beastly, photogenic thunderstorms.
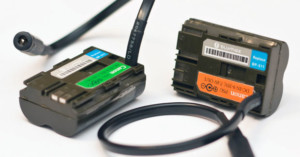
When Milan-based engineer and photographer Andrea Biffi needed a constant source of power for his Canon 40D in order to shoot time-lapse photos over many hours, he decided to save some money by going the DIY route. Biffi turned a defunct lithium DSLR battery into a power supply unit that can be used with everything from a wall outlet to a car battery.
Freelensing. It’s been around for a while. It’s essentially the “poor man’s tilt shift.” All the technique requires is disconnecting a lens from the camera body and floating it around in front of your sensor to shift the focal plane in weird directions. It takes practice to get accurate with it, but overall the technique is pretty straightforward.
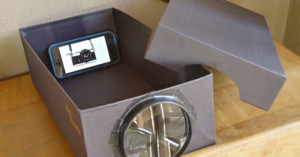
Want a cheap and simple way to project photographs from your smartphone onto your wall? Photojojo writes that you can actually make a makeshift projector with a few things you might already have lying around. Total cost: $1.
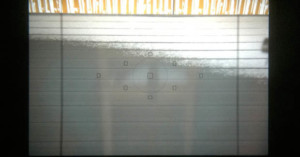
Alternative focusing screens for DSLRs aren't hard to find, but they usually don't have any guide lines geared toward photographers who are used to framing scenes in a square format. Zurich-based photographer Howard Linton is one such shooter. Linton decided to take matters into his own hands by modifying his DSLR's focusing screen with custom lines etched in using an X-Acto knife.
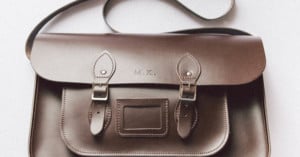
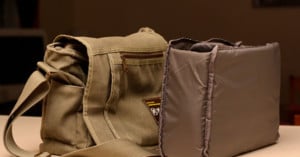
Turning a retro satchel bag into a real photographer's bag is quite easy. All you need is an old camera bag (e.g. a LowePro one) with velcro inserts, scissors, super glue, sticky velcro stripes and, of course, time.
Photographer Maciej Pietuszynski has posted a (hopefully tongue-in-cheek) step-by-step tutorial over on his blog on how he was able to give his Canon 40D a square aspect ratio viewfinder by applying some tape to his focusing screen.
There's no end to the fun and creativity you can pour into a great light painting session. And the more techniques you have in your photographer's utility belt the more interesting and professional your light painting can become.
Looking to put together a sexy camera bag? Already have a messenger bag you want to carry your camera in? Love the look and feel of waxed canvas bags but don’t want to fork over the money to buy one new? This tutorial is for you!
French photographer Serge Ramelli made this short 30-minute tutorial that teaches the basics of using Lightroom 4 to post-process your digital photographs. If you're just getting into using Lightroom and shooting in RAW, it's a helpful primer that will allow you to hit the ground running.
Faking the look of old films is becoming ubiquitous in the world of mobile photo sharing apps, but so far the popular apps have stuck with various films and not older photographic processes. If you want to create a photograph that mimics the look of a wet plate, it's actually pretty easy to do in Photoshop.
Here's a primer for beginning photographers on the concepts of aspect ratios and compositional theories.
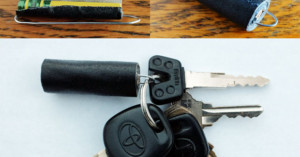
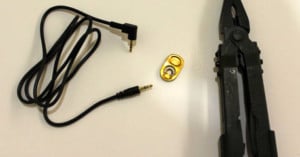
Remote shutter release cables are extremely simple devices, but they can cost quite a bit if you buy the official accessories sold by major camera manufacturers. Instructables user nk dtk has an awesome makeshift alternative that's dirt cheap: all you'll need is a cable and a can of soda!
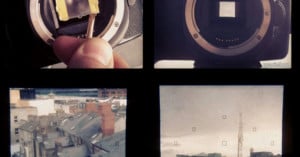
Yesterday I wrote a post showing the high level of image quality you can achieve by scanning film using a digital camera rather than a film scanner. This post will describe my personal technique for digitizing film using a DSLR and a macro lens.
With Christmas just around the corner, here's a clever DIY craft idea for adding some photographic cheer to your gift giving this year: adorn your presents with gift bows made out of 35mm film strips.
Back in July, we shared a series of creative animated GIFs and a music video that show space-lapses over great distances in San Francisco. The creators Kevin Parry and Andrea Nesbitt have just published the video above that teaches how you can do the same thing with your camera.
When travel photographer Craig Pulsifer accidentally smashed the front of his lens recently and found his lens filter fused firmly to the metal threads, he went to Canon for help. The removal process explained to him by a Canon Professional services technician is probably something most people wouldn't think to try: use a hammer and hacksaw to surgically remove the stuck filter. Pulsifer followed the advice, and found that it works quite well (though he does warn that it's "not recommended for …
Here's a step-by-step tutorial on how to create a photograph of you holding yourself up. I hope it will give you a good idea of how I create this type of image so that you can create a similar image yourself! Obviously, this is not the only way to create this type of image, but it is the way I have found most believable, as the connection between the two subjects actually occurs in real life. Enjoy!
If you'd like a cheap and simple way to protect your camera lenses from rain and from drops, you can make a makeshift lens case using ordinary plastic bottles (e.g. water bottles, soda bottles). Here's a step-by-step guide on how to do so.
When photographer Devon Mikale was in high school, he created this lengthy manual for his newspaper class to help others learn how to get started in Photoshop. The high school's faculty loved it so much that they ended up purchasing it for re-distribution in future classes. Mikale has graciously allowed us to publish the guide here for free.
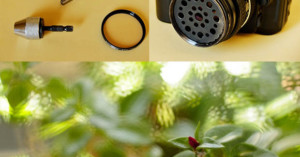
Photographer Nick Cool came up with one of the strangest pieces of do-it-yourself camera gear that we've seen so far this year. He took an ordinary stainless steel sink filter -- yup, the thing that catches food at the bottom of kitchen sinks -- drilled various-sized holes through it, and stuck it into a filter ring after taking out the glass.
Here's a humorous and lighthearted 5-minute video titled, "Fafa's Photoshop Tutorial." Created by the comedy series Glove and Boots, it's a short and sweet introduction to using layers in Photoshop... taught by puppets. Think Sesame Street meets Scott Kelby.
If you use a Mac and regularly need to resize batches of photos, there's actually a tool built into your operating system that lets you do just that without having to open any image editing program. It's called "sips", which stands for scriptable image processing system. It's extremely easy to use, but you'll need to know how to use Terminal to take advantage of it.