How to Turn Your Satchel Bag into a DIY Camera Bag
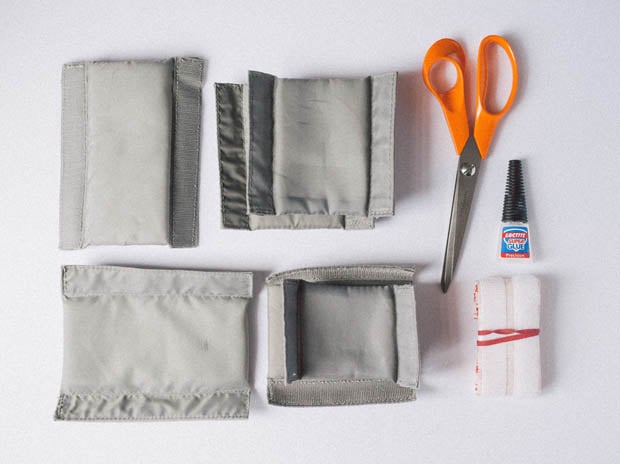
Turning a retro satchel bag into a real photographer’s bag is quite easy. All you need is an old camera bag (e.g. a LowePro one) with velcro inserts, scissors, super glue, sticky velcro stripes and, of course, time.
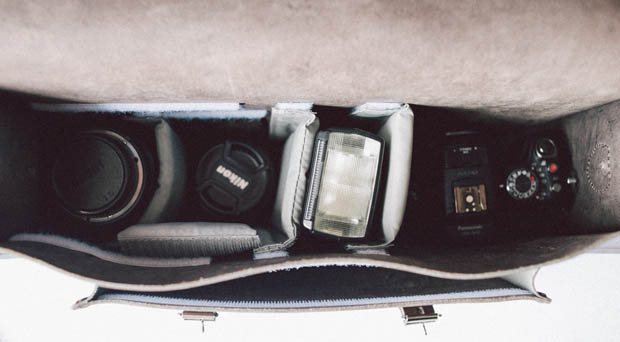
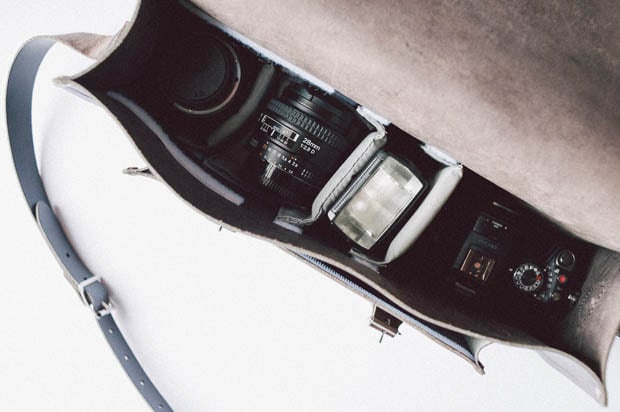
Once you’ve converted your bag you can easily fit in one pro DSLR body with three prime lenses, a flash gun, a USB cable, tons of memory cards, a lens cleaning kit, and a spare battery — and you’ll still end up with some extra space.
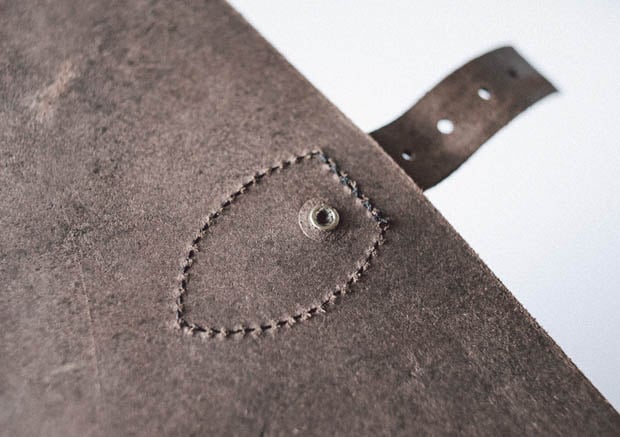
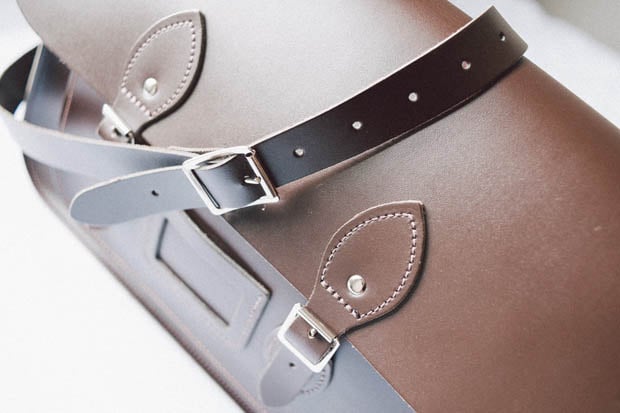
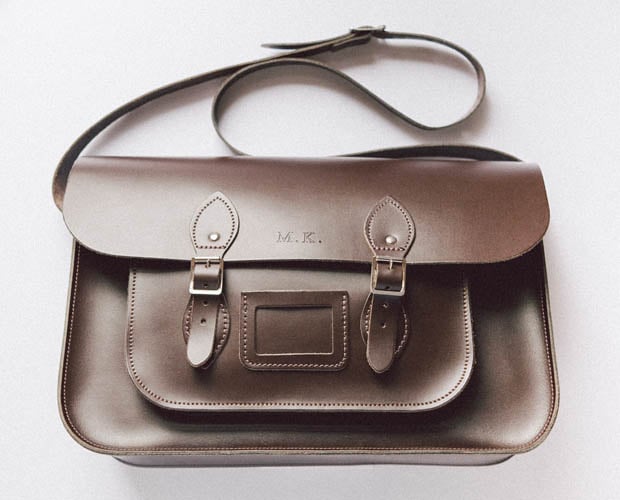
Why a retro satchel bag? Mine was 100% leather, was very sturdy, and came with a 5 year warranty. No one will ever think of it as a photography bag, and although it looks tiny, it fits quite a lot.
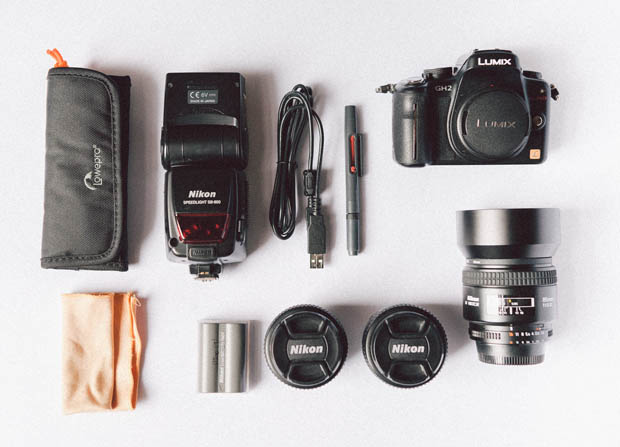
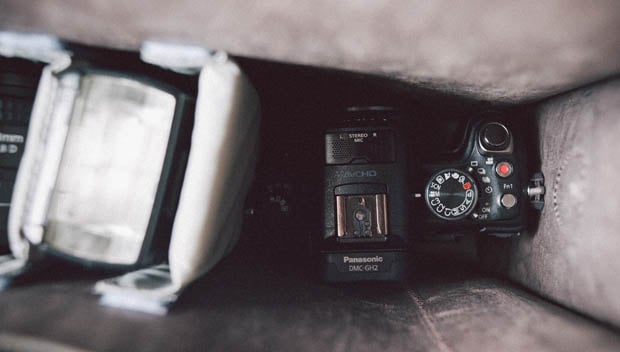
In my case I’m using a retro satchel bag that’s 15′ in size. It stores a Nikon D700 body; Nikon 35mm f/2, 50mm f/1.4, 85mm f/1.8 lenses; a Nikon SB800 flash gun; a lens cleaning kit, a spare battery, lots of memory cards, and a USB cable. If desired, I can even add one extra prime lense and another flash gun. Or, instead of a Nikon D700 body, I can put in a Panasonic GH2 with a Rode VideoMic Pro and an adaptor for Nikon lenses.
Here’s a step-by-step guide on how I converted my bag:
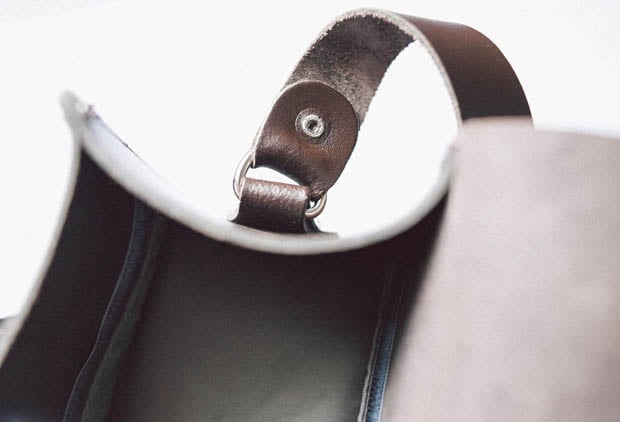
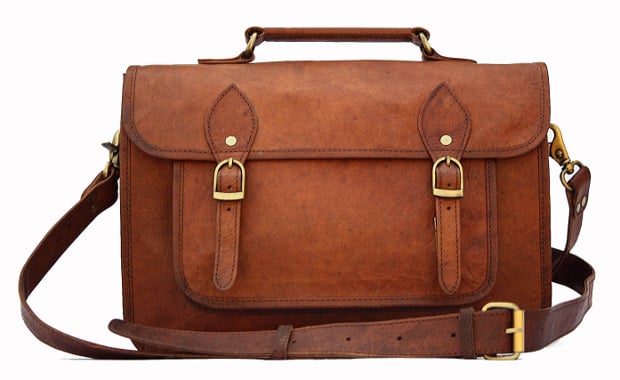
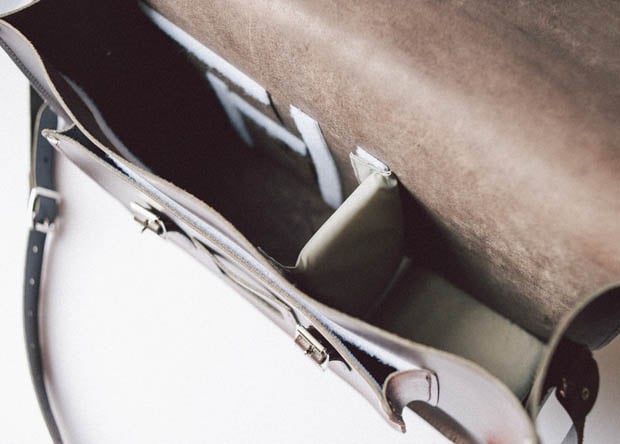
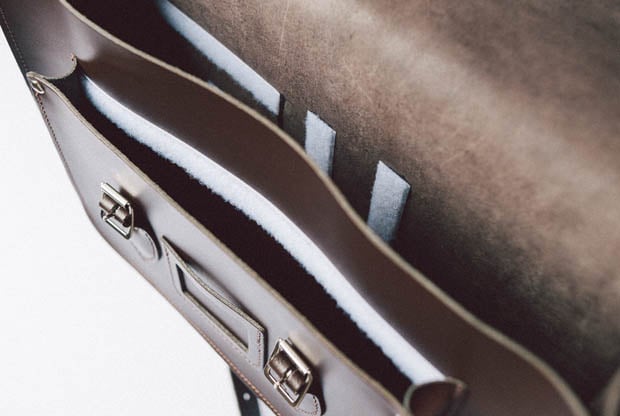
Buy (or receive as a present) a retro satchel bag that’s preferably 15-inches in size. Mine was empty inside, with main and side compartments. We’ll use main one to put the velcro dividers in, and the side compartment for accessories.
Get an idea what would you love to have inside. Do some fittings and come up with the idea how you’d love to arrange velcro compartments. Draw a sketch inside the bag with a pencil. Try out the padded inserts, and figure out which ones work best.

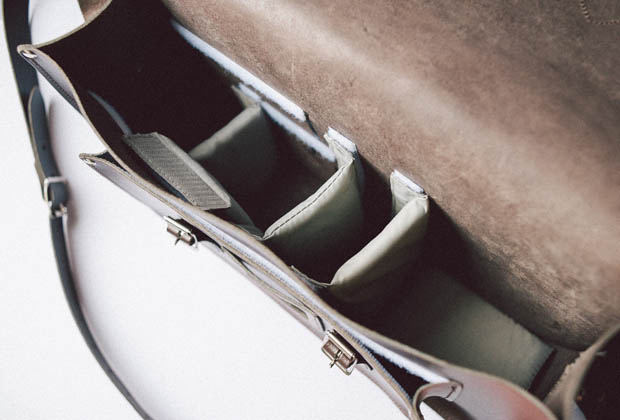
Measure, cut, and attach velcro strips. They should be temporarily sticky. Don’t use glue at this stage.
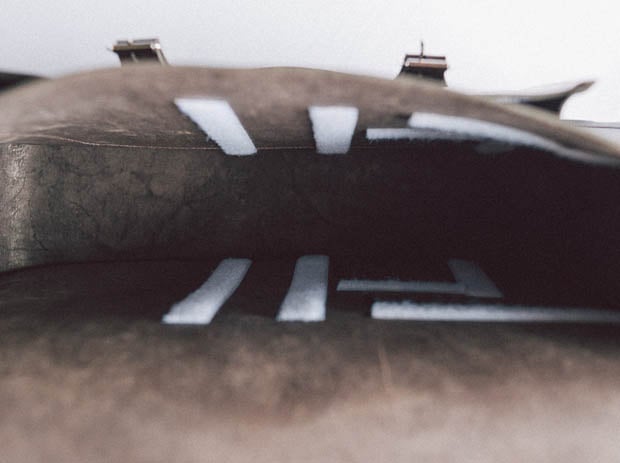
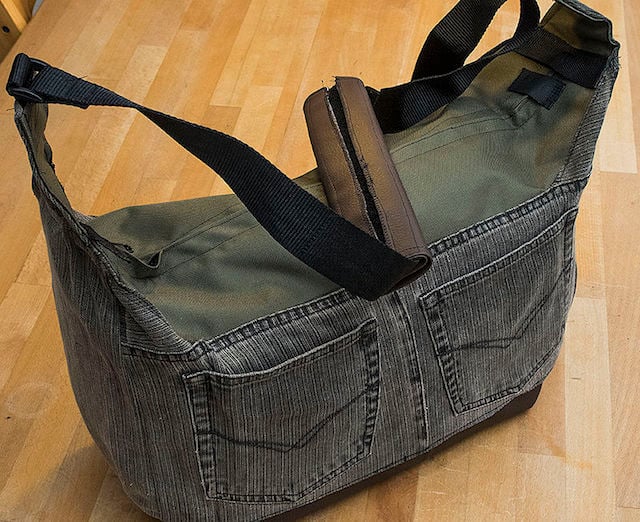
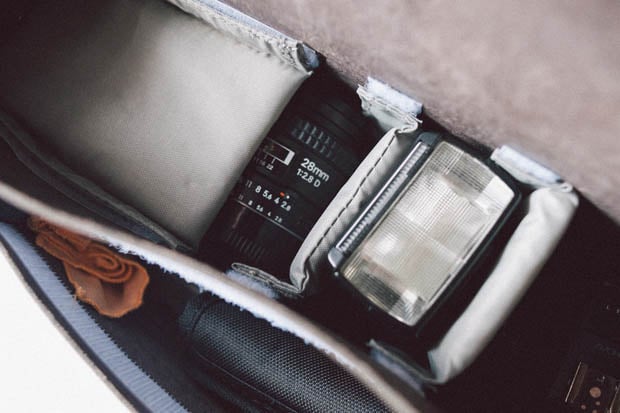
Insert the padded inserts, and then load the bag with all the equipment.
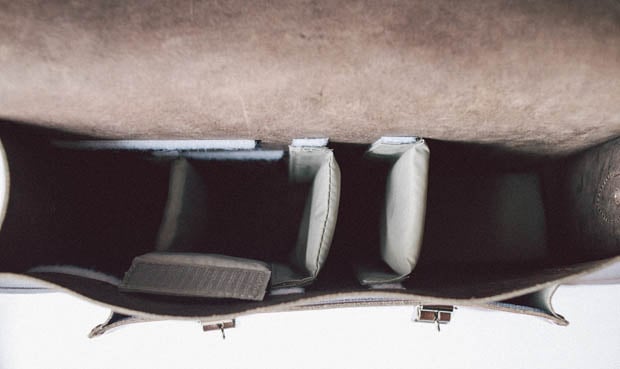
If it all looks fine, remove everything and re-attach the velcro strips, except this time with super glue. Put everything back. (Do a velcro strip for the side compartment as well if required.)
You’re done, try it out!