
The Art of the Panoramic Aspect Ratio
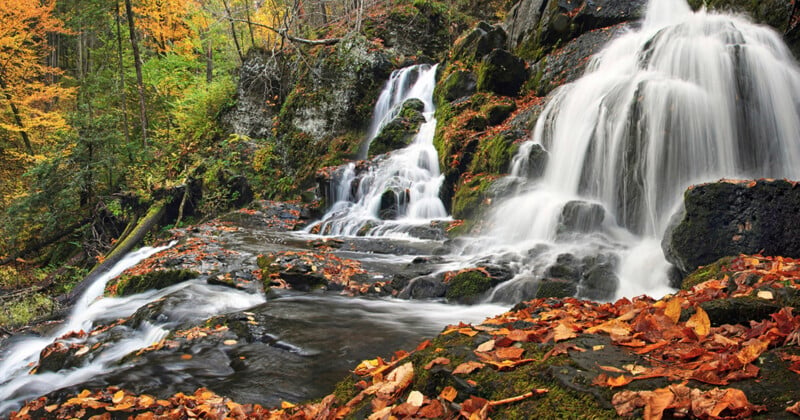
Panoramic compositions offer another way to present a scene, preserving its horizontal breadth and giving the frame a different sense of scale, movement, and visual balance. They can be extremely powerful.
Why Panoramic Photographs Are So Compelling
The proportions of a photograph influence how it is viewed. A conventional landscape frame provides a relatively balanced relationship between horizontal and vertical space, while a panoramic crop places considerably more emphasis on width. This changes the viewer’s experience, encouraging the eye to move across the image and take in the composition progressively.
That extended viewing experience is one of the format’s greatest strengths. Rather than concentrating attention within a relatively compact frame, a panoramic photograph gives visual information more room to unfold. The viewer can follow changes in light, examine relationships between foreground and background elements, and appreciate the full extent of the scene. This can make the photograph feel expansive without relying on dramatic processing or exaggerated perspective.
Panoramic images also have a distinctive sense of balance. Their proportions can create a feeling of openness and continuity, especially when the composition has a strong horizontal structure. The format can be quiet and understated or dramatic and imposing, depending on the subject, light, and arrangement of elements. It is not simply a way to include more of a scene. It changes which parts of the photograph receive emphasis and how the viewer moves through it.
Knowing When a Panoramic Crop Works
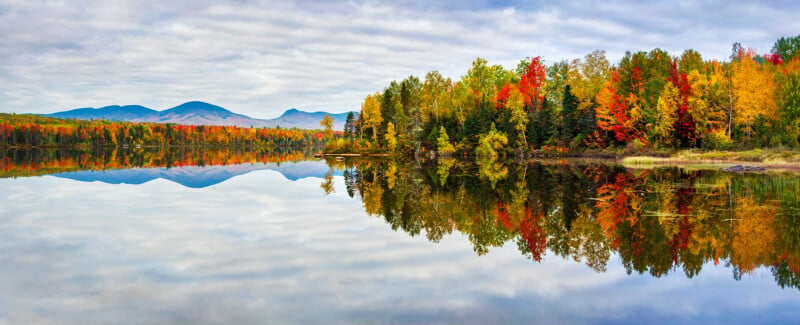
The panoramic format works best when a scene’s horizontal breadth is an important part of its visual appeal. Landscape photography is an obvious application, but the format can also work well for architecture, cityscapes, environmental portraits, and other subjects where the surrounding space contributes to the image.
Before choosing a panoramic composition, consider what makes the original photograph compelling. If the subject depends on vertical elements or a strong relationship between foreground and sky, removing too much of the image’s height may weaken it. If the strongest visual information is distributed horizontally, however, a wider frame may create a more cohesive composition.
The format can also help simplify a photograph. Cropping away unnecessary sky or foreground reduces competing information and emphasizes the remaining elements. This is particularly useful when the original image contains substantial areas that contribute little to its visual impact. However, removing space simply to achieve a wider aspect ratio is not necessarily an improvement. Open areas can provide balance, establish scale, and give important details room within the frame.
It is worth comparing several aspect ratios before deciding on a final composition. A moderately wide image may preserve enough vertical information to maintain depth, while a more elongated format can create a stronger emphasis on horizontal movement. Neither is inherently better. The right proportions support the composition without sacrificing the information that matters.
Composing for a Wider Frame
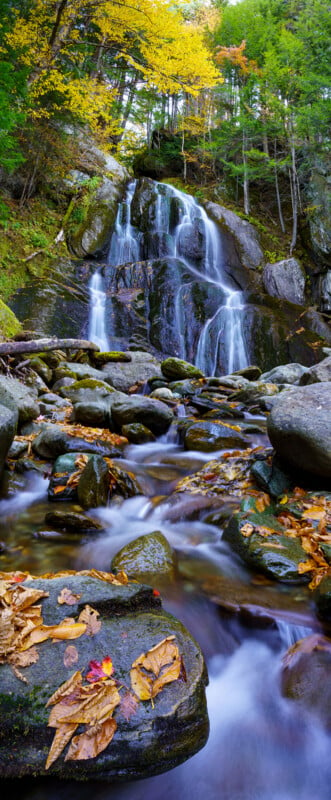
A panoramic composition requires attention across the entire width of the frame. In a conventional photograph, the viewer may be drawn quickly toward a central subject. With a panoramic image, the extended proportions create more opportunity for visual movement, but they also make balance particularly important. A strong focal point should work with the rest of the frame rather than simply occupy the center.
Horizontal lines and directional elements can help establish that movement. The placement of the horizon, the alignment of natural or architectural features, and the distribution of contrasting areas all influence how the viewer moves through the photograph. Consider whether the composition has a clear visual starting point and whether the remaining elements support or interrupt that progression.
Negative space plays an equally important role. A wide frame does not need to be filled with detail from edge to edge. Open areas can provide visual relief, separate competing elements, and establish the atmosphere of the photograph. Removing too much space during cropping can make an image feel crowded, particularly when important subjects sit close to the boundaries.
Pay as much attention to the left and right edges as to the center. Small distractions become more noticeable when the composition is stretched horizontally, and an element that seems insignificant in the original frame may disrupt the finished image. Review the entire composition before releasing the shutter, and make small adjustments to camera position when necessary. The goal is not to fill every part of the frame, but to make each area feel intentional.
Using Panoramic Crops to Create Depth and Scale
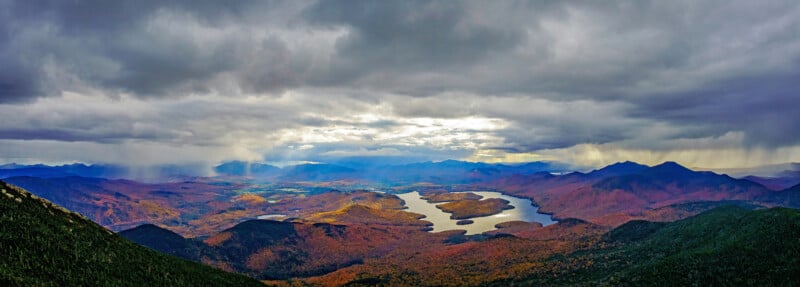
A wide aspect ratio can communicate a scene’s breadth, but width alone does not create depth. The relationship between elements at different distances remains essential. Overlapping forms, changes in contrast, and variations in light help establish separation and give the viewer a sense of how the scene extends into the distance.
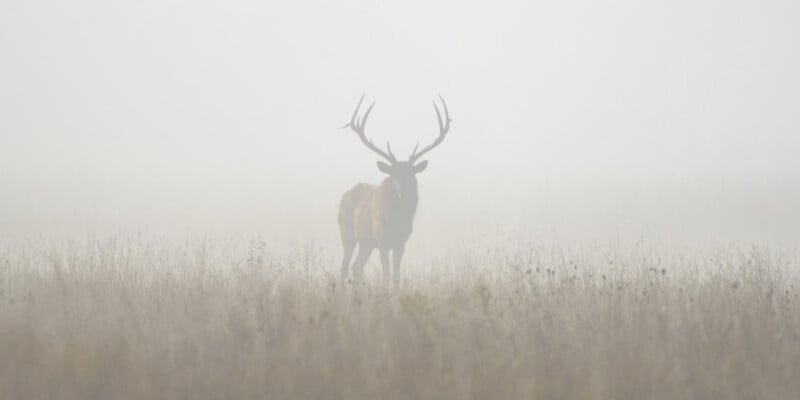
Atmospheric conditions can be particularly effective in this regard. Haze, fog, rain, and changing light create tonal differences between near and distant elements. Preserving those transitions across a panoramic composition can give the photograph a strong sense of depth without requiring an exaggerated foreground.
Scale also benefits from thoughtful composition. Including recognizable elements within an expansive environment provides a reference point that helps viewers understand the size of the surrounding space. The challenge is to retain enough context for that relationship to be clear without allowing secondary details to compete with the main subject.
When editing, consider how much of the original foreground and background needs to remain. A panoramic crop that removes too much of either can flatten the photograph or change its sense of scale. The goal is to retain the relationships that give the image depth while letting the wider proportions emphasize the overall scene.
Choosing the Right Focal Length and Camera Position
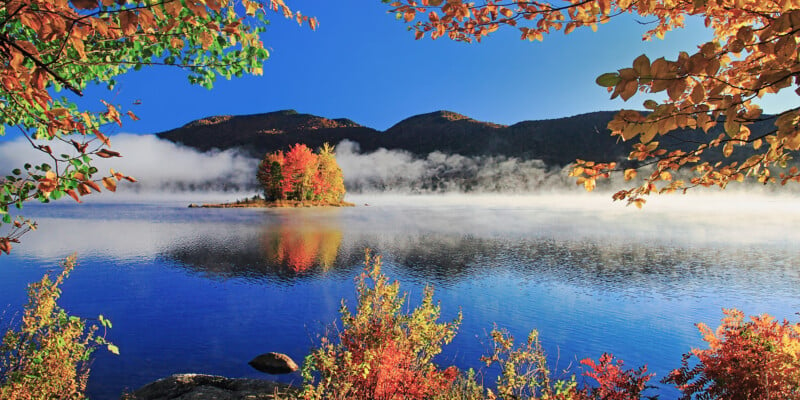
You can create panoramic photographs with almost any focal length. The choice depends on how much of the scene you need to include and how you want the different elements to relate to one another.
Wide-angle lenses capture a broad field of view and can preserve a strong relationship between foreground and background. They are useful when the composition depends on including substantial environmental context, although perspective becomes increasingly pronounced as the camera moves closer to foreground subjects. This can make nearby elements appear much larger in relation to the background.
Standard and telephoto lenses offer a different approach. Longer focal lengths isolate a narrower portion of the scene and can make distant elements appear more prominent within the composition. They are useful when the visual interest is concentrated in a particular section of the landscape or when the photographer wants to emphasize layers without including much foreground.
Camera position is just as important as focal length. Changes in height and direction can alter the alignment of elements, the amount of foreground visible, and the relationship between different parts of the scene. Take time to assess the composition before settling on a viewpoint, especially when working with a longer lens.
If the intention is to create a panoramic crop from a single exposure, leave sufficient room around important details. Cropping reduces the available resolution and may remove more of the original frame than expected. A little extra space gives you flexibility in editing and helps prevent important elements from being cut off.
Capturing Panoramas in the Field
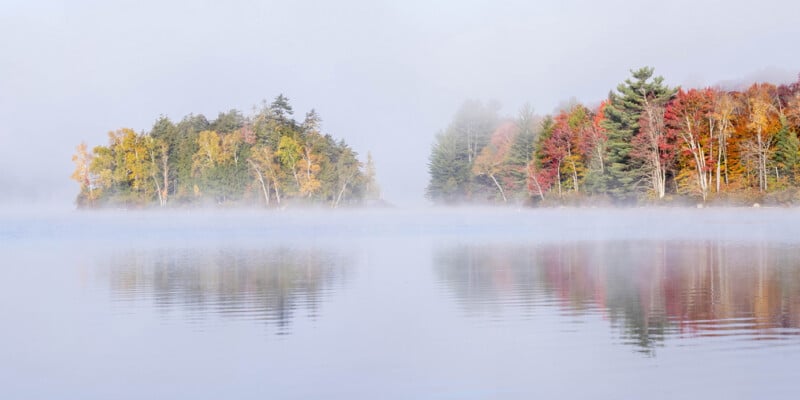
There are two primary ways to create panoramic photographs: cropping a single exposure or stitching multiple frames together. Each approach has advantages, and the best choice depends on the scene, the available resolution, and whether anything within the frame is moving.
Cropping a single exposure is often the simplest option. It works particularly well when the camera’s native field of view already includes the necessary horizontal information and the resulting file retains enough resolution for the intended output. High-resolution cameras offer more flexibility, but it is still important to consider how much of the original image you’ll remove.
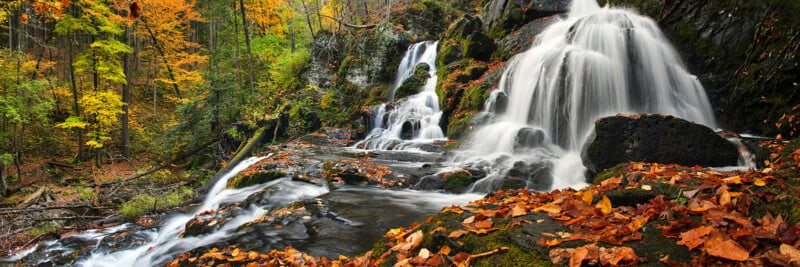
Stitching multiple photographs together can produce a much larger file with additional detail. This is useful when photographing a scene that extends beyond the camera’s field of view or when you intend to print a particularly large image. For consistent results, use a tripod when practical, keep the camera level, and overlap consecutive frames by approximately 25 to 30 percent. The overlap gives stitching software enough shared detail to align the images.
Manual exposure and a fixed white balance help maintain consistency throughout the sequence. If the camera changes exposure or white balance between frames, visible variations can appear in the finished image. Focus should also remain consistent. Consider focusing once and switching to manual focus before capturing the remaining frames, particularly when photographing distant subjects.
Stitching is not always the best choice. Movement within the scene can create alignment problems, duplicated details, or visible inconsistencies. Waves, foliage, clouds, and moving subjects may change position between exposures. In these situations, a single image may produce a more natural result. When stitching, also be mindful of nearby objects, since parallax can cause alignment errors if the camera rotates around the wrong point.
Refining the Panoramic Crop in Post-Processing
Post-processing shapes the final proportions and balance of a panoramic image. Most editing programs allow photographers to select a custom crop ratio or enter specific dimensions. Ratios such as 2:1 or 2.35:1 provide useful starting points, but there is no need to force every photograph into the same proportions.
Begin by identifying the visual information that needs to remain. Consider whether the sky, foreground, and surrounding details contribute to the photograph or simply occupy space. Adjust the crop gradually and compare different proportions. A relatively small change in height can have a significant effect on the image’s balance.
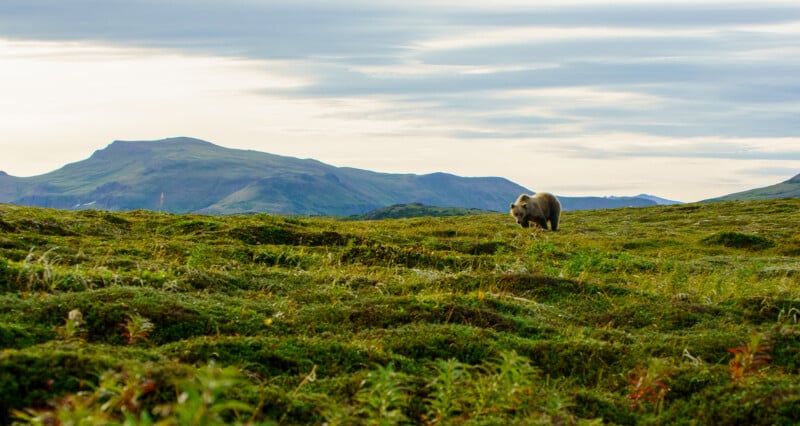
Check the position of the horizon and other prominent horizontal lines. Their placement should reflect the visual importance of the areas above and below them. Also review the edges for distractions, and make sure important details aren’t positioned awkwardly close to the boundaries.
For stitched panoramas, cropping also removes the uneven edges created during alignment. Leave enough room during capture to account for this, particularly when important details extend close to the edges of the frame. Once you’ve established the composition, inspect the full-resolution image for stitching errors, uneven transitions, and inconsistencies in exposure or color.
Avoid making the crop so tight that the image loses its sense of openness. One of the advantages of the panoramic format is the space it provides. Removing too much of that space can undermine the very quality that makes the format appealing.

Why Panoramic Photographs Make Exceptional Wall Prints
Large prints are one of the most compelling applications of panoramic photography. The extended proportions make effective use of horizontal wall space, creating a presentation that feels distinct from a conventional landscape print. They are particularly well suited to areas where a standard rectangular photograph might appear too small or visually contained.
The viewing experience also changes with print size. A panoramic image encourages the viewer to move their attention across its length, taking in details and relationships that might be overlooked when viewing a smaller image on a screen. At a larger scale, subtle changes in tone, texture, and light become more apparent. The photograph can become something viewers return to rather than an image they take in at a glance.


The format is also versatile in interior spaces. Its proportions can work above furniture, along hallways, in offices, or across larger uninterrupted walls. A carefully composed panoramic print can provide a strong focal point without requiring an elaborate arrangement of multiple images. Its visual impact comes from the photograph itself and the space it occupies.
Preparing an image for a large print requires more consideration than simply selecting a wide crop. Resolution is particularly important. Cropping a single exposure reduces the available pixel dimensions, so check the final file against the print lab’s recommendations before ordering. If the intended print is especially large, stitching multiple frames may provide the additional resolution needed to retain fine detail.
The viewing distance should also inform the final output. A print intended to be seen from across a room does not necessarily require the same pixel density as one that will be examined from close range. Consult the printer’s specifications and consider the physical dimensions of the finished image before making final sharpening and output decisions.

The print surface influences how the photograph is presented. Matte papers reduce reflections and suit images with subtle tonal transitions, while luster and semi-gloss finishes add more surface sheen and can emphasize contrast. Canvas offers a different aesthetic, with visible texture and a softer rendering of fine detail. Choose a finish that complements the photograph rather than treating it as an afterthought.
Framing and presentation matter, too. Panoramic aspect ratios don’t always match standard frame sizes, so custom framing may be necessary. A mat can separate the photograph from its surroundings, while a frameless presentation gives the image a more continuous appearance. Consider the available wall space and the intended viewing distance when deciding on the final dimensions.

Finding the Right Balance
The strongest panoramic photographs aren’t necessarily the widest or most dramatic. Their success comes from the relationship between the subject, the composition, and the proportions of the finished image. The format should give the photograph a reason to extend horizontally, whether that means preserving the breadth of a landscape, emphasizing visual relationships, or creating a more immersive viewing experience.
When composing, look beyond the central subject and consider the entire width of the scene. Pay attention to balance, negative space, depth, and the placement of important details. Leave room to refine the crop, and consider the intended presentation before removing a substantial portion of the original image.
A panoramic photograph offers more than an alternative aspect ratio. It lets you control how a scene is experienced, giving the viewer space to explore the image and allowing the photograph to take on a distinctive presence when displayed at a larger scale.
Image creditsPhotographs by Kate Garibaldi
Affiliate Disclosure PetaPixel articles may include affiliate links; we may earn a commission if you buy through one.