


OWC’s New Thunderbolt 5 Dock Delivers 11 Ports Through One Cable
OWC announced a new Thunderbolt 5 Dock that delivers 11 ports through a single cable input for what the company says is the highest bandwidth available.
OWC announced a new Thunderbolt 5 Dock that delivers 11 ports through a single cable input for what the company says is the highest bandwidth available.

Texas is poised to become the first state in the U.S. to ban minors under the age of 18 from using social media.

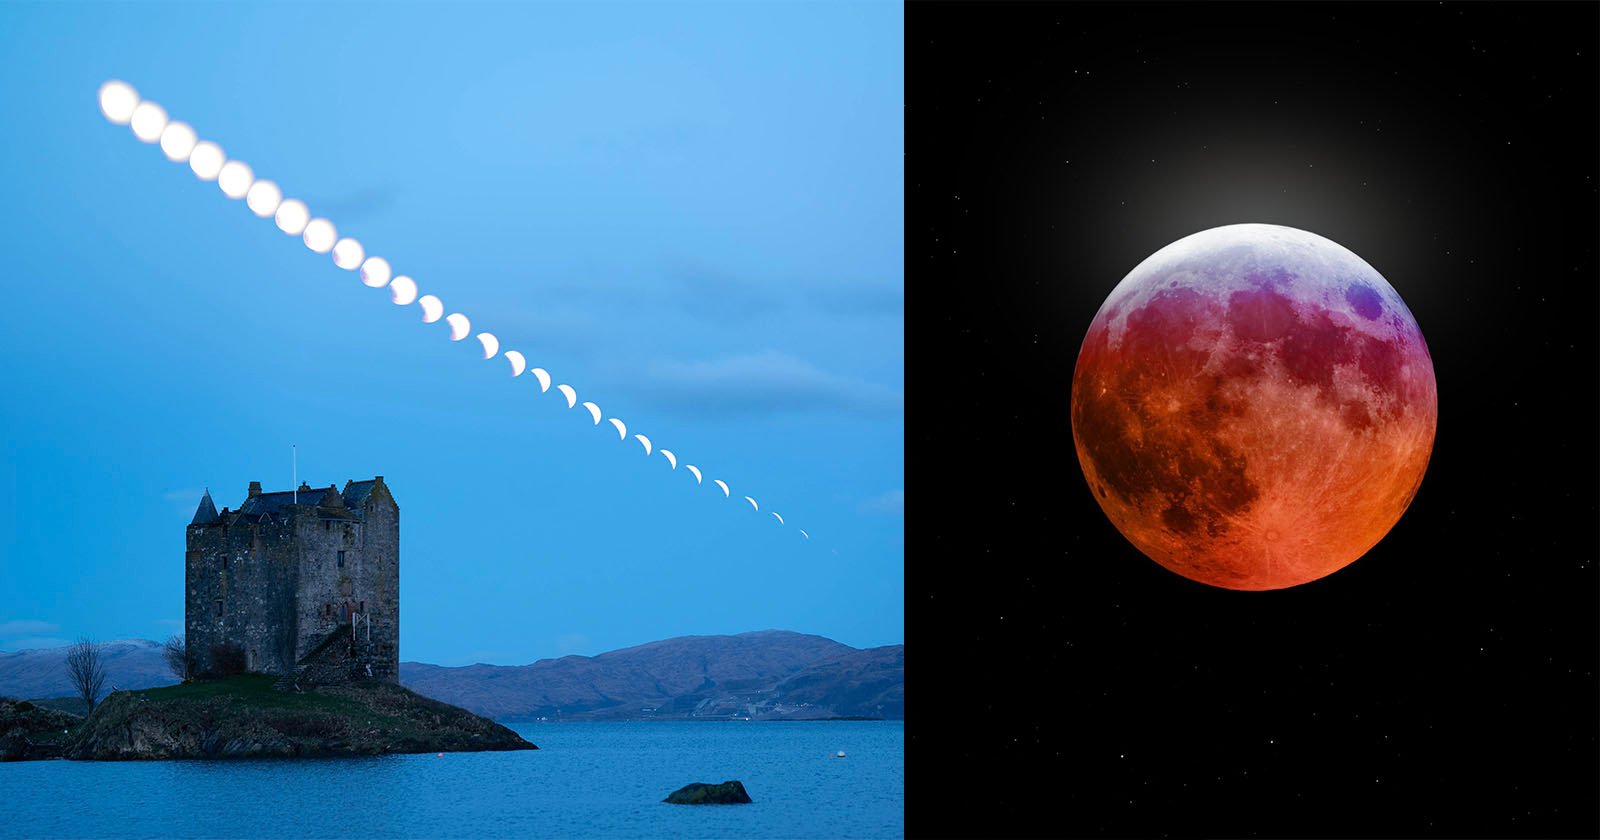
NASA has announced the winners of its annual Photographer of the Year Awards with Michael Democker taking home the top prize.

Razer has announced a new Blade 14 laptop that is mostly an upgrade from the previous model the company launched in 2024. It’s the thinnest and lightest Razer laptop to date and brings the newer 14-inch laptop in line with the latest CPU and GPU hardware.

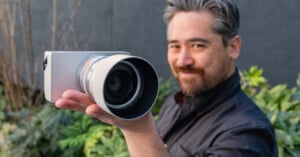
Nikon was Japan's best-selling full-frame mirrorless camera manufacturer last month for the first time. This was thanks in large part to the new Nikon Z5 II.

With cameras banned in the courtroom, TV station Law&Crime is providing coverage of the Sean “Diddy” Combs’ sex trafficking trial by recreating proceedings with generative AI.

When I mentioned to friends and family that I was heading to Iraq, the reactions were a mix of surprise and concern. Questions like, “Is it safe?” and “Why Iraq?” were common. But as a photographer driven by curiosity and a desire to capture unique experiences, I saw Iraq as an opportunity to explore a land rich in history, culture, and resilience.
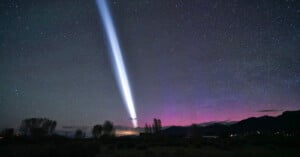
A photographer in Colorado who was out capturing an unexpected aurora lights display got more than he bargained for when his camera picked up a brilliant flash of white light in the sky.
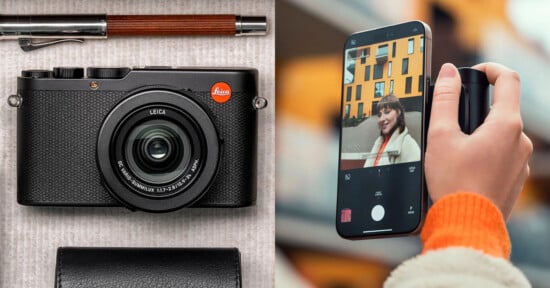
Chinese smartphone maker Nubia's latest handheld, the Z70S Ultra, goes all in on a Leica-inspired photography experience. However, unlike some smartphones that have official Leica-engineered imaging systems and photo features, the Nubia Z70S Ultra is more of an homage, complete with Leica's iconic red dot logo.
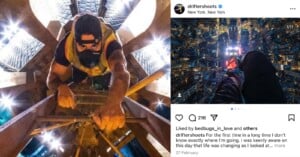
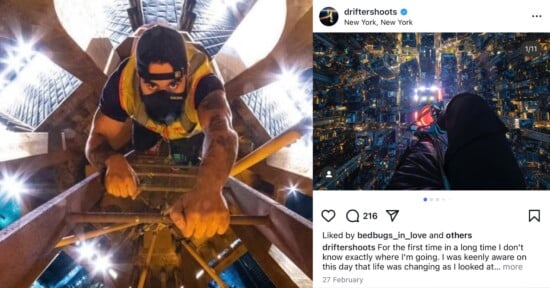
Daredevil urban explorer photographer Isaac Wright, more commonly known as "Drift", was arrested at his first solo show in New York City after police used his photo as evidence that he had climbed to the top of the Empire State Building.

Lucasfilm has horrified fans by showing off a series of AI-generated animals that allegedly belong in the Star Wars universe.

A video of a woman scrolling on a totally transparent 'smartphone' while waiting in line at a bubble tea shop in San Francisco has blown up on TikTok, but what exactly is going on?

If you’ve ever watched one of my tutorials, you know I’m obsessed with finding ways to edit faster in Lightroom. I want to avoid having to jump to Photoshop just for minor tweaks or small retouching tasks, so I keep looking for ways to apply the same techniques inside Lightroom.

As I walked out towards one of Bali’s most famous beaches, I could not believe what I was seeing. As far as the eye could see was plastic. Waves and waves of plastic, ankle-deep, covering the beach.
The Metropolitan Museum of Art is set to receive over 6,500 historical and contemporary photography works from world-renowned collector Artur Walther and the Walther Family Foundation.

The 2025 Environmental Photography Awards gallery winners are a collection of inspirational to downright heart-wrenching photos that show just how powerful photographers can be.

Glass Imaging, a technology company developing groundbreaking artificial intelligence to improve digital image quality, unveiled a $20 million Series A funding round this week led by Insight Partners. The new Series A funding round is in addition to a previous funding round led by Google Ventures, Future Ventures, and Abstract Ventures.
Earlier this week, Photo Rumors (which did not cite a source) reported that a long list of Sony camera products will see a price increase on Monday, May 19. Sony has declined to confirm or deny the claims to PetaPixel.
The China International Photographic Equipment and Electrical Imaging Machinery and Technology Fair (China P&E) started today in Beijing with a number of companies on-site to announce and tease their latest gear. Here are some of the highlights so far.

Scientists have developed an AI tool that can look at an ordinary photograph and estimate how fast a body is aging -- an insight that could change the nature of cancer care.
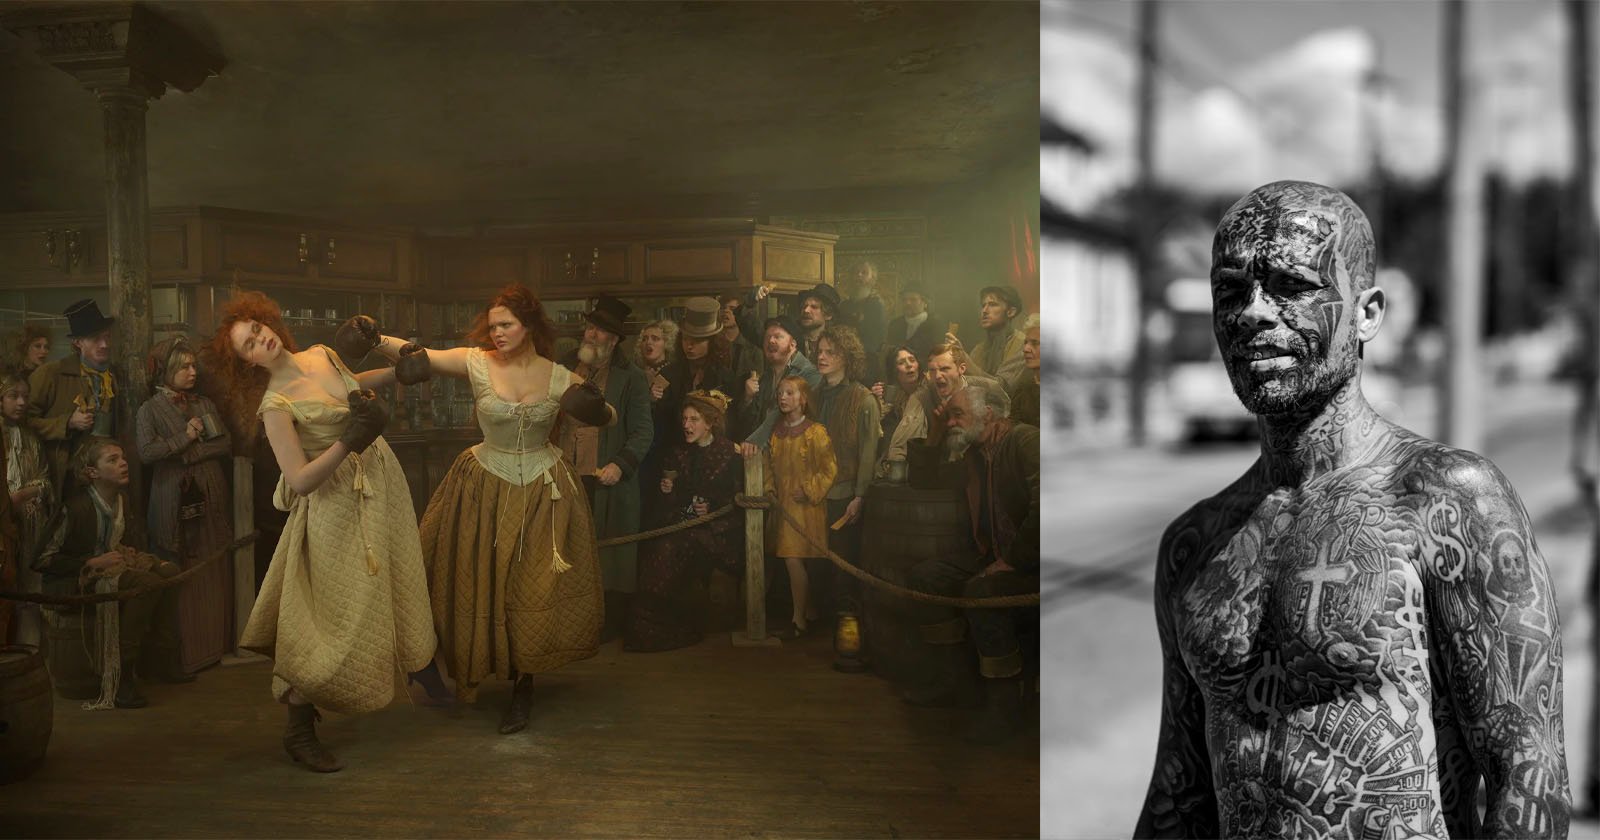
Photo London is marking its 10th anniversary this week by celebrating the English capital and its rich traditions of photography.

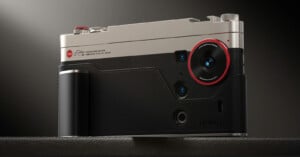
Thanks to the rapidly changing tariff situation in the United States, American photographers are dealing with pricing whiplash. Less than two weeks after hiking prices by as much as 90%, Leica has announced price reductions for some products because of the 90-day trade truce between the U.S. and China.

Earlier this week, DJI announced its new Mavic 4 Pro, a professional-level drone that, while largely an iterative update over the 3 Pro, is easily the best in its class. However, turbulent economic and market conditions made for a rocky launch -- and that included sending incorrect pricing information to the media.

Viltrox teased three new lenses coming in the near future: the 85mm f/1.4 Pro, the 50mm f/1.4 Pro, and the 56mm f/1.2 Pro. The first two lenses will be available for Sony E-mount, while the third lens will be released for Fujifilm X-mount.
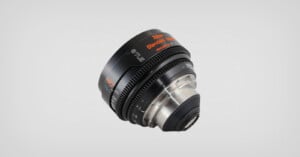
True Lens Services (TLS), a U.K.-based cinema lens manufacturer, has announced that it is rehousing the legendary Zeiss Standard Speed lenses.
A series of inventive spy cameras used by the KGB during the Cold War are set to be auctioned next month at the Leitz Photographica Auction in Germany.

Filmmakers have re-edited the new Superman trailer to remove a blink that showed the hero reacting to a thrown can -- after fans complained that DC's Man of Steel would never flinch at such a minor impact.
Nikon's latest financial results outline a significant drop in operating profit year-over-year, due mainly to significant one-time costs. The company also says that tariffs could reduce its profit for the current fiscal year by nearly $70 million.
A photographer has been convicted of sexually inappropriate conduct for kissing a six-year-old girl on the cheek during a kindergarten graduation photo shoot so he could get a smile out of her for a picture.
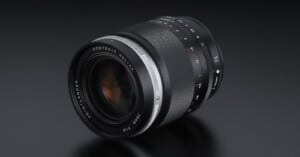
Cosina Voigtlander has announced the Portrait Heliar 75mm f/1.8. It is the company's first lens with controllable spherical aberration, allowing photographers to have direct influence over the lens's bokeh.