How to Color Grade Photos Using Only Solid Colors and Blend If
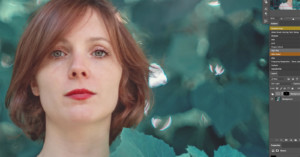
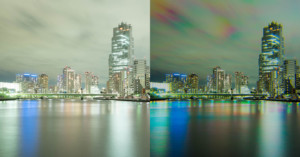
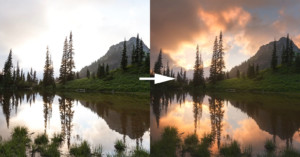
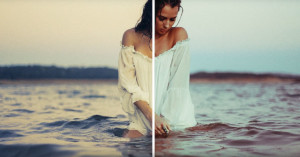
Eye Stocker published this simple 5-minute Photoshop video tutorial that shows how you can color grade any photo using only solid color adjustment layers and the Blend If feature.
Eye Stocker published this simple 5-minute Photoshop video tutorial that shows how you can color grade any photo using only solid color adjustment layers and the Blend If feature.
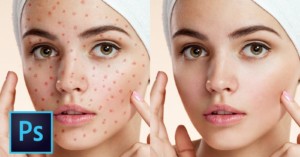
If you are troubled by blemishes big or small in your portrait work, this 16-minute tutorial by Nathaniel Dodson over at Tutvid will teach you how to use Photoshop to properly clean and heal skin in a flash.
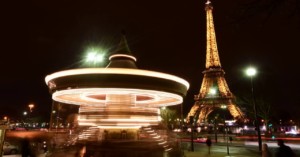
A video is made up from 25 single photos per second, that, when placed back-to-back, trick our mind into seeing motion. But what would happen if we only took one photo every minute, and then played them back at 25 frames per second? The result is a magnificent hyper-realistic compression of time.
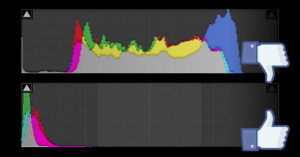
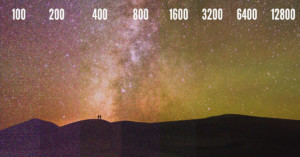
We hear everyone in the photography industry talking about image quality, image quality, image quality. We especially hear about this in any circle of people chatting (or writing) about night photography. Conversations (and books, articles and blog posts) are rife with opinions and advice about how to push the limits of our cameras and lenses in order to get the best image quality in low-light situations.
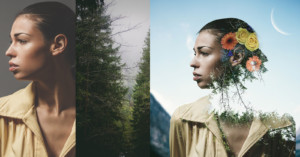
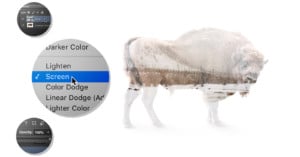
Adobe is getting creative on Instagram. Taking advantage of Instagram's new ability to publish multiple images and video in a single post, they've created this simple, step-by-step tutorial that will show you how to create a 'double exposure' in Photoshop.
Here's a fun little experiment to try one night this week. Take that box of crackers (biscuits if you're formal), polish off the last few hangers-on, and then use that box to create some interesting DIY lighting effects with your off-camera flash.
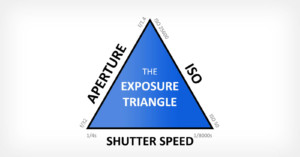
How important is exposure in photography? What are the components of exposure? What is the "Exposure Triangle"? These are the questions I will attempt to answer in this introductory article about ISO, aperture, and shutter speed -- the components of achieving a properly exposed photo.
This guide is intended for concert photography beginners. If you have a DSLR camera and are interested in how to control your camera settings to take great photos at concerts, this guide is for you. If you're an experienced photographer who just hasn't shot shows before, there may be some helpful info in here along with plenty of stuff you know already.
If you're just starting out in photography (or know someone who is), here's a simple 5-minute animation that provides a crash course on the subject of aperture.
ISO is one of the three major exposure settings in the exposure triangle of a digital camera -- shutter time, f/number, and ISO. Of the three, it is ISO that is probably most misunderstood. Even more so than f/number. In fact, it is a common misconception that higher ISO settings will cause images to be noisier. In fact, the opposite is often true. Wait, what?
My latest photo series, Pyramids In The Sky, was inspired when my wife and I visited the Mayan Ruins of Chacchoben while on a cruise in 2015. I have always been intrigued by ancient civilizations and how they were able to build these massive structures, seeing the pyramids in person was an inspiring experience.
Not happy with Lightroom's sluggish performance on your computer? Here's a helpful 15-minute video in which photographer and instructor Anthony Morganti shares a number of helpful tips for optimizing your Lightroom's performance.
Abstract photography seems to be an elusive subject, hard to nail down to a single definition. This may be due to the abstract nature of the idea of “abstraction” and perpetuating misconceptions about abstract photography.
If you use your Instagram account as a main online portfolio for your photography, it's important to make sure you're presenting your work and skills well. Here's a 14-minute video in which photographer Peter McKinnon shares tips for taking your Instagram to the next level.
This short DIY tutorial by Caleb Pike over at DSLR Video Shooter shows you how to create a great smoke effect for your product shots or B-roll footage—no fancy smoke machine required.
I finally did it! After sitting in my fridge for a few months, I managed to developed myself a roll of CineStill 800 pushed to 3200 ISO, and the results look great! The great thing: it's actually pretty easy to develop pushed C-41 film at home.
There is a progression that takes place in the journey that is our lighting knowledge: ambient light > on-camera flash > bouncing that flash > off-camera strobes > gels.
There's a simple way to make your subject's eyes pop in a portrait, and it doesn't involve touching vibrance, saturation, luminosity, or any other color-based edit. In fact, you can make the full edit in 30 seconds.
I once read a Quora question that went, “What can I learn in one minute that will be useful for the rest of my life?” I don’t know about the rest of your life, but if you're a photographer, head over to the Adobe Creative Cloud YouTube channel and check out their 'Make It Now' one-minute video tutorials on designing (not retouching) with Photoshop CC.
Picture it: it's Saint Patrick's Day, you've run out of Black & White film developer, all the stores are closed down... the only thing you can find is beer. Nothing worse could happen, but don't worry! We have the solution to develop your roll of film.
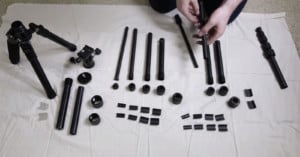
Dirt and grime are two of the biggest enemies of the tripod in its natural habitat, grinding the threads and turning even the best of tripods into a malfunctioning mess. That's why photographer Troy Nikolic has put together a video showing you how to get a dirty tripod back to ship shape.
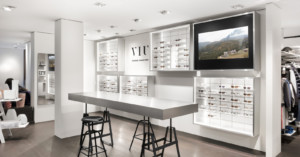
Here's a typical quick interior photography assignment for a Swiss brand called VIU Eyewear. They contacted me to create three images for their website/social networks. The only rule was to stay in the same style than their other images on their "Stores" page (something simple, white, and luminous with an emphasis on interior design). Here's how I shot it and edited it.
As the digital marketplace grows, the demand for good content and eye catching media increases with it. More and more brands and entrepreneurs are taking the photography in-house to keep up with demand, while keeping production costs down.
Running a shoot from start to finish can be pretty demanding—working with creative staff, managing your camera, adjusting settings, directing, and ensuring that everything is going smoothly. It can be pretty daunting with the prospect of trying to handle all of this right?
If you're just starting out in Photoshop and would like to learn the art of making difficult selections to isolate things in photos, check out this great video tutorial by Tutvid. It's a 37-minute lesson with 10 tips and tricks on methods that range from beginner to advanced.
If you have a film or digital camera that can shoot double exposures, there's a free do-it-yourself accessory you can use to get creative with the technique: it's the half lens cap.
My name is Alex Brock, and I'm a photo enthusiast living in South Florida. I spent many nights last summer chasing storms through swamps and along the beach attempting to learn to shoot lightning, and I'd like to share some things I learned to help others who are starting out.
Polarized light is light that has waves oscillating all in the same direction. There are two basic ways to get polarized light: from reflection or by using a filter.
We're all familiar with the fuzzy circles that bokeh creates usually behind our main subject, but this lesson is about creating bokeh in front of the subject. And that is what Mark Wallace is about to show us in the 6-minute video above. This episode of Adorama TV is about getting a kind of outdoor feel and adding depth to your indoor portraits.
When I first started photography, I struggled a lot with lighting. In the beginning, we're often told to shoot our subjects in open shade, but if you don’t know how to do this properly the results can be disastrous: faces with dark shadows, eyes with no depth, overexposed backgrounds, etc.
It doesn't matter if you're a beginner, intermediate, or even a professional, you'll want to give Broncolor's free "How To" page a look. There, you'll find nearly 100 pro lighting examples—beautiful photos, each accompanied by a gear list, description, and lighting diagram. It's a tutorial gold mine.
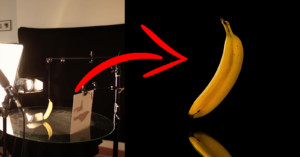
We're not entirely sure why, but product photography tutorials are coming hard and fast lately. So in case this DIY lightbox wasn't good enough, and 360° product photography isn't your thing, here's a great tutorial that will show you how to capture killer reflective product shots on a sea of black.
The 'desaturated urban look' is incredibly popular these days, especially among rooftoppers and other city photographers who want to give their images a moody, gritty feel. Check out this video to find out how you can create this same look in Lightroom.
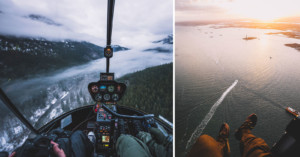
Taking pictures out of a helicopter is one of the greatest and most rewarding things I've done as a photographer. It grants you access to unparalleled views that you would never see otherwise.
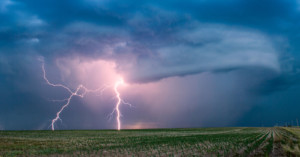
Lightning is an amazing subject to try and photograph. Dazzling. Unpredictable. Fulfilling. I’ve been documenting the long arm of Zeus for more than two decades and still love it. First using transparencies and negatives, then digital. There are many ways to be creative when it comes to photographing lightning.
I recently rediscovered an old photography technique that allows you to add surreal color to photos that show movement in the frame. The technique seems to be new in the digital domain, but the technique itself has been known since the early era of digital photography.
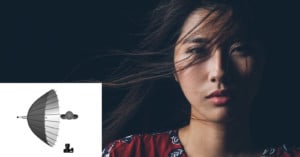
Fashion and portrait photographer Jeff Rojas is back with another simple, incredibly useful lighting tip. This time, he's showing how to use a single reflective umbrella to create three distinct looks by simply moving your light source around your subject.
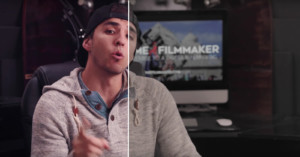
Many a blockbuster movie and several popular travel photo/video creators out there use something called the 'Orange and Teal look' when they color grade their work. Today, Parker Walbeck of Fulltime Filmmaker will explain what that look is, why it's used, and how to apply it to your creations.
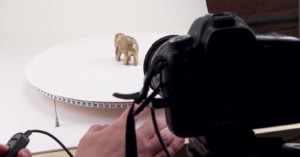
If you do a lot of basic product photography, you might want to check out this video. In it, you'll learn how to build and operate your own 360° product photography turntable, and it'll only cost you about 15 or 20 bucks.
If you want sharp black and white images with fine grain, then you've come to the right place!
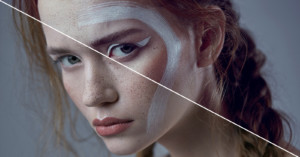
When you look at the work of a professional, award-winning beauty photographer like Zoë Noble, it just has that something extra. If you're wondering what that "something" is, this tutorial Noble created reveals one of the most important ingredients: color grading.
Want to learn how to blend 3 bracketed exposures of the same scene to create a single photo with greater dynamic range? Here's a great 17-minute video tutorial by travel photographer and educator Jimmy McIntyre on how to do so in Photoshop CC.
Need to add some fake blood to your photo shoot? Instead of going the digital route, you can easily whip up some realistic fake blood using recipes developed for Hollywood movies. The 2-minute video above is a quick look at some of the fake blood recipes that were used over the past decades.
If you're new to film photography, chances are that you'll get into shooting black and white sooner or later because you have been inspired by the masterpieces of old masters. But before you become the next Henri Cartier-Bresson or Sebastião Salgado, there are a few introductory things you should know.
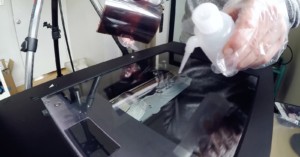
Getting high quality film scans usually means taking your film to a local lab or sending it to a not-so-local one if there's not a lab nearby. But there is a way to get high-quality scans done in the comfort of your own home using a flat bed film scanner; it's called wet mount scanning.
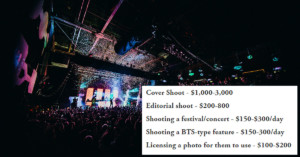
There are a lot more music photographers than there are music photography jobs — that’s just how it is in this corner of the industry. It's a port of entry for many hobbyist photographers, and the result is saturation of the market. A lot of budding photographers are willing to work for free, making the gigs that are out there even tougher to get.
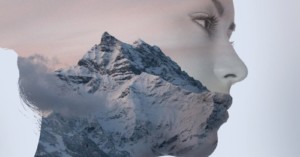
We love a good in-camera double exposure; done right, they can look as surreal as anything we can create in post. But if you don't have the skills, expertise, or interest in doing it in-camera, this quick tutorial shows you exactly how to fake the 'double exposure effect' in Photoshop.
One of the beautiful things about photography is that you can always learn new things and adapt as new technology comes out. For example, the first camera I ever shot on was a 35mm film point and shoot, and now I shoot on a full frame DSLR.
When I was growing up, I spent several summers living with my father on the Isle of Skye in northern Scotland. As a teenager, I didn’t have an appreciation for the landscape, but as I grew up, I started noticing just how beautiful it really was. That is why I began photographing nature, and it’s really this love for the outdoors that drives me today.
Scanning colour negative is without a doubt the most irritating part of my workflow.