Tips I’ve Learned from Photographing Lightning in South Florida
My name is Alex Brock, and I’m a photo enthusiast living in South Florida. I spent many nights last summer chasing storms through swamps and along the beach attempting to learn to shoot lightning, and I’d like to share some things I learned to help others who are starting out.
Settings usually depend on a few factors: ambient light (dusk, evening, dark night, etc), the distance you are from the storm, and the size of the lighting the storms are putting down.
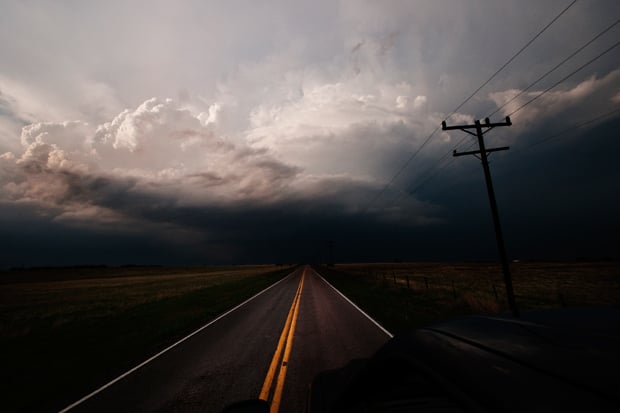
Example 1: Dusk Lightning
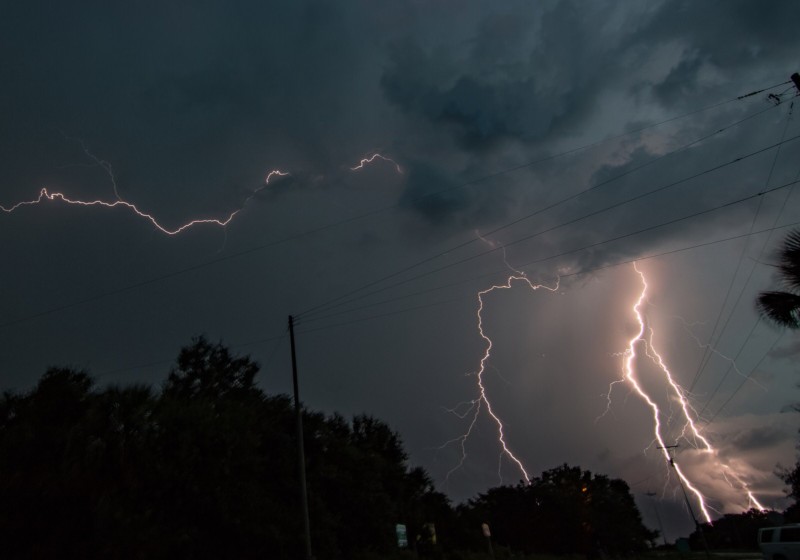
Settings: 6s, f/16, ISO 100
Lens: Tokina 11-16mm
Since this was shot during dusk and I was, by my own admission, entirely too close to this storm, I had shorten the exposure quite a bit and narrow the aperture and keep my ISO at the base. Shutter release cable really comes in handy here, especially for these shorter exposure times.
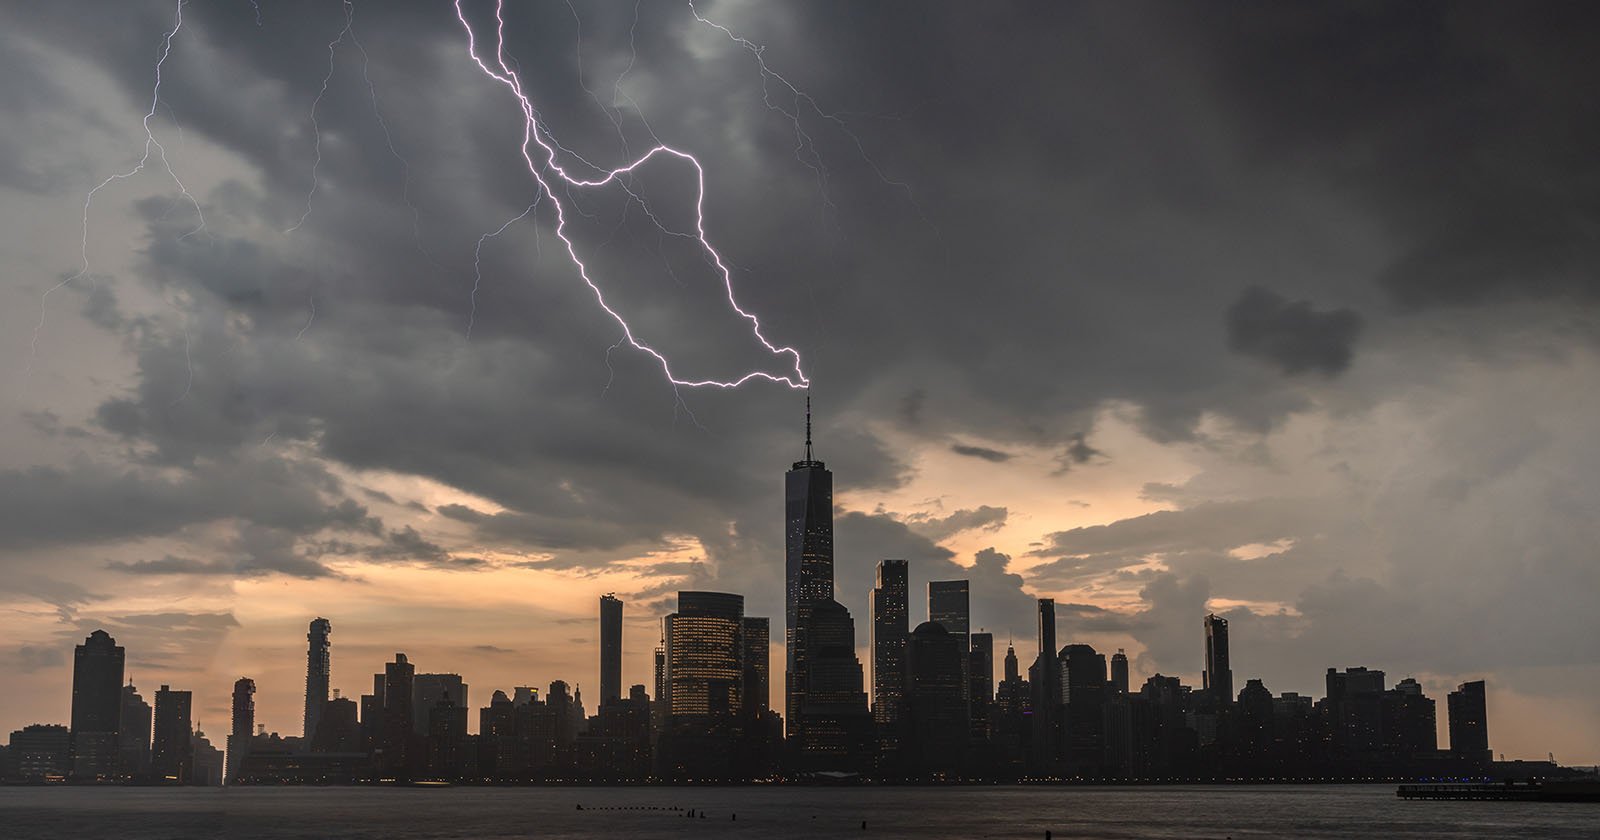
Example 2: Beach Lightning
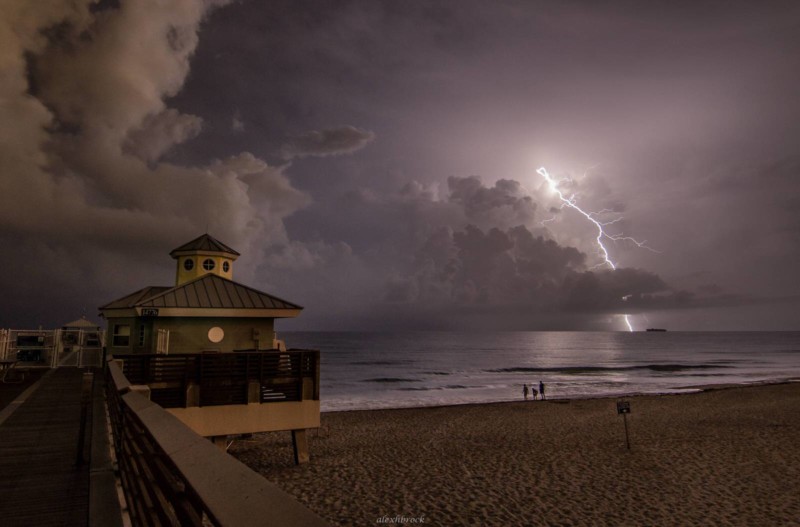
Settings: 10s, f/4, ISO 400
Lens: Tokina 11-16mm
Taken at night and the storm was drifting further offshore so I had use a pretty wide aperture and bump the ISO a bit. Obviously you wanna be careful with this because too much and you’ll blow it out but you’ll get a handle on the balance after a while. I try and keep exposure times down below 20 seconds because I feel like I get better detail from the bolt. There’s not much backing that up… just some weird prejudice I have.
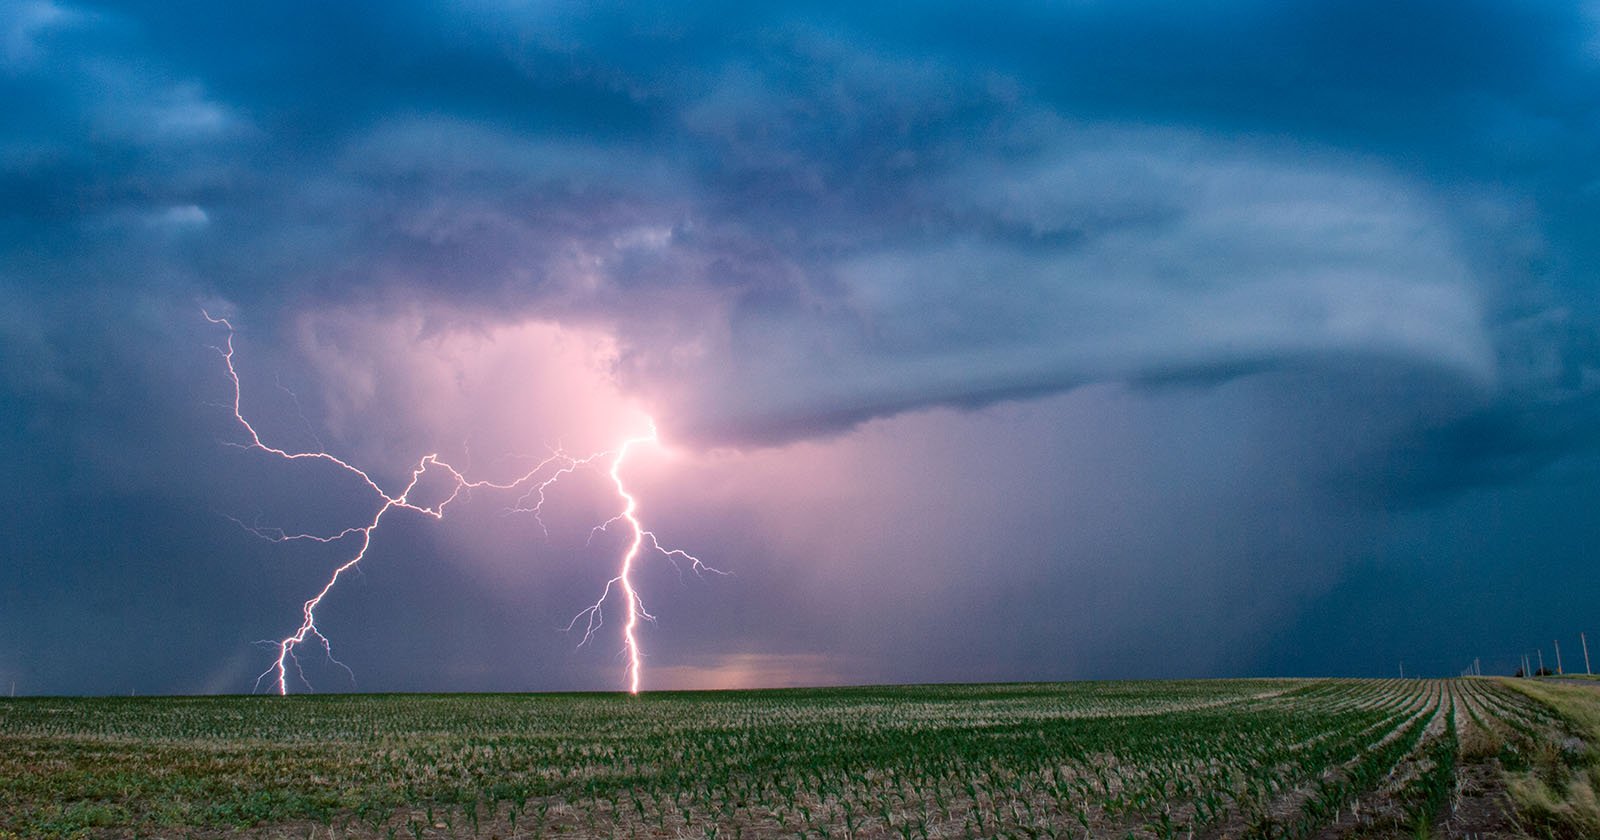
Example 3: Ocean Lightning
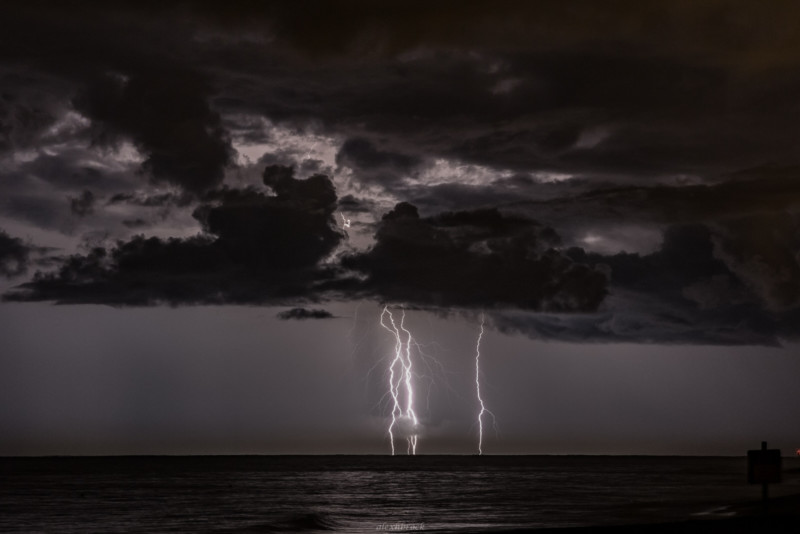
Settings: 20s, f/10, ISO 400
Lens: EF-S 18-135mm (shot at 45mm)
This one was shot a bit differently because as this cell was moving offshore I used my stock zoom lens to get tighter on the part of the cell putting down lightning. Narrowed the aperture a bit and it seemed to work out pretty well. I got lucky because it’s tough to get real tight on a cell and get a strike in the frame.
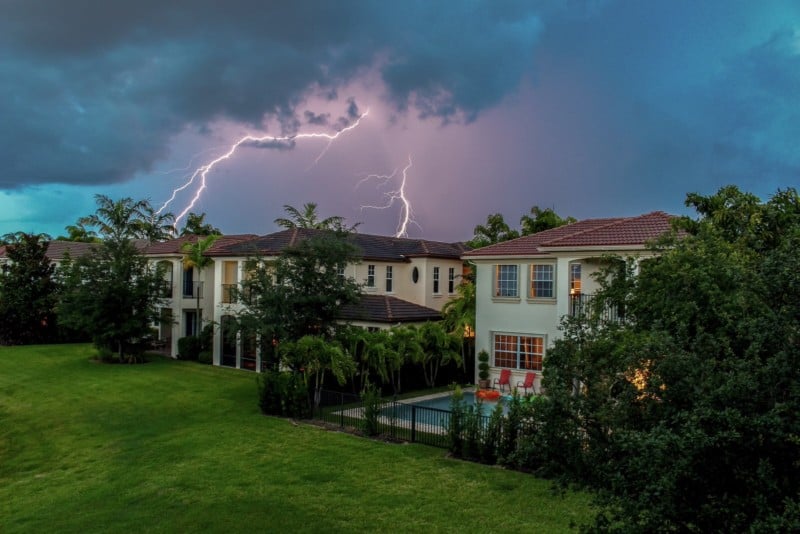
Example 4: Okeechobee Lightning
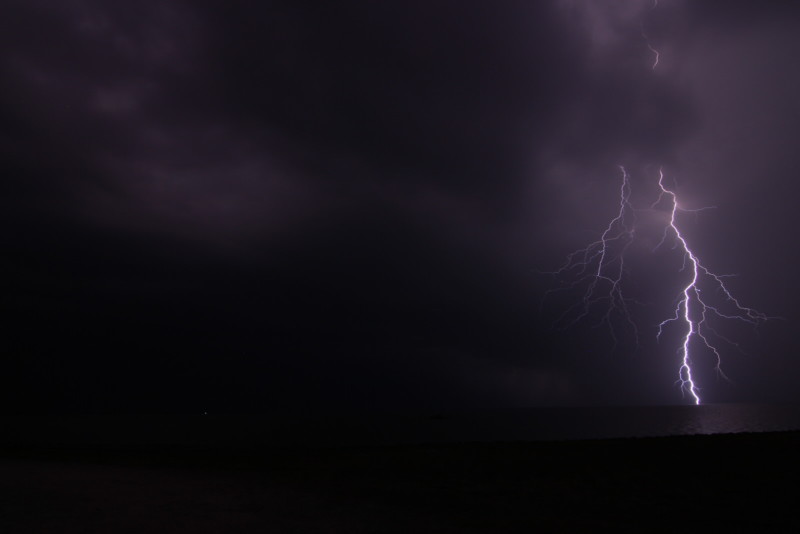
Settings: 10s, f/10, ISO 200
Lens: Tokina 11-16mm
This strike was huge. This storm was drifting away from me and by this time it was quite far and I wasn’t expecting to get anything else out of it but it put down one last major bolt. Wish I had been closer (maybe) but somehow the settings worked out in my favor as I had left them on what they were set for when the cell was closer to me. It was pretty dark and had a narrow app and low ISO but the strike was so huge and bright it came out okay.
In terms of gear (I shoot on a Rebel T5i) I usually use my 11-16mm or my 17-50mm. The most important piece to me, beyond the obvious, is a shutter release cable. This allows me to set my exposure and lock in the shutter release and let the camera roll. You end up with a ton of shots, but you’re almost guaranteed to get the strike (if you’ve framed it right). You just need to go through and delete like 98% of the unsuccessful shots, but it’s worth it.
About the author: Alex H. Brock is a photography enthusiast based in South Florida. He loves shooting, rocket launches from Cape Canaveral, and the Milky Way. You can find more of his work on Instagram. This article was also published here.