4 Steps to Improve Your Photos (and How to Use Tone Curves)
One of the beautiful things about photography is that you can always learn new things and adapt as new technology comes out. For example, the first camera I ever shot on was a 35mm film point and shoot, and now I shoot on a full frame DSLR.
Step #1. Learn How to Read Your Histogram
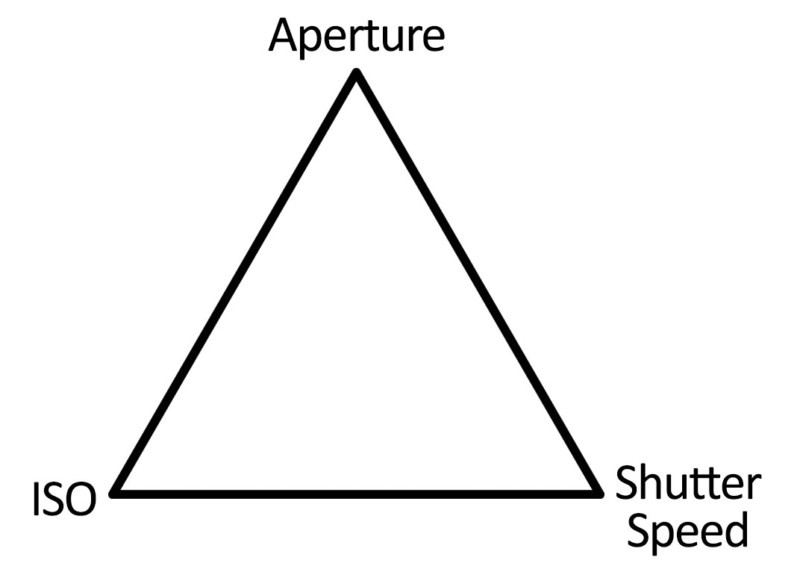
When talking about the technical approach to photography, the histogram is your best friend. It is the easiest way to check how your photograph is exposed. The exposure triangle of shutter speed, aperture, and ISO speed all influence how your histogram will appear. (There is a lot of math that goes into the histogram, which we don’t need to get into.)
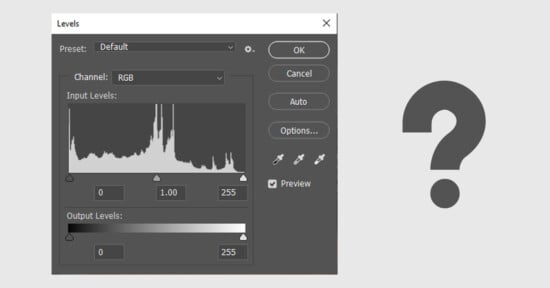
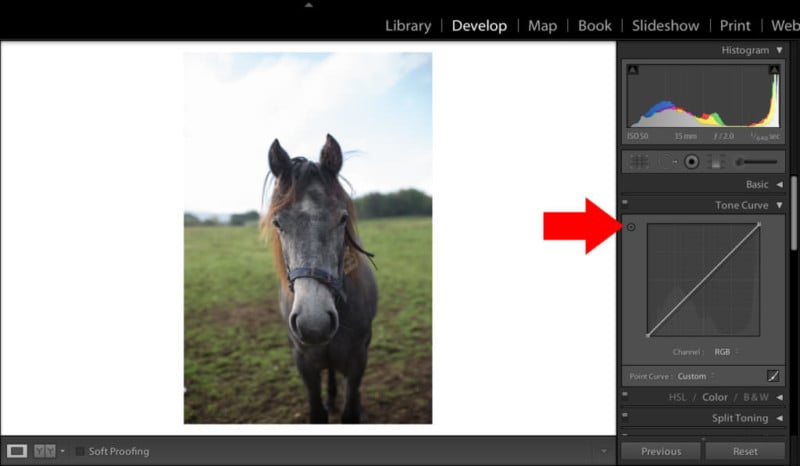
Before I get too ahead of myself… When you open Lightroom/Photoshop, the Histogram is located in the top right of the screen.

Many would say your histogram would be a perfect bell curve. This means that your shadows, midtones and highlights are all accurately exposed. But, this is never the case and it shouldn’t be (Photographer Matt Granger recently released a great video explaining the histogram). The X axis of the histogram indicates the variation of light while the Y axis is the quantity of light.
To break it down a bit further: the left side of the histogram is your shadows. The middle is your midtones. And the right is your highlights.
Depending on the height of each part of the histogram dictates the exposure of the image. If a peak goes off of the histogram, you will know that your image is too overexposed or too underexposed in certain areas depending on where the peak is. This is called clipping.
Clipping is indicated by those two triangles at the top of the histogram. You can adjust this simply by dragging the peaks back onto the histogram.
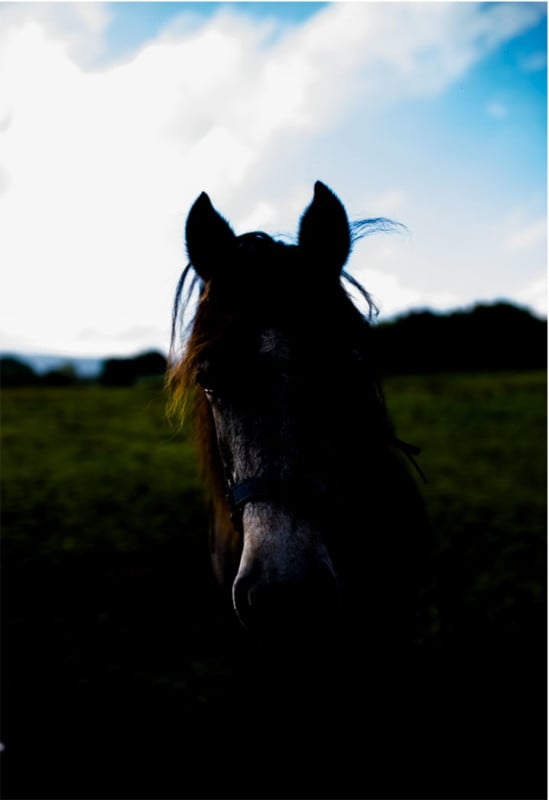
An underexposed photo will look like this:
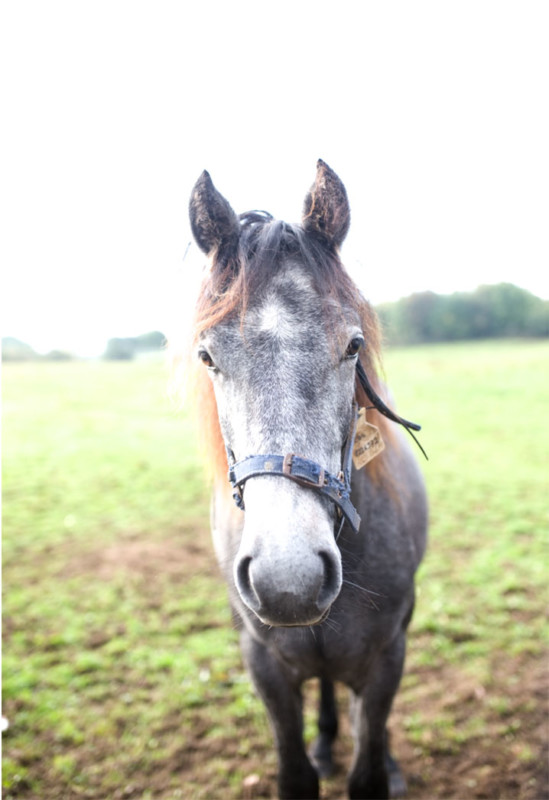
An overexposed photo will look like this:
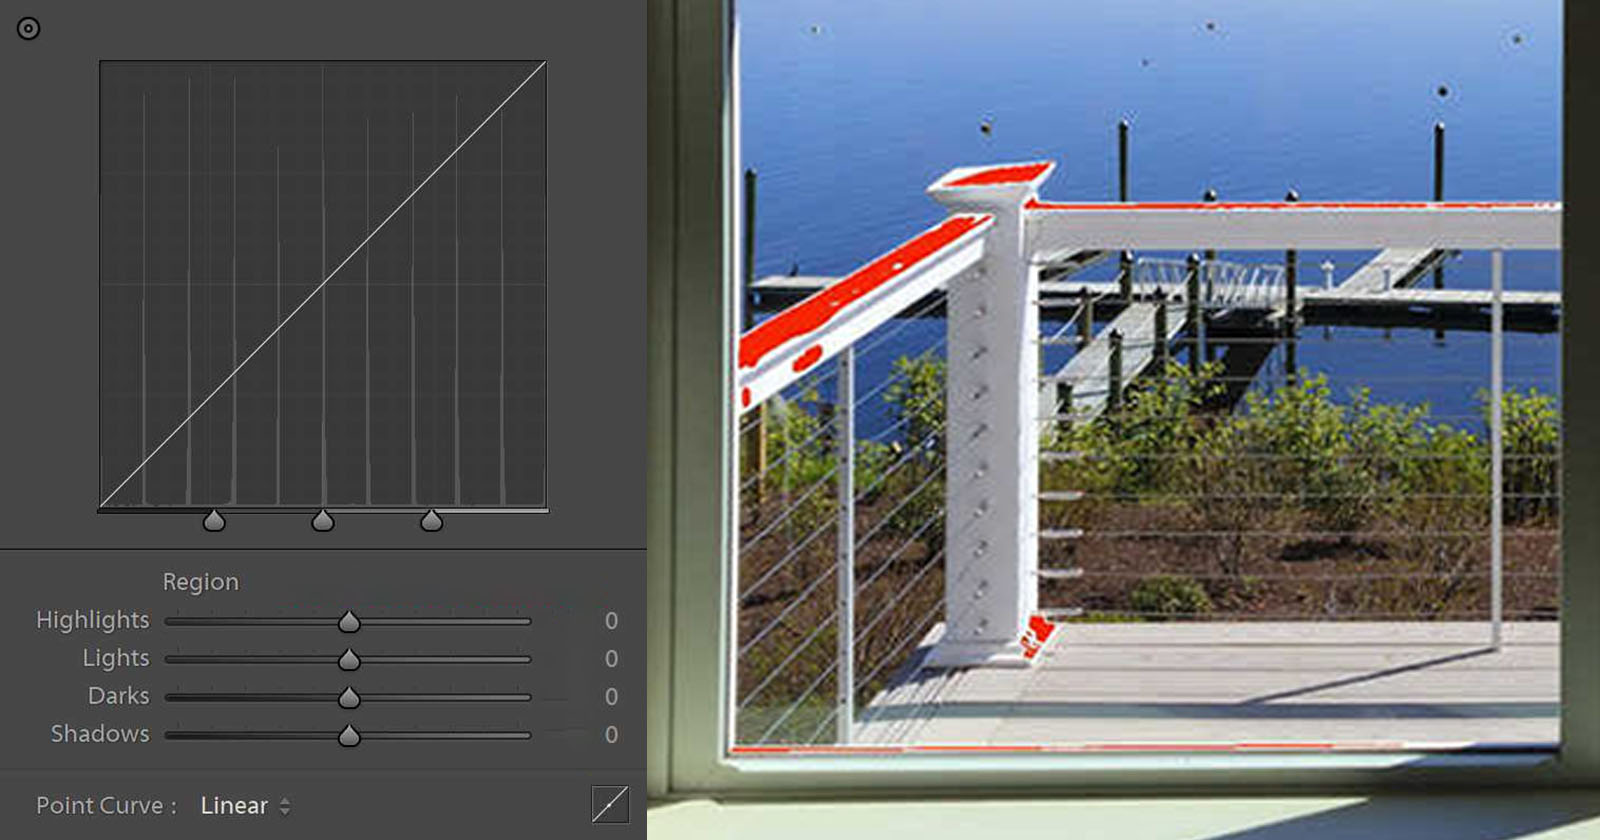
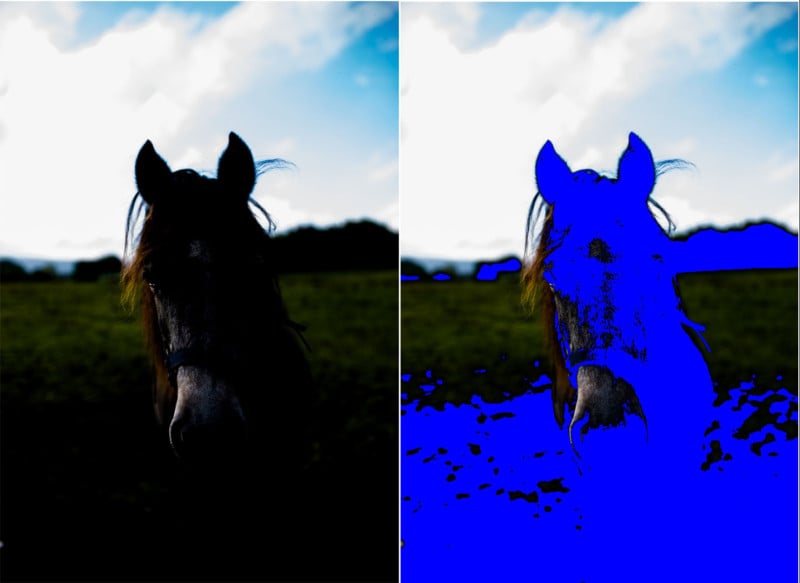
A really cool tip: If you press the “J” key in Lightroom, it will show you where your image is overexposed/underexposed like the examples below.

When shooting digital I find it easier when in doubt to slightly underexpose rather than overexpose. In other words, expose for the bright areas of the photograph. It is a lot easier to recover details in the shadows rather than in the highlights.
This is where the tone curve in Lightroom/Photoshop come in handy.
Step #2: Learn How to Use Tone Curves
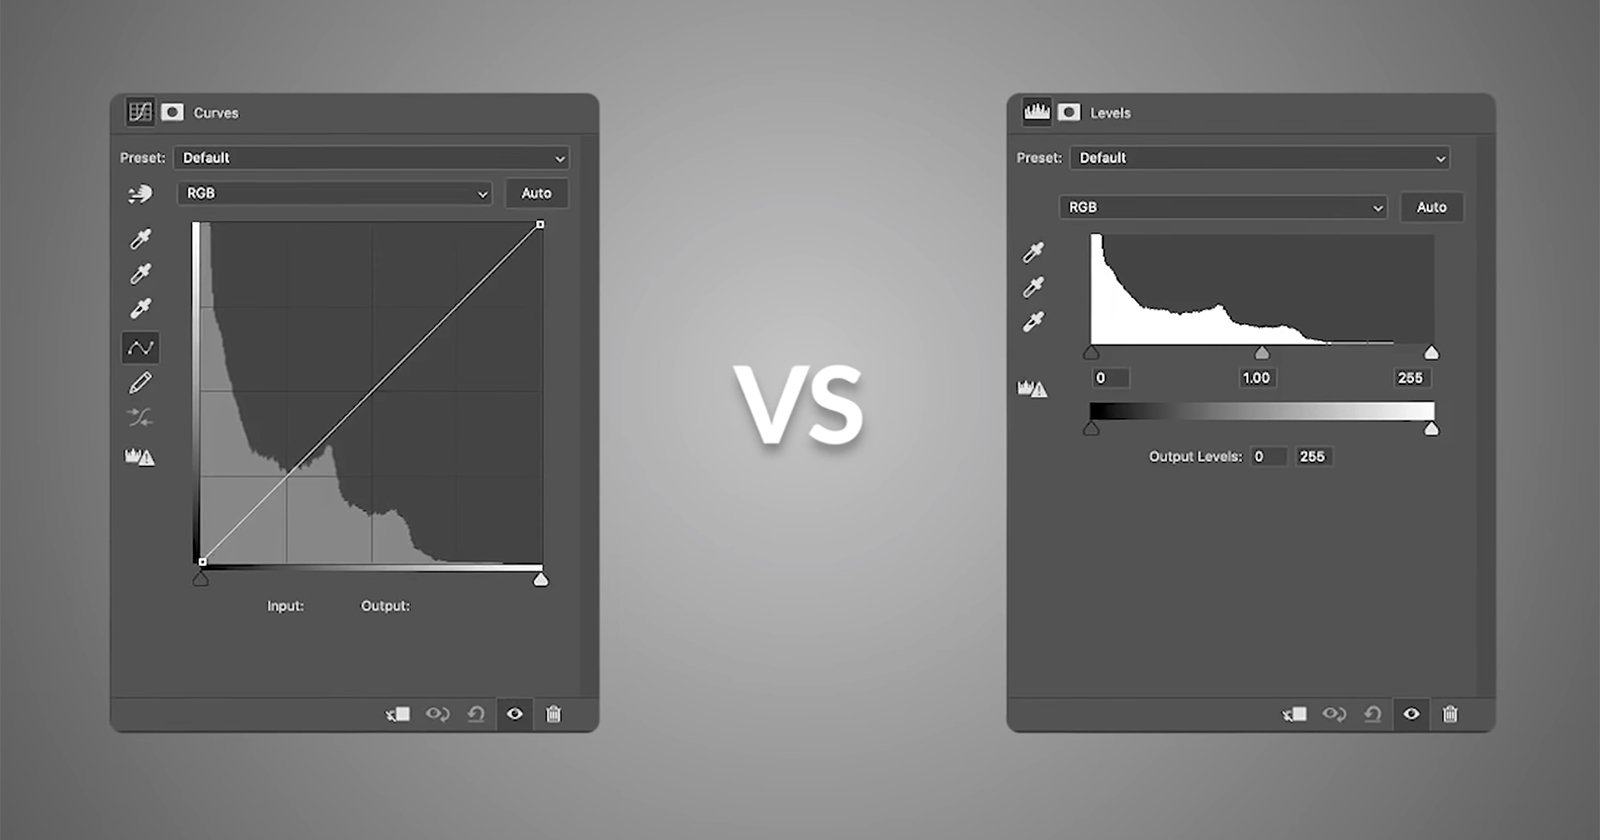
The Tone Curve is arguably one of the most important tools to learn in post processing. The Tone Curve allows you to manipulate the exposure, amount of light and tone of the image. In other words, depending on the curve you make, you can change and manipulate different parts of the image.
When you drag the curve down it brings the exposure down.
When you drag the curve up it brings the exposure up.
To add contrast simply make an “S” curve.
Additionally, another way to add contrast is to use the preset point curve dialog. You are given three options: Linear, Medium Contrast, and Strong Contrast.
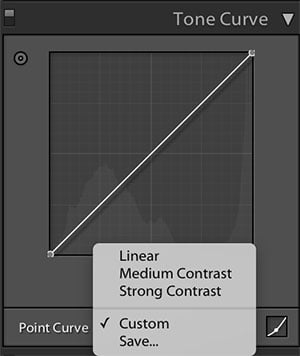
The linear preset will give you straight curve no contrast resulting in a very flat image. But, Medium Contrast and Strong Contrast will result in a varied amount of contrast depending on which option you choose.
A very popular manipulation is to mute the blacks, which is done like so:
Depending on how high you bring the end of the curve it will add more fade.
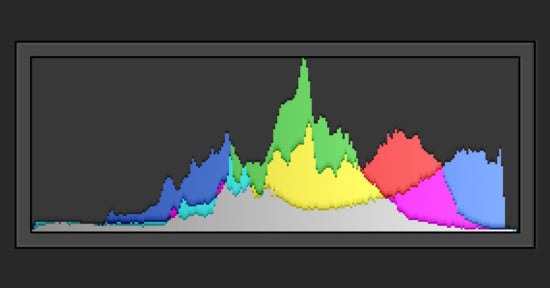
Curves can be broken down even further by manipulating the individual Red, Green, and Blue (RGB) Channels. (Notice how they affect the histogram on the top right)
When you drag the Red Curve down it adds Cyan and when you drag the Red Curve up it adds Red.
When you drag the Green Curve down it adds Magenta and when you drag the Green Curve up it adds Green.
When you drag the Blue Curve down it adds Yellow and when you drag the Blue Curve up it adds Blue.
Have you ever noticed this little dot and wondered what it does?
By hovering over the image it will show you where that area is on the curve. By dragging up and down you can raise and lower the exposure in that region. This little tool will really help you distinguish how different parts in your frame are displayed on the tone curve tool.
Detailed Adjustments
You might be wondering: How do I do small adjustments in the Tone Curve? If you click on the icon in the bottom right of the tone curves box, it will bring up sliders very similar to the ones above in the basic tab.
These sliders will affect the same areas in a more controlled way. You may notice that when you hover over these sliders it illuminates an area around the curve. This is how far you can adjust that area until clipping occurs.
Okay, then you may also be wondering what these three sliders are under the curve?
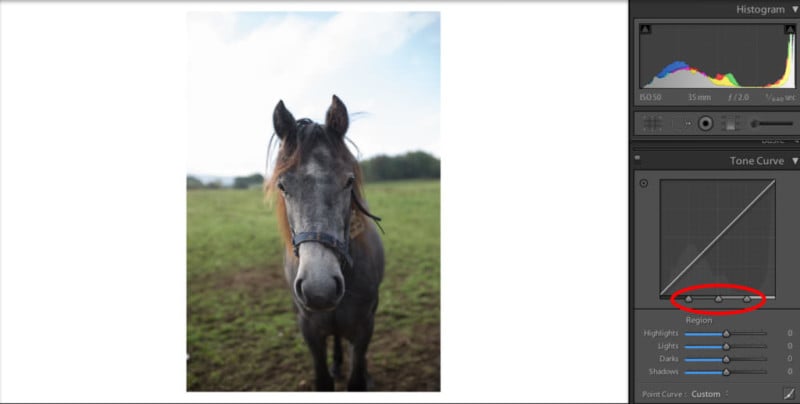
Those sliders indicate how much control the shadows, midtones and highlights have the on image.
The default is set to 25 (Shadows), 50 (Midtones), 75 (Highlights).
When these sliders are adjust left or right it gives more or less control to that slider.
For example, if I slide the shadows all the way to the right, They will have more power in the image than the midtones and highlights making the image darker. If I shift the highlights to the left, it increase the power of the highlights.
Tone Curve Presets
Once you have adjusted the RGB Tone Curves to your liking. You can create a Tone Curve Presets.
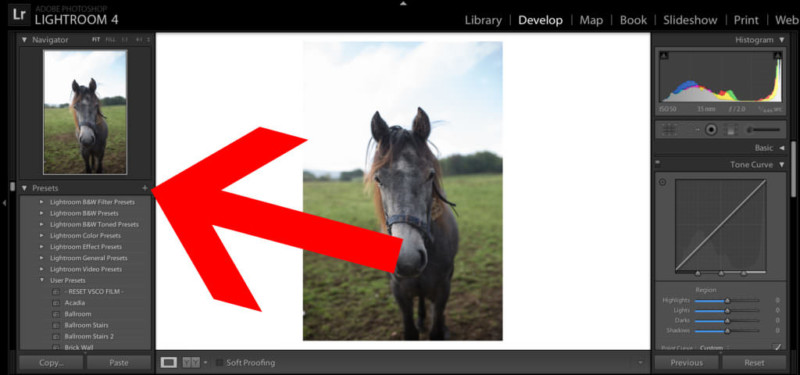
You can do this by clicking on the “+” located to the right on the Presets dialog.

Then deselect everything but “Tone Curve”, this will ensure that when you activate the preset only the tone curve is impacted. This cool trick can dramatically increase the pace of your workflow in Lightroom. I have many different tone curve presets that I use. By hovering over these tone curve presets, you can see how it impacts the image in the Navigator window before you apply it.
Also, here’s a huge disclaimer: when in Photoshop always work in adjustment layers, which are found here:
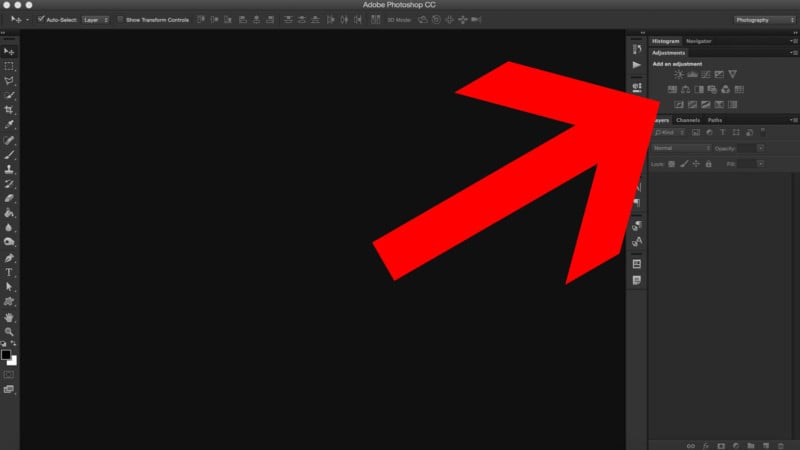
These allow you to make changes to your image in a nondestructive manner that you can change as you go. You’ll see what I mean once you start manipulating your images.
Step #3: Learn How to Use Light
Lighting is an essential part of photography to understand. Your understanding of light will shape how you understand your histogram and how edit that with curves in post processing.
The main point I would like to emphasize here is there is no “correct” time of day to shoot and don’t let this deter you from shooting.
Sunrise and sunset are popular times because as the sun goes down the light becomes less harsh giving a nice warm light. If you shoot during harsh sunlight, I would recommend finding some shade or finding a way to diffuse the sunlight. I could talk endlessly about lighting but I’d rather just show you some examples.
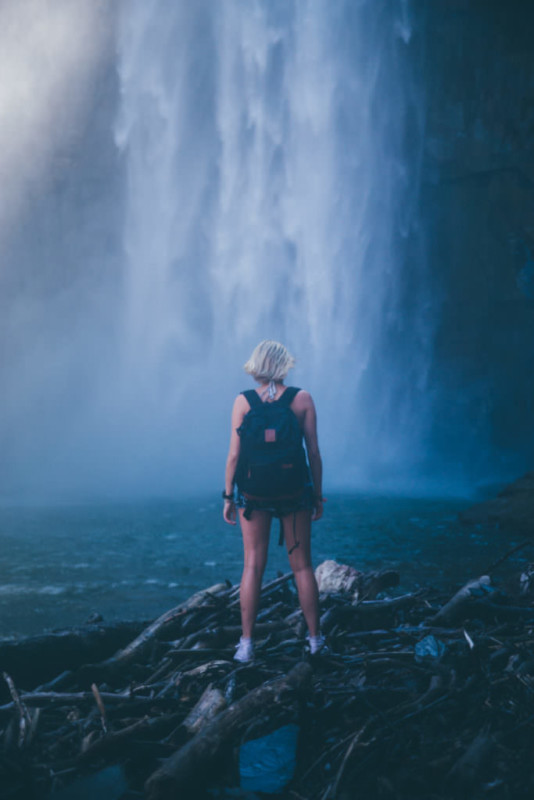
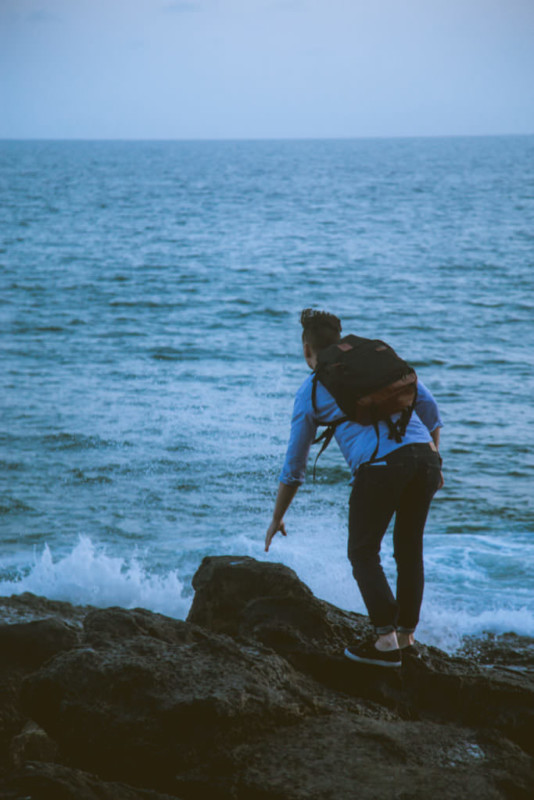
Below you will see three photos all taken at different times of the day. The first photo was taken at 2:27 in the afternoon; the sun wasn’t directly in the sky but it was still harsh enough that it caused stark shadows. So we used the cliff wall for shade.
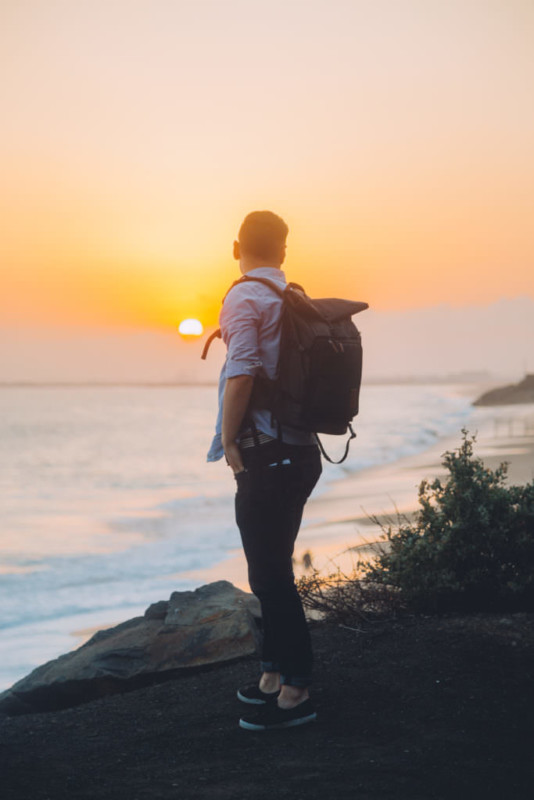
In the above photo, I exposed for the sunset knowing that I would be able to recover some of the shadow on the subject.
In the above photo, I exposed for the subject knowing that as the sun was going down it would be harder to nail the focus.
As you can see, these lighting conditions are vastly different and what you expose for is very important. The last two photos were taken less than 20 minutes apart on the same day on the same ocean front. Due to the setting sun, we were given two very different lighting situations.
Step #4: Learn How YOU Shoot, and Stay Inspired
1. Nowadays, there are so many features on cameras it can be overwhelming.
The main one you should focus on before anything else is the file type. Always shoot RAW.
I didn’t shoot RAW for years and regret it completely. Though shooting in RAW takes up more storage space and requires you to edit, the photos you capture will be so much more crisp and have a higher dynamic range. Also, despite the fact that it takes up more storage, there is no degradation over time which occurs in JPEG files as they’re being edited.
2. Gear. Acquisition. Syndrome.
G.A.S is very real and almost unavoidable. For those of you who don’t know what Gear Acquisition Syndrome (or G.A.S.) is, it is the belief that you need the latest and greatest piece in order to become a better photographer. I can’t tell you how many times I have wanted to pick up a 70-200mm f/2.8 lens or have a Leica as my primary camera even though neither are conducive to my workflow.
It is very easy to blame your lack of gear for your lack of inspiration. Spending thousands of dollars on the latest lens or camera won’t make you a better photographer. Whenever I feel a lack of inspiration to shoot, I always make an effort to either travel to a new place, meet new people, or just carry my camera in my hand with me everywhere. Hopefully, this way you will find yourself fresh and re-energized to keep shooting.
3. Carry your camera with you and shoot as much as possible.
There is no other way to learn than by doing. A painter can’t get better if they never paint. A poet can’t get better if they never write. You get the idea.
Becoming comfortable and confident behind the lens is the most important thing I have learned.
P.S. Having a great backpack has helped me a lot with carrying my camera. Especially while I was a student, being able to have my camera with me at all times really helped keep me inspired. The Brevitē Original Backpack is the perfect bag out there for individuals looking to carry other items such as their laptop and binders as well as their camera gear. If you’re going to be out and about, the Rolltop is a great option to hold a change of clothes and keep it all dry.
About the author: Dylan Kim is a photography enthusiast and a co-founder of Brevitē Camera Backpacks. Brevitē launched back in 2015 and raised more than $38,000 from backers through its Kickstarter campaign. The opinions expressed in this article are solely those of the author. This article was also published here.