How to Create a Simple DIY Smoke Effect for Product Shots
This short DIY tutorial by Caleb Pike over at DSLR Video Shooter shows you how to create a great smoke effect for your product shots or B-roll footage—no fancy smoke machine required.
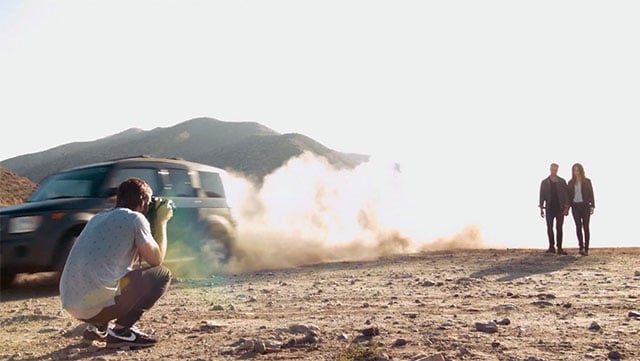
Smoke is an intriguing component of photography, but it’s difficult to produce conveniently and photograph correctly. The direction and thickness of the smoke is never fully under your control and that makes photographing it a challenge. Fortunately, this little DIY technique helps you reign that pesky smoke in.
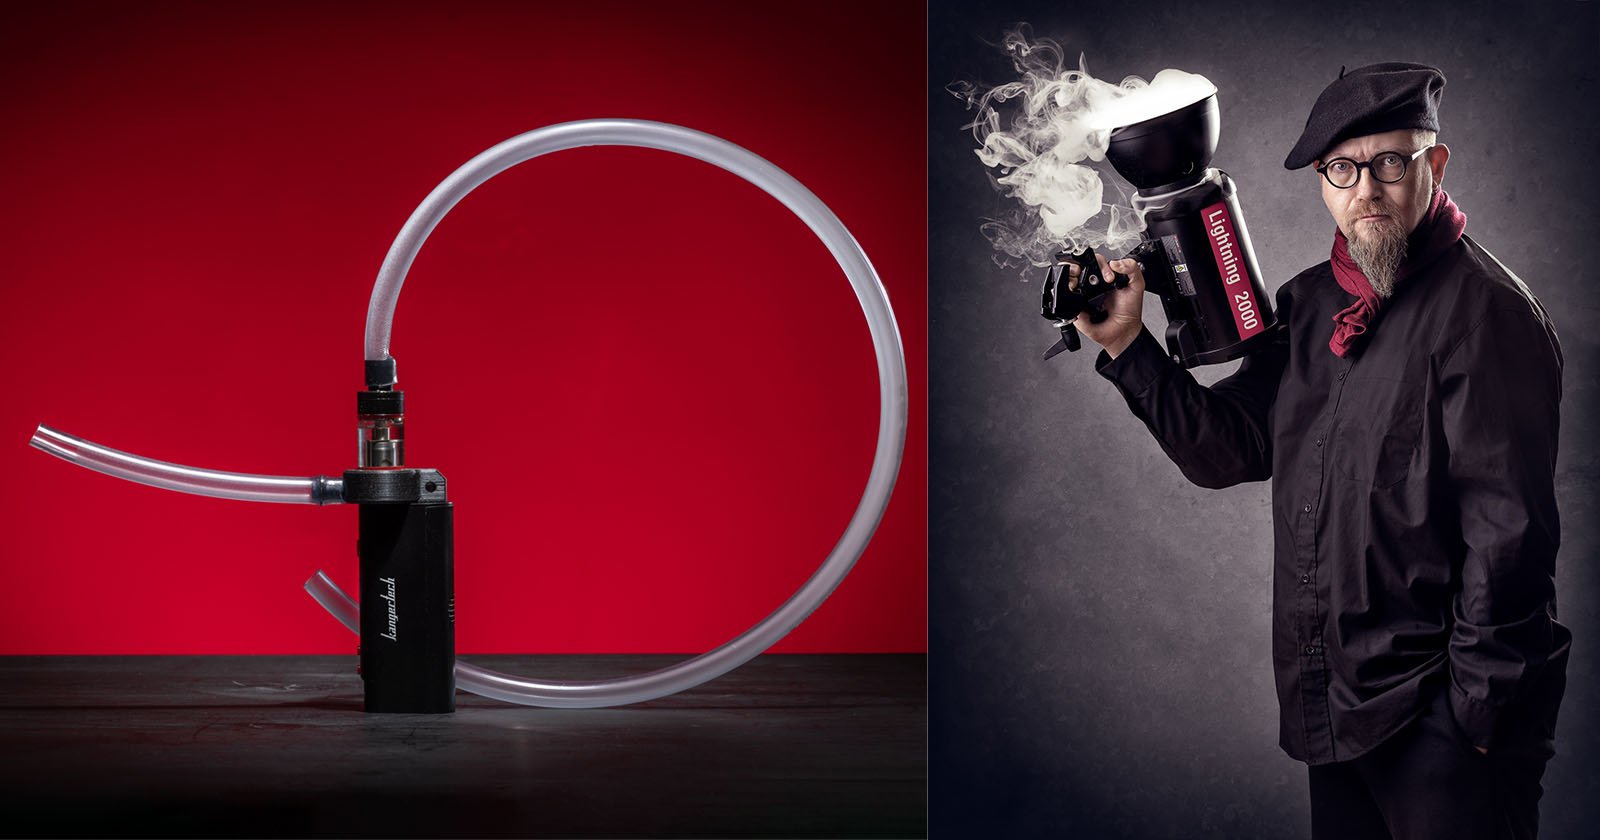
To do this at home, you’ll need a simple bulb syringe and a smoke-creating vape device made up of a battery and a tank. In Caleb’s case, he used an Eleaf iStick 50W battery attached to a Nautilus Atlantis tank, that he then filled with some kind of vaping liquid.
(Note: Caleb does NOT use liquid that contains nicotine. Nobody is encouraging smoking. Everyone’s lungs are okay. No baby seals were hurt in the making of this video.)
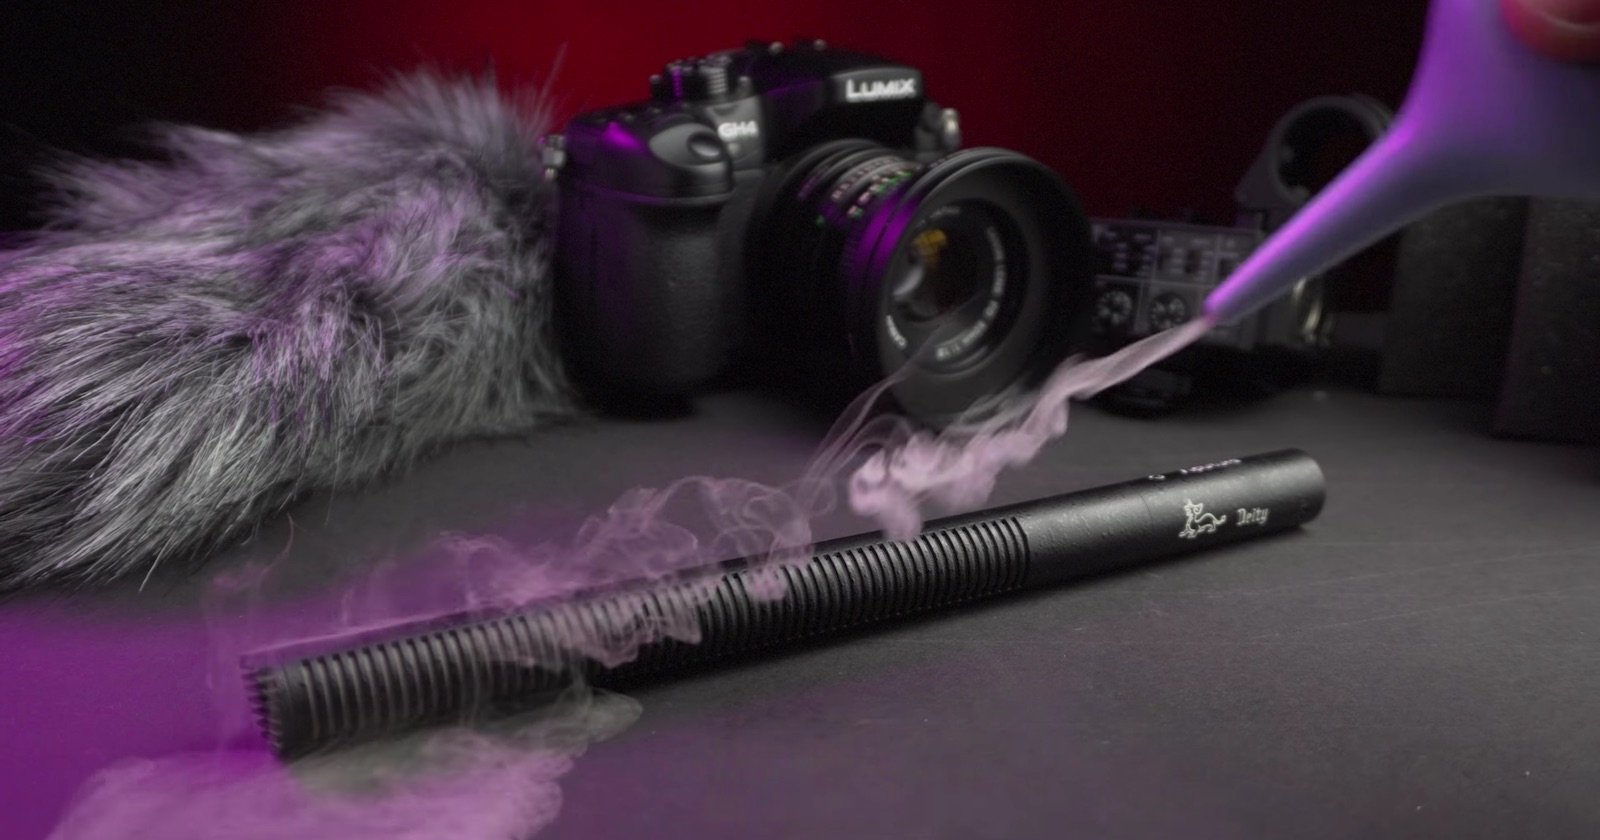
From that point on it’s pretty simple. You press a button on the vaping device to create the vapor, use the bulb syringe to draw it out (sparing your lungs in the process) and then apply that smoke wherever you might need it.
This simple setup is a great way to create and disperse small amounts of smoke exactly where you want it. It’s particularly useful where a big smoke machine would be overkill, filling up the room and ruining your images.
To see the simple idea in action, check out the video above. And if you like this simple tutorial, head over to the DSLR Video Shooter channel for more like it.
(via ISO 1200)