How to Develop and Push the ISO on Color Negative Film at Home
I finally did it! After sitting in my fridge for a few months, I managed to developed myself a roll of CineStill 800 pushed to 3200 ISO, and the results look great! The great thing: it’s actually pretty easy to develop pushed C-41 film at home.
If you don’t know what pushing film means, let me introduce this technique.
Basically, you purposely shoot a roll of film at a higher ISO than it’s intended for, in order to gain extra stops of light. This means that you underexpose your film, then compensate this lack of light by extending the developing time.
Why Would I Do This
If you are shooting in low light or need a faster shutter speed to freeze an action shot, this technique can be helpful.
Black & White film photographers are usually familiar with pushing film because most of them are processing their own film at home, and can adjust the developing time at their convenience.
On the other hand, pushing color negative film is not as common, simply because it requires manual development and most labs can’t (or won’t) do it because the machines they use are 100% automatic. It’s convenient for them because, when shot at box speed, all C-41 films require the same developing time regardless of their ISO rating.
But that’s not an issue anymore and, like B&W film, you can develop color film yourself too!
Before we get started, let me introduce our partner in crime: CineStill 800.
Initially, this was a film used to record motion picture, hence its legendary cinematic look from. The Brothers Wright later made this film usable in C-41 chemistry by removing a layer called “remjet”. This allows us (and labs) to develop it without ruining our chemicals.
It performs best when shot under tungsten lights (city lights) but you can also get great results in daylight by using an 85B filter to adjust the light temperature.
Another advantage of this film is that it can be pushed up to 3200 ISO, and that’s what interest us today.
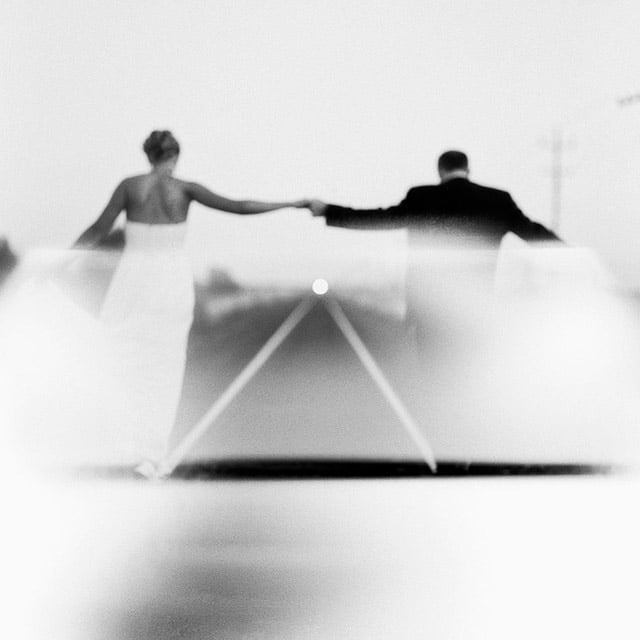
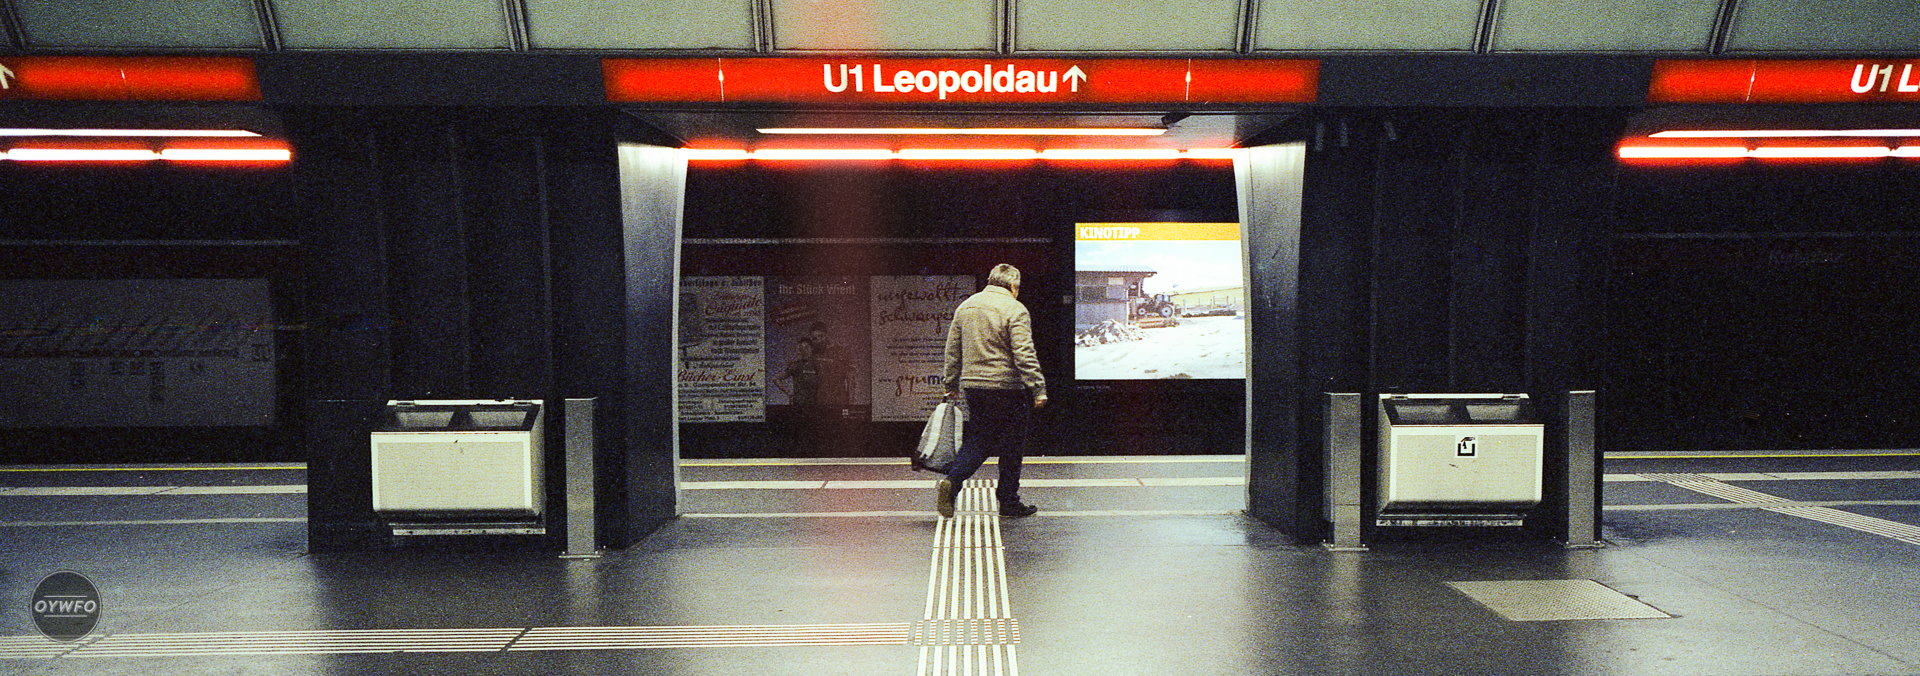
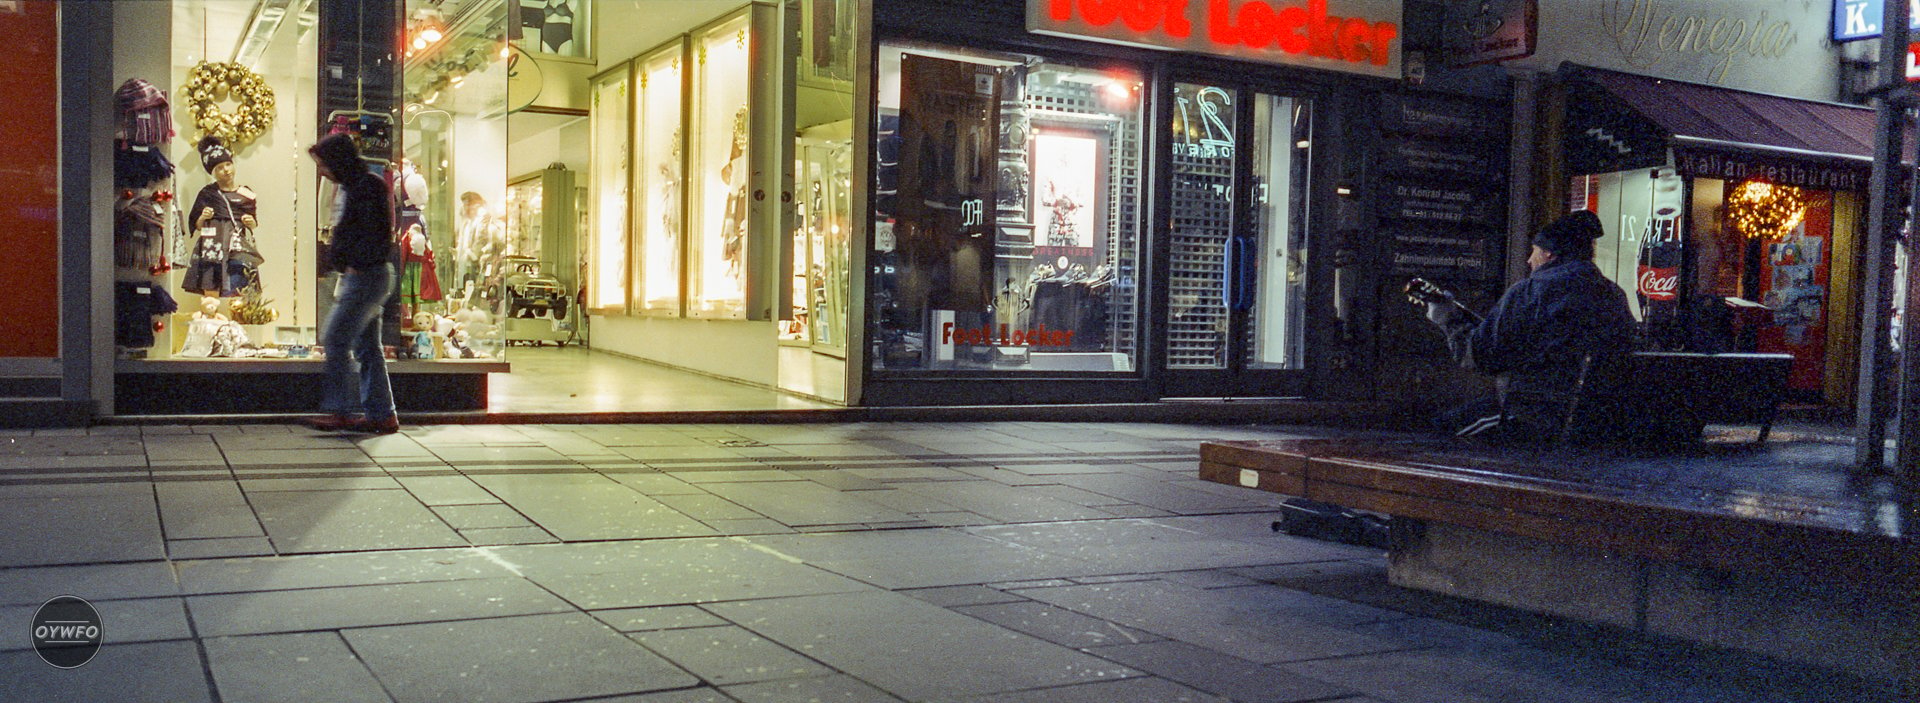
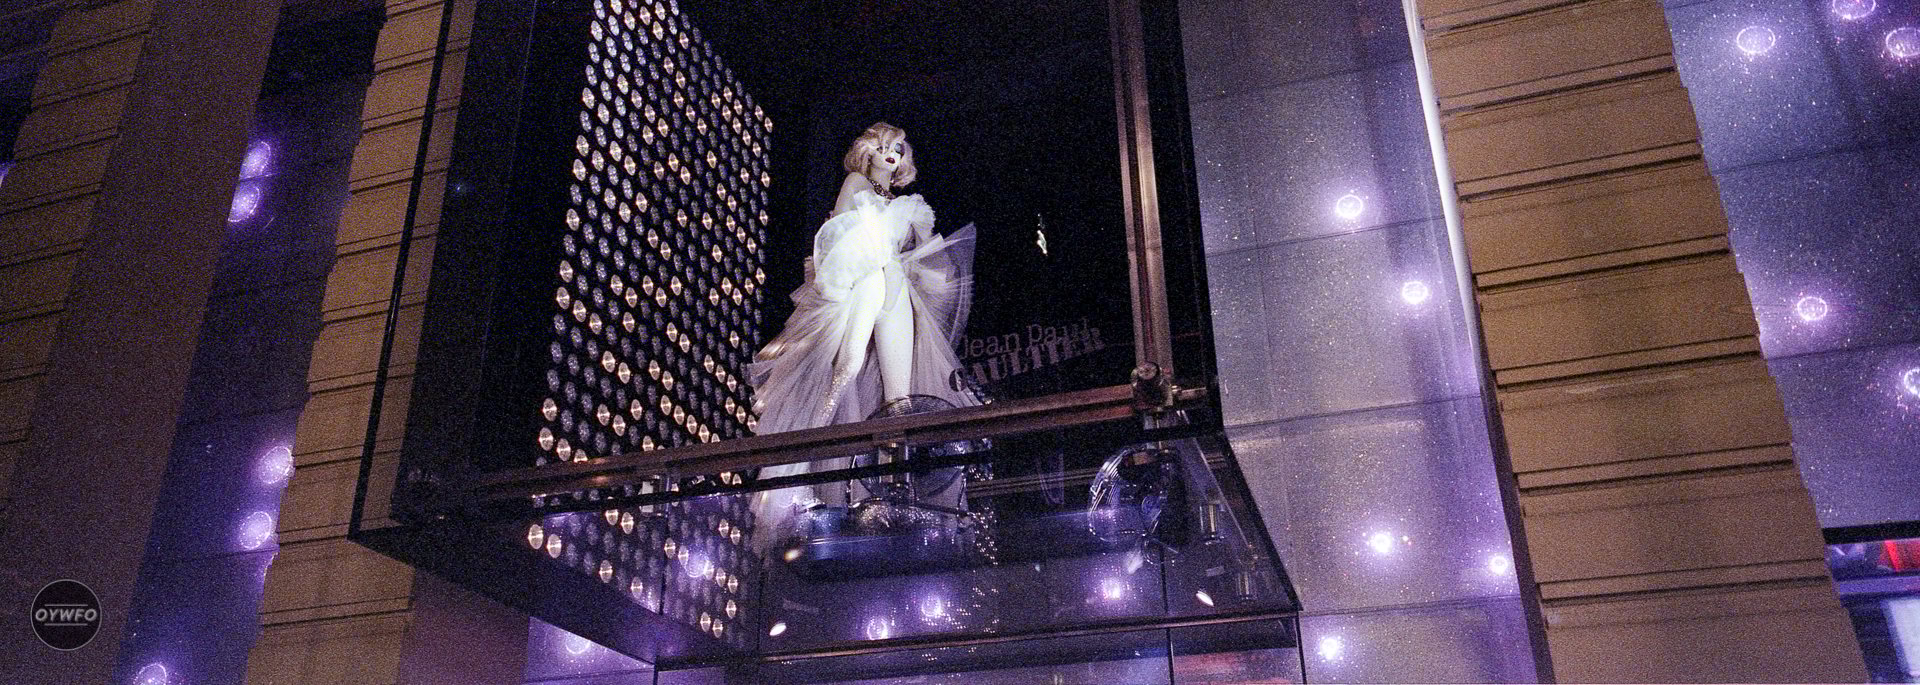
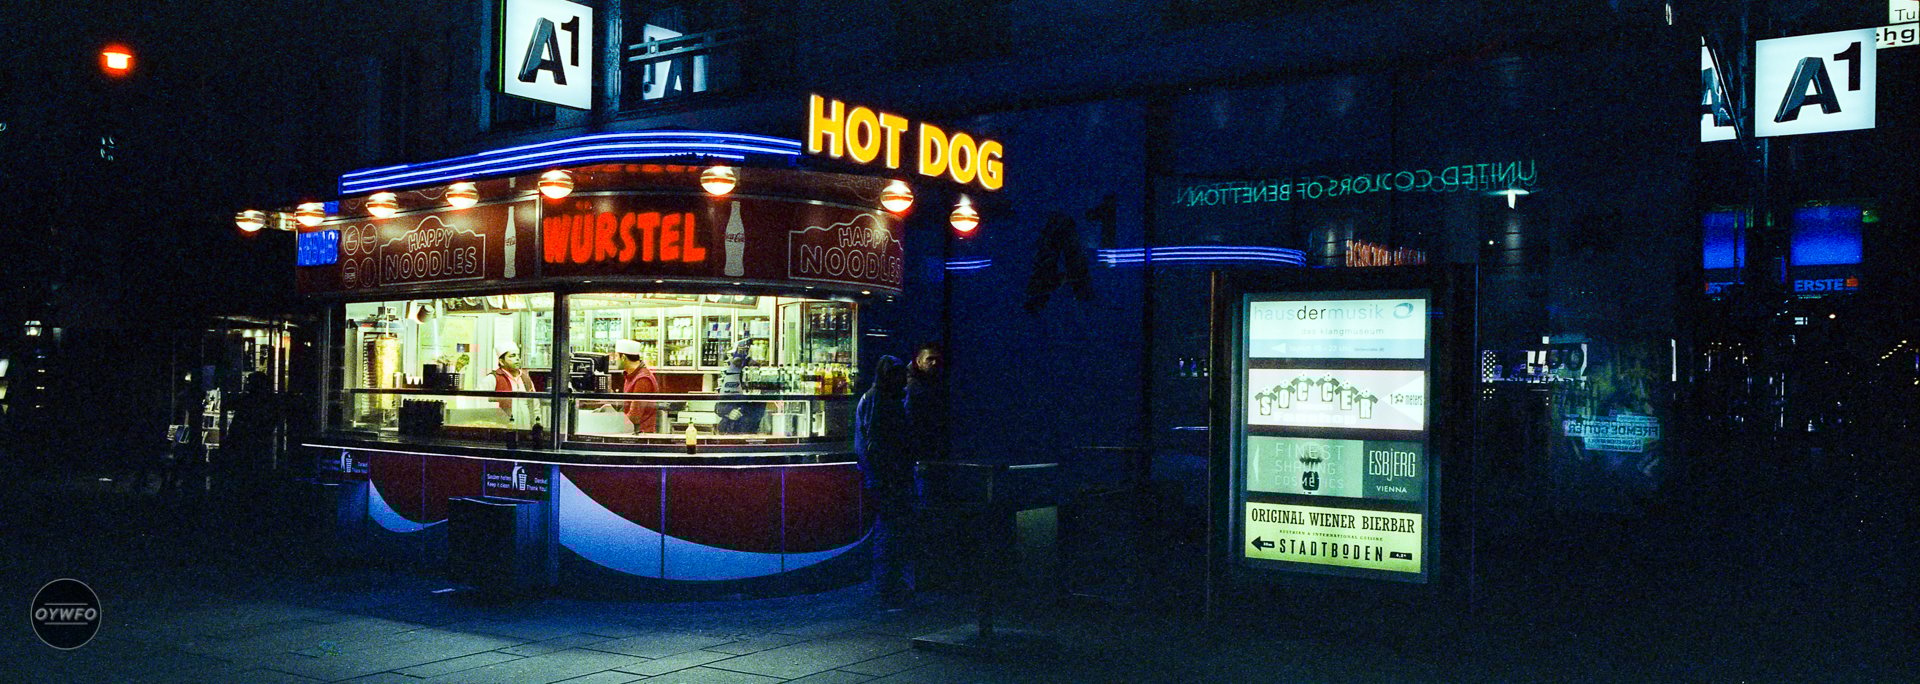
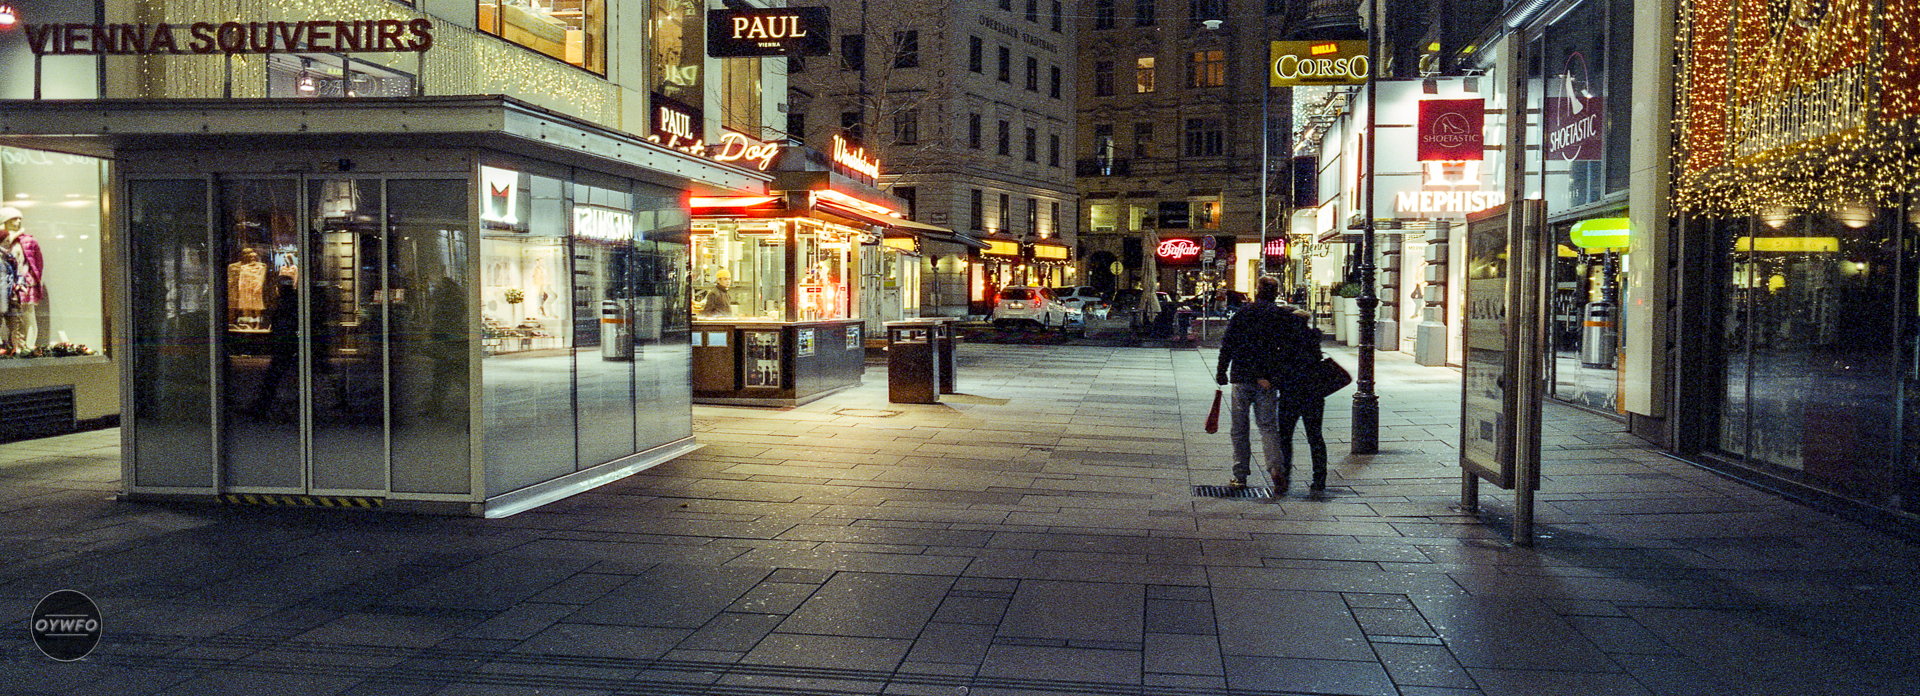
These images were all shot at night when I was in Vienna for my birthday. I wanted to travel light so my tripod stayed at home and this was the perfect excuse to push CineStill to its limits. You may have guessed it already, but I used my Hasselblad Xpan and its loyal 45mm lens.
About the exposure. Usually, you want to expose for the shadows when shooting color film, but here it was impossible… there wasn’t enough light even at 3200 ISO. So instead, I exposed for the highlights and then added 1 or 2 stops when possible just to make sure that the darker areas wouldn’t be completely black.
Most of the photos were shot between f/4 or f/5.6 and 1/15 or 1/30 of a second.
Now, let’s talk about the home development process. I ordered a Tetenal Colortec C-41 kit that comes in the liquid version. It also exists in powder version, but I guess there are very similar in the end.
Basically, you get 3 solutions:
- The Developer
- The Bleach/Fixer (aka Blix)
- The Stabilizer
Each of them has to be used at a specific temperature, which makes it slightly more challenging that developing B&W, but it’s not complicated at all.

On the instructions, you can read that development temperature should be either 30°C or 38°C. Today, we’ll go for the latter as this is the one suggested for pushing film. It says that developing time should be extended by 30 seconds for each stop (no need to extend the fixer or stabilizer time). Here, as the film was pushed by 2 stops, I should have added 1 extra minute on top of the 3 minutes 15 seconds recommended.
Thankfully, Paul from the Facebook group “CineStill Film Users” suggested adding 1 min 15 sec per stop to avoid having negatives too dark. I knew that my images would be very dark anyway, and was afraid to get too much color shifting by extending the developing time for too long, so I went for an average time and developed for 4 min 45 sec total.
The negatives still came out very dark, but I managed to get the grain contained and the colors represented accurately. Then I slightly increased the exposure in Lightroom by 0.5 or 1 stop just to bring back some details.
One last good point for CineStill is that it’s very easy to scan, and the colors look very good straight out of the scanner. That’s not the case with every color film, as you can see in this article where I show you how to correct color negatives scans.
This result are exciting to me. CineStill 800 is a fantastic film that helps to push the boundaries of color film photography in low light, and I will certainly reproduce this experience.
Also, just to be clear with you guys, by no means am I associated with or sponsored by CineStill for this article. I bought everything with my own money, like the grown up adult that I am ;) It’s just an honest opinion on a film that I admire for its characteristics.
About the author: Vincent Moschetti is an Ireland-based photographer who is in the middle of a year-long experiment where he’s shooting only film photography. You can find more of his work or follow along on this adventure by visiting his website or following him on Facebook and Instagram. This post was also published here.