How to Photograph Lightning: Helpful Tips for Nailing the Shot
Lightning is an amazing subject to try and photograph. Dazzling. Unpredictable. Fulfilling. I’ve been documenting the long arm of Zeus for more than two decades and still love it. First using transparencies and negatives, then digital. There are many ways to be creative when it comes to photographing lightning.
To help with this, I’ve compiled my top tips for capturing lightning on camera, from understanding how to shoot different types, to the gear you need in the field.
Different Kinds of Lightning
In my experience, there are four distinct ways of classifying lightning relevant to photography: type, intensity, pattern, and color.
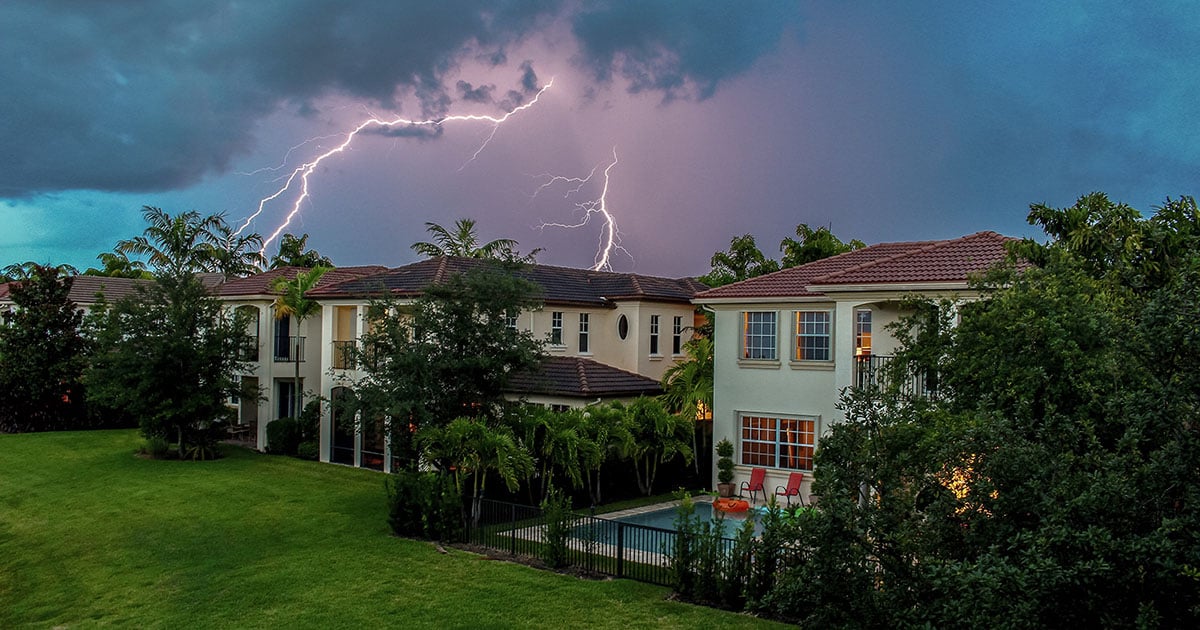
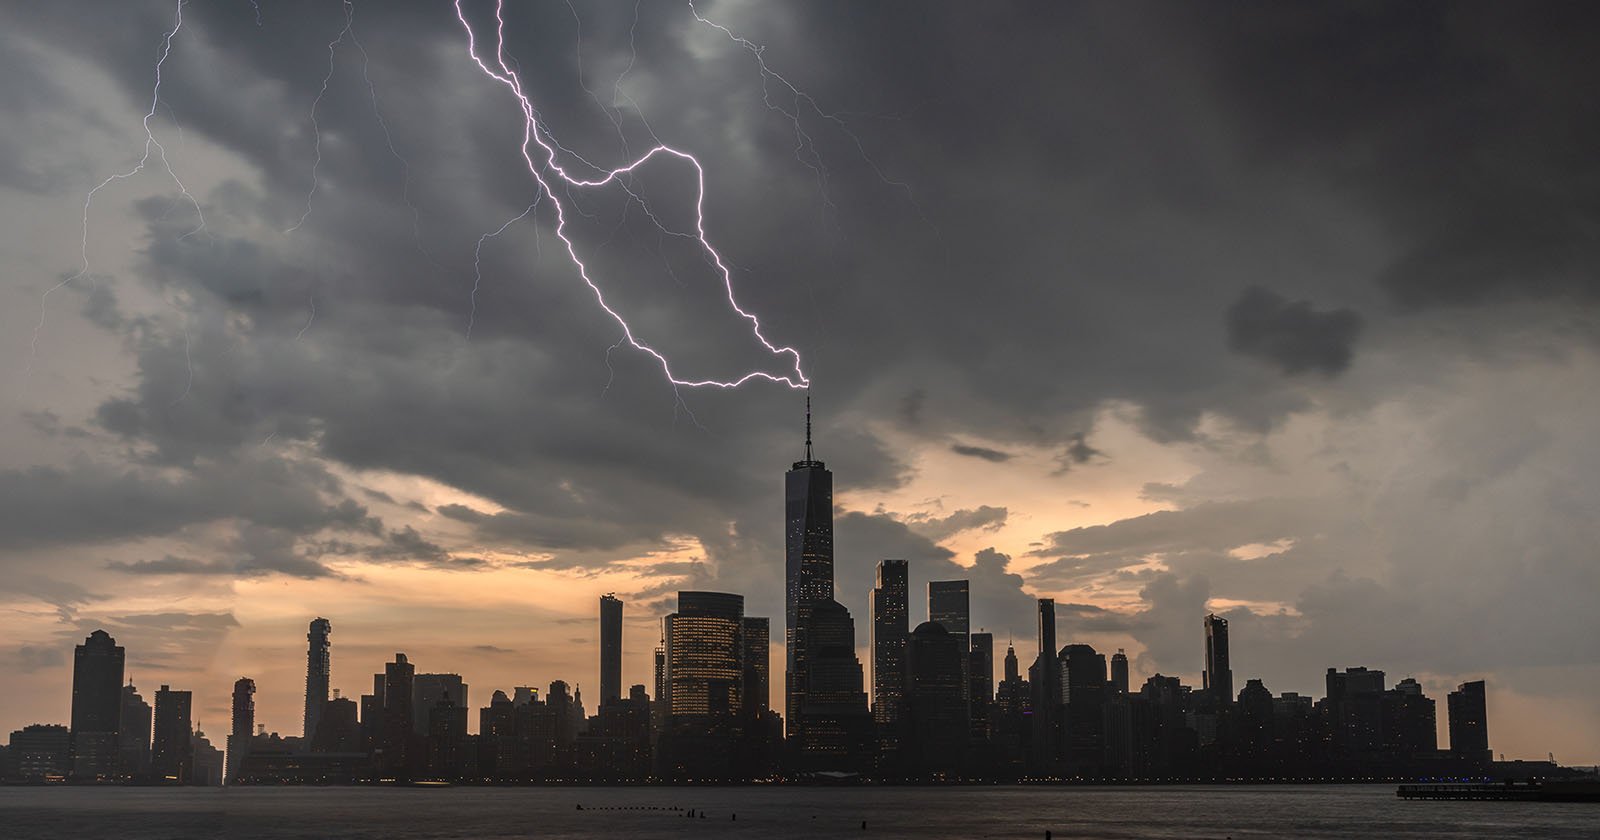
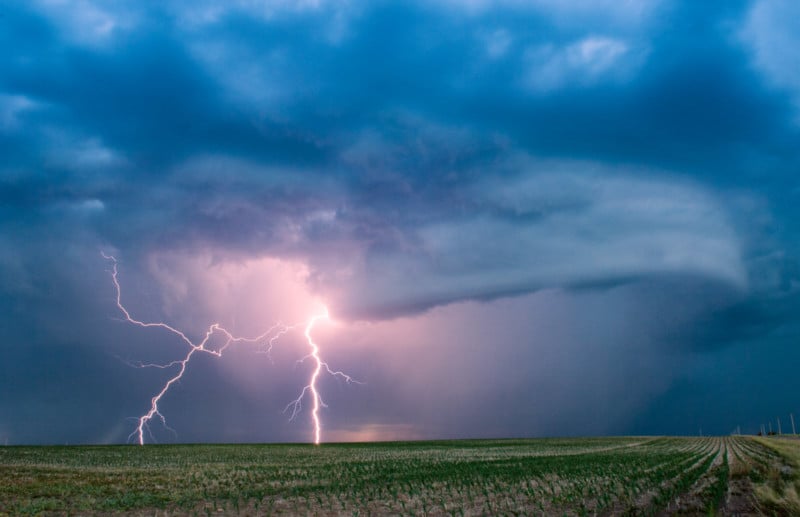
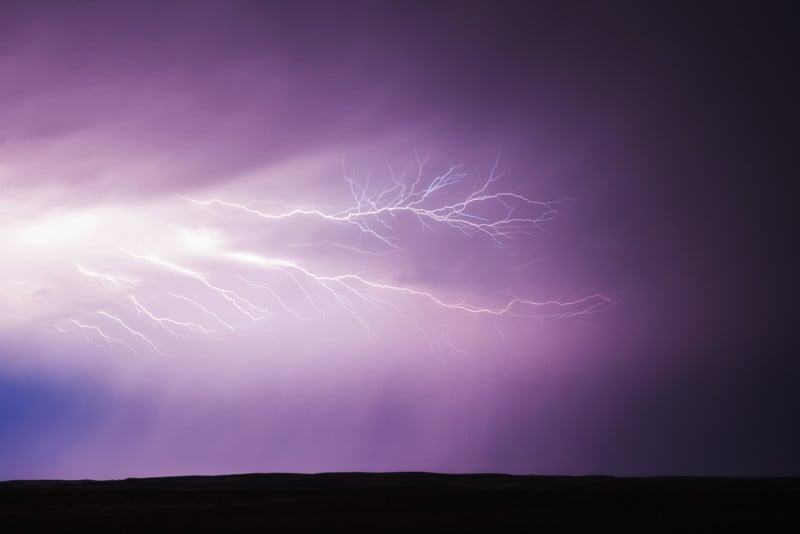
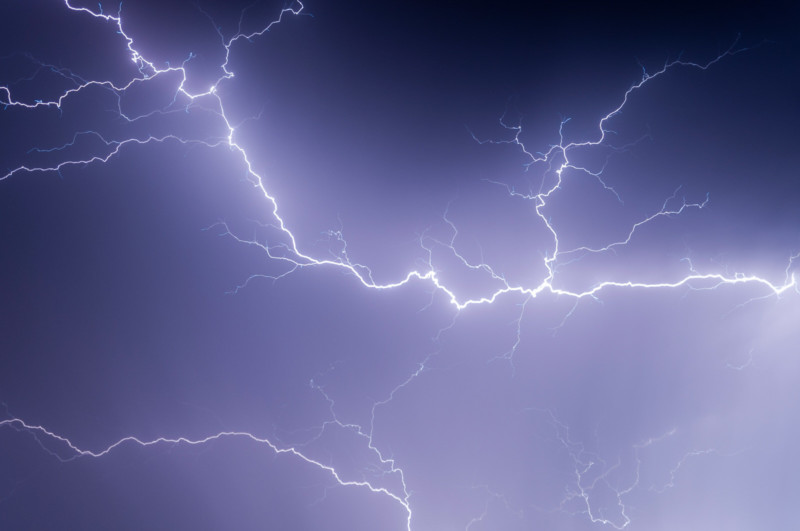
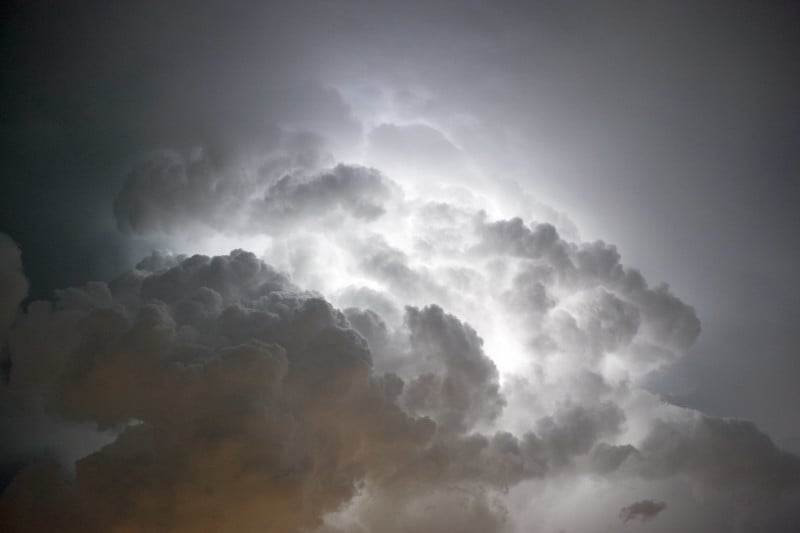
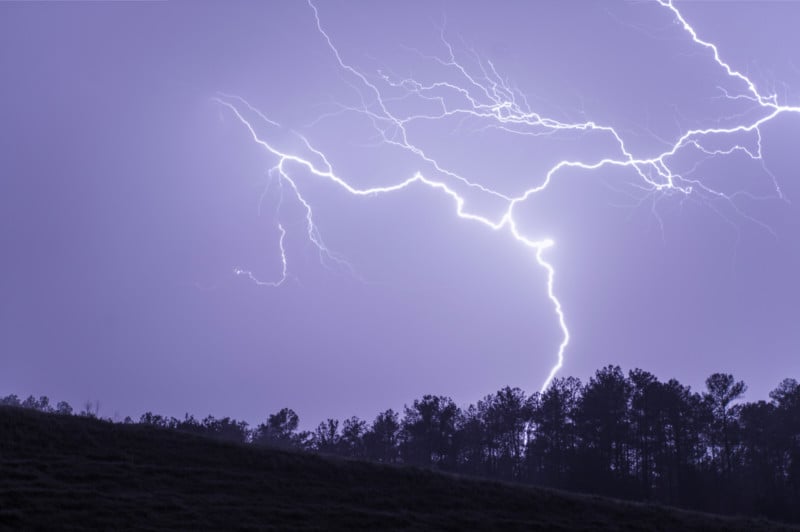
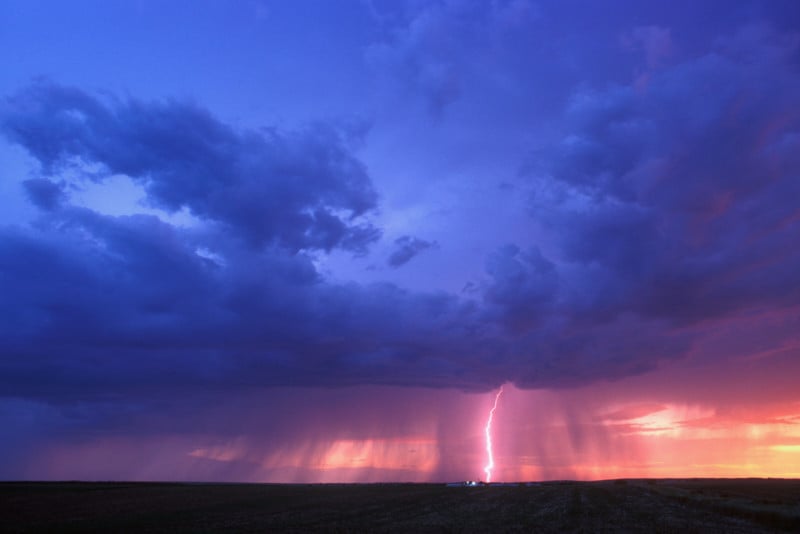
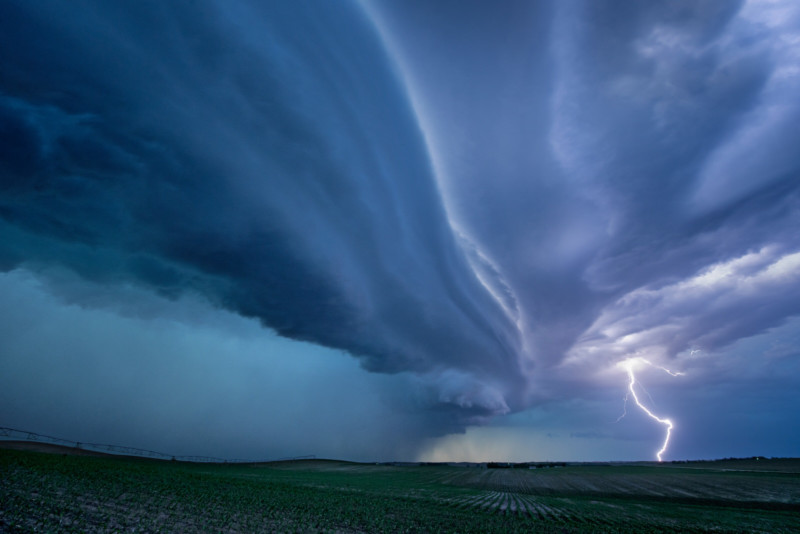
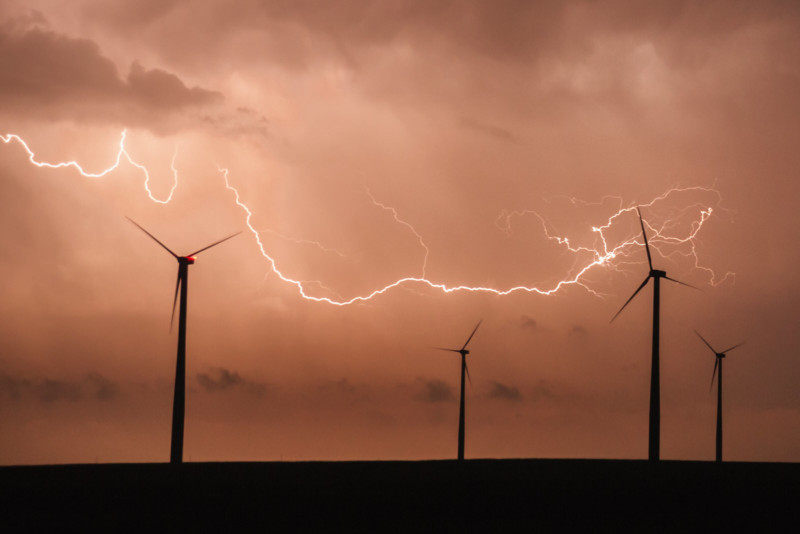
TYPE: Cloud-to-ground, cloud-to-cloud, and intra-cloud lightning are the three types of lightning I witness and shoot most frequently. A cloud-to-ground bolt descends from the thunderstorm usually striking something beneath it. A cloud-to-cloud bolt wriggles across the sky and typically doesn’t strike anything. An intra-cloud bolt occurs inside a cloud and is usually hard to see except for the burst-like flash it creates. Some storms produce multiple flashes per second.
The type of lightning occurring will help me decide what lens to use. If it’s a cloud-to-ground bolt, I will likely use a NIKKOR 24-70mm f/2.8G to capture a landscape shot. If it’s several cloud-to-cloud bolts overhead, I might use an NIKKOR 14mm f/2.8D ED and aim straight up. If the storm is producing intra-cloud lightning with nothing else of interest around it, I might use an NIKKOR 70-200mm f/2.8G ED VR II or an NIKKOR 200-400mm f/4G ED VR II lens to zero in on the cloud.
INTENSITY: The intensity of a lightning bolt is especially important to photography. Just how bright I anticipate a bolt to be helps me to set a proper exposure, from ISO to shutter speed. As a storm approaches, I actually study it for a few minutes before ever snapping a frame. How often is the lightning striking? Is the forth or fifth bolt usually the brightest? Shooting with a DSLR allows you to immediately review each image on the camera’s LCD and fine-tune your settings until you get the shot that you want.
PATTERN: One of my favorite lightning objectives is to capture a lone, very clean, cloud-to-ground bolt. I like the stark simplicity. When trying to create a fine-art image, this type of bolt works best in my opinion.
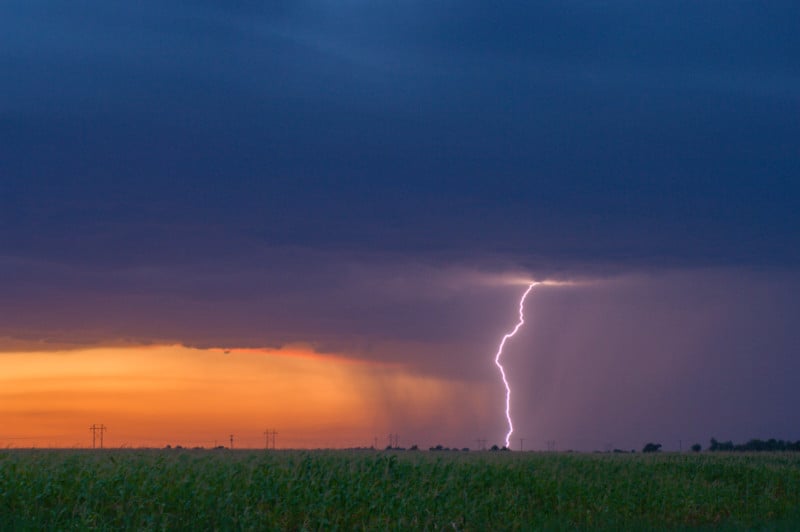
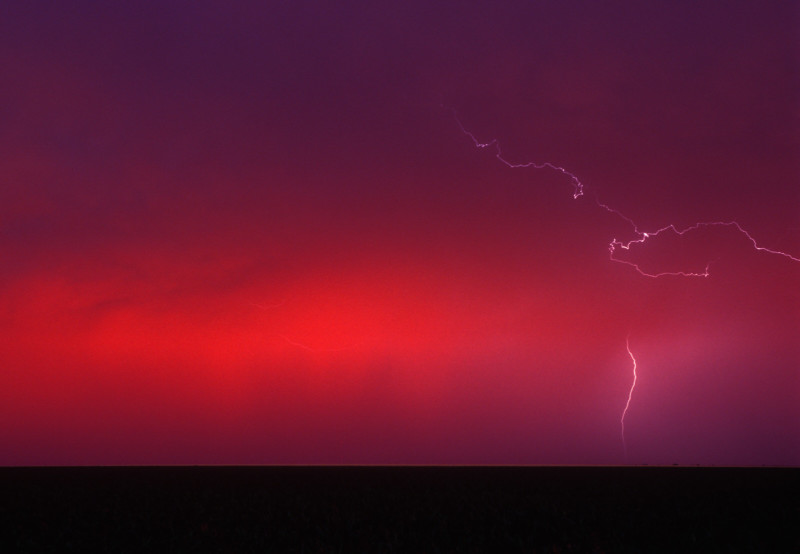
COLOR: Lightning can strike in a variety of colors. The most common color of lightning is white, but lightning can actually appear red, yellow, green, even blue or purple. The hue usually depends on gases, chemicals, and impurities in the atmosphere, as well as the actual temperature of the lightning bolt. Vivid white lightning is most common. Orange or reddish-colored lightning can occur if there’s a large concentration of dust or pollution in the air. Hailstones in a storm can make lightning appear a purplish color, sometimes even blue. Sodium vapor lamps in a city can also influence the color of lightning, giving it a bluish-green appearance.
The Best Time to Shoot
Obviously we need a thunderstorm, but not all thunderstorms occur at night. I like shooting at different times of the day. It’s fairly common to capture lightning after dark, but how about a bolt during the day, at sunset or even twilight? Shooting at times other than just pitch black will help bring color and style to your image.
Choosing Gear
I recommend you start by using a DSLR. Buy the lowest noise-producing camera you can afford. The Nikon D810 and D3S are two of my favorites. On a tight budget or just getting started? I like the D3400.
Buy the fastest lens you can afford. The NIKKOR 14-24mm f/2.8G ED, NIKKOR 24-70mm f/2.8G ED, and NIKKOR 70-200mm f/2.8G ED VR II are my three favorites for shooting lightning. But choosing a lens is subjective. Do you want to zoom in and create a close-up of a single lightning bolt or do you use a wide-angle lens to capture zigzagging bolts overhead? The faster the lens, 1.4, 1.8 or 2.8, the better for shooting in existing light conditions, but I have photographed lightning using much slower lenses at 4.5 and 5.6
Invest in a sturdy tripod, window mount and a remote control-cable like the Nikon MC-36 Multi-Function Remote Cord or the Nikon ML-3 Compact Modulite Remote. Purchase apps that will give you forecasts, storm alerts and how many bolts a storm is producing. Wx Alert USA and Radar Scope are my favorites to use on my iPhone. I use WeatherTAP on my desktop.
What’s invaluable about shooting lightning with a DSLR is that you can immediately review your shot on the LCD and then have several adjustment options to get the image you want. Using a DSLR to photograph lightning vastly improved my success rate.
Camera Settings to Get Started
When shooting lightning, I usually set my camera to manual exposure: 3D Color Matrix Metering and put the white balance on auto. Whether I’m shooting with a cable release or remote control, I usually start by setting the shutter to BULB, the aperture to f/5.6, and ISO to 400. Focus is manual.
As soon as the lightning occurs, I close the shutter. After reviewing the first few images on the LCD, I begin making changes. If the lightning is brighter than anticipated and results in overexposure, I change the ISO to 320 or 250. If the lightning is dimmer than anticipated and results in an underexposure, I change the ISO to 640 or 800.
My secret to sharp lightning images is to have the shutter open for the shortest possible time—unless, of course, you’re trying to capture multiple lightning bolts. The less time your shutter is open = sharper lightning images. One tool I use that helps me achieve this is the Lightning Trigger, a hot shoe-mounted device that plugs into the camera’s 10-pin connector port. The lightning trigger causes the shutter to open just when lightning strikes. But: you still need to set ISO, shutter speed, aperture, and white balance. I usually start out by setting my camera to Shutter Priority at 1/4 second, the ISO at 250, white balance to auto, and adjust from there.
Keeping You and Your Gear Safe
Lightning is one of the most dangerous natural phenomena to photograph. Personally, I’ve had several close calls with my hair standing up and count my blessings. One simple rule you should always keep in mind: if you can hear thunder, you’re vulnerable to being struck by lightning.
If a storm is producing a lot of fairly close cloud-to-ground lightning strikes, I stay inside my hard-topped vehicle and use a window mount, or I quickly set up my camera on a tripod and then operate the camera remotely from inside the vehicle.
Before you try photographing lightning, you should review National Weather Service lightning safety tips.
If you’re ever unsure about what to do, ALWAYS YIELD TO BEING SAFE. The more you learn about the subject, the safer and more successful you’ll be.
A Few More Good Tips
Always turn off the autofocus. When shooting lightning, you’ll want to use manual focus. Automatically setting your lens to infinity won’t always give you the sharpest image. Look for a distant light and focus on it. This will result in sharper-looking bolts. If you don’t have a distant light, have a friend walk at least 100 feet away from the camera with a flashlight. Then focus on the lens of the flashlight.
Try to shoot lightning that’s ahead of the storm or away from the heaviest rainfall. Moisture, especially precipitation, can soften the look of a lightning image, even when the focus is correct.
Always compose your shot with care. Try to frame the image with as few potentially distracting elements as possible, such as power lines, traffic, and airplanes.
A lightning image captured with patience and skill, including proper exposure, is likely to have a stronger impact. People will look at your photo and say, “Wow!”