AI Film is Pulled From Theaters Following Backlash
After winning the inaugural Frame Forward AI Animated Film Festival, Igor Alferov expected his short, Thanksgiving Day, to be the first AI-generated film to run nationwide as part of his prize -- but that's now how it turned out.
The Sigma AF Cine 28-105mm T3 FF Lens Is Finally Coming on April 16
Sigma has finally revealed pricing and availability for the 28-105mm T3 FF lens that it announced last year.

Sigma 15mm f/1.4 DC Contemporary for APS-C Is Smaller and Sharper
Sigma has announced the 15mm f/1.4 DC Contemporary, a new fast, wide-angle lens for APS-C mirrorless cameras. The new lens is the successor to the beloved Sigma 16mm f/1.4 DC DN Contemporary lens unveiled way back in 2017.
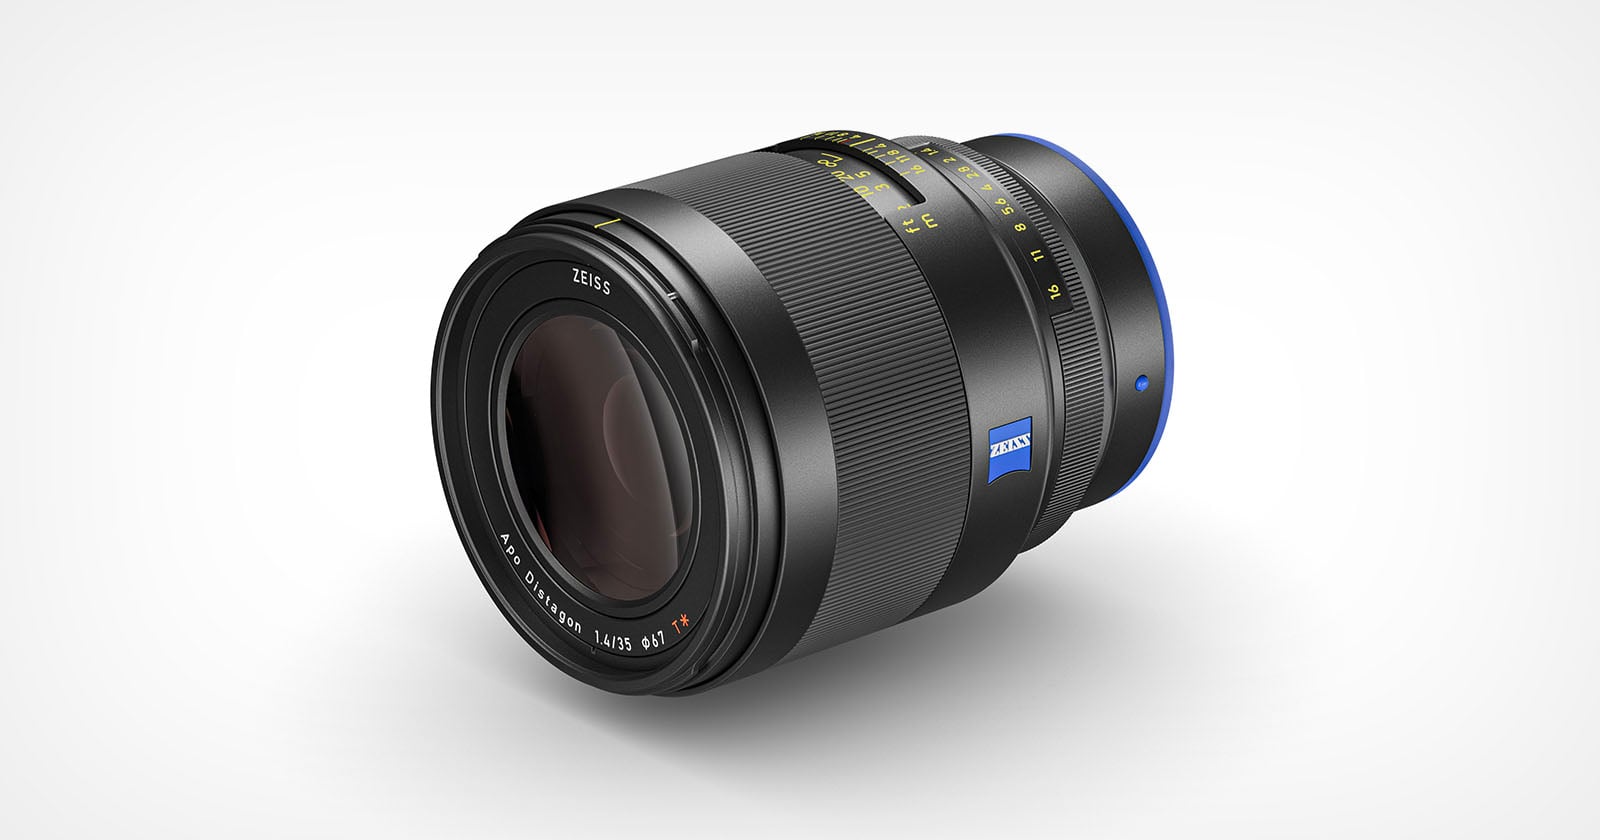
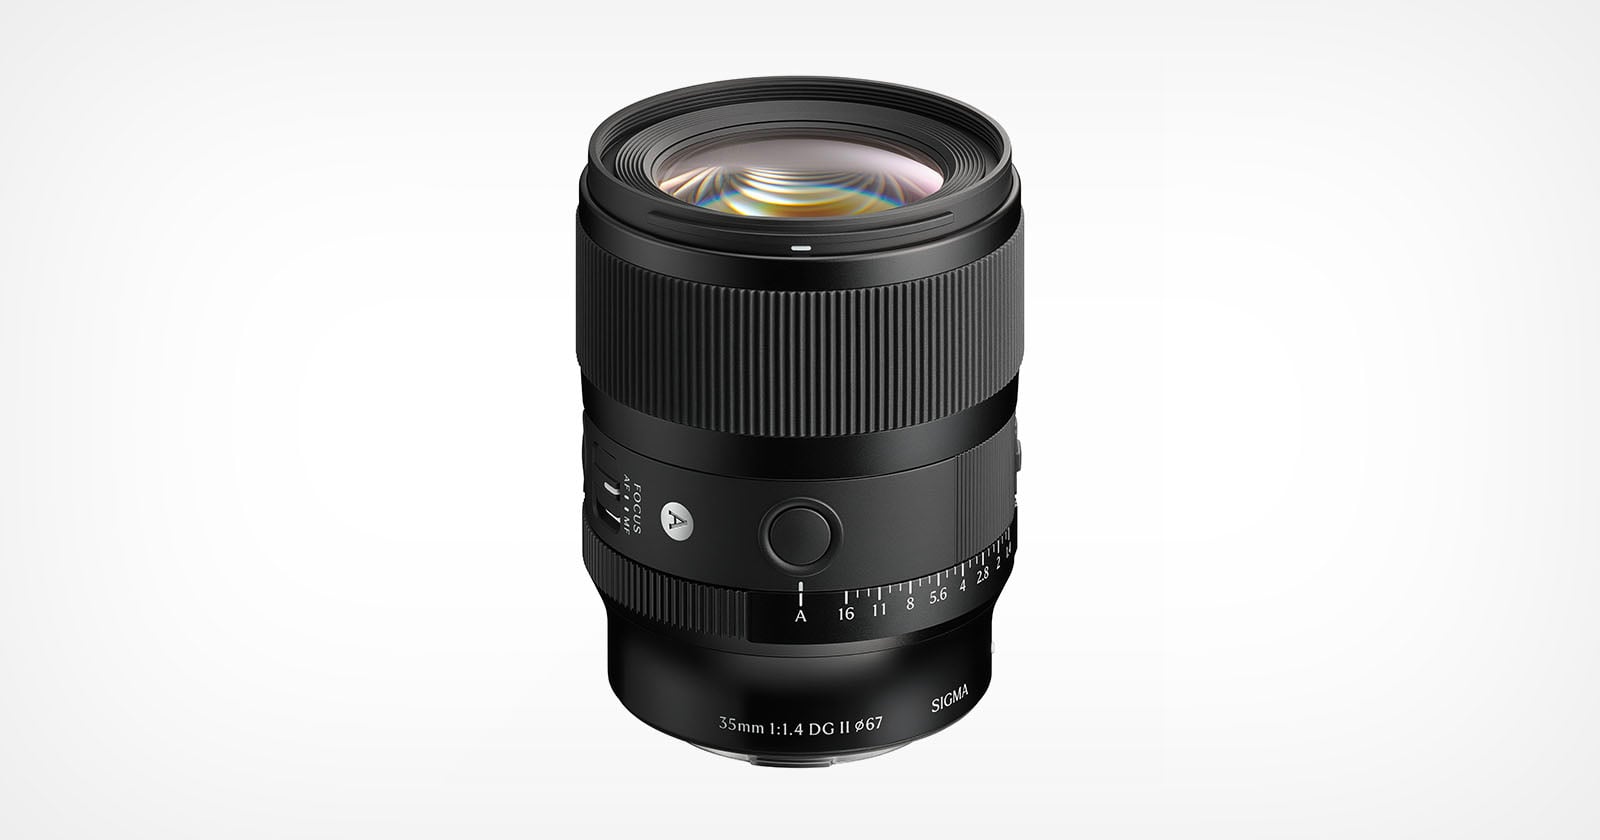
Sigma’s New 35mm f/1.4 DG II Art Is 20% Lighter Than its Predecessor
Nikon 70-200mm f/2.8 VR S II Hands-On First Impressions: Wolf in Sheep’s Clothing
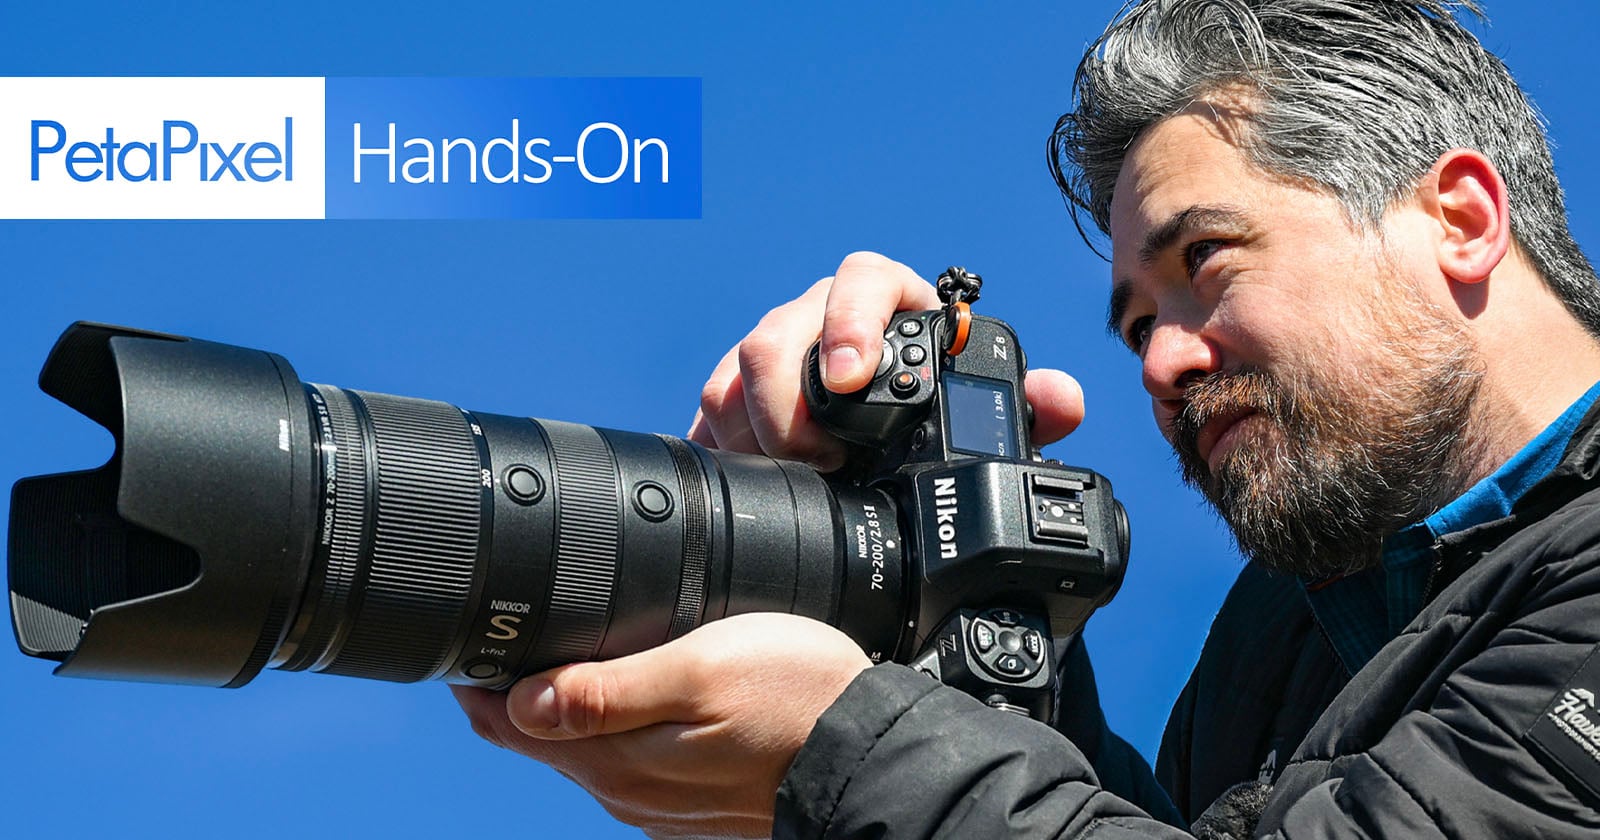
The Yamnuska Wolfdog Sanctuary is located just outside of Calgary, and does amazing work housing and rehabilitating these amazing wolf hybrids that often prove too much for owners to handle. We took the $3,199 pre-production Nikkor 70-200mm f/2.8 VR S II lens out to see how it handles this dynamic location.
The Nikon Z 70-200mm f/2.8 VR S II Is Faster, Sharper, and Way Lighter
Nikon has announced the Nikkor Z 70-200mm f/2.8 VR S II lens. Described as the "lightest in its class," the company says it delivers improved optical performance, faster focusing, and a 26% lighter weight than the first-generation optic.

Asus’ New ProArt Color Calibration Ecosystem Helps You Achieve Accurate Colors
Asus is expanding its professional display ecosystem with the ProArt CaliContrO MCA02, a 3-in-1 colorimeter that combines precision color measurement, hardware and software calibration, and integrated display control into a single compact device. Aimed at photographers, video editors, designers, and other color-critical professionals, the tool reflects Asus’ continued push toward tighter integration between hardware, firmware, and software within its ProArt lineup.
How Seattle Seahawks Photographer Rod Mar Captured Super Bowl LX

Earlier this month, the Seattle Seahawks bested the New England Patriots in Super Bowl LX at Levi's Stadium in Santa Clara, California. It is one of the biggest sporting events in the world, and the Seahawks' team photographer, Rod Mar, was there to capture all the action, and ultimately, the Seahawks' elation.
Satellite Photos Show the Scale of This Week’s Historically Powerful Nor’Easter
A historically powerful nor'easter winter storm has begun hammering the northeastern United States, causing widespread power outages and putting nearly 60 million Americans under winter storm warnings. As bad as the situation is on the ground, it looks downright incredible from space, as new NASA and NOAA satellite photos demonstrate.

This AI Image Detector Checks a Global Database of Debunked Pictures
AI image detectors are notoriously imperfect, giving an estimated score rather than concrete answers. But a new tool called Image Whisperer checks to see if a picture has been debunked elsewhere -- acting more like a human researcher.
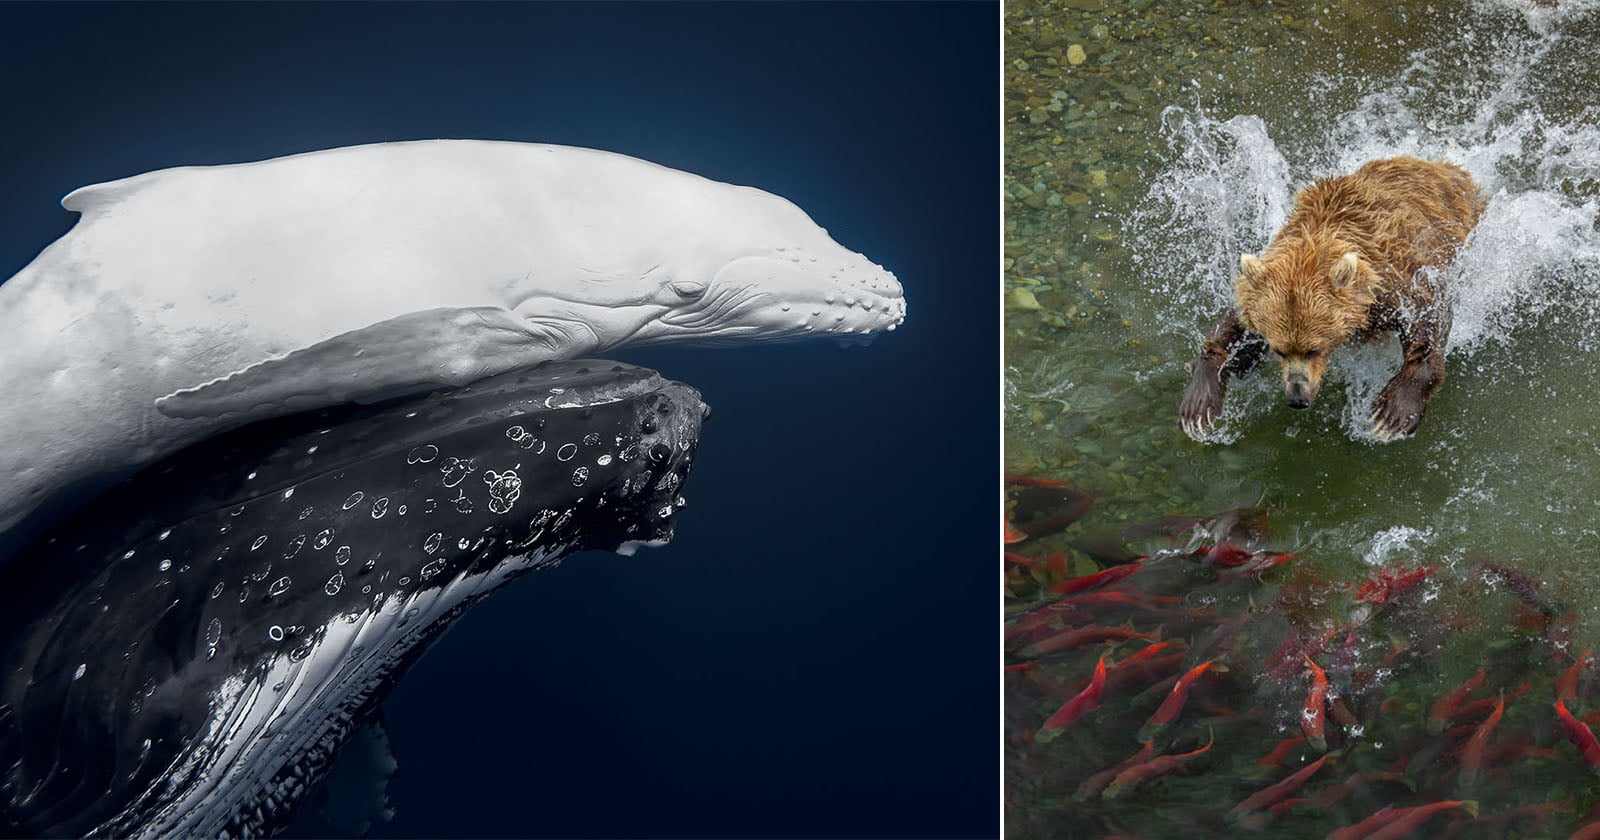
The 42 Fantastic Winners of the World Nature Photography Awards

How a 2003 Skate Film Made the Boards Invisible
Yeah Right! (2003) is an influential skateboard film made by Spike Jonze -- credited with taking skateboarding into the digital era.
The Photographer’s Guide to Capturing Wildflower Superblooms
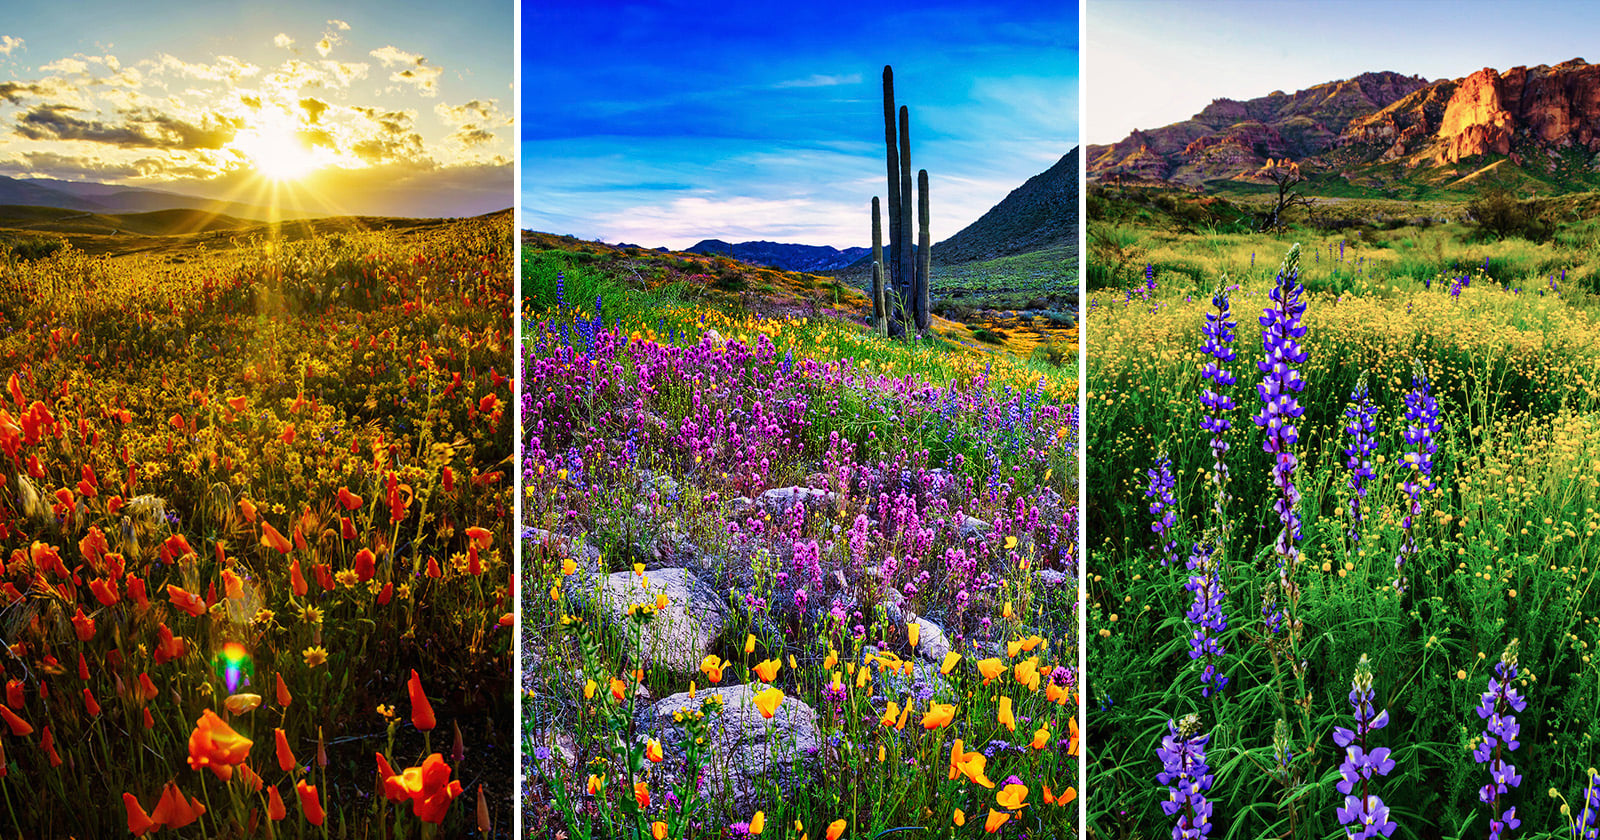
Once-a-decade superblooms are just starting to turn deserts of the American West into a photographer’s dream. For photographers, the challenge of capturing beautiful wildflower blooms is as thrilling as it is fleeting. Finding the right blooms, capturing their scale and variety, and conveying both their delicate details and the sweeping grandeur of the desert is an exciting opportunity. In this guide, I’ll share my approach to making the most of this extraordinary event, from planning and equipment to timing, composition, and even some scientific insight.

BBC Films Yellowstone Beaver Felling Trees and Making a Dam for Winter
The BBC has released stunning footage from its Yellowstone series showing a beaver felling a cottonwood tree as it readies its dam for winter.

Getty-Shutterstock Merger Could Hurt Competition, Watchdog Says
A U.K. watchdog has raised preliminary concerns about the supply of editorial content in the proposed merger between U.S. photo agencies Getty Images and Shutterstock, while giving the green light to its impact on the broader global market for stock imagery.
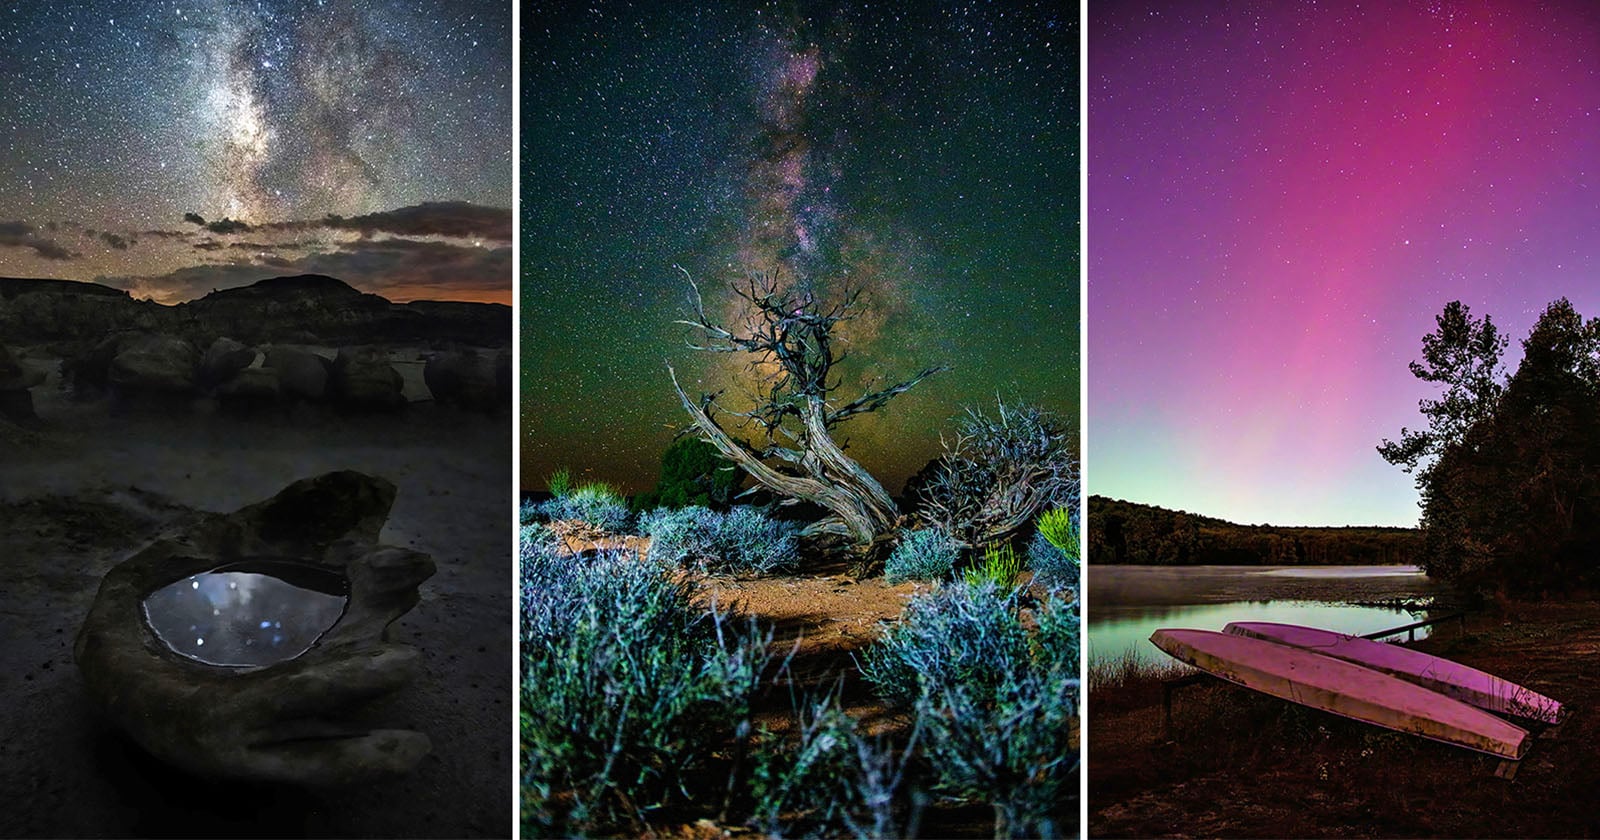
How to Capture Unique Night Sky Landscapes

Window Photography: A View From My Eastern Window
You don’t have to climb mountains or travel halfway around the world to photograph something spectacular. Nature often creates remarkable scenes right in front of you, where you live.
Hollywood’s Fight Against AI Lays Bare Photography’s Weakness by Comparison
The Tariff Situation Isn’t Getting Better for Photographers After All
Yesterday, the U.S. Supreme Court struck down President Trump's global tariffs he instituted last year based on the 1977 International Emergency Economic Powers Act (IEEPA). Hours later, the president announced new 10% global tariffs against most imports under Section 122 of the Trade Act of 1974. Today, the president said he is actually going to raise the tariffs to 15%, the maximum allowed under the trade law he is using for his latest tariffs.
You (Probably) Don’t Need an f/1.2 Lens: The Law of Diminishing Returns
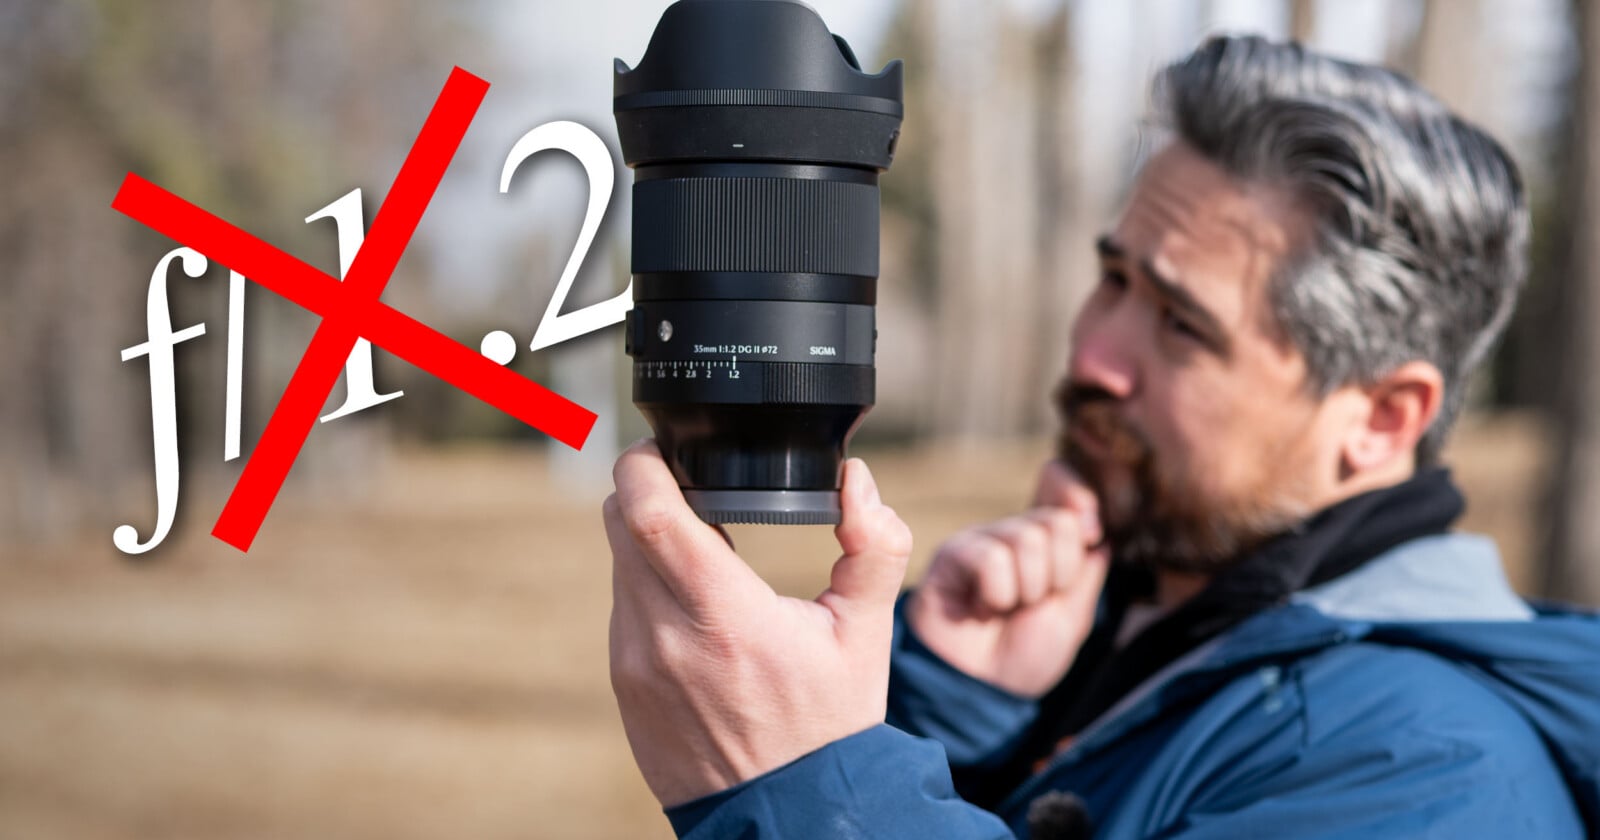
Photography is an art form of trade-offs. When the shutter speed goes up, the aperture must come down. Higher ISO raises the exposure but hurts the image quality. A brighter maximum aperture means more cost and more weight. Everything is based on a give-and-take relationship, and balancing these factors is key to success.

This Is How an Olympics Photographer Proves the Authenticity of His Photos
Never has photography come under such scrutiny, especially in photojournalism and sports photography. In its history, …
The First Mainstream Manufacturer to Put AI in a Camera Will Regret It

How Novachips Keeps its Memory Cards Affordable, Fast, and Reliable In a World of Skyrocket Prices
As memory card prices worldwide soar due to global flash shortages, Korean flash memory company Novachips is working diligently to keep prices stable and ensure that professional photographers and videographers can afford the high-quality, reliable memory cards they need.

Trump Announces 10% Global Tariffs Hours After Supreme Court Ruled Against Him
Just hours after the U.S. Supreme Court struck down President Donald Trump's global reciprocal tariffs as illegal in a 6-3 ruling, the president announced a new 10% global tariff for 150 days.
The Best Deals on Third-Party Lenses
Finding the right lens for your camera can transform your photography, whether you’re capturing landscapes, portraits, city streets, or distant wildlife. This week’s B&H lens deals are organized by mount type, making it simple to find the perfect fit for your system while taking advantage of significant savings. From compact primes to super-telephoto zooms, these offers give photographers a chance to upgrade their gear without stretching the budget.
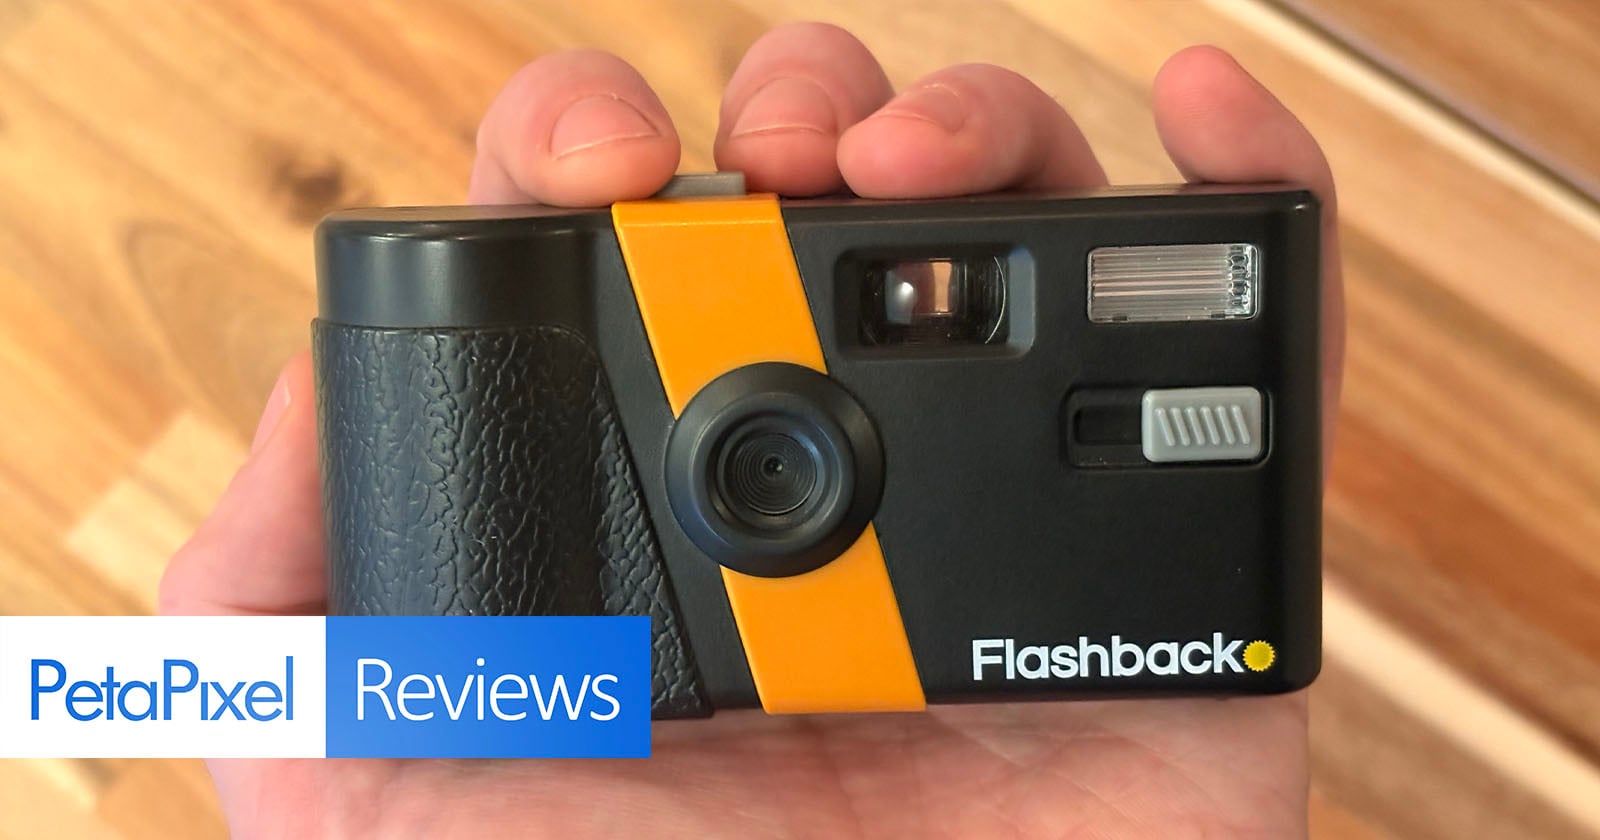
Flashback One35 V2 Review: This Non-Disposable Digital Camera Is Chaotic Fun

March 3 Total Lunar Eclipse Stretches Across Asia, Oceania, and the US
A total lunar eclipse will take place over half the planet on March 3, visible from Central China and Australia all the way across to the East Coast of the United States and the western edge of South America, providing an excellent photographic subject and viewing experience.
US Supreme Court Rules Trump’s Tariffs Are Illegal
ACR and Lightroom Now Support Canon’s New Ultra-Wide Lenses
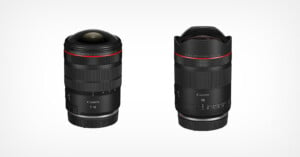
Adobe today added new camera and lens support to Adobe Camera Raw, Lightroom, and Lightroom Classic. Newly supported cameras include the OM System OM-3 Astro and the Ricoh GR IV Monochrome, while new lens support includes the latest lenses from Canon, Leica, and more.

Google’s Pomelli Photoshoot Feature is Here to Hammer Nails into the Coffin of Photography
Pomelli by Google Labs is a free AI-powered marketing tool designed to help small to medium-sized businesses with their marketing campaigns, and it has just released a new feature: 'Photoshoot'.

How a Reuters Photographer Captured Former Prince Andrew’s Dramatic Arrest
A Reuters photographer captured an astonishing photograph of the former Prince Andrew exiting a police station yesterday after he had been arrested for misconduct in public office.
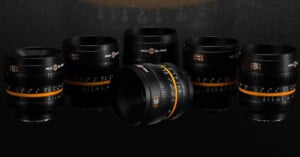
IronGlass Brings Legendary Soviet Cinema Lenses to Mirrorless Cameras
IronGlass, best known for its rehoused Soviet-era cinema lenses, has announced the Air series, a set of compact, modified vintage cine lenses built for filmmakers using modern mirrorless cameras.

Tamron-Link Dongle Lets You Customize and Control Your Lens on iPhone
Alongside the exciting new Tamron 35-100mm f/2.8 Di III VXD lens for Sony E and Nikon Z-mount cameras, Tamron announced Tamron-Link, a new Bluetooth-enabled accessory to enable photographers to easily customize their Tamron lenses using a mobile device, including iOS and iPadOS devices for the first time.

The World’s Biggest Photo Show and Galaxy Unpacked Are Both Next Week | The PetaPixel Podcast
Next week starts a string of important product launch windows. First up is Samsung Galaxy Unpacked, followed nearly immediately after by the CP+ show in Japan. But it doesn't end there, because the following week is Mobile World Congress. It's a busy time!
Female in Focus x Nikon 2025 Winners Amplify Women’s Voices in Photography

Wildflower Superbloom Sweeps Death Valley for First Time in 10 Years
Across the deserts of the American West, a rare and widespread superbloom is taking shape, including in Death Valley National Park where it has already started. Following months of steady storms and snowmelt runoff, landscapes typically defined by sand and sparse vegetation are now covered in acres of vibrant wildflowers.

With SanDisk Spun Off, WD is Reviving and Relaunching the G-Drive Brand
Now that SanDisk has been spun off into its own separate company, Western Digital (now known as just WD) is reinvigorating the G-Drive brand and transitioning all of the HDD products that used to be SanDisk Professional over to it.
Snapseed’s New Built-In Camera Has Film Simulations, Including Portra and Superia

Snapseed suddenly updated its app last year after years of silence, and it doesn't seem like the team is done. Today, it pushed an update to the iOS app that adds a camera to the interface; it's the first time Snapseed has ever had a camera. For reference, it launched in 2011 and was acquired by Google back in 2012.
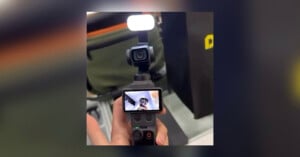
If This Is the DJI Osmo Pocket 4, It Doesn’t Look Very Different
According to The New Camera, a customer walked into a DJI authorized store in Malaysia with what he claimed was the DJI Osmo Pocket 4. As The Verge notes, the Reel and TikTok that store shared have since been deleted, but The New Camera kept its copy online.

Reservations No Longer Needed at Three of America’s Most Popular National Parks
The National Park Service (NPS) has announced that visitors to three of the most popular national parks in the United States will no longer need to make reservations to enter in 2026. The move is a dramatic shift in how the NPS handles over-visitation and overcrowding, and may significantly affect how landscape and nature photographers approach their photo adventures.
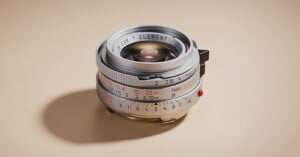
Mandler’s First Recreated Classic Leica Lens Sold Out Almost Immediately
Chinese newcomer Mandler announced its first lens last May, the Mandler 35mm f/2 "7 Elements." The lens faithfully recreates the classic Leica Summicron 35mm f/2 at an extremely aggressive price of about $350. It went on sale this week and sold out almost immediately.

Horror ‘Demon’ Appears in DC Real Estate Listing Photo
Real estate photos are meant to attract renters and buyers, but AI-generated images are misleading people and making horrific errors. Case in point: a Washington, D.C. listing featured a “demon” climbing out of a bathroom toilet.

These Multi-Color Light Stands Inject Some Fun into Mundane Photo Gear
Photographers are used to black light stands designed to blend into the background, but one creative is trying to upend the status quo by injecting some color.
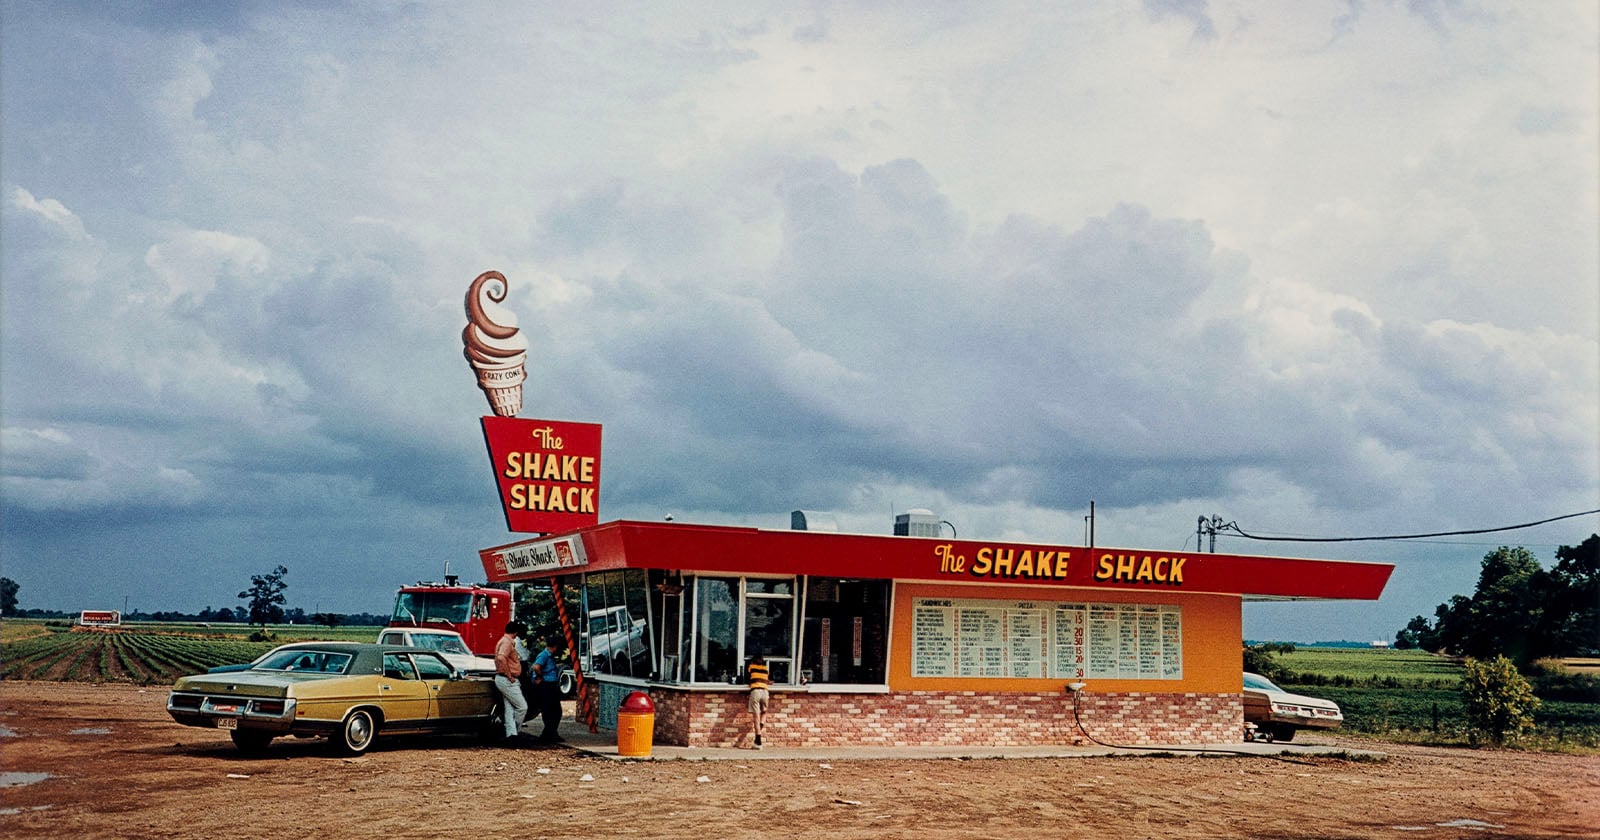
William Eggleston’s Final Dye-Transfer Photos Go on Display

The Vivo V70 Smartphone Has a Trio of Zeiss Cameras
Vivo has announced the global launch of its V70 smartphone, featuring a new, more powerful camera system co-engineered with Zeiss.
Tamron 35-100mm f/2.8 Di III VXD Review: Every Street Photo Focal Length
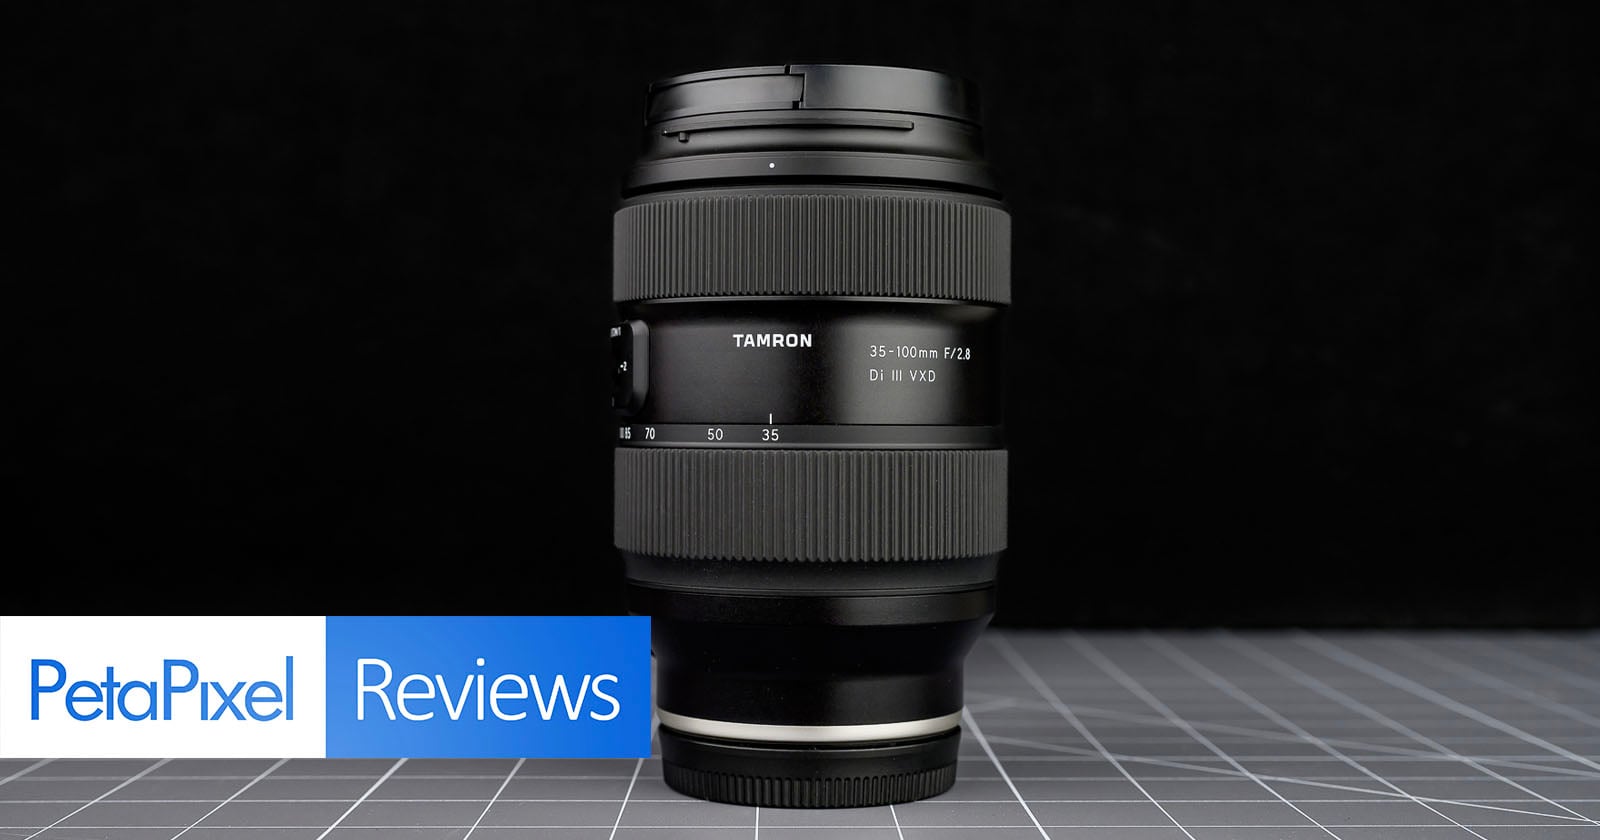
Tamron consistently creates zoom lenses that break the norm when it comes to focal length, offering alternatives to the classic patterns that most other manufacturers pursue. Even the more conventional Tamron 28-75mm f/2.8 and 70-180mm f/2.8 refuse to match the more common 24-70mm and 70-200mm formulae. However, the standout lens from Tamron in recent memory is the oddly effective 35-150mm f/2-2.8 lens, which proves to be an ideal event lens for almost any situation. If it could be faulted in any way, it would be due to its rather heavy weight and bulky size.

The Tamron 35-100mm f/2.8 Is a Lightweight Alternative to the 35-150mm
Tamron has announced the 35-100mm f/2.8 Di III VXD lens for Nikon Z and Sony E-mount cameras. At nearly the same size and weight as the 28-75mm f/2.8 Di III VXD lens, the company says it was designed to be a lightweight alternative to the 35-150mm f/2-2.8 Di III VXD.

The World’s First Modular Pinhole Camera System Is Now Available
The extremely clever and customizable Mania MFZ pinhole camera system PetaPixel reported on in late 2024 has entered full series production following a Kickstarter campaign and is available to all photographers. Each camera is hand-built in Germany.

This AI Company Wants to Pay You for Your Photos
In an era when artificial intelligence thrives on data, a new initiative is turning everyday photographers into paid collaborators, one original image at a time.
