Tutorials

Whether you are a beginning photographer or a seasoned professional, there are always new things to learn and more areas to improve in. PetaPixel regularly publishes in-depth tutorials on a wide range of subjects, from Photoshop tips and post-processing techniques to ideas on building your own cameras and do-it-yourself equipment.

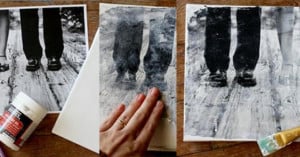
How to Make Your Own Canvas Print

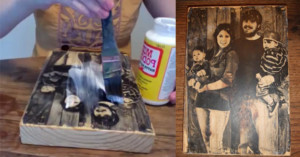
Earlier this month we shared a hugely popular post on transferring a photo onto a block of wood. Well, the same technique can also be used to create a canvas print. All you need, besides the stretched canvas, is some gel medium and a photo printed with toner (e.g. made with a laser printer or photocopier). The gel medium is used to "steal" the toner from the paper, and once the paper is rubbed away, the print remains. Check out the full tutorial over on A Beautiful Mess.

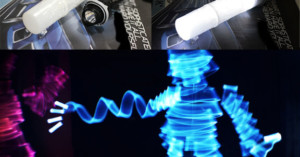
Turn Film Canisters Into Colored Glow Sticks for Light Painting

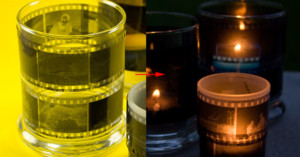
If you have some translucent film canisters lying around, you can turn them into DIY glow sticks for light painting photography. Fuse three of them together into one translucent tube, stick a small flashlight into it, wrap it with a colored translucent sheet, and voilà, you have yourself a cheap and simple glow stick. It's a way to add some thickness to your light painting "brush".

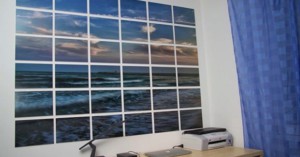
Display a Giant Photo on Your Wall Using Wooden Boards

Inspired by Caleb Ungewitter's giant poster project, Andy Beckmann decided to try his hand at making a nicer version. Instead of attaching prints to the wall directly, Beckmann purchased 36 210x297mm wooden boards to mount the prints on (the photo was split into smaller prints using PosteRazor). The result is a more durable and professional looking display that can be easily reused in a different location.

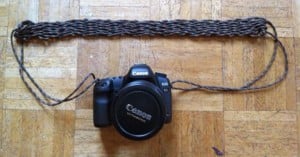
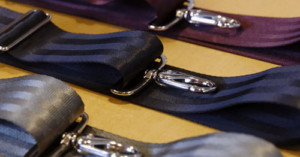
How to Make a Sturdy Camera Strap for $7 Using Parachute Cord

Eddie had a hard time finding a camera strap he liked, so he decided to make his own in the style of some rifle slings he found online. The slings were weaved together using 550 Paracord (parachute cord), which has a breaking weight of 550 pounds. He found some for sale for $7 at his local army-navy store, and weaved together his own rugged DIY camera strap.

Make Stickers Out of 35mm Slide Film

Our camera stickers are fun, but for something more personal you can make your own 35mm film stickers. All you need is a sticker making machine that usually costs between $10-$20 online or in your local craft store. You can use any film you'd like, though slide film is recommended because it'll give you positive image stickers. With film manufacturers struggling, any reason to buy more film is a good reason! …

The Basics of Google+: 10 Tips to Help Photographers

Google+ is becoming pretty popular among photographers as a way to share work and connect with others. If you've been thinking about jumping in but don't know where to begin, Scott Kelby and Co. made this helpful (and free) hour-long primer with tips on how to use the service effectively.

Turn a White Plastic Flask into a Quick DIY Flash Diffuser

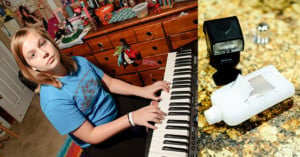
Photographer Joseph Nienstedt was at a grocery store recently when he spotted a $4 plastic flask that reminded him of a curved light modifier he had seen before. After buying it and transforming it into a diffuser using a razor, Nienstedt discovered that it provided softer light than his Sto-Fen Omni-Bounce due to the 5x larger surface area. While it's not a very respectable look for a professional environment, using a plastic bottle as a DIY diffuser could be an option if you're in a pinch or …

The Basics of Photography by National Geographic

Here's a helpful 22-page guide by National Geographic that explains many of the basic concepts of photography, from lens types to composition. It's a free excerpt taken from the 400-page book "National Geographic Ultimate Field Guide to Photography", and is a great read for anyone just starting out.

Turn an Unwanted Globe Into a Unique Photo Display

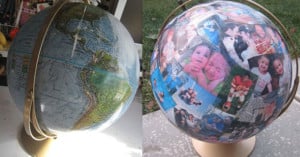
For her husband's 40th birthday, Jen had the idea of turning an old, unwanted globe into a unique photo gift showing "his world". She printed photographs onto white tissue paper, and then adhered the photographs to the globe using Mod Podge. Head on over to her site for a step-by-step walkthrough.

How to Make a DIY Portable Light Box

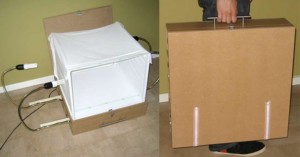
Needing a portable light box, Instructables member HHarry came up with a ingenious collapsible design that has built-in lighting. He's also written up a tutorial on how you can build one too, but be warned: the materials may cost you up to $80, and you'll need a good amount of know-how. However, if you're looking for a hefty weekend project and need a convenient way to light and photograph small objects on-the-go, this one's for you.

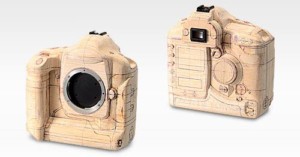
How to Carve a Canon 1D Out of Wood

Back in 2003, Canon published a tutorial on how to carve a Canon 1D mockup out of balsa wood. The tutorial has since been taken down, but thanks to Internet Archive's Wayback Machine, much of the tutorial has been preserved. If for whatever reason you suddenly feel the urge to carve a fake camera, Canon's step-by-step guide is a great place to start.

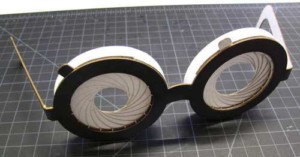
Make a Pair of Paper Aperture Glasses

Instructables user art.makes has a tutorial on how you can make a pair of paper iris glasses with adjustable apertures. You could definitely build upon the idea to make each side more like a camera lens (e.g. adding barrels, f-stop values) -- perhaps as part of a geeky Halloween costume?

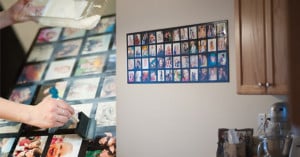
Make an Awesome Wall Picture Collage

Bits of Everything has a great tutorial on how you can make a large and beautiful picture collage for your wall on the cheap: the entire project costs less than $20. Mod Podge glue, which dries clear, is painted over the entire thing to give board a matte finish. This could definitely make for a fun and photographic weekend project.

How to Make a DIY Picture Frame for $5

Buying large frames for displaying your prints can be expensive. For those of you who are rich in time but short on money, Oh Happy Day has an awesome tutorial on how you can create nice-looking picture frames for just $5. The main ingredients are plexiglass, mat board, cardboard, and paper tape. Buying all the supplies will set you back around $50, but you should have enough material for around 10 frames.

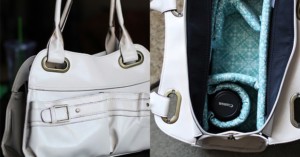
Make a Padded Insert to Turn Any Bag into a Camera Bag

Some photographers prefer using ordinary bags with padded inserts to carry their camera gear, both for aesthetic reason and to prevent theft. Instead of buying an insert, you can also make a custom one with some foam, fabric, and velcro. Abi over at vanilla & lace made one to turn her purse into a camera bag after finding that purse-style camera bags can cost up to $300. She also wrote up a helpful tutorial on how you can do the same.

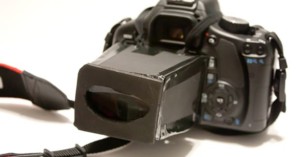
How to Make a DIY DSLR Viewfinder

Want a DSLR viewfinder but don't want to pay big bucks for a professional one? Photojojo has a tutorial on how you can build your own DIY version using a lens from a pair of magnifying reading glasses and some plastic/foam board. It'll definitely draw some weird looks but hey, it works! …

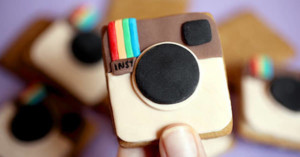
Geeky Homemade Instagraham Crackers

Baking blog Bakerella has a fun tutorial teaching how to make Instagram logo graham crackers, or "Instagrahams", a geeky treat for anyone addicted to the wildly popular photo sharing app.

Long Exposure Light Painting, MIT-style

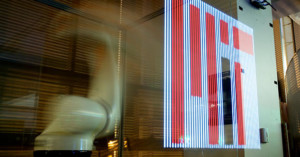
Here's a long exposure light painting tutorial by a couple MIT Media Lab students. In addition to teaching the basics of the technique, they also show off a robot arm that they programmed to do extremely precise light painting photos and animations.

Customize Your Camera Wrist Strap, Friendship Bracelet-style

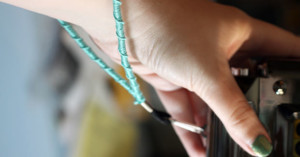
Here's a weekend project idea: personalize your camera's wrist strap by making it look like a friendship bracelet! All you need is some embroidery thread and some time. Simply repeat a simple knot over and over and your strap will magically be covered with a neat repeating pattern. Head on over to KEH for the step-by-step tutorial.

How to Make Instant Film Business Cards

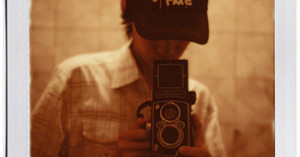
Lomo shooter wn7ant came up with a neat way of turning instant film photos into one-of-a-kind business cards. After printing out his business card design onto a transparency, he cuts it out and sticks it onto an Instax film cartridge. To create a new card, he simply takes a picture -- the contact information on the transparency is printed onto every photograph!

Make a Bouncy and Kid-Proof Camera with Sugru

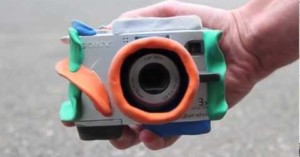
Most cameras designed for young children have kid-friendly designs, but eye-numbingly bad image quality. On the other hand, a cheaper point-and-shoot camera shoots better photos but probably won't last very long in the hands of a child. A way to make a cheap digital camera more kid-friendly and durable is to use Sugru, a special kind of silicone that resembles modeling clay. Strategically cover the camera with pieces of it, and you'll have a camera that even the most reckless child will have a …

How to Photograph Yourself Levitating

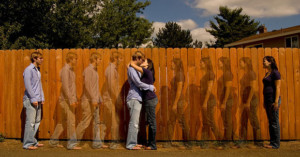
Hayashi Natsumi's levitation photos have received a lot of publicity as of late (check out her blog here), prompting Kai over at DigitalRev to create this short video tutorial teaching the technique. Could be a fun weekend project if you're looking for something to shoot.

Print Your Photos onto a Hair Ribbon

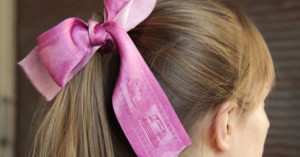
Inkodye sells a line of light sensitive textile dyes that you can use to print photos onto fabrics. An example is this photo-printed hair ribbon, created using some white silk ribbon and Inkodye Violet. Check out the tutorial over at Upcraft.it to learn how to make your own.
How to Photograph a Super Happy Dog

Wanna know how to capture a wide-eyed and wide-mouthed photo of your dog? It's easy! First, set up your camera on a tripod and point it at your dog. Then, simply throw it some tasty treats with one hand while snapping photographs with the other. There are all kind of expressions you might capture using this technique, but this one by Andrea Sillem is pretty priceless.

How to Take Better Pictures with Your Point-and-Shoot Camera

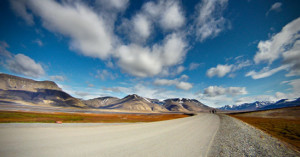
There are several things you can and should do to get the most out of the images from your point-and-shoot camera. If you use it correctly, people won't know with what camera the shot was taken.Check out the photograph above and guess which camera it was taken with. I'll reveal the answer at the end of the post.

Wear Your 35mm Negatives as a Necklace

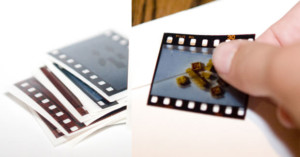
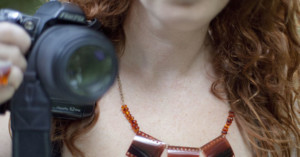
Craftzine has a step-by-step tutorial teaching how to turn your unwanted 35mm film into an uber-geeky necklace. Not sure how comfortable wearing it would be, but if you're the type that's constantly looking for new levels of photo geekiness, this one's for you.

A Tiny Photo Album for Your Keychain

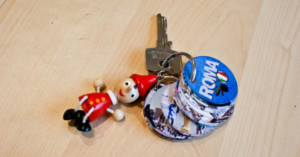
Here's a fun weekend project: create a tiny keychain photo album with your favorite photos! Simply print out your photographs as little circles on photo paper or card stock, laminate it, cut them out, and punch the holes. It's a neat way to keep some tiny snapshots with you, and also makes for an awesome gift. To get started, head on over to the tutorial by Happy to Create.

Turn an Unwanted Tie into a Camera Strap

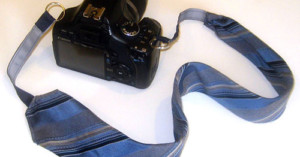
Ties are meant to be soft and comfortable around the neck, so they're a perfect fit for a do-it-yourself camera strap project! Besides an unwanted tie, you'll need some sewing supposed, some ribbon for the ends, and a couple rings for attaching the strap. Check out the step-by-step tutorial over on Ecouterre.

How to Use Steel Wool for Beautiful Light Painting Photographs

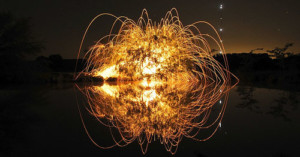
Here's an awesome tutorial that teaches you how to create beautiful light painting sparkler photos. The materials are pretty cheap: all you need is some steel wool, an egg whisk, and a rope or cable. Simply place the steel wool inside the whisk, light it on fire using a lighter (or 9V battery), and swing it around at the end of the cable while your camera snaps a long-exposure photo. Just be careful not to start a fire!

How to Read an MTF Curve to Gauge the Sharpness of a Lens

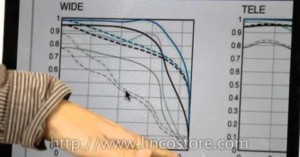
One of the things you've likely seen when looking at product or review pages for lenses is an MTF chart, used by manufacturers to give consumers an idea of how sharp a particular lens is. If you've never gotten around to learning how to interpret these charts, here's a helpful 10-minute video tutorial on the subject. Luminous Landscape and Cambridge in Colour have great tutorials on this as well if you're more comfortable with text-based tutorials.

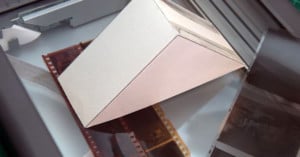
How to Scan Film Using Your Ordinary Flatbed Scanner

If you've tried to scan film using an ordinary flatbed scanner as you would a piece of paper, you've probably discovered that it didn't turn out very well. The reason is because film needs to be illuminated from behind, while conventional scanners capture light that's reflected off what they're scanning. Before you give up hope and shell out money for a film scanner, here's some good news: you can build a cheap and simple cardboard adapter that turns any scanner into a film scanner!

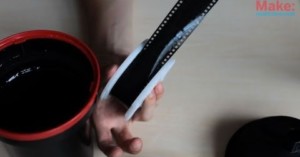
How to Develop Film Using Coffee and Vitamin C

Here's a step-by-step video tutorial teaching how to develop your B&W film using instant coffee and powdered vitamin C instead of actual developer. You'll still need some darkroom gear and some fixer, but it's a neat way to experiment with film photography. Photo geeks call this solution Caffenol, and there's even a special Flickr group dedicated to making homebrew developer.

How to Add a Vignette Using Photoshop

Vignetting is often viewed as a bad thing when discussing lens quality, but it's sometimes desirable to add artificial vignetting to a photograph to draw attention to the center of the image, separating the subject from the background. Here's a helpful tutorial that shows how you can add vignetting using a curves adjustment layer in Photoshop.

How to Make Your Own Cinemagraphs

Photographer Jamie Beck has done quite a bit lately to popularize the "cinemagraph": Harry Potter-esque photos that are given an extra dimension by adding a dash of animation. If you want to learn how to make your own, Photojojo recently published a great tutorial on how to make them using Photoshop. Photographers Fernando Baez and Christopher Mathew Burt have also published tutorials and some helpful tips.

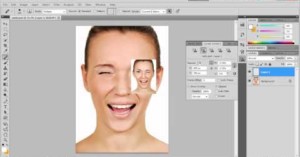
Using the Photoshop Clone Source Panel

If you use Photoshop, you're probably experienced with the uber-useful -- and oft-abused -- Clone Stamp tool, but what about the Clone Source panel that's been around since CS 4? This brief but informative tutorial by Photoshop guru Brian Wood is a great primer for that panel, and also includes some general Photoshop tips and tricks that you might not have known.
How to Shoot a 360-Degree Panorama Using a Christmas Ornament

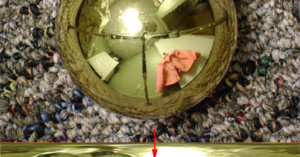
Ryan Burnside recently set out to find a cheap way to shoot 360-degree panoramas of scenes, and discovered that shooting a Christmas ornament (or any other spherical reflection) captures all the information needed -- all that's needed is a way to "unravel" the spherical image. Burnside found that the free image editor GIMP can do the trick.
Use a Small White Card to Bounce Your Built-In Flash

Just because you use the built-in flash on your compact camera doesn't mean you need to live with harsh, direct lighting. Here's a quick video tutorial teaching how to use any small white card (e.g. a piece of scrap paper or a business card) to easily bounce your flash and soften the lightning.