How to Take Better Pictures with Your Point-and-Shoot Camera

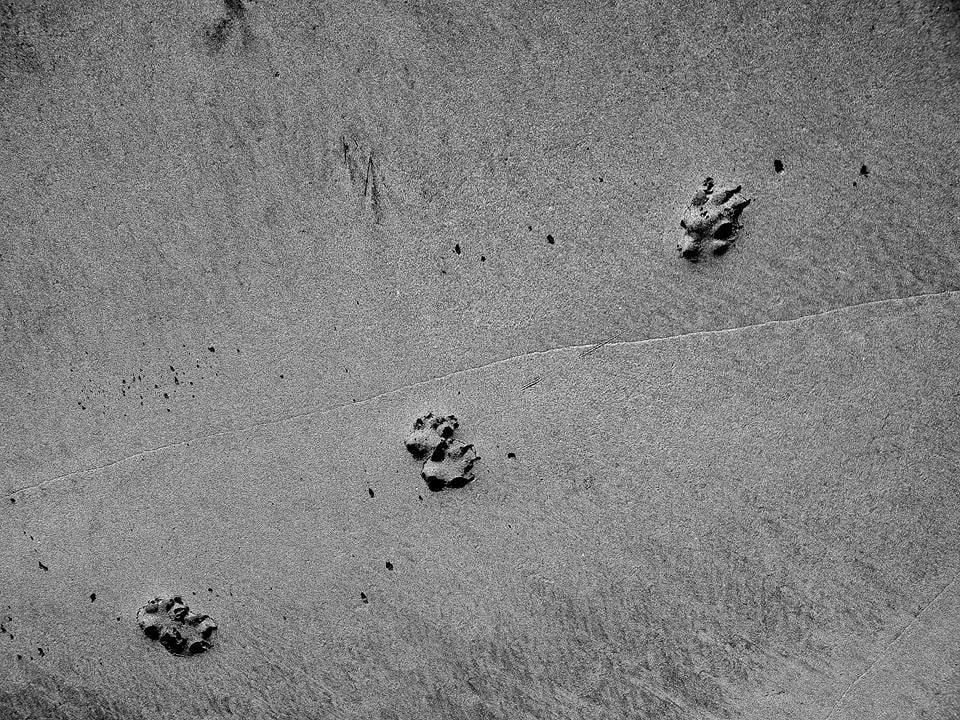
There are several things you can and should do to get the most out of the images from your point-and-shoot camera. If you use it correctly, people won’t know with what camera the shot was taken.Check out the photograph above and guess which camera it was taken with. I’ll reveal the answer at the end of the post.
- Low dynamic range (Range of tones of gray that the camera can see; or what the brightest and darkest thing in an image can be where you still see detail)
- Slow autofocus
- Often poor manual controls
- Large depth of field
- Doesn’t capture raw images
- Poor performance at high ISOs (noise in images taken in low light)
The big issues are the low dynamic range and the large depth of field. These two are the biggest issues that make images taken from a P&S look “amateur” compared to images taken with a DSLR. How can you work around these problems?
Low dynamic range
First we’ll tackle the low dynamic range. This issue produces two symptoms in images. The first one is that you often get your foreground underexposed and sky overexposed which makes the photo look unpleasant. Here’s an example:

It’s an image taken outside during a cloudy day. As you can see the ground and people are a bit dark and the sky is nearly totally white. Not really a pretty photo. What caused this to happen?
This image was taken quite up north in Svalbard during the summer when the sun is always up high. But in a normal part of the world this would equate to taking a photo at around noon. This is when the sun is at its brightest, which means the clouds are at their brightest. The second thing that creates this scene with a lot of dynamic range (difference between light and dark) is the fact that the photographer is shooting towards where the sun would be. This is the brightest part of an already bright sky. Since the ground is mostly composed of dark rocks that reflect little light, you have a scene with more dynamic range than what a P&S can capture.
How do you work around this? Simple: never shoot towards the sun if you want both the sky and foreground to be well exposed.
Here’s another photograph:

This is a very similar image taken the day after the previous one. Same place, same time of day (though that is irrelevant in Svalbard during the summer since the sun is just as high in the sky). The only difference between this and the previous image is that this one is shot away from the sun. This photo is also slightly edited; most noticeably the sky has been darkened with a curves layer and a layer mask. Heres the original to better compare it with the previous example:

See how the unedited image is also better than the other one, simply by shooting in a different direction? Here the reason the ground is so dark is because the camera exposed the scene with 18% grey in mind, but that’s for another lesson.
The second problem of lack of dynamic range in P&S cameras is that the blown out area is oftentimes very unappealing. Instead of just losing information to light, you get weird color shifts at the border of the overexposed area. Here’s one showing a cyan shift:

This is almost impossible to fix. Avoid it.
Here’s a shot almost against the sun that DOES work, because it does not rely on having the foreground correctly exposed:

Moving on…
Slow autofocus
The problem with slow autofocus is easy. Don’t shoot moving things, or if you do, focus on a point and wait until the thing that’s moving is at that point, then take the photo. Just be aware of the lag between pressing the shutter button and taking the photo. This technique requires a lot of practice to get right. This is how sports photos (e.g. race cars) were taken before cameras had autofocus. Some old dogs still do this.
The same technique of half-pressing the shutter can also be used to shorten the lag time between button press and having the photo taken when photographing people (I even do this with my DSLR).
Poor manual controls
This is also quite an easy problem. Either shoot in auto mode or, if your camera has it, use aperture priority mode. You only need to adjust the exposure compensation anyway. Most P&S cameras aren’t designed with manual use in mind and therefore are very difficult and time-consuming to use if you use them in manual mode. Most, however, work quite well in aperture priority mode since the exposure compensation feature is often just a button press away.
Remember to not to let your shutter speed become too slow or your images will become blurry (I generally tell people with point-and-shoots to keep it above 1/60s).
Large depth of field
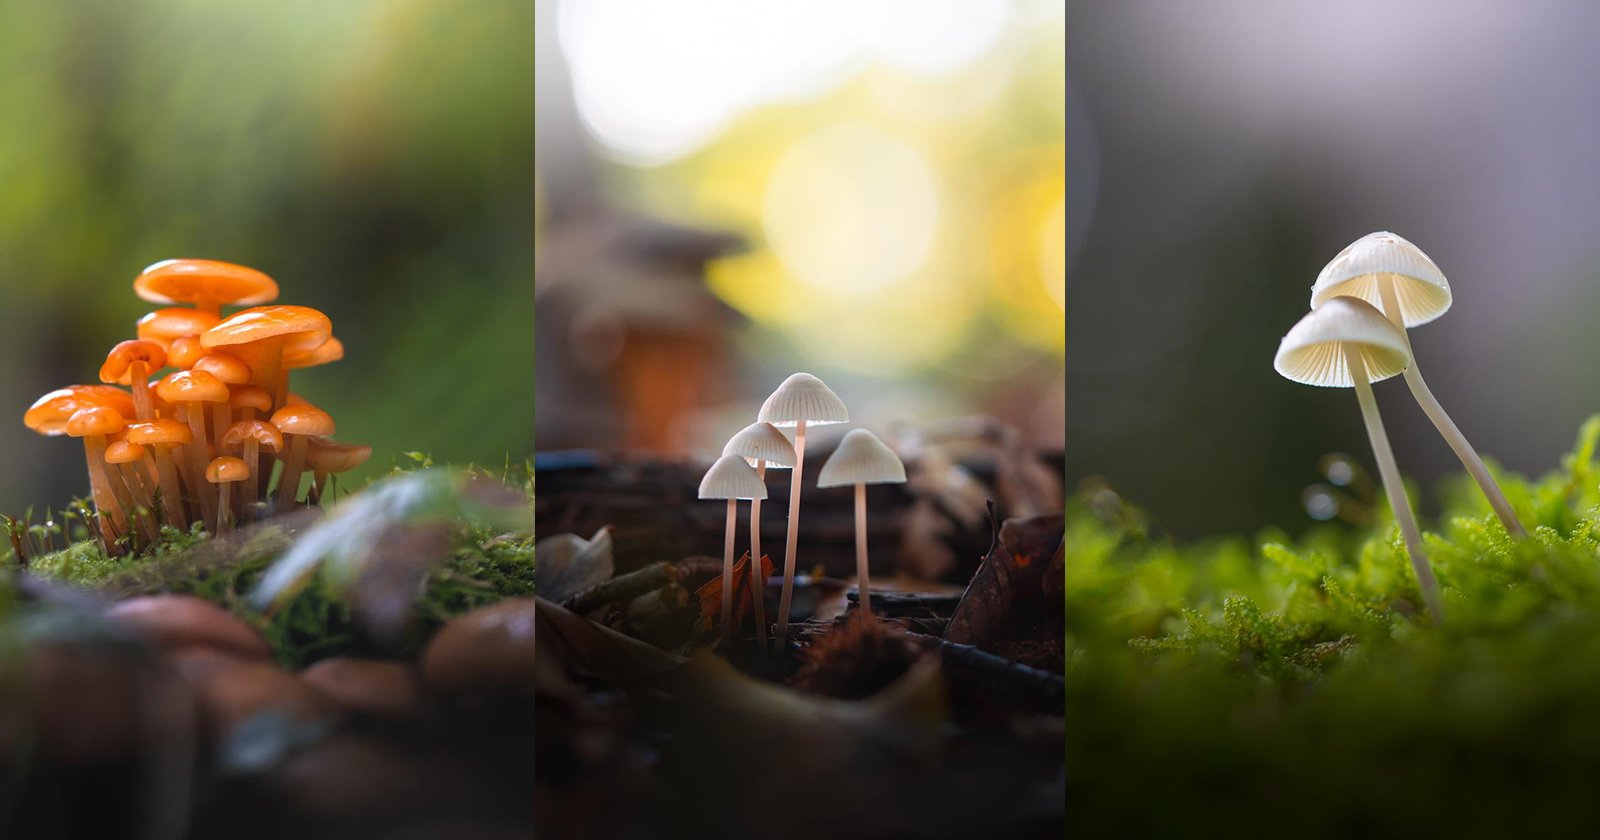
One thing with cameras with large sensors (e.g. DSLRs) is that the area that is sharp can be quite thin and the area that’s blurry quite large. This is an effect of a large sensor and a large aperture. You can usually only recreate this using post-processing when using a P&S. Simply avoid taking photos where you would like this effect. This means when you’re taking portraits, you’ll have to think a lot more about your backgrounds because you can’t hide them in the blur of a large aperture. Your backgrounds will show in all their ugliness. Try to find pretty backgrounds.
Hold off on your portraits until you find something that looks prettier. That’s what I do. Most of the time you want the environment in a portrait as it shows the viewer where you were.
Doesn’t capture RAW images
This is a bit of biggie too, but not too big of a problem. If your camera has the option to, turn sharpness and noise reduction to their lowest levels. Also, put saturation and contrast to 0 (don’t have the camera reduce these below 0: you just want the camera to not raise these so you can do it yourself). All cameras apply post-processing to the photos you take before the camera saves the photos to the memory card. Ideally you want to control this on a per image basis and not have the camera do it for you. You do a much better job at this.
Poor performance at high ISOs
Just don’t shoot when it’s dark. If you have to, do it like this: before going out and shooting, test your camera at home. Set the ISO from 100 all the way to the maximum ISO available. Choose the highest one that you find still acceptable as the highest you’ll ever use. You don’t need to go looking at test charts — just take real photos of things like your own home. Test charts don’t always reflect reality. Now when you’re at your friend’s party, set your camera to this ISO, the largest aperture you can (smallest number), and put the camera on timer mode. Now either attach the camera to a small tripod or just set it on a table and press the shutter and wait until the timer takes a photo. Don’t forget to turn off the flash and set the white balance to incandescent if you’re shooting in a room that’s lit with lightbulbs.
Finally, use Photoshop and search YouTube for Curves tutorials and Layer Mask tutorials. Voila! Now you’re taking better photos than 90% of people with DSLRs.
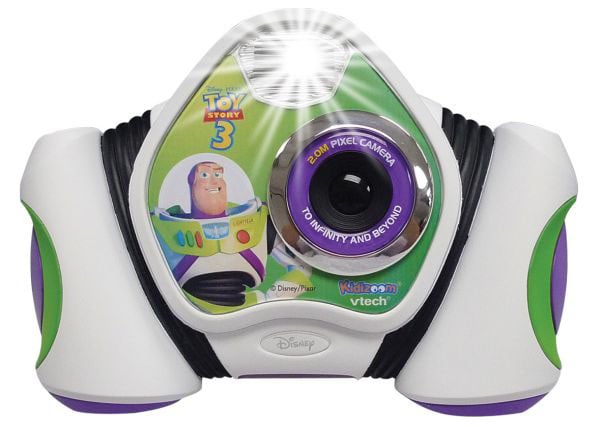
Oh, and that first image I linked to? It was made with a 5-megapixel GoPro Hero HD — a video camera.
About the author: Max Edin is a 24 year old self-taught freelance photographer from Helsinki, Finland. Between photography gigs he studies for his masters degree in economics. Visit his website here.
Image credits: Photographs by Sonja Paetau and used with permission