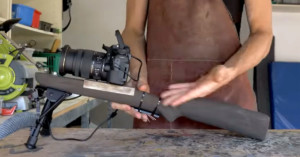
How to Make a Rifle Stock for Your Camera
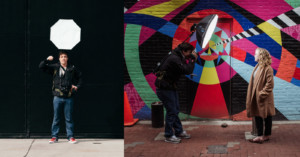
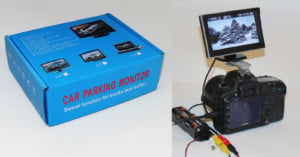
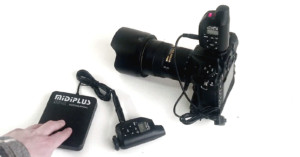
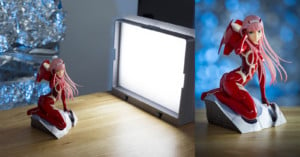
Want a camera stabilizer that's sure to attract (perhaps unwanted) attention? Just add a rifle-style stock to it. Alex over at I did a thing made this humorous 5-minute video showing how he built such a stabilizer for his own DSLR.