Turning a Car Parking Monitor Into a $25 DIY External DSLR Screen
I was often disappointed by my Canon 5D Mark II not having a flipping or better yet a detachable monitor. Instances of this happened when I placed the camera on a fully extended tripod and had the camera pointed downwards to make a photograph of something on the floor. Getting one’s eye above the view screen was sometimes impossible.
Cameras with view screens that flip out or up and possibly rotate overcome these problems.
What to do? I knew that my camera had a video out capability and I had used it often while teaching as it allowed me to display on a large screen what was going on with the camera. But my “strange camera position” requirements needed an independently powered and portable display.
We have a rearview camera on our camper that transmits a rear view to a small display or monitor in the cab. This got me thinking. Could I use such a terminal to hook-up my camera to?
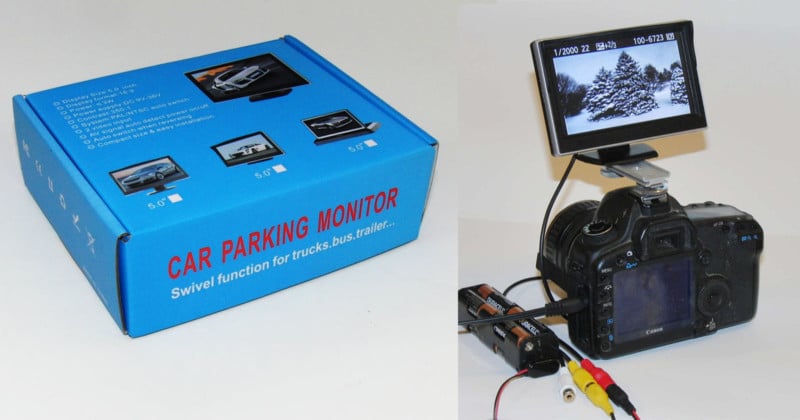
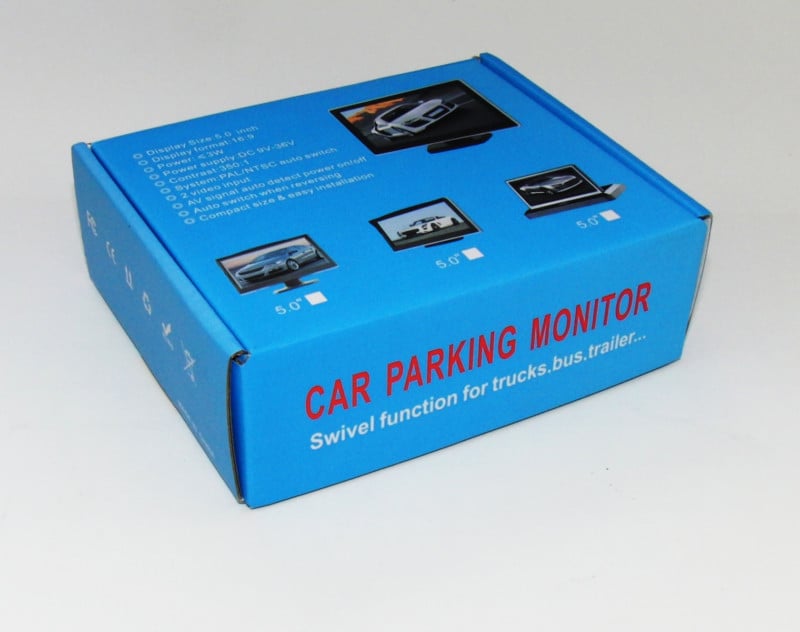
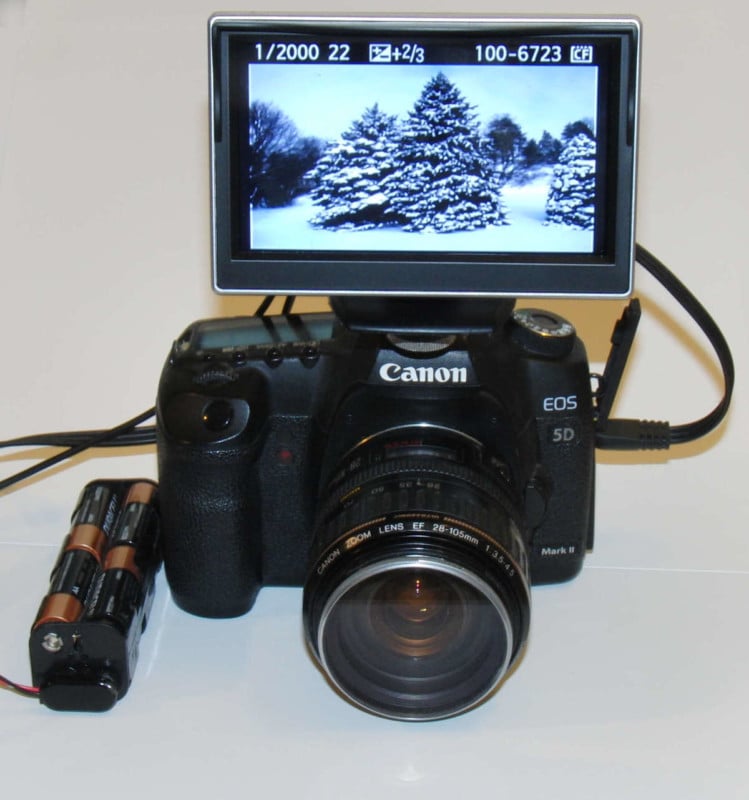
Well, to test the practicality of this possibility, I bought a $20 5” diagonal TFT color monitor advertised for use with a car backup camera. It required 12 volts provided by the car battery. It had a video-in connector and a power connector.
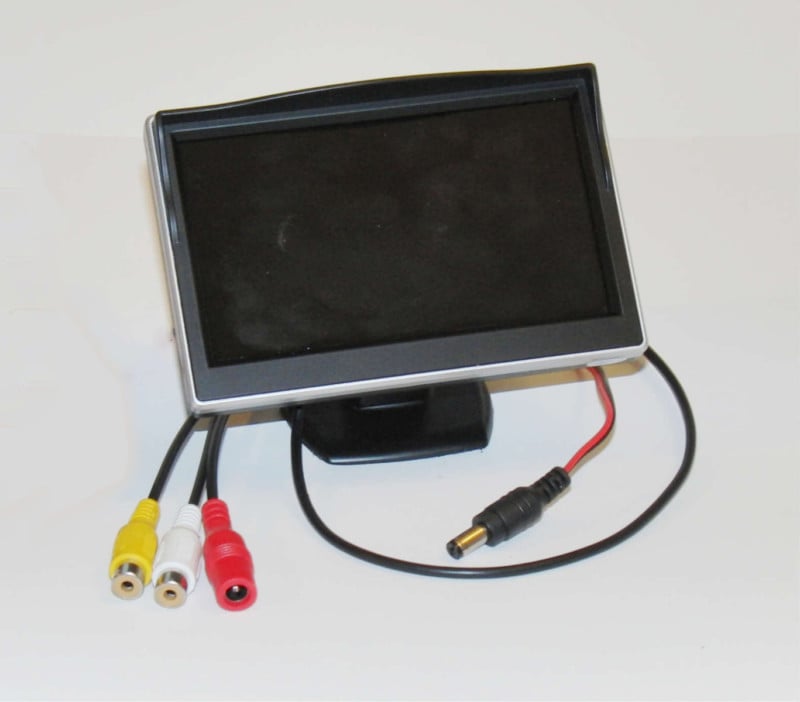
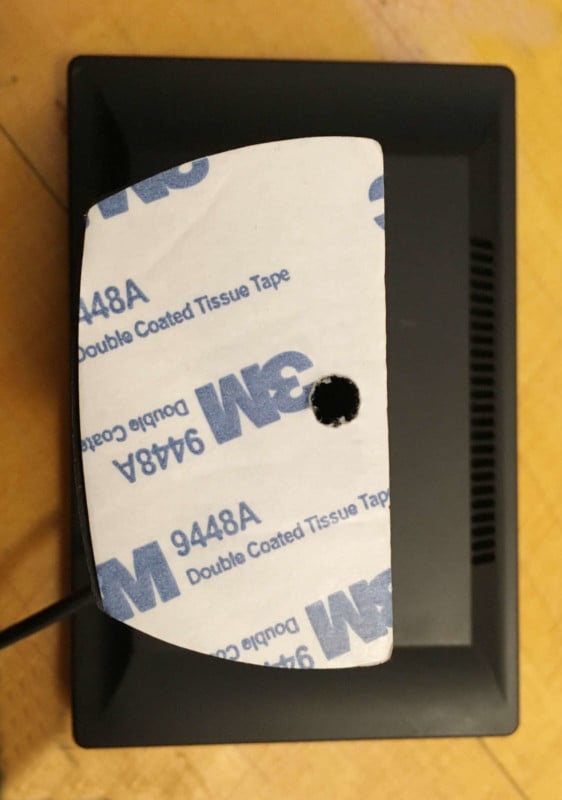
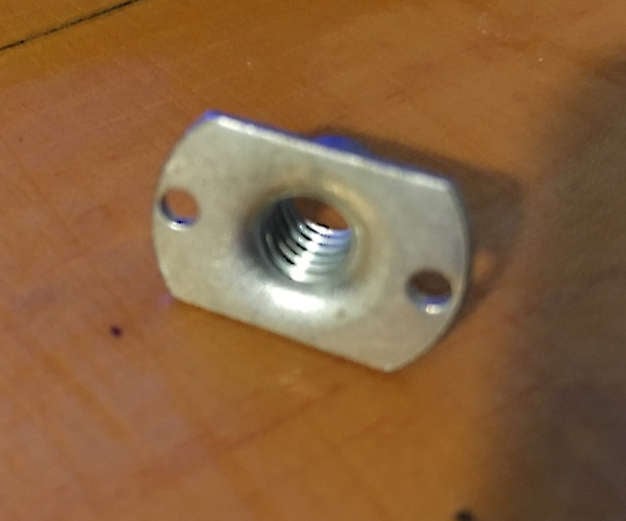
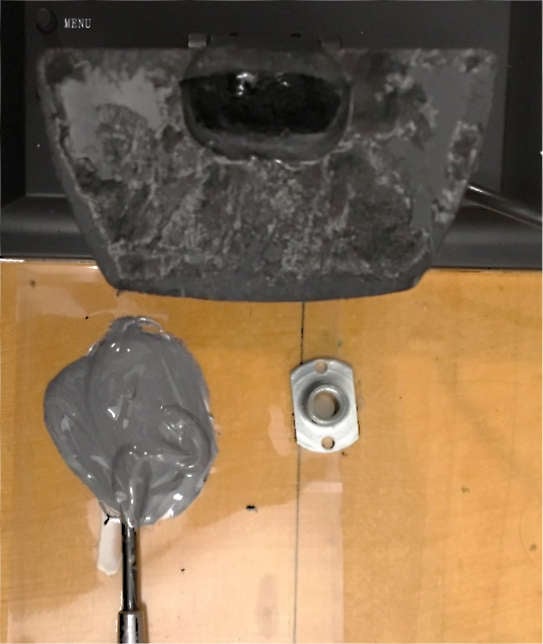
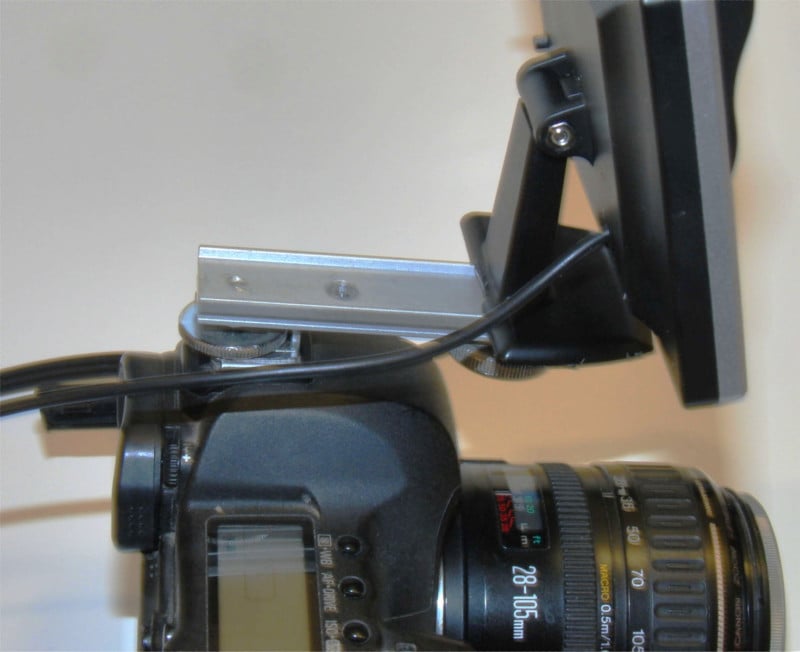
Knowing that eventually I would want to fasten the monitor to something like a tripod I decided to install a ¼ x 20 inch “T” nut on the bottom of the terminals foot. Since the stand was hollow on the inside I gouged out part of the thin plastic bottom cover and glued the “T nut in place.
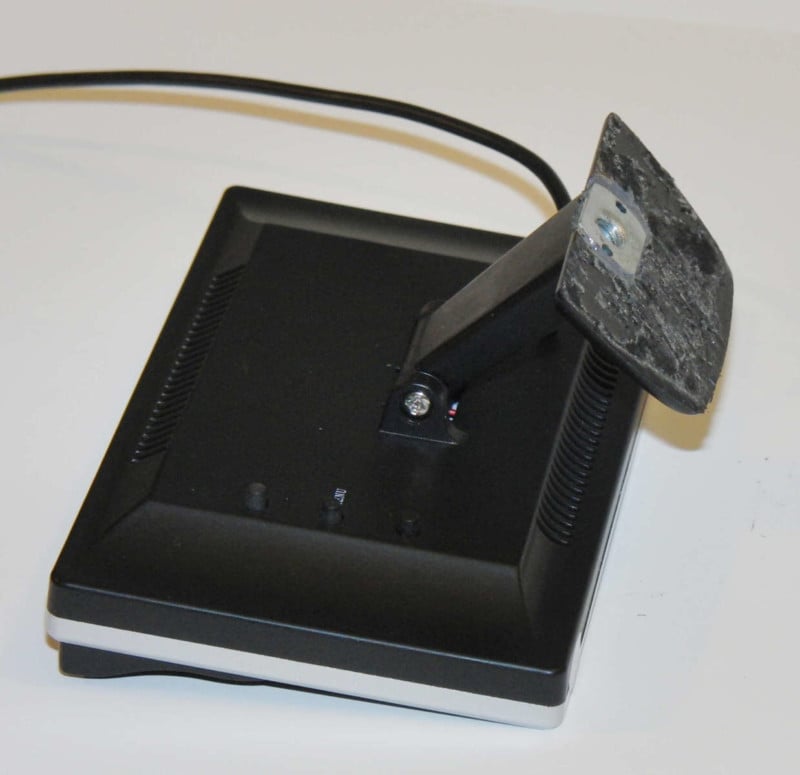
Going further, I found among my left-over items a 3” metal bar with a hot-shoe adapter on one end and a couple of ¼ inch holes drilled along its length. Inserting this into the camera’s hot-shoe would allow me to fasten the terminal to the camera if I wanted that bit of convenience.
My 5D Mark II camera came with a cable to connect its video-out signal to a terminal with video-in capability. I was quite familiar with it.
Making the video connection from camera to terminal was straightforward using the yellow color-coded RCA connectors.
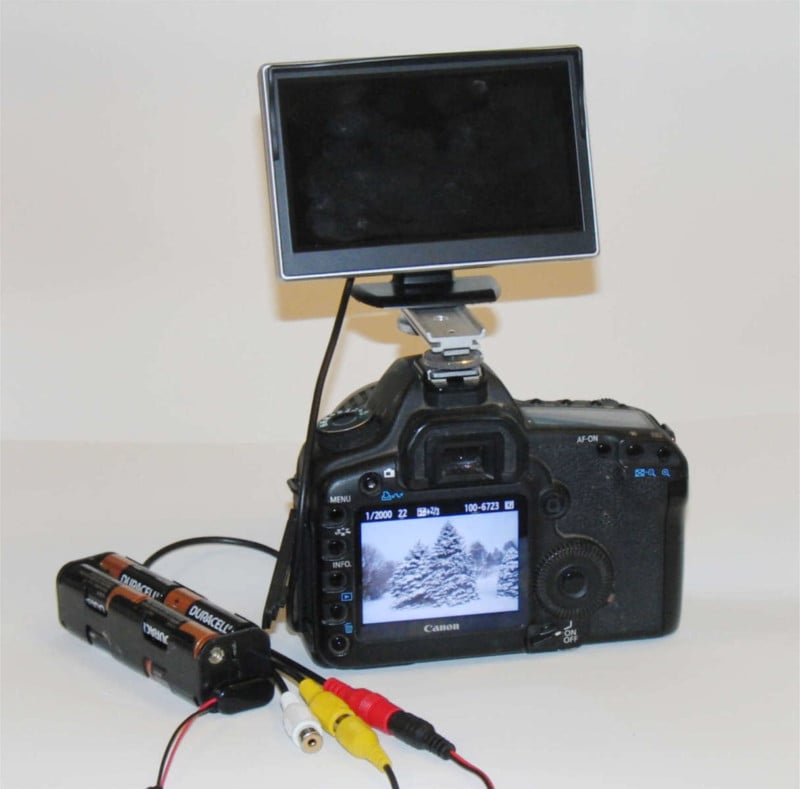
For power to simulate the car battery, I used an 8 pack 1.5 volt per cell battery holder since this would output 12 volts.
To make the battery pack to monitor power connection I used a 9V battery clip soldered onto the end of the terminal’s power supply cable that came with the terminal.
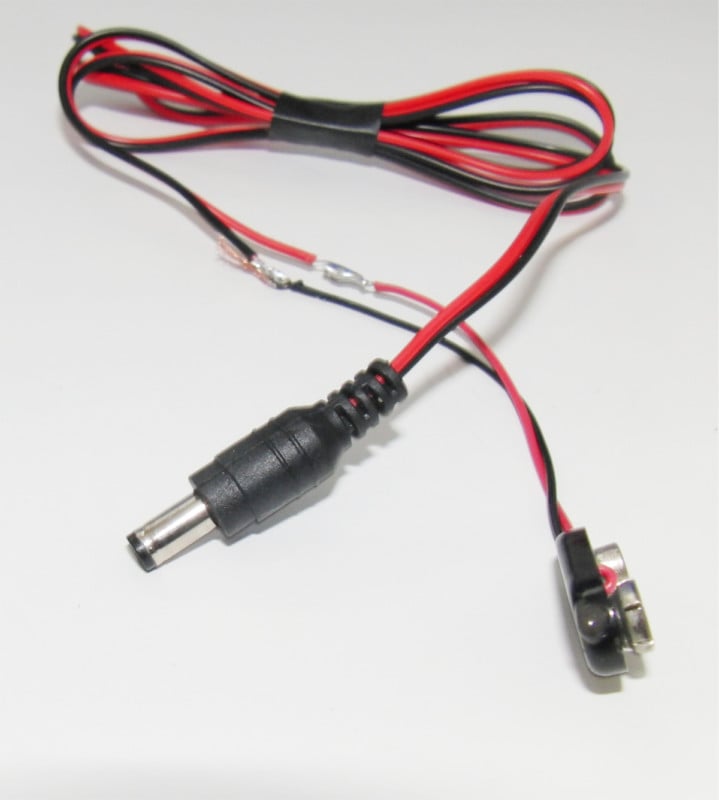
This proved “tricky” as at first I connected the battery clip incorrectly.
When I made the video connections and attached the battery clip to the battery pack and turned on Live View on my camera nothing happened. Needless to say, I was disappointed.
However, I reversed the polarity of the power cable and suddenly the monitor displayed what the camera’s screen would. BTW, the camera screen goes dark when you output video.
The monitor I got does not have an on-off switch. Although the power is connected the screen is blank until a video signal is detected. Interesting. It automatically switches as needed for PAL/NTSC.
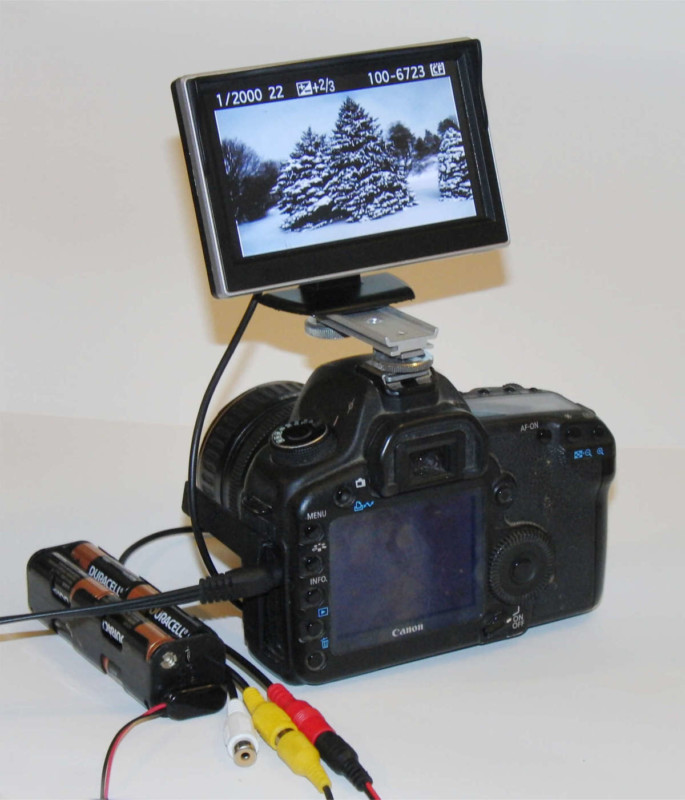
Finally, I could place the camera on the floor or at the ceiling and could easily see what the camera would be recording. Using the built-in image magnifier also let me adjust focus accurately while away from the camera.
Finally, I noticed the monitor would work from 9 to 34 volts DC. So I thought I’d try running the monitor with a little 9V battery. I’m not sure how long it would run on this battery but it worked just fine.
Here are the parts I used:
One 5 Inch HD TFT LCD Digital Car Rear View Monitor free shipping found on eBay. $21.49
One 8 cell battery holder $3.49
One 9 volt battery clip $0.75
Batteries $?
Total cost minus batteries: ~$25
I’m happy!
P.S. If any part of this is not clear you can contact me by email.
About the author: Andrew Davidhazy is a retired professor who headed the Photographic Imaging and Technology program at RIT for over 40 years. The opinions expressed in this article are solely those of the author. You can find more of his work on his website.