How to Build a $30 DIY Rain Machine (and How to Shoot with It)
I’ve written about this project in the past, as I originally made the rain machine and shot with it in 2012, but we’ve now done it in video form! Hopefully it shows a little more detail about the construction and how I shot with it.
The Build
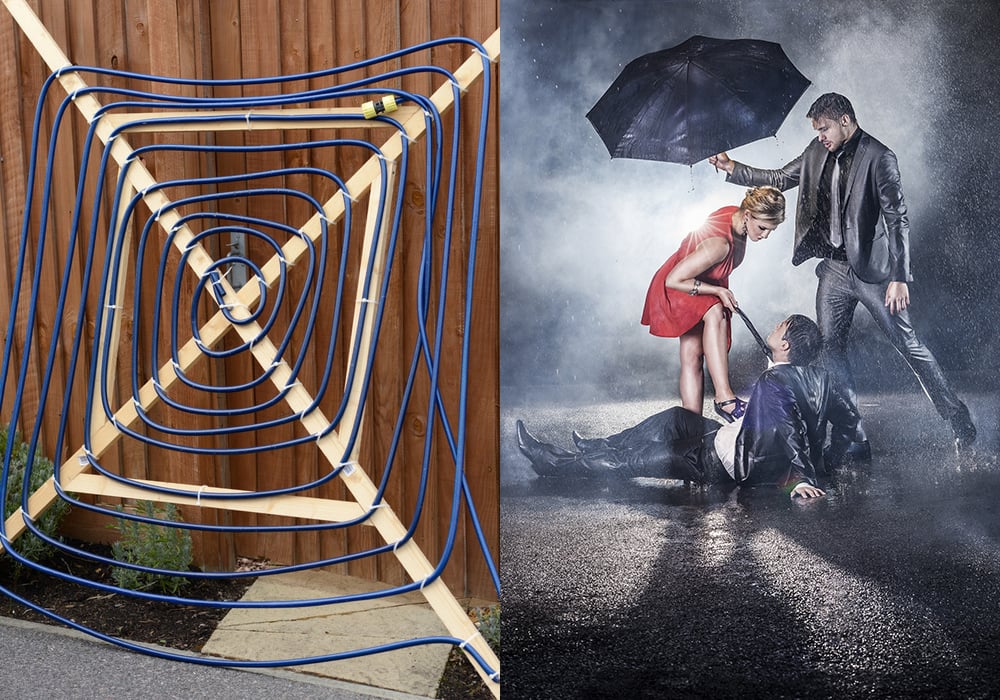
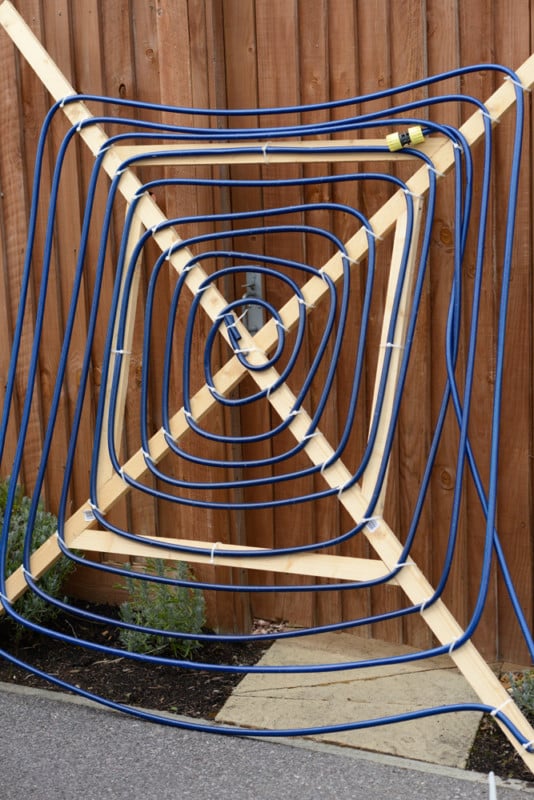
Making this was a surprisingly easy job. I started off with 2 long bits of wood, crossing them over and drilled a hole through both, fixing together with a nut, bolt and a couple washers, then roughly cut 4 brace pieces to stop it twisting around. They were simply screwed into place. Pilot holes will help reduce the chance of any of the wood splitting.
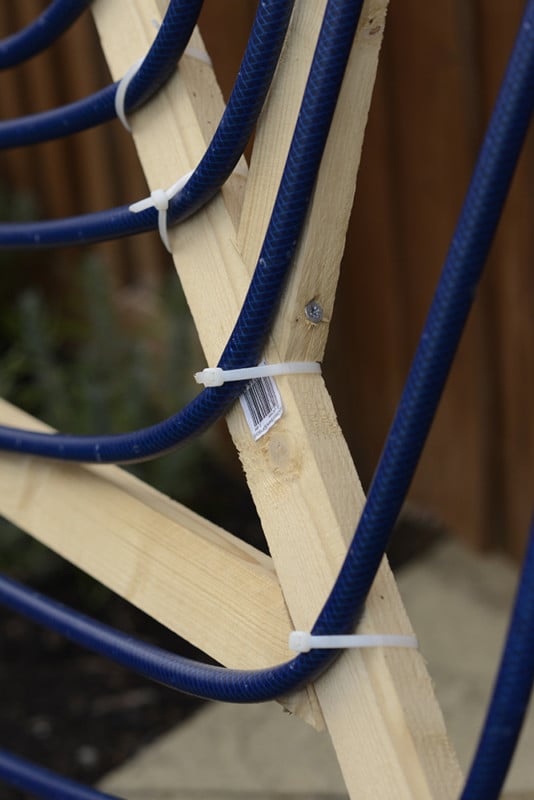
Now using a hosepipe and a hell of a lot of zip/cable ties I simply spiraled out from the center trying to keep a fairly even distance between them. After trimming the zip ties I started making the holes; Bear in mind that in order for it to look natural as rain, it has to spray upwards and then fall at gravity’s pace.
I used a tiny drill bit and drilled them. you could instead use a spike, like a pin or a spire. I originally did the holes every few centimeters, but that turned out to be a mistake as there wasn’t enough water pressure to get all the way down the hose, leave a good few inches, there will be a lot of them!
The Shoot
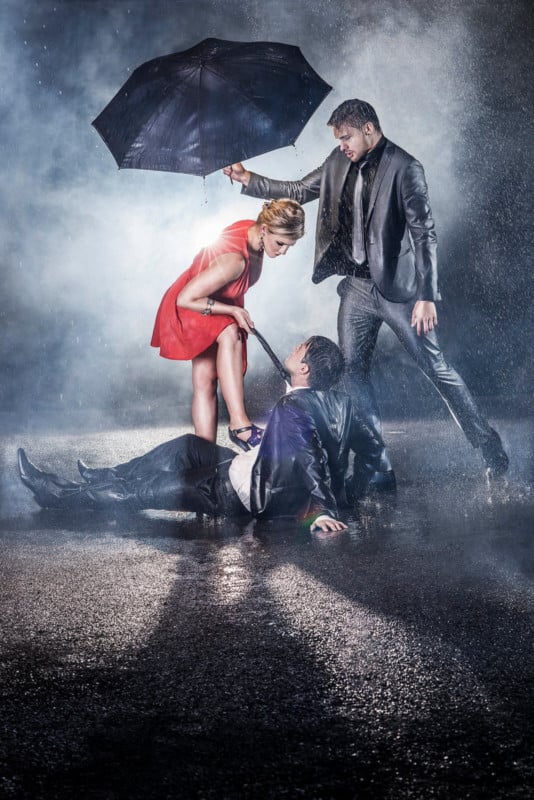
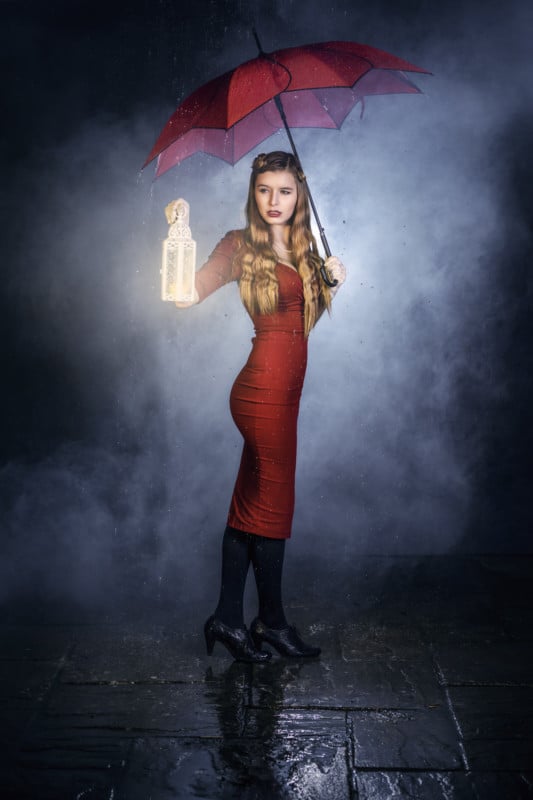
For the original shoot, I had this image in my head of a beautiful female mob boss/ gangster figure towering over some helpless schmuck, whose story I hoped to tell in other images further down the line in my Film Stills Series.
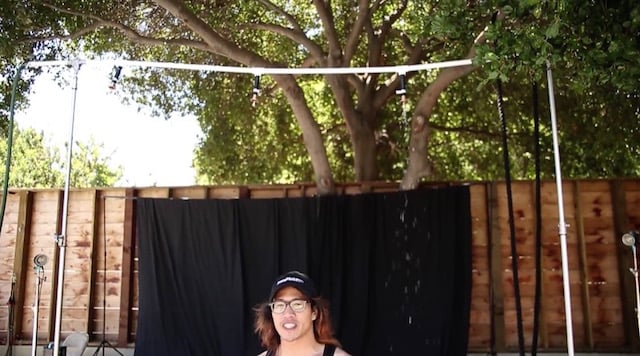
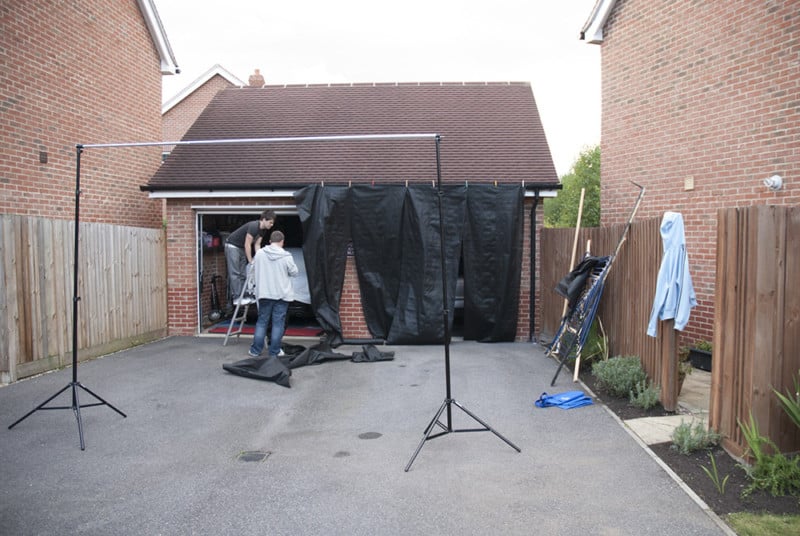
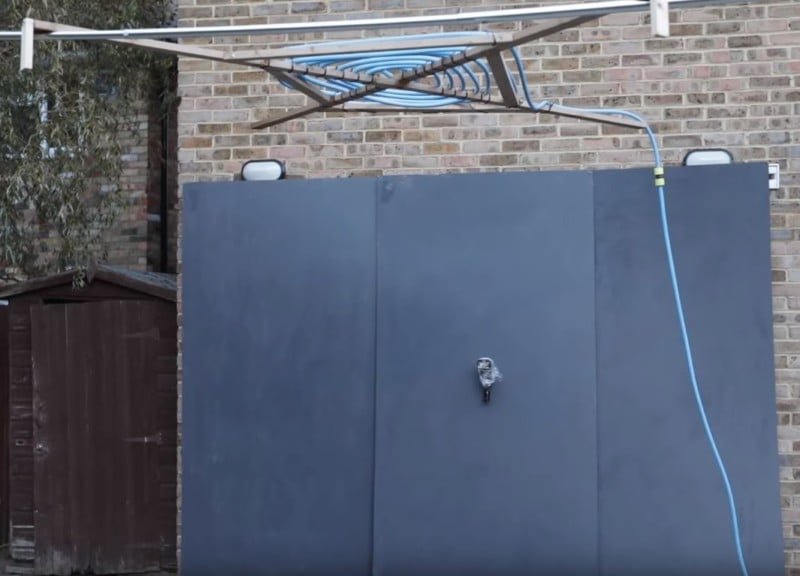
The shoot was great fun. It was all done on my driveway the first time and the rear patio for the more recent shoots. In both locations, there were just doors as a background so for the garages we just hung black material (the stuff you put under gravel paths to stop the weeds coming through – all I had lying around) held up with clothes pegs onto the drain pipe. Most recently I used some large MDF sheets I a had lying around from another project painted a dark grey/black.
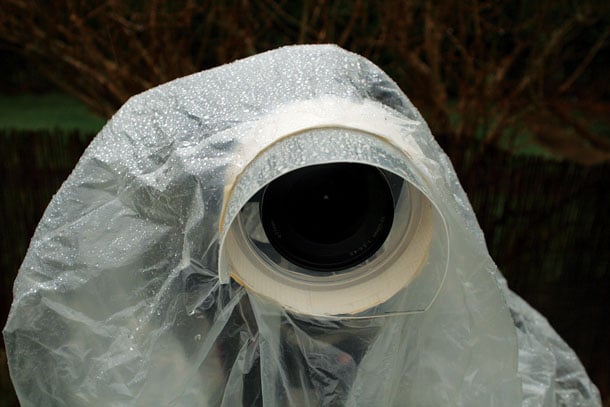
Then the lights had to go around the rain machine without getting wet, we used plastic bags to cover the power supplies, other than that it was down to getting the water pressure just right so that it didn’t spray too high or far.
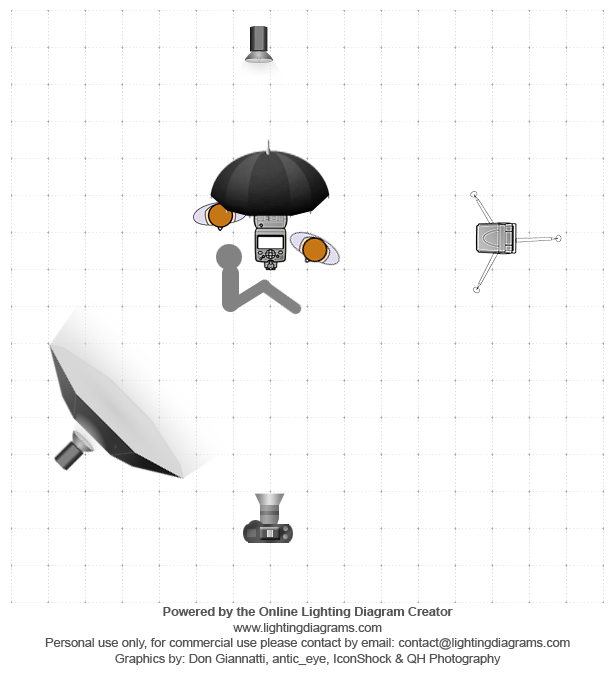
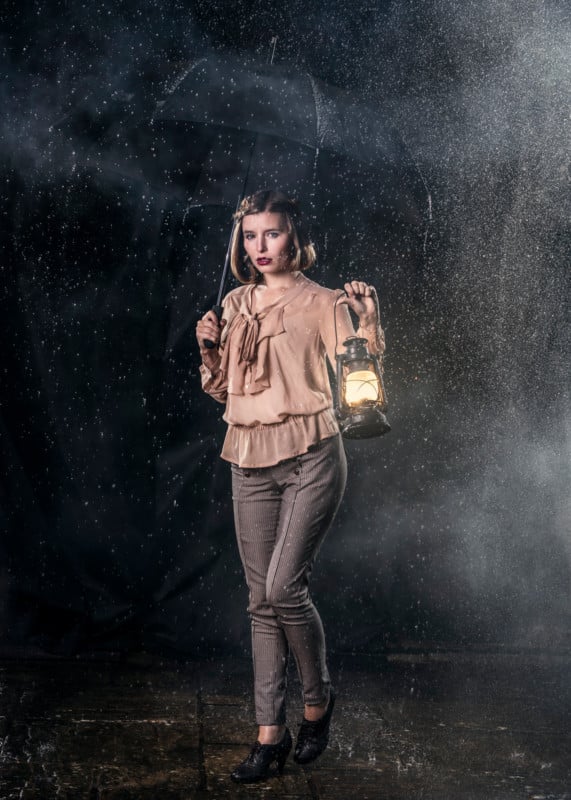
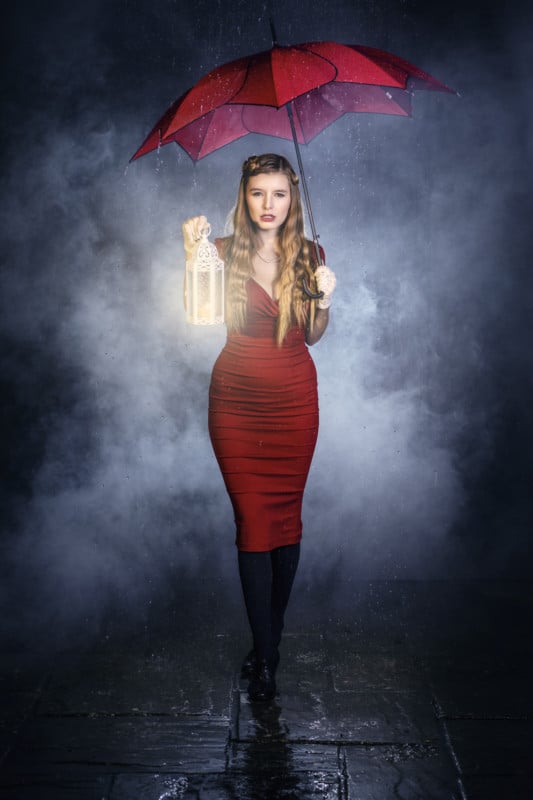
I had a 4 light set-up for the image, one strobe was taped onto the shaft of the reflector umbrella that they are holding in the shot.
The key thing to take advantage of the rain is having it backlit as this catches the droplets really nicely. The smoke that we pump into the back of the scene really adds atmosphere and helps hide the backdrop. Wait for it to spread out so it isn’t too clumpy.

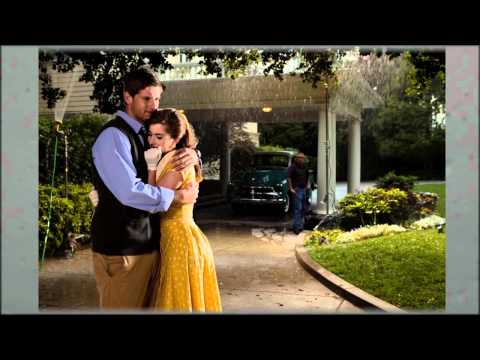
For the images below I did a set up for the lighting, just without the light in the umbrella. Also zoomed a flash right in so it was concentrated on Jade’s face to mimic the warm light from the lantern. when shooting with flashes like this candlelight is too dim to provide much illumination on its own.
Post Production
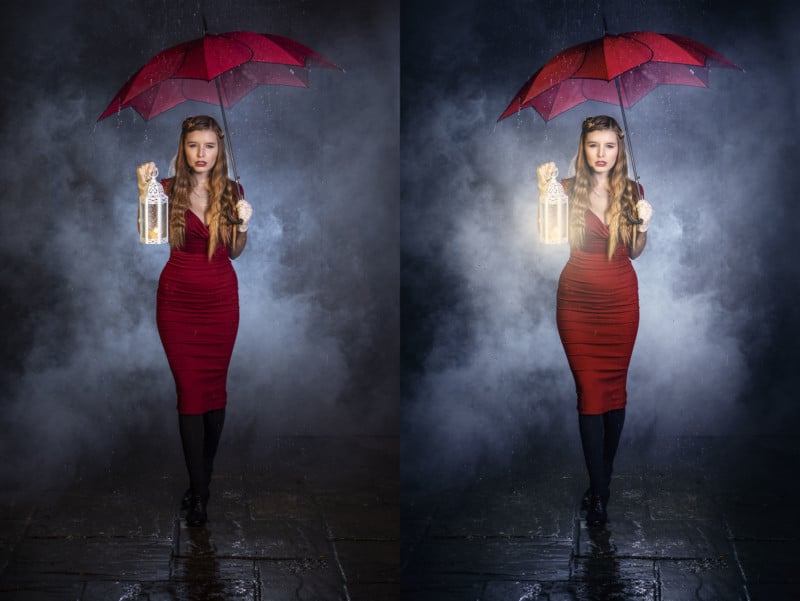
For the most part, any editing needed for this was down to dodge and burn and color work. On the original shoot I did, I needed to clone out the rear light stands, but as I suspended it above Jade without legs in the way the this time, I didn’t need to do that! Below is a before and after of my editing process.
That’s it! If you make one and shoot with it I’d love to see what you do with it!
CreditsVideo filmed and edited by Adam Tyrrell. Models: Jade Lyon, Dougie, Issy, and my talented friend Richard Goold (Seriously take a look at his paintings!)