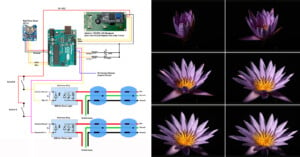
How to Build a Time-Lapse Controller to Photograph Growing Plants
This article is about how to make a time-lapse system that controls the lighting conditions and triggers the camera shutter for time-lapse plants.

This article is about how to make a time-lapse system that controls the lighting conditions and triggers the camera shutter for time-lapse plants.

I purchased some of the new compact and foldable Godox softboxes (e.g. AD-S60S, AD-S65W, AD-S85S, etc) for my Godox AD300 Pros. They work just fine but I wanted to use the magnetic color gels from my AK-R1 kit with them, so I decided to design my own gel holder compatible with the AD300 Pro.

I have made many DIY backgrounds for my photography. Honestly, too many. It gets really addictive. If you have been thinking of creating some for yourself or how you can improve your photography collection for very little money, these tips on creating your own DIY background are going to be super helpful.
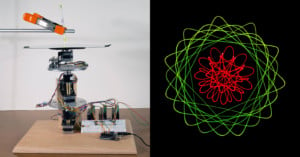
Originally, the geometric chuck was a device to make ornate patterns on a lathe. Invented in the 1860s, the device could have up to 8 layers—each driven by a central shaft.
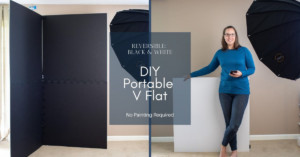
Having a portable V-Flat in your photography kit can provide a unique tool when creating images for your clients. A V-Flat can be used as a background or a tool to bounce or absorb light on your subject.
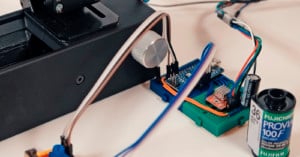
Waiting while flatbed scanners scan a color negative film is nothing to be excited about. This process and the subsequent color precorrection can take anywhere from an hour to two.
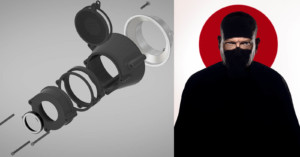
I wanted a device that can throw light patterns onto a wall or a model. There are some commercially available but they are quite expensive and I this was only for occasional use. I thought that this is something that can be 3D printed.
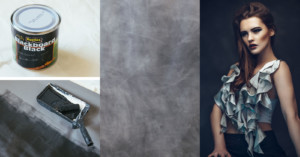
For those of us born in the 1970s and 80s, this new phenomenon of mottled, cloudy backdrops appearing in modern portraits is an odd one. You see, back when we were kids, we had horrendously cheesy family and school portraits taken in front of these bizarrely arranged patterns, so to us, it’s pretty weird to see these painted, cloudy backdrops now grace the covers of Vogue and Tatler.
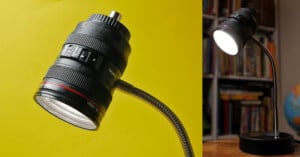
After Canon handed out camera lens mugs at the Vancouver Winter Olympics in 2010, novelty lens look-alike mugs and cups have flooded the market. If you've received one or more of them as gifts, one thing you can do is turn them into camera lens desk lamps.
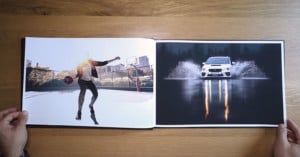
Thinking of putting together a professional photo portfolio as a high-impact way of sharing your work with potential clients? Check out this informative and inspiring 5-minute video by photographer Caleb Kerr, who recently built a portfolio of his own and put together a helpful walkthrough for anyone interested in doing the same.
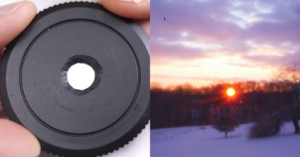
Have a camera body cap lying around collecting dust? Did you know that you can easily turn it into a do-it-yourself pinhole lens? Matt from Blue Mantle Films created this 1.5-minute video tutorial that shows how.
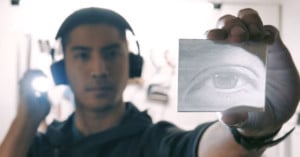
Want an interesting idea for turning your digital photo into something tangible that you can hold? Look into the lithophane, the centuries-old technique of carving an image into a piece of translucent material to create a 3D image. Photographer Daniel DeArco recently turned a photo into a lithophane with 3D printing, and he documented the experience in the 4-minute video above.
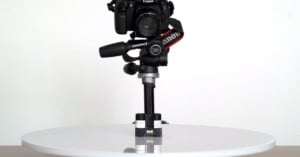
Here's a 2-minute tutorial overview from Circuito that will show you how to make your own automated turntable for photography. With the ability to start, stop, and trigger the camera all by itself, this turntable is great for people looking for a streamlined product photo workflow.
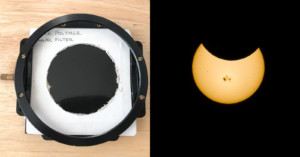
With the Great American Eclipse on August 21, 2017, only weeks away, I decided to put together some solar filters. With the high travel costs to get to the eclipse from Southern California, I saved some money through purchasing solar filter sheets instead of the pre-made filters.
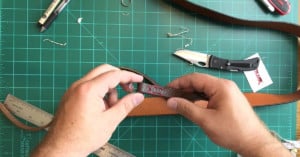
Bored of the standard camera strap that came with your camera? In this 37-minute video by Nick Exposed, learn how to upcycle old leather belts into stylish camera straps.
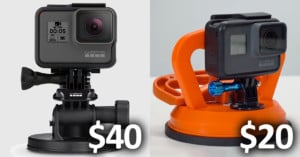
Here’s a quick DIY video from Kyle Martin on how to create an extremely powerful suction mount for your GoPro instead of buying GoPro's $40 suction mount. The video is 6 minutes and will show you how to create the mount for around $20 in materials.
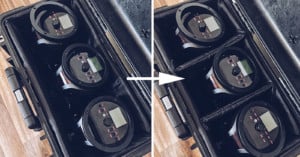
I'm as interested in an "easy life" as much as the next person, so if somebody else has already done the hard work of making a product for me, and I can purchase it for a reasonable price, I'm all over it. After all why make life hard for yourself if you don't have too. Unfortunately there are times when you literally can't purchase what you need and the only option is to get all arts-and-crafts on the problem!
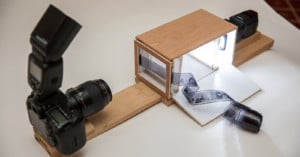
Shooting film is fun and developing film is fun, but tediously scanning film is not fun... so I built myself a film-digitizing light box to be used with a flash and a 1:1 macro lens.
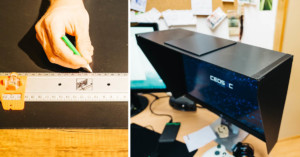
I needed a monitor hood for quite some time but wasn't willing to pay the retail prices charged for them, so I decided to build one myself. In this tutorial I'll show you how to build your own DIY monitor hood for less than $12.
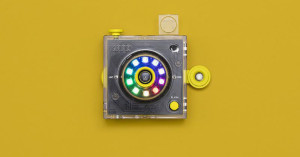
London-based DIY computing company Kano has created a new kit for people who would like to assemble and program their own digital camera. It's called the Kano Camera Kit.
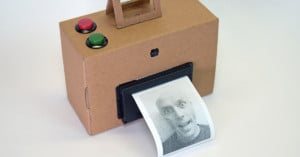
Looking for a weekend project and have some hardware and software skills? Try building yourself an instant camera using Rapsberry Pi and a thermal receipt printer.
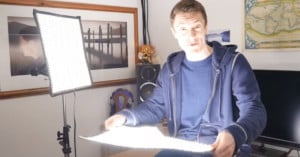
Want to add some flexible LED panels to your lighting kit without breaking the bank? This 19-minute video tutorial by DIY Perks is for you. It's a step-by-step guide on how you can assemble your own LED panel for about $60 by buying high CRI LED strip lights (~$25), a PWM LED dimmer (~$8), an articulating DSLR camera arm (~$18), some faux leather for the backing, some wiring and a solder gun.
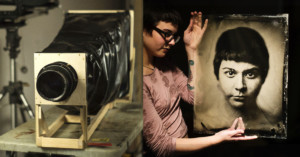
While sitting in a coffee shop last Friday, I really didn’t want to answer any more emails so I went to a bar instead, ordered a pint and sketched out a bit of a doodle for a big camera. I then called my buddy Zach who shares my open schedule and vague ability with power tools, and he stopped by my studio an hour later.
I explained what I wanted to do and showed him my napkin doodle. I think his reaction was something along the lines of “I have no idea what you’re talking about... but sure”. So we went to Home Depot and bought a bunch of wood and some screws.
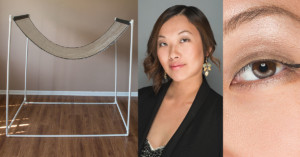
After sharing his DIY square "ring light" build here back in July, photographer Isiah Xiong is back again with another DIY project. This time, Xiong is explaining how he built a DIY version of the $300 the Eyelighter reflector for around $40 to $50 in materials.
You can find the step-by-step tutorial in the 3-minute video above.
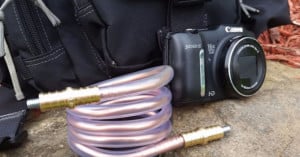
If you need an accessory for mounting your camera to random places, instead of purchasing a Gorillapod (or something similar), you can go a thrifty do-it-yourself route. For just $8, Instructables member Megan Yeomans crafted her own affordable solution that uses vinyl tubing and copper wire. The result is a three-foot flexible 1/4” piece of kit that can be used as a standard tripod, a selfie stick, or an articulated mount.
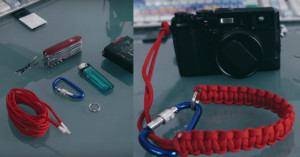
Back in 2011, we shared a simple tutorial on how you can create a sturdy camera strap using about $7 worth of paracord. Hamburg, Germany-based photographer Bo Ismono recently published the 3-minute video tutorial above on how you can use paracord to make a cheap, simple, and durable wrist strap.
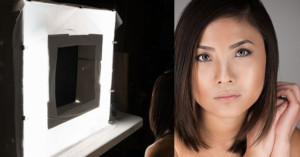
Photographers are familiar with the ring light, which produces a pleasing ring-shaped highlight (or “catchlight”) in a subject’s eyes. It’s often used in the fashion industry to create images you see in many magazines. The Square Ring Light is just like that — except it’s a square. I find it makes a unique, almost otherworldly catchlight that really draws attention to the eyes.
Editor's note: This DIY tutorial uses a specific product called Compound 9, but you could use the same ideas/concepts with different materials and/or objects.
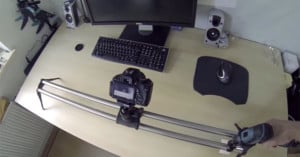
Hi, my name is Christian Segeth, and I'm the inventor of a product called Compound 9, which is hand-formable carbon that lets you 3D print with your hands and some hot water. Today I’m going to explain how I built an extremely simplest speed-controllable camera slider. My build offers a constant movement speed and butter-smooth sliding, which I've rarely found on YouTube's DIY camera slider tutorials.
I recently went to great lengths to solve a simple problem. I have a Manfrotto monopod that requires a little screw to attach my camera to the monopod. Without it, I can't use it. The screws are cheap and no big deal... but, they are too easy to lose.
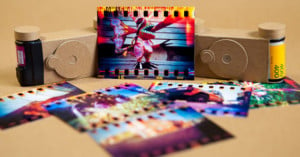
Want to play around with pinhole photography by building your own cardboard camera? Photographer Raymundo Panduro of Pixel Análogo has just released a free template for building a 35mm sprocket camera.