How to Make a Pro Photo Portfolio
Thinking of putting together a professional photo portfolio as a high-impact way of sharing your work with potential clients? Check out this informative and inspiring 5-minute video by photographer Caleb Kerr, who recently built a portfolio of his own and put together a helpful walkthrough for anyone interested in doing the same.
Here’s a quick look at the steps and subjects covered by Kerr in the video:
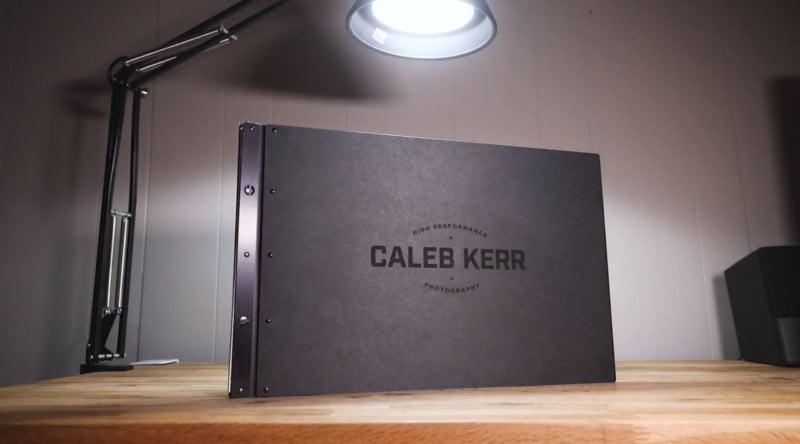
1. Cover Size: Choose a good size for impact
2. Cover Material: There are a number of options to choose from
3. Cover Design: What do you want the cover to communicate?
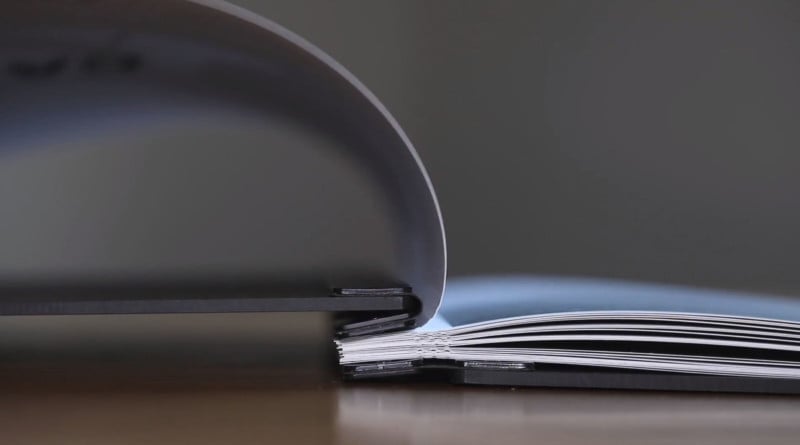
3. Print Attachment: How should the prints be attached inside the portfolio?
4. Paper: Use good paper. There are few that print double-sided well
5. Cutting: Cut your paper to exact, exact size. Precision is important
6. Scoring: Use a scoring board to produce good folds in your pages
7. Holes: Punching holes with precision provides a clean result
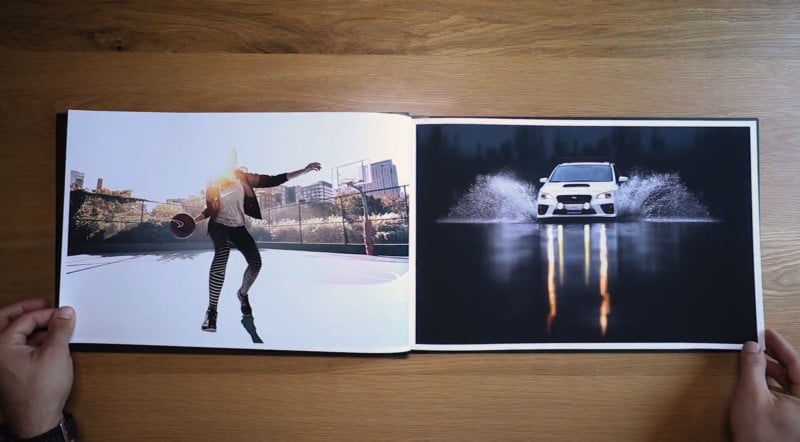
8. Layout: When pages are double-sided, pairing photos well is important
9. Printer: You’ll make mistakes and waste ink and paper, but don’t accept less than perfect
10. Assemble: Put everything together, and you’re done!
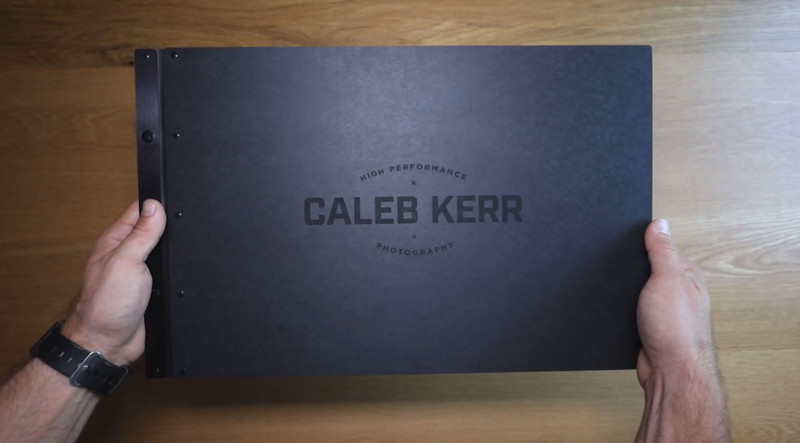
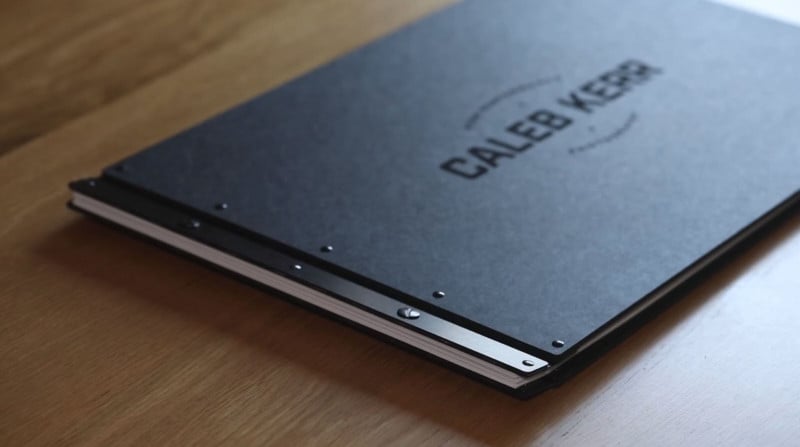
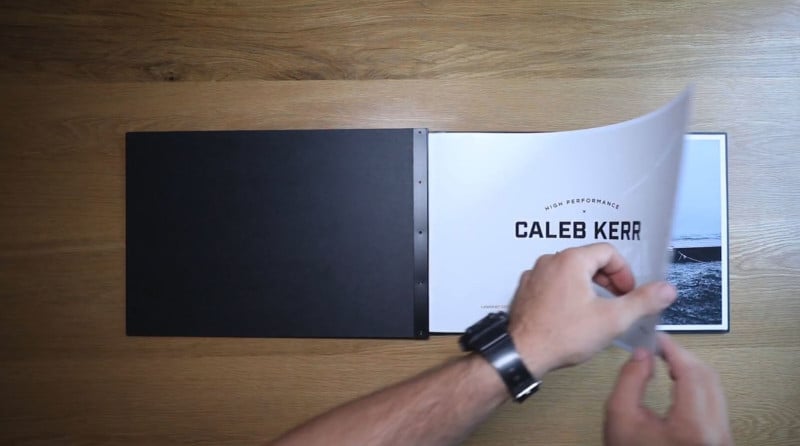
And here’s a look at what his finished result looks like: