How to Make a Simple DIY Background for Food Photography
I have made many DIY backgrounds for my photography. Honestly, too many. It gets really addictive. If you have been thinking of creating some for yourself or how you can improve your photography collection for very little money, these tips on creating your own DIY background are going to be super helpful.
The Ingredients
First of all, what you’re going to need for the board:
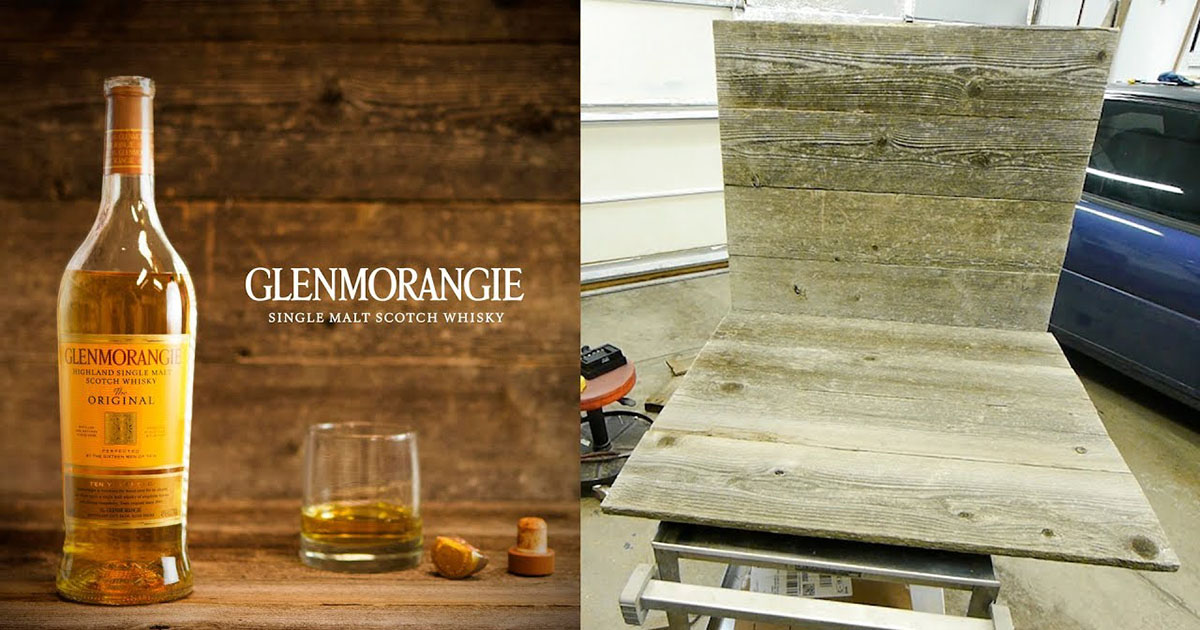
1. A sheet of plywood. It doesn’t need to be massive, I usually go in between about 2x3ft-3x4ft. Try to get it a decent thickness, about 10mm so we know it will stay sturdy when we apply paint to it.
These boards can be painted on both sides so you can get 2 out of each board. If you go to your local hardware store, here in the UK I suggest B&Q, they can sell you massive sheets and cut them down to size, giving you a few board options from one big sheet. (A great way to add a few surfaces to your collection for as little as possible)
2. Tester pots of paint. Decide what color you want your board to be. I recommend starting with more neutral colors, I do have some whacky ones like pink and orange, but I definitely use my neutral ones a lot more. If you have a color in mind for a particular shoot, then great.
We are going to need a whole load of paint, so I usually get tester pots from hardware shops, again making this super cheap. For this board, I recommend getting 2-3 colors, usually a similar color in different tones. (I do have a large pot of white, as this is something I use a lot).
Alternatively, you can get one color, and add white or black to create different tones. This is what I did for this pink board, using red and adding white in different amounts. Always get matte finish paints, we don’t want anything with a gloss finish, or we will have a real reflection issue when we come to photograph on the board.
3. A sponge. Just a regular, run-of-the-mill kitchen sponge.
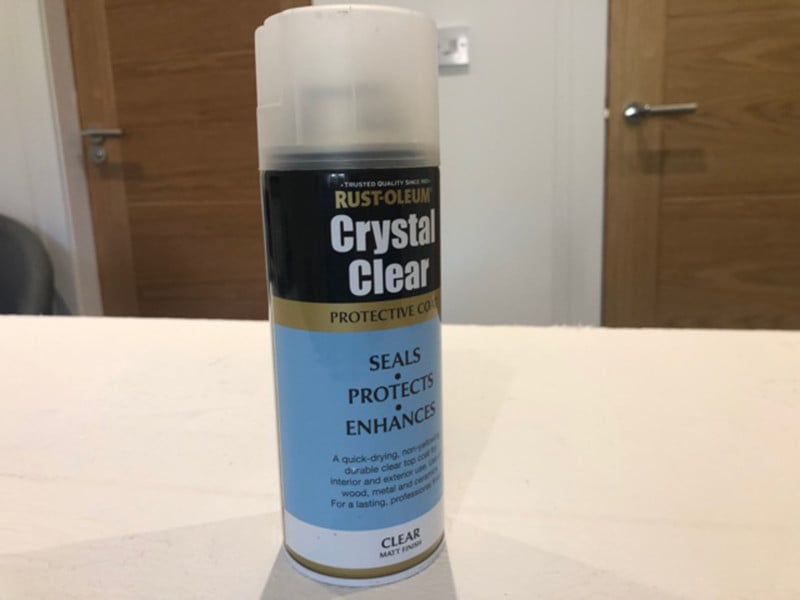
4. Matte sealer. I struggled to find this at my hardware shop, people with bigger shops may have more luck. I got mine from Amazon. This clear matte sealer will help seal the board so we can wipe it without ruining it.
The Process
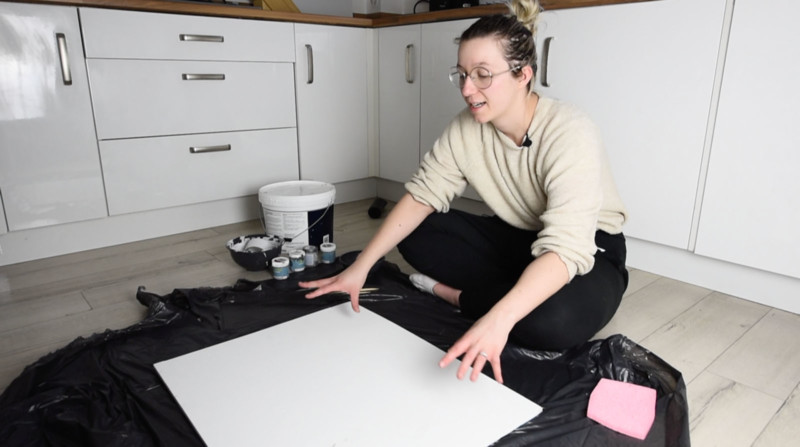
Step 1. Get everything ready. Ideally, you would be doing this outside, but if like me you can’t rely on the weather, make sure you cover your flooring to protect it from paint.
Step 2. (optional) If using a lighter color on your board, you can give your board an initial white primer color, this will help the paint soaking into the board and that woody, orange color peeking through. If you’re using a dark color, this is not necessary.
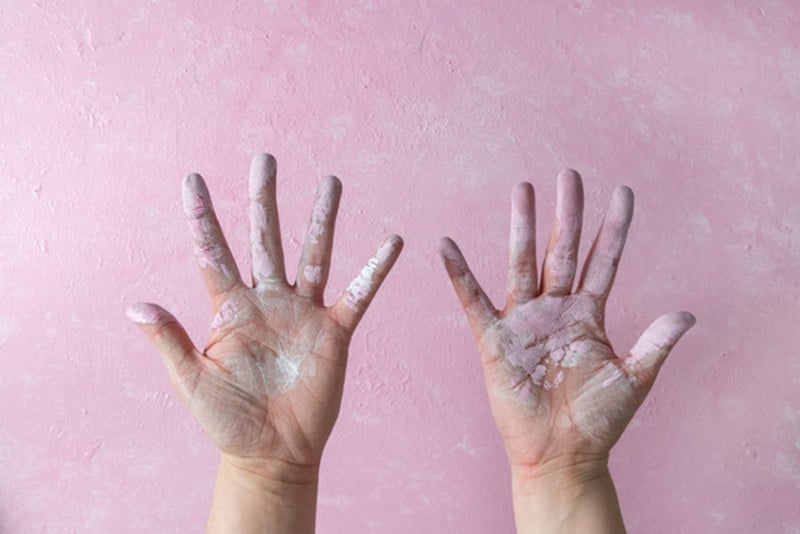
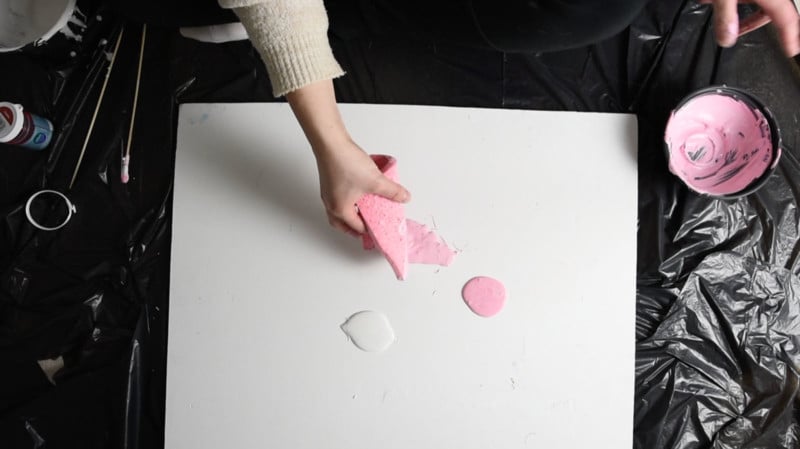
Step 3. Add your colors of choice onto the board in a few blobs, add more of one if you want one to be a dominant color. (Don’t forget to mix up your colors beforehand if wanting to use the white and/or black to create different tones.)
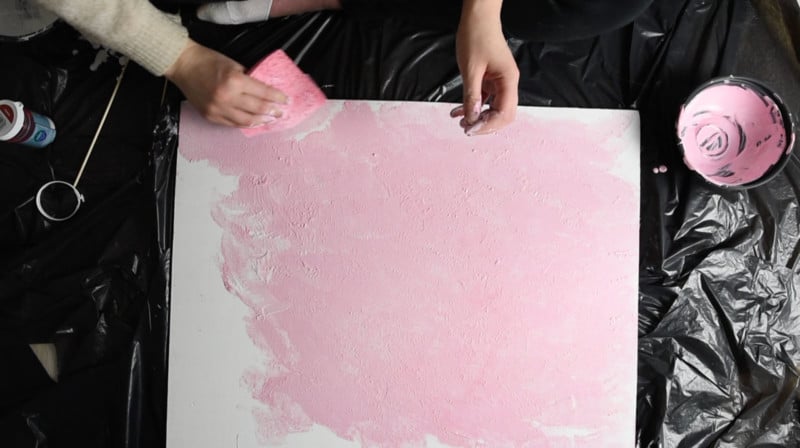
Step 4. With your sponge dab the paint and blend it all over the board. (Careful not to over mix the paint or the different colors or tones will be a big mess).
Step 5. Leave it to dry. I know this is not the most fun part, but it’s important to leave your board to fully dry before carrying one. The colors can change slightly when it’s completely dry and if you want an extra coat you risk over-mixing if it is still wet.
If you decide your board needs an extra coat, or something a little different in some areas, repeat step 4 until satisfied.
Step 6. Now our board is ready, it’s time to seal it. It’s important your board is fully dry to do this, so be patient with the waiting. Make sure you are either outside or have windows open for this step as the fumes from the sealer probably aren’t the safest for breathing in.
With the matte sealer, cover the board evenly and then leave to dry. Repeat this 2-3 times to give it a good coating. This will allow you to wipe your board if you spill on it (important for food photography). This is no magical solution though, if you spill red wine on it, it will probably still stain, so extra careful with trickier stains.

I hope you enjoyed this tutorial!
About the author: Amie Prescott is a professional photographer, and food photography combines two of her favorite things: food and photography. Prescott put a good spin on lockdown by using the bad situation to create YouTube videos in an effort to help people looking to learn food photography.