How to Build a DIY Square Ring Light for Portraits
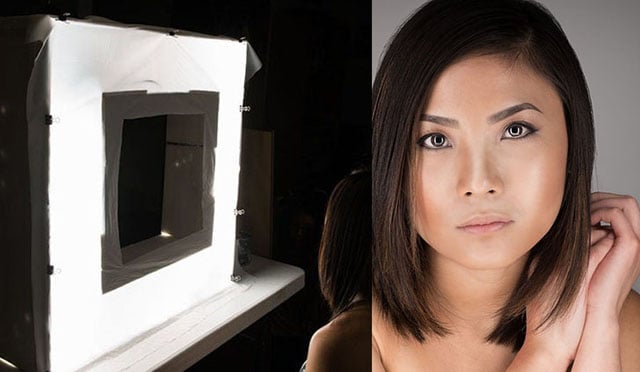
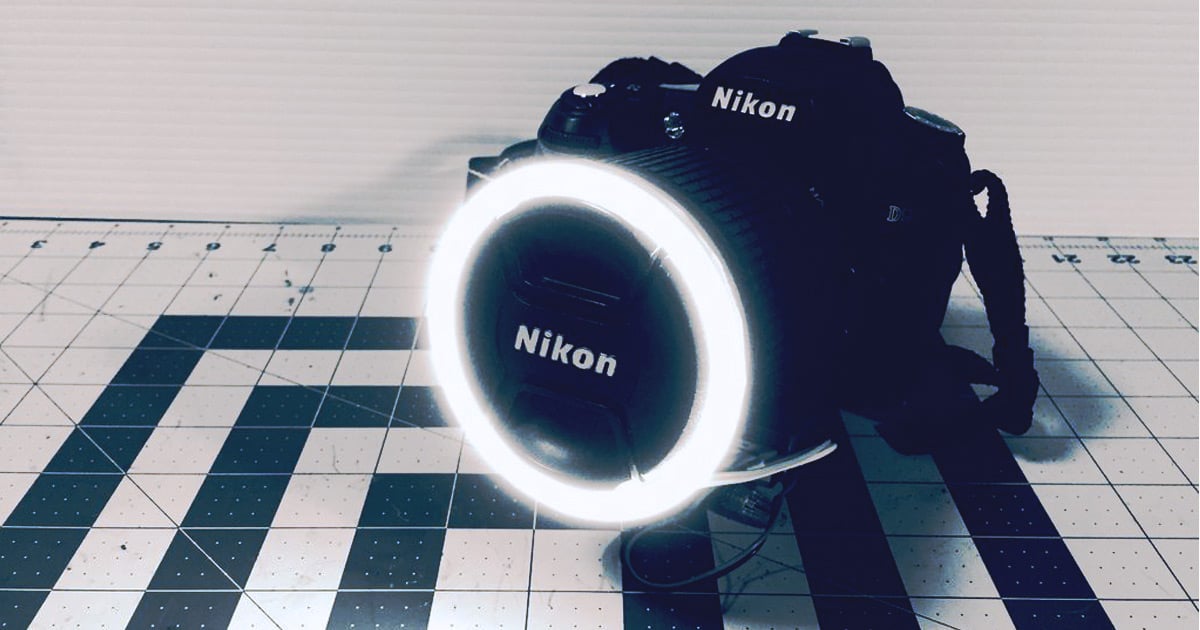
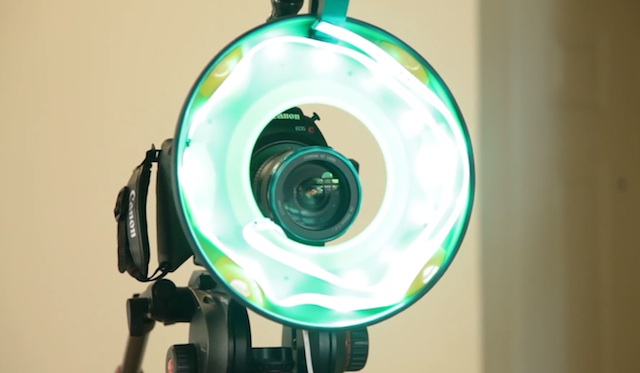
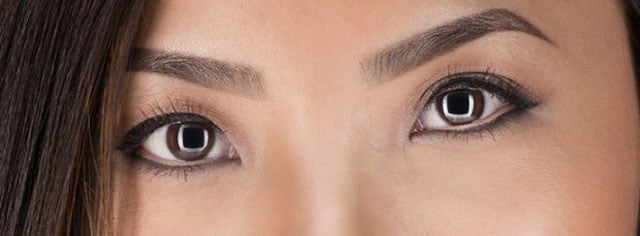
Photographers are familiar with the ring light, which produces a pleasing ring-shaped highlight (or “catchlight”) in a subject’s eyes. It’s often used in the fashion industry to create images you see in many magazines. The Square Ring Light is just like that — except it’s a square. I find it makes a unique, almost otherworldly catchlight that really draws attention to the eyes.
You’ll need 2 speedlights (electronic flashes) as the light source. The rest of the project — the ring light modifier itself — costs just a few bucks. For this build, I’ve gone back to my trusty foamcore and duct tape. The entire project can be put together for $15-$20, minus the speedlights.
1. Score the Foamcore Boards

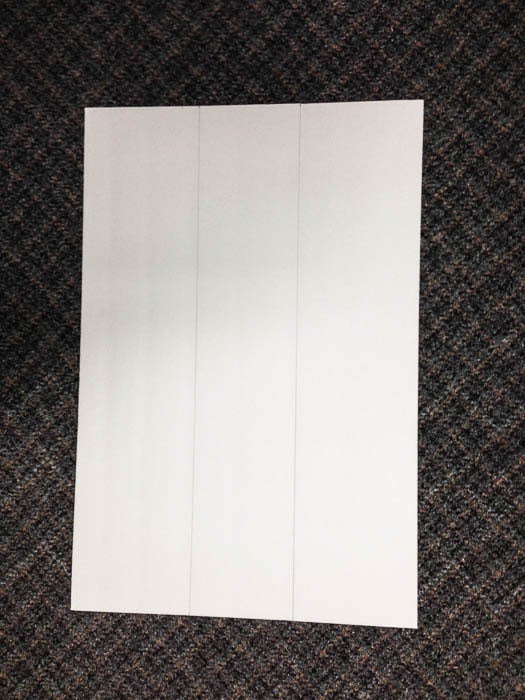
Score the foamcore roughly into thirds lengthwise. Do not cut all the way through! My foamcore measured 20″ on the short end, so I scored it at 7″ in on both sides, leaving 6″ in the middle.
2. Bend and Reinforce
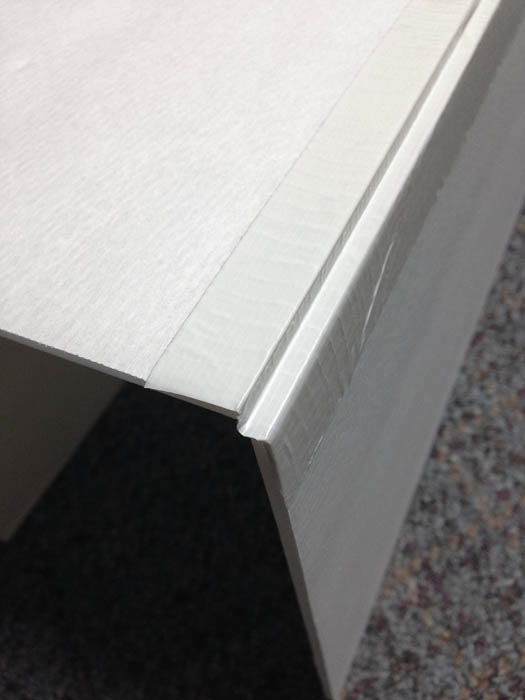
Bend the foamcore sheets into U shapes, and then reinforce the scores with the duct tape as shown.
3. Add Reflective Foil
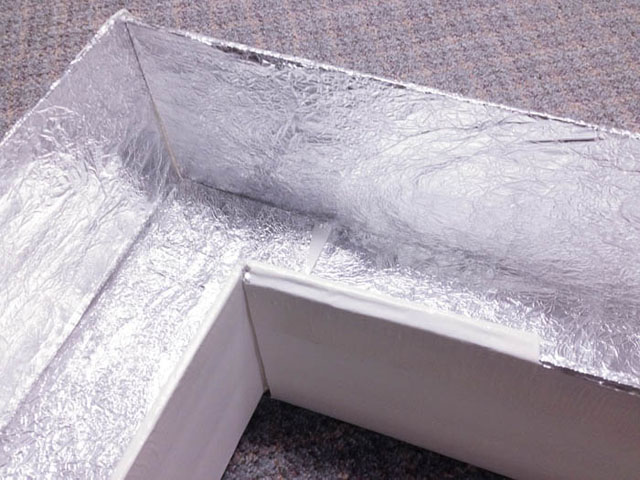
To create the reflective surface, crumple up foil and then flatten it out again. This helps to scatter the light when the flash fires. Attach the foil to your foamcore using spray adhesive.
4. Assemble the Square Ring
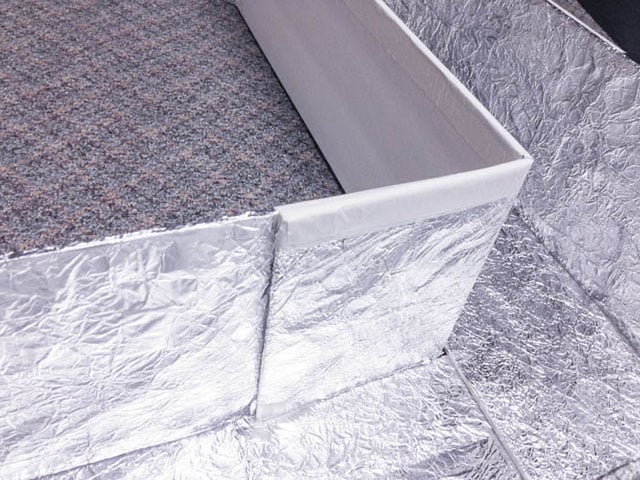
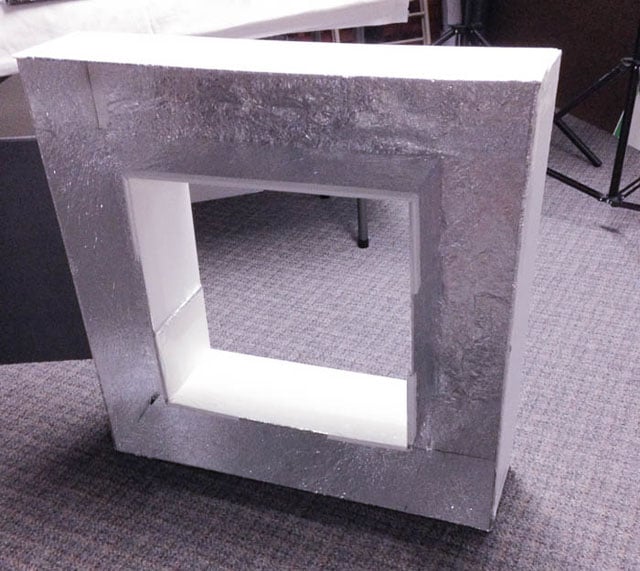
To attach 2 pieces, I measured in 6″ on one end and made a cut so I could bend that into the other piece and tape it down as shown here. Repeat to make 4 corners. After attaching all pieces together, your modifier should look similar to the second image.
5. Add Lights
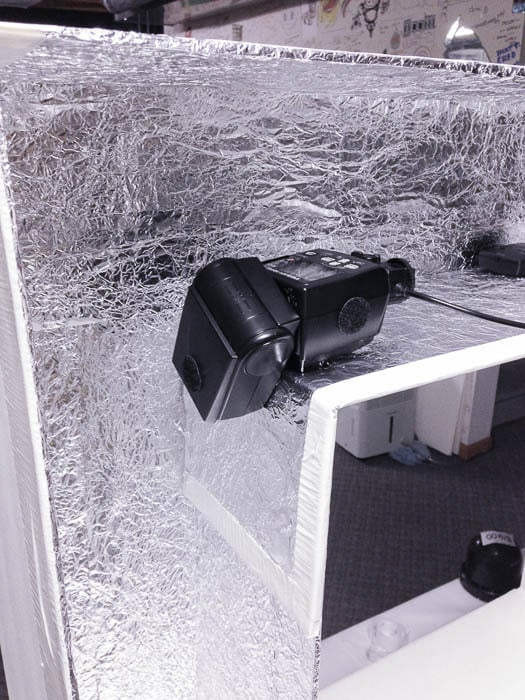
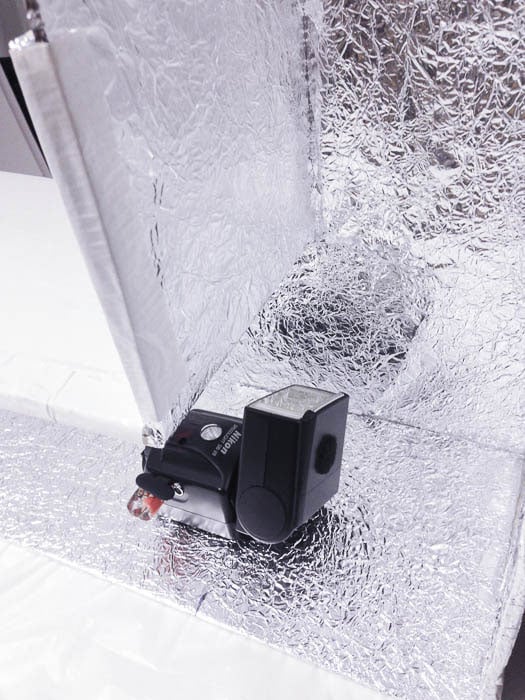
Rest one speed light on the top left pointing down and tilted towards the back slightly. Rest another speedlight on the opposite corner pointing up and tilted towards the back slightly. I have a radio trigger attached to one speedlight, and a slave unit attached to the other speedlight to ensure both flashes fire at the same time.
6. Make the Diffuser
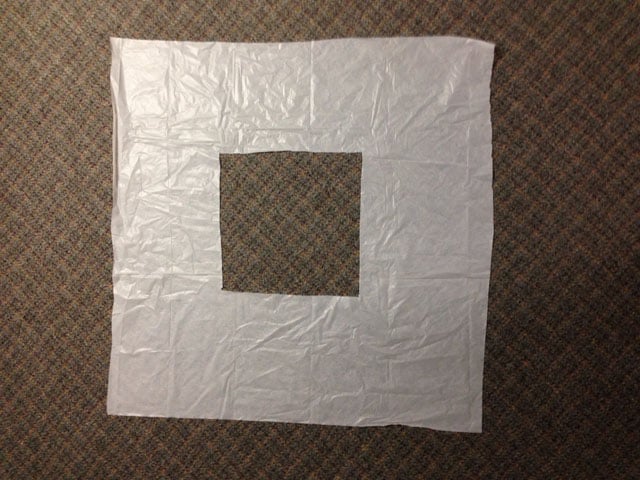
Lay down the white plastic tablecloth and then lay your modifier on top and trace out the shape. Leave about 1″–2″ around the perimeter. Cut out the shape you traced. Fasten your diffuser to the square ring modifier using binder clips or similar fasteners.
7. Shoot Some Shots!
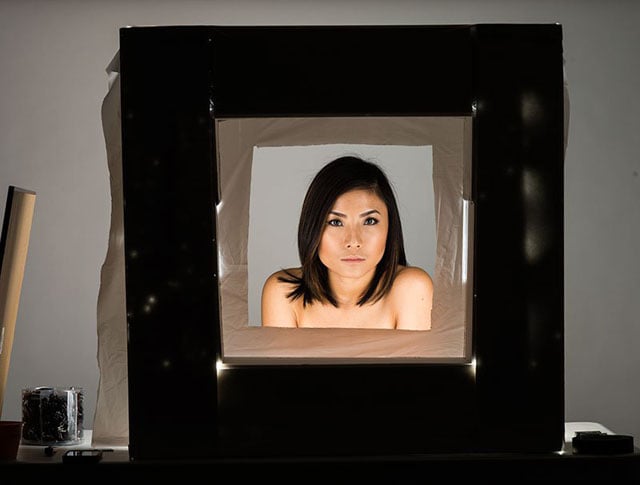

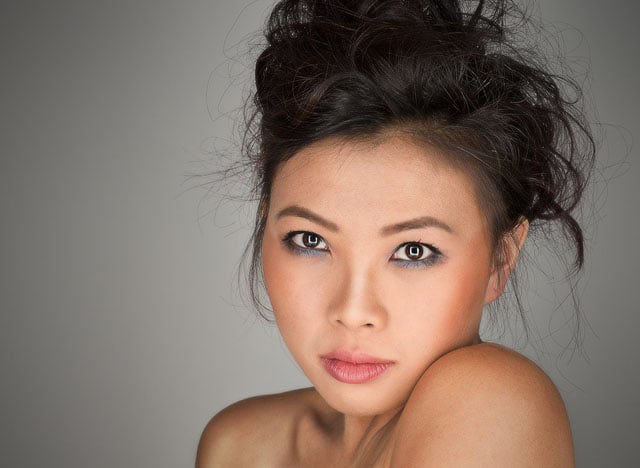
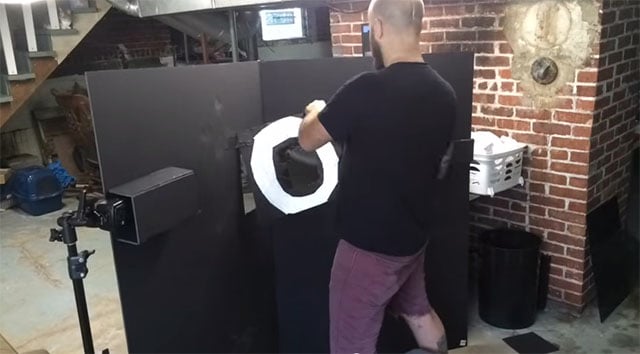
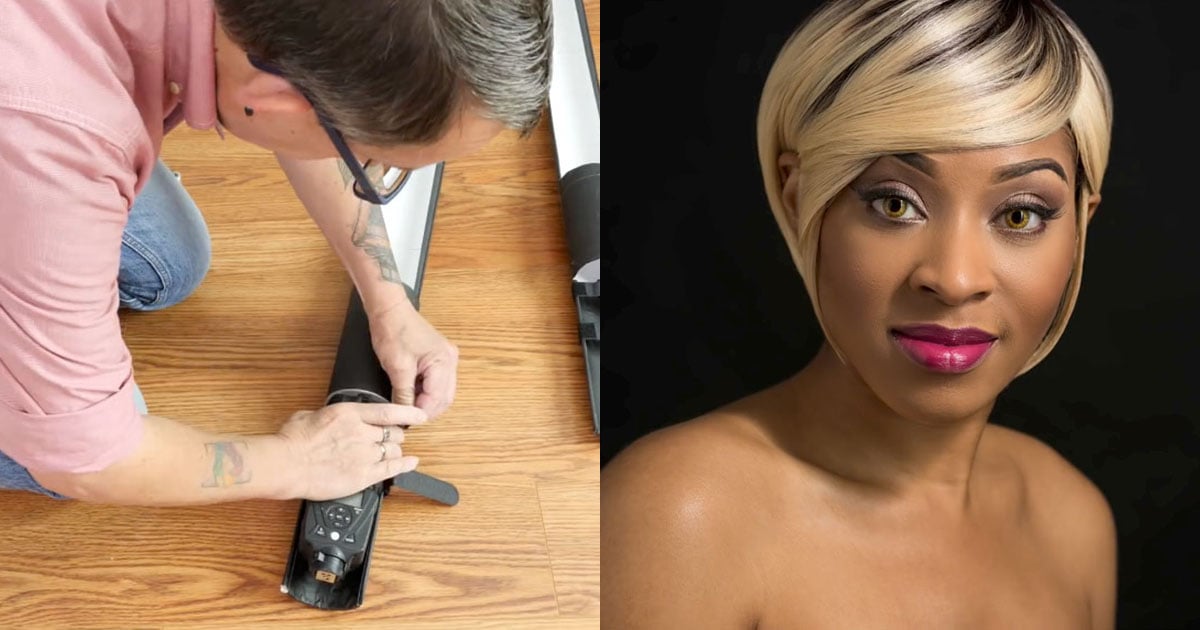
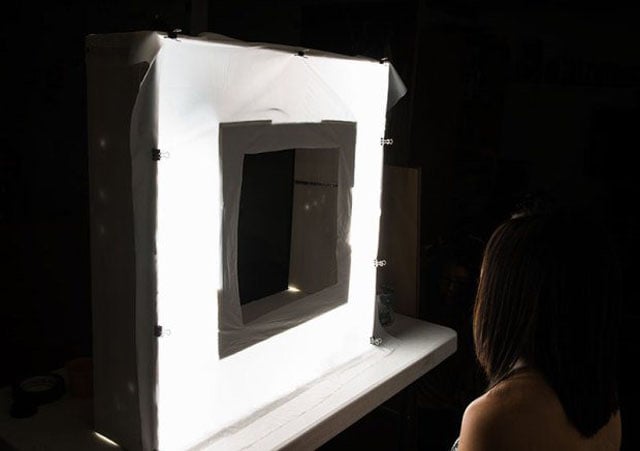
You’re ready to shoot! The first image shows the view from the photographer’s side. The next two images show the final results!
Thanks for reading and have fun building the Square Ring Light!