How to Make a DIY Portable V-Flat
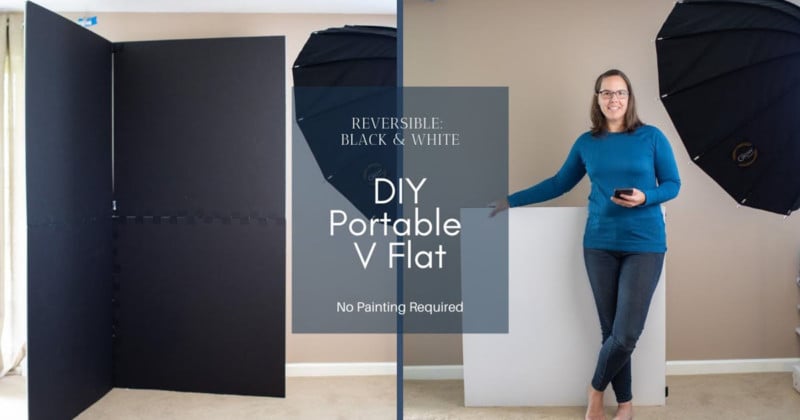
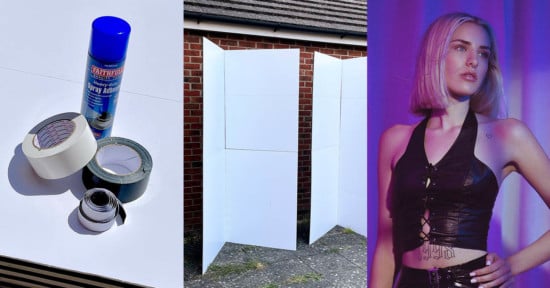
Having a portable V-Flat in your photography kit can provide a unique tool when creating images for your clients. A V-Flat can be used as a background or a tool to bounce or absorb light on your subject.
My research started with the foam board itself. Foam board is offered in most art and crafts stores so I didn’t think it would be a challenge to find what I needed. It ends up being the biggest hurdle of them all. I could not find reversible White/Black foam board on the market, so I decided I would make my own.
Next came the size of the V-Flat squares I wanted to make. You can find 40×30 foam board regularly, but I wanted to create 40×40 squares to gain that extra coverage when shooting a subject. My only option was to find 40×60 foam board at my local art store. They luckily provided a service to cut the boards to my desired size. I held on to the remaining 20″ pieces in order to make 40″ squares.
In total, I purchased 3 white 40×60 sheets and 3 black 40×60 sheets. With custom cuts it came to $67.
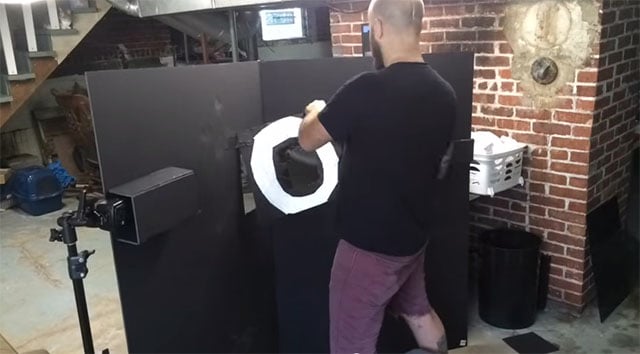
The foam board challenge was solved, so now it was time to figure out how to hinge the V-Flat to make it portable. I researched and found a tape technique commonly used by model airplane builders. I tested this technique on a small scale model and it worked!
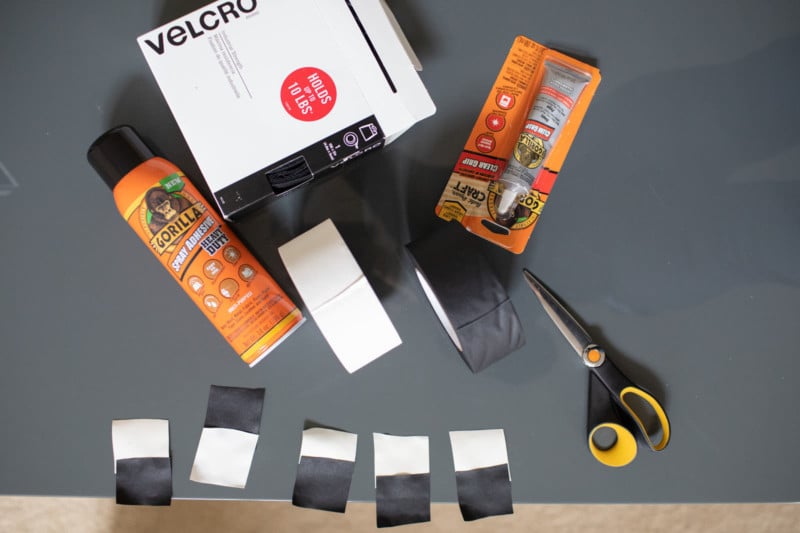
Adhesives was the last piece of the puzzle. How to join the 20″ sections, how to join the 40×40″ white and black squares, and what tape to use for the hinge. Here is what I discovered.
1. The “glue” to bond the 20″ sections needs to be water based, if not, the glue will eat the foam. Additionally, the bond needs to set as soon as the two pieces of foam (both with glue) come in contact. Options to consider: Water-based contact cement and the Gorilla Glue Grip listed below.
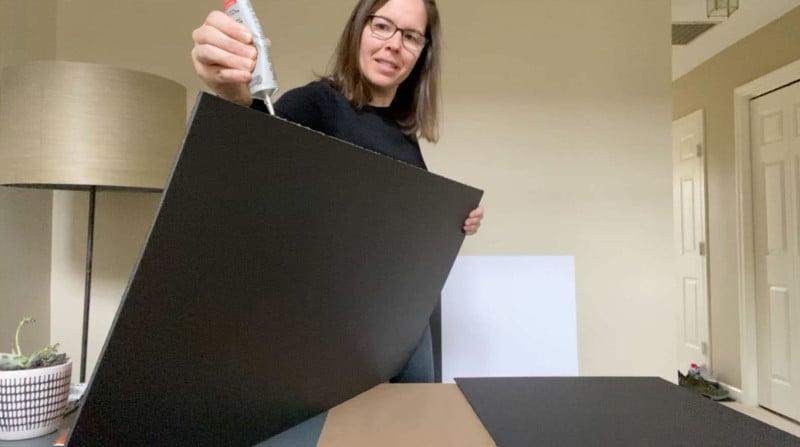
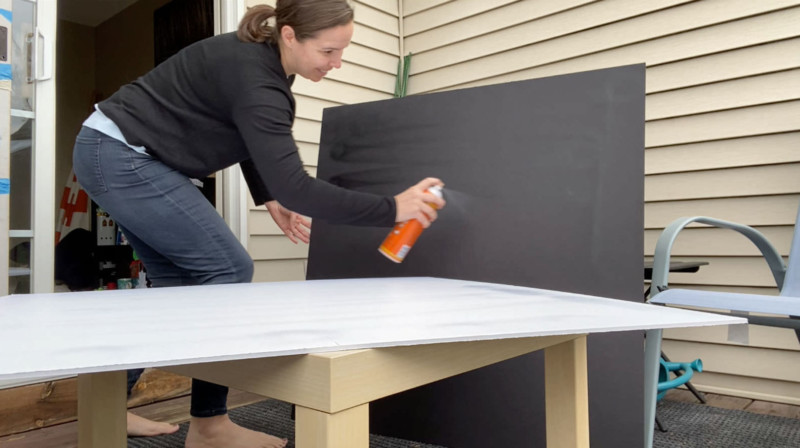
2. Adhesive Spray to bond the 40×40″ foam board squares. One side white and one side black. I found a heavy duty Gorilla brand that I applied to both sides and bonded instantly.
3. Gaffers Tape for hinge was a great choice as it’s forgiving if you need to remove and reapply to the foam board.
Now it was time to assemble my Portable V-Flat! I spent a total of $107, and with the amount of adhesives and tape, I could make several more and would only need to buy the foam board. Have fun making your DIY Portable V-Flat!
Material List:
- 40×60 3/16″-Thick Sheets. 3 white sheets and 3 black sheets. Custom cut to 40×40 (keep the remaining material). Source: Local art store in order to buy 6 sheets. Online you will need to buy a box, which will make this project too costly overall.
- White and Black Gaffers Tape. I found a white and black option on Amazon.
- Water-Based Contact Cement Adhesive to join the 20″ pieces together to form a 40×40 square. Gorilla Glue Grip.
- Spray Adhesive to join the white and black 40 x 40 squares together. Gorilla Glue Heavy Duty Spray.
- Velcro
Here are the build steps:
Day One
Join the 20″ pieces of foam board that were cut from the 40×60 sheets together to form a 40×40 square. It’s best to have the bond cure for several hours or overnight.
Tip #1: If you buy contact cement vs the gorilla glue option make sure it’s water-based. If not, it will eat the foam.
Tip #2: Apply the adhesive to BOTH sides of the foam for a stronger bond.
Day Two
Now that you have 8 total 40×40 square foam board squares you can adhere them together with the spray adhesive.
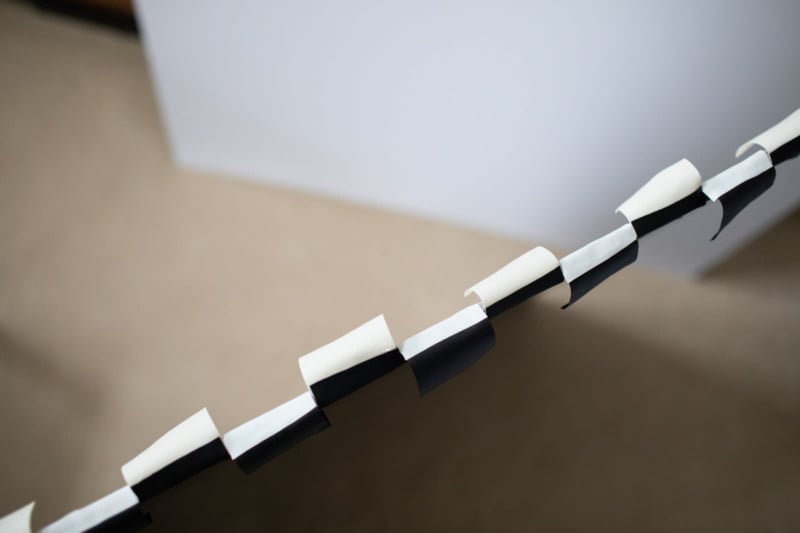
Once all 8 square are joined together you can start making your gaffers tape pieces to make the assembly easier. Cut 4″ inch pieces of white and black gaffers tape.
The first section you will join are the top 40×40 squares you would like to be the bottom of the V-Flat (I opted for the boards that have the “20 inch joined pieces”) Attach one sticky side to one non-sticky side. The space in the middle that is non-sticky on both sides will be the part you rest on the foam board.
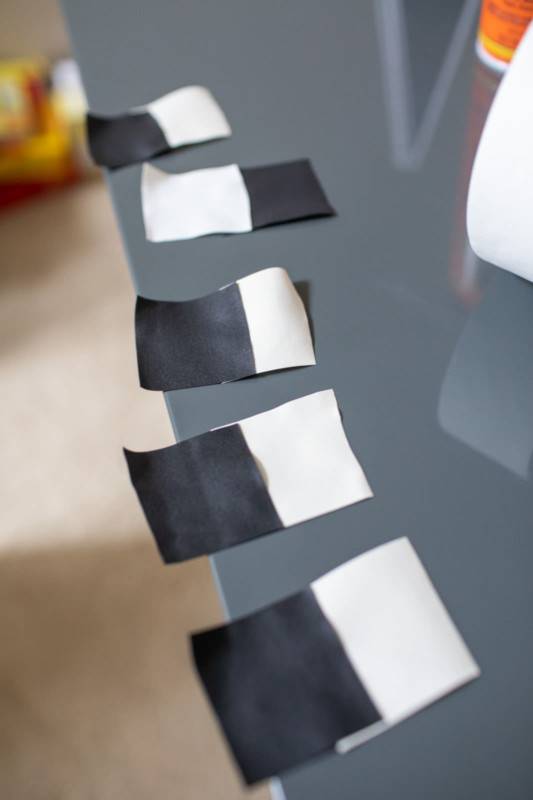
Tip: Alternate from black and white. Slide the next piece so it’s touching the last piece you placed on the board. (View video to see this in action).
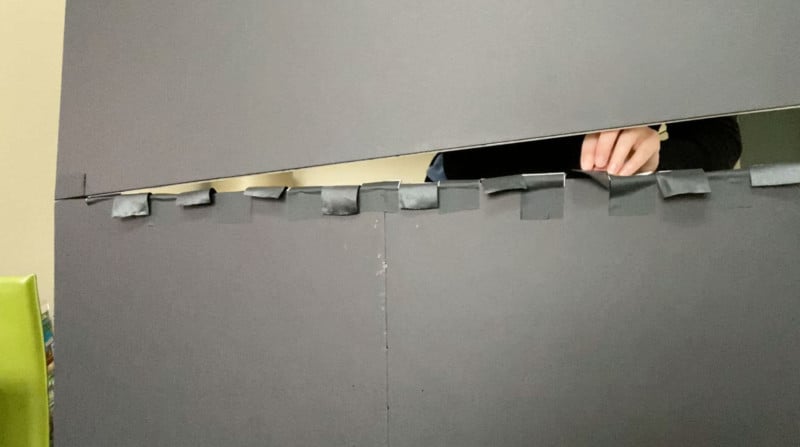
When adding the top piece of foam board to the bottom piece I found it easier to line up all the gaffers tape pieces first, then rest the board on top and work on each piece from there. The gaffers tape is forgiving so if you need to adjust and make it tight you can do that. (Watch video to see how I worked on this part).
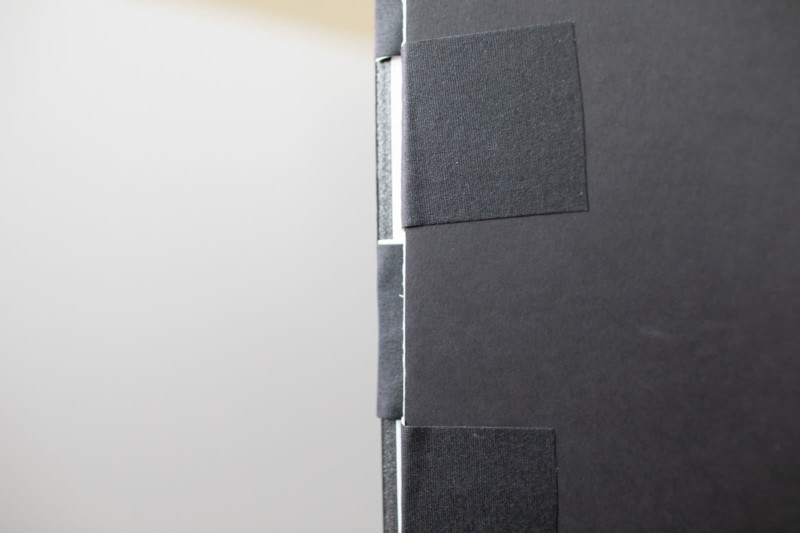
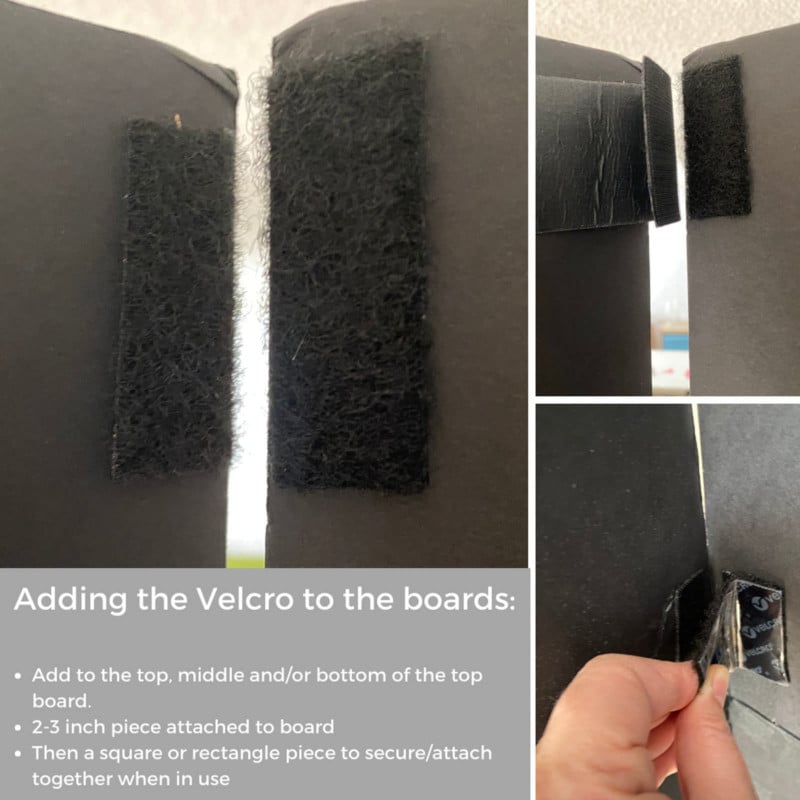
The last step is to add the Velcro to the black top section. I added one to the very top and tested how the seam looked. After using mine, I have also added a second Velcro to the lower to middle portion of the board too.
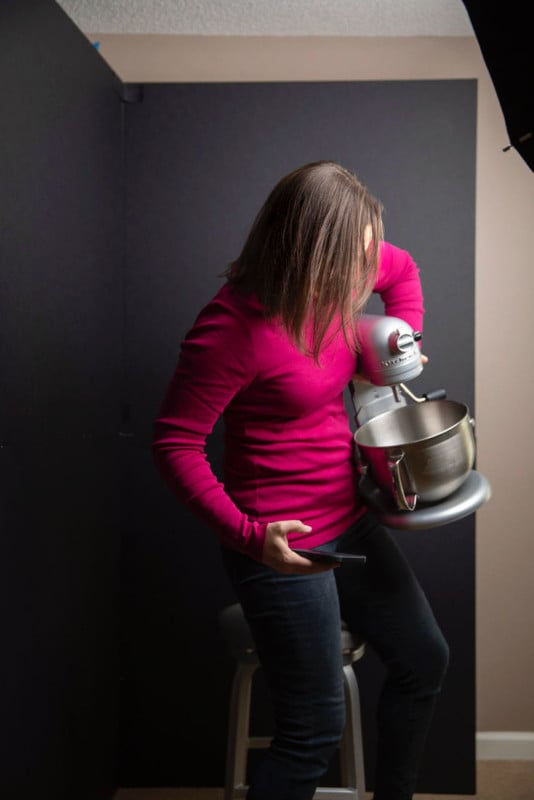
Examples of black side of DIY V-Flat (in post I removed the “taped” area):

About the author: Nicole Bedard is a commercial, lifestyle, and portrait photographer based in Connecticut. The opinions expressed in this article are solely those of the author. Bedard loves to tell a brand’s story and is the founder of @makeandtaste. You can find more of Bedard’s work and connect with her on her website, blog, Facebook, Twitter, and Instagram. This article was also published here.