How to Make a Solar Eclipse Lens Filter for $15 Instead of Paying $150+
With the Great American Eclipse on August 21, 2017, only weeks away, I decided to put together some solar filters. With the high travel costs to get to the eclipse from Southern California, I saved some money through purchasing solar filter sheets instead of the pre-made filters.
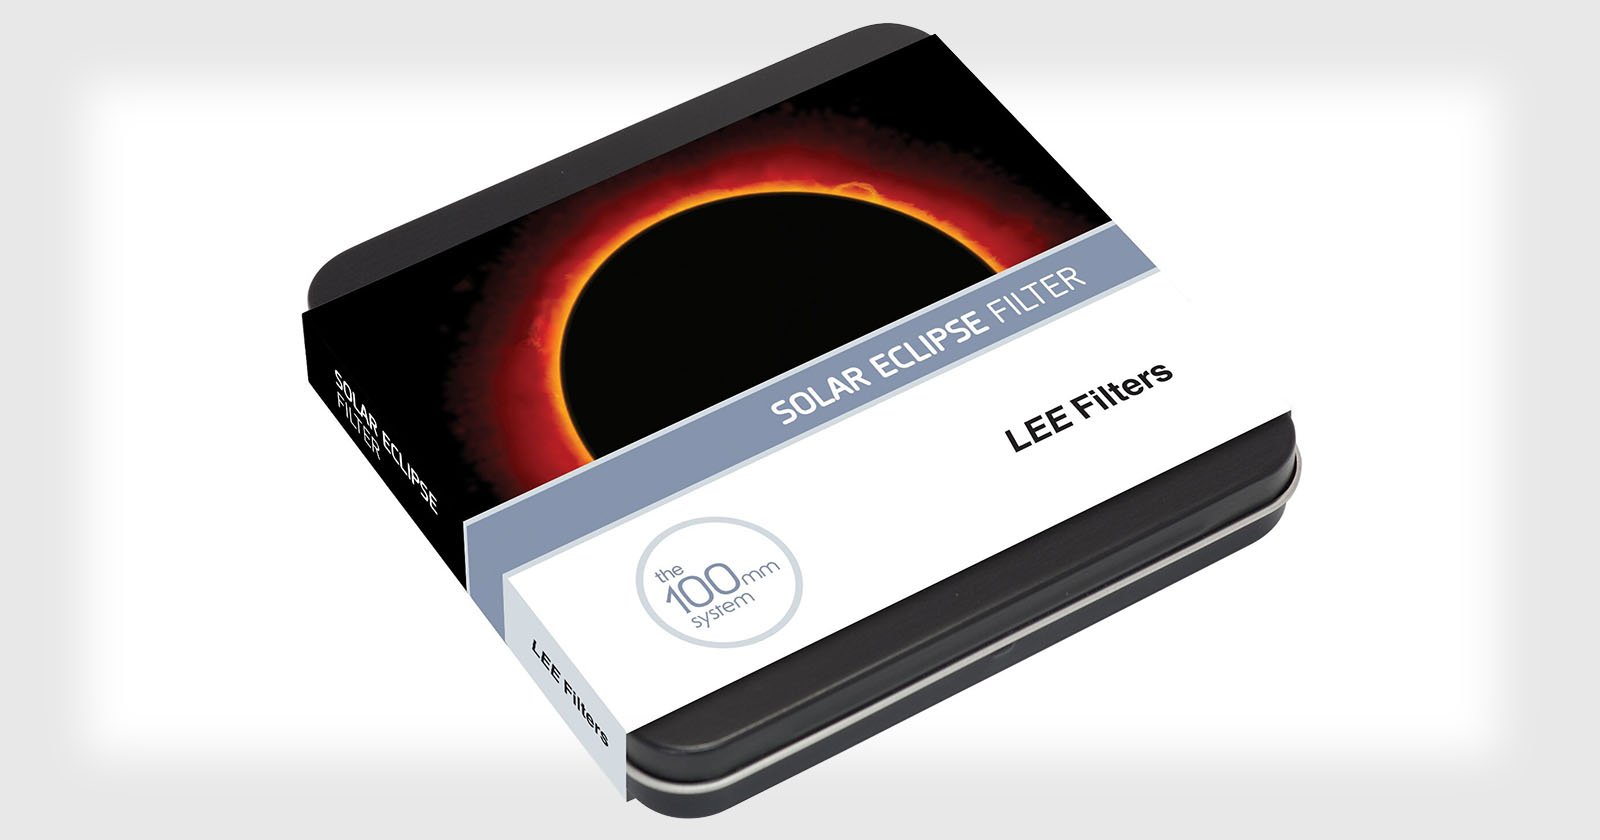
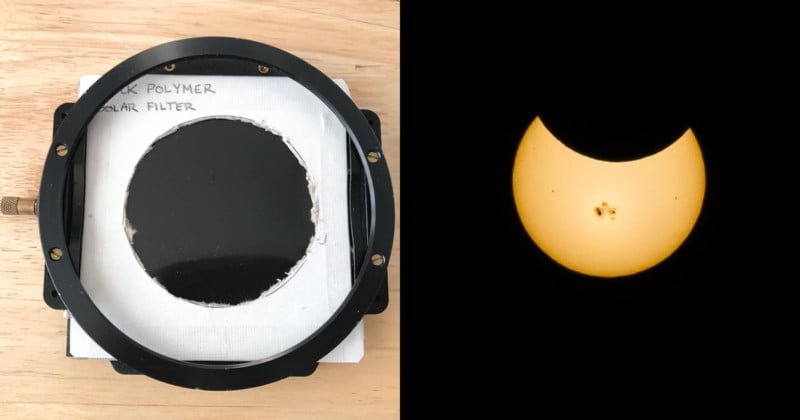
Solar Filter Sheet from Thousand Oaks Optical: $15 vs the $150+ Lee solar filter.
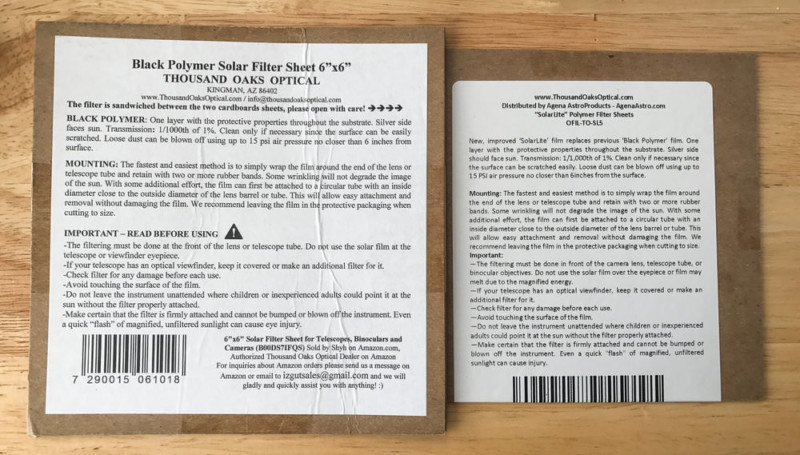
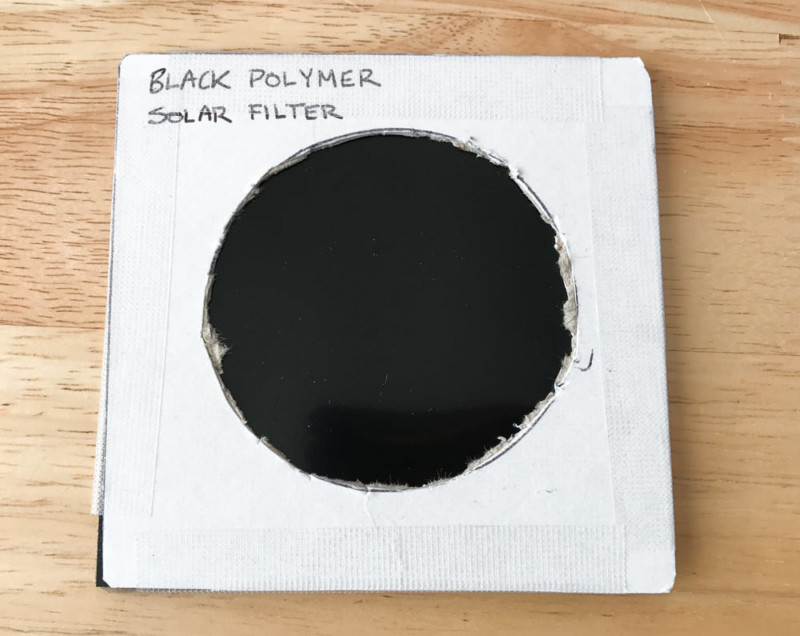
Step 1: Get a filter sheet.
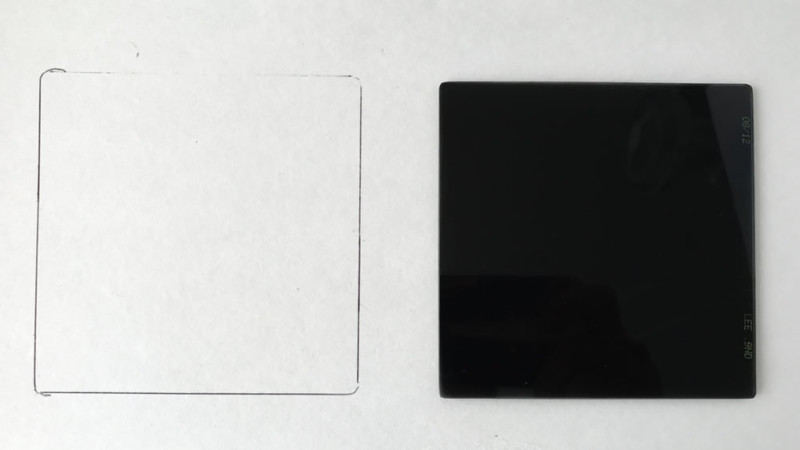
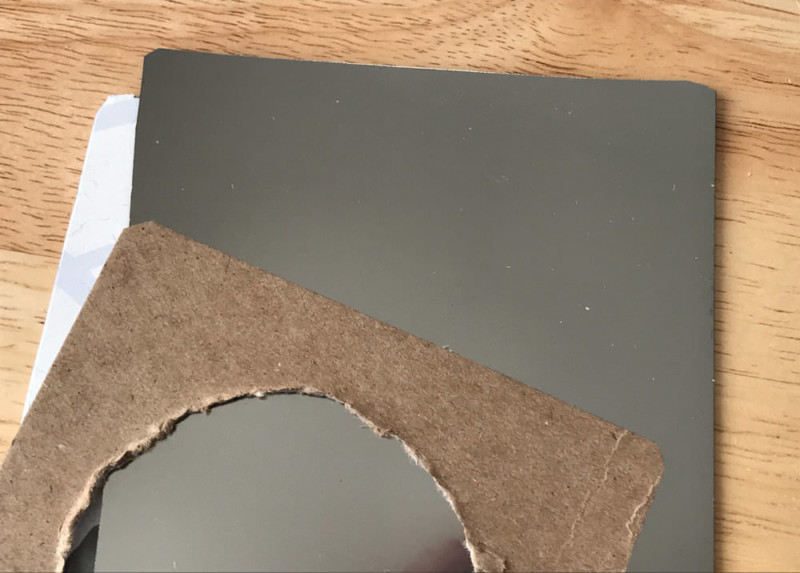
Step 2: Measure (100mm square) or trace out the shape for the stiff backing material. I used part of an old box.
Step 3: Cut a hole for the filter, for the size I used the filter holder as a template and a knife to make the opening, cutting on scrap cardboard so as to not damage the table.
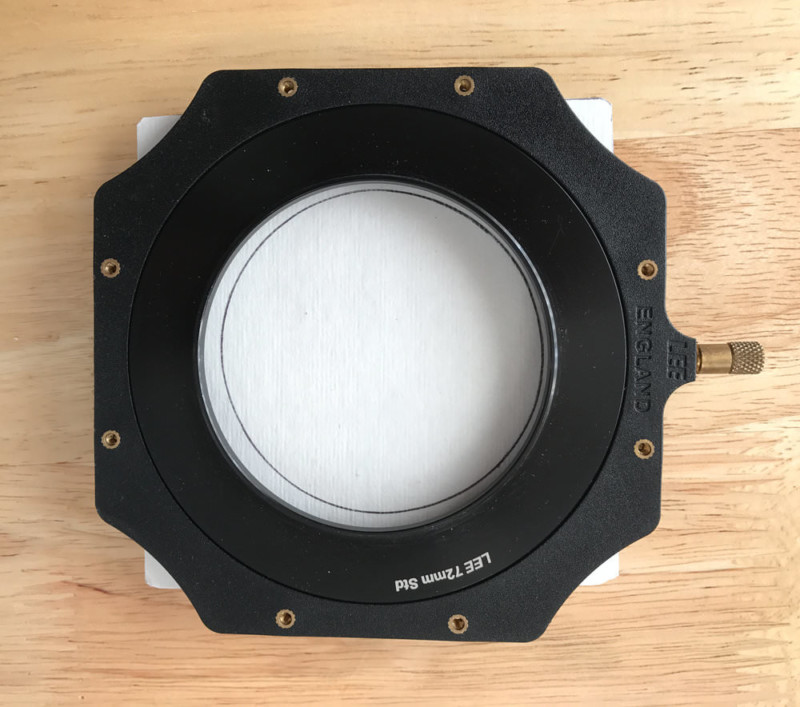
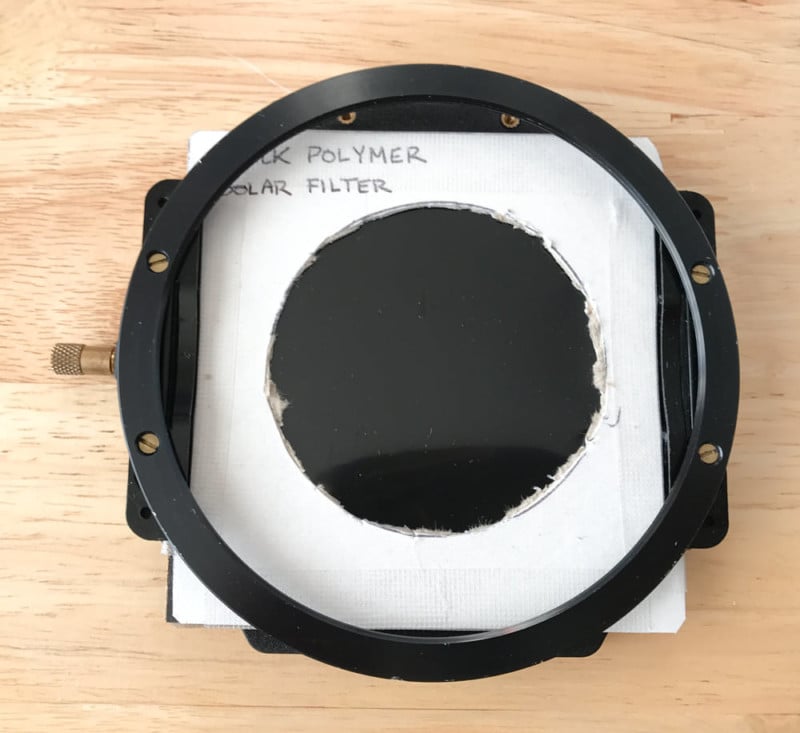
Step 4: Cut another cardboard sheet for the other side, I used a thinner material so it fits snugly in the Lee filter holder.
Step 5: Tape together.
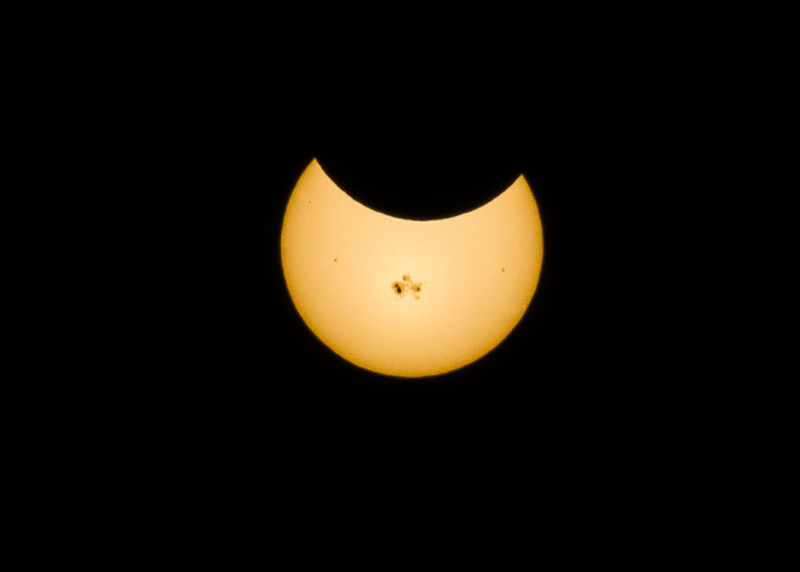
Step 6: Enjoy the eclipse!
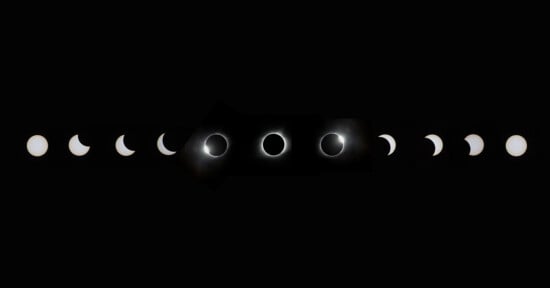
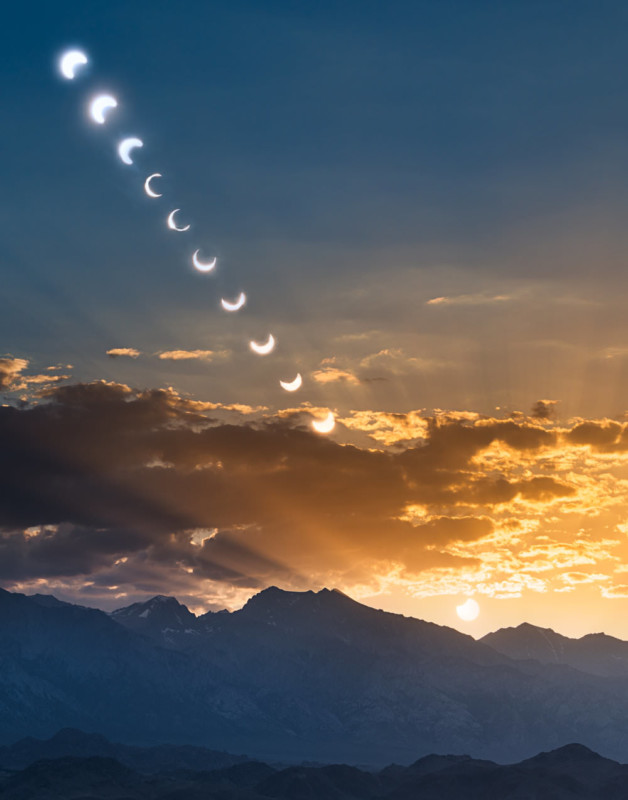
Here are some examples of solar eclipse photos I’ve shot:
About the author: Matthew Kuhns is an award-winning California-based landscape photographer and the man behind Skyfire, a mobile app that maps out when amazing light will occur. His images have been seen by over 100 million people in publications such as National Geographic, Microsoft, Sunset, Backpacker, Popular Photo, PDN, Aviation Week, Spaceflight Insider and the Pictureline Blog. His work is highly sought after and is available online and at the G2 Gallery in Venice Beach CA. You can find more of his work on his website. This article was also published here.