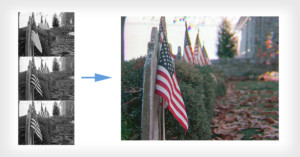
How to Convert a Photo to B&W in 30s with Photoshop’s Calculations Tool
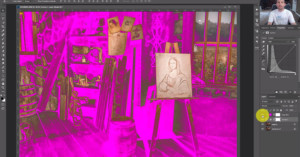
Have you ever used Photoshop’s Calculations Tool? It allows you to quickly blend two images together with optional blend modes and opacity. This 10 minute video from PIXimperfect explains how the tool works, and how it can be used to quickly convert a color image to black and white.