This Photoshop Trick Lets You Easily Fix Color Fringing
Photoshop and Lightroom both have built-in tools for dealing with chromatic aberration (AKA color fringing), but in some cases the features don’t work as well as you’d hope. In the 8-minute video tutorial above, photographer Steve Perry of Backcountry Gallery shares a quick and easy trick he uses in Photoshop to manually remove fringing from his shots.
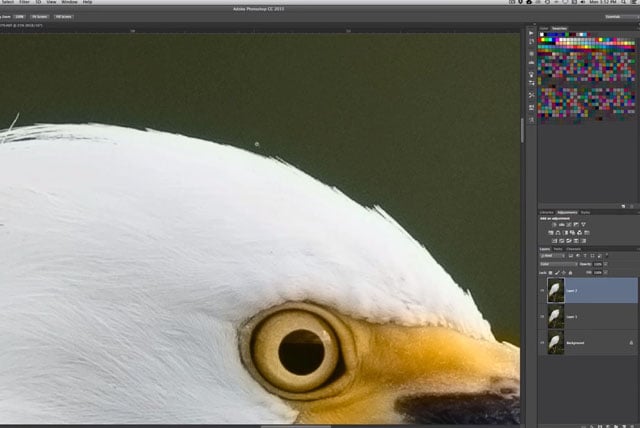
1. Duplicate the Layer and Zoom Into the Area

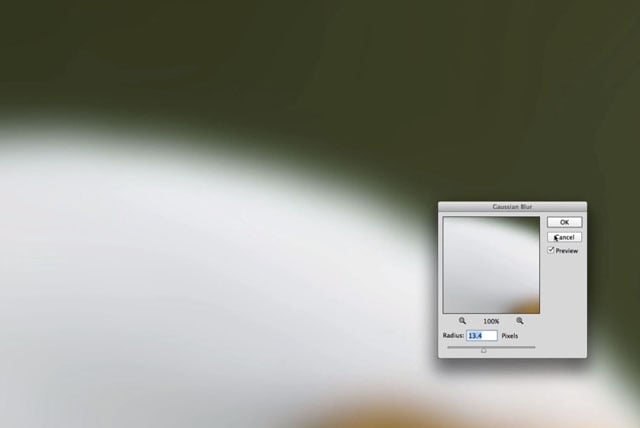
2. Apply Gaussian Blur Until the Fringing Color is No More
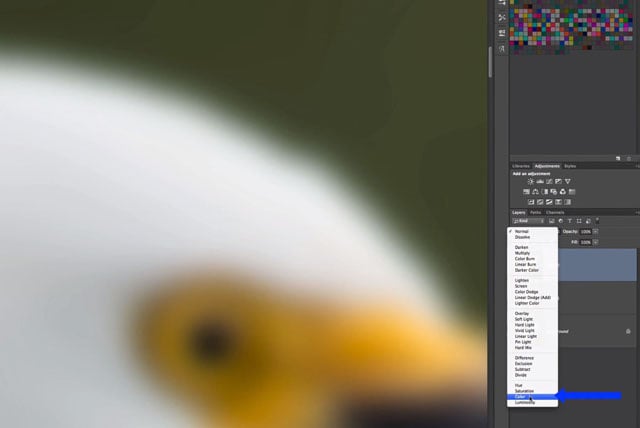
3. Set the Blending Mode of the Blurred Layer to Color
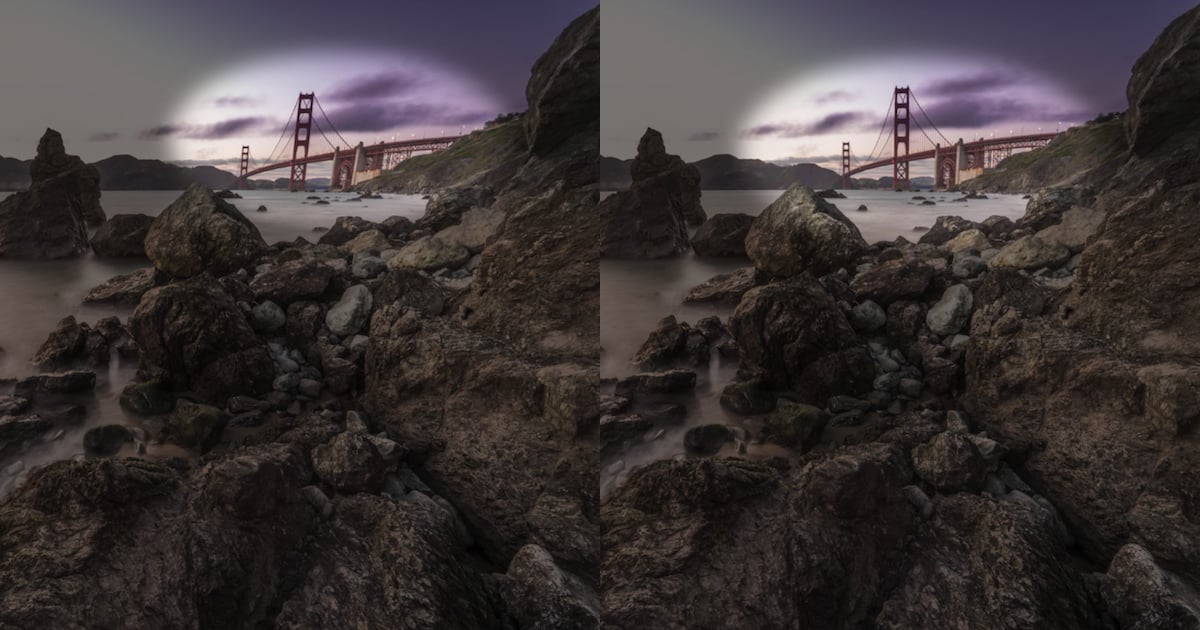
4. Voila! The Fringing is Gone!
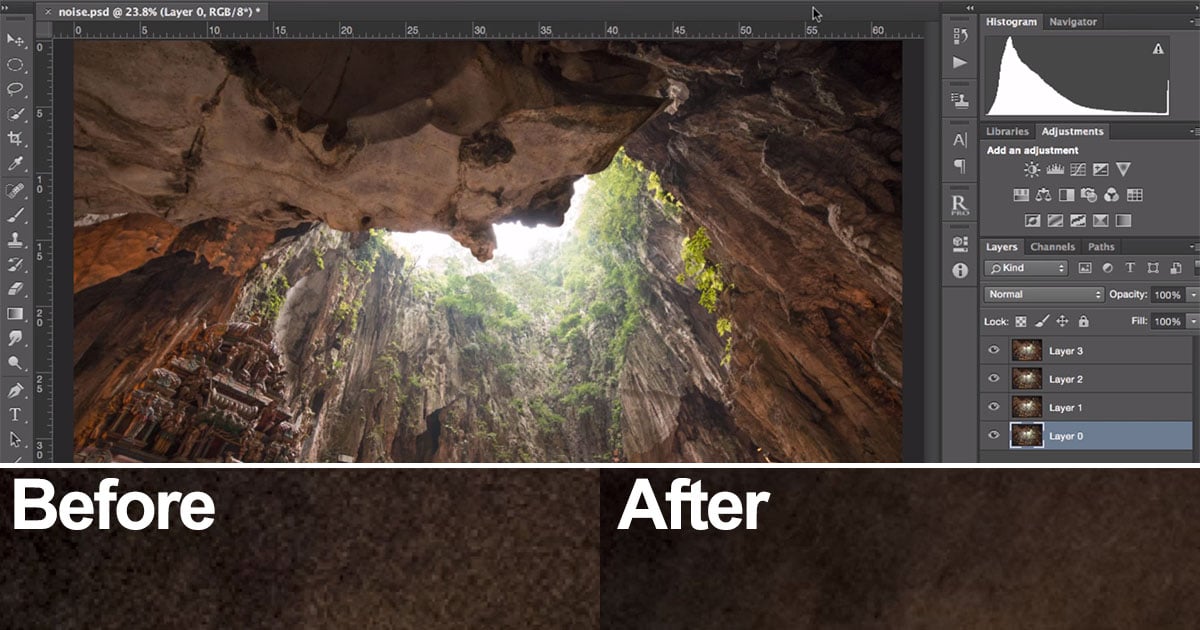
Here’s a before and after comparison:
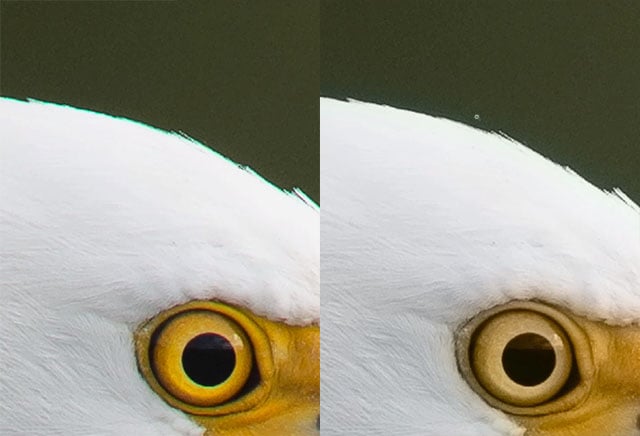
Perry notes that the rest of your photo will also be affected, so you should mask out the blurred layer and paint in the chromatic aberration fixing layer manually into your photo.
The same trick can be used to correct other odd color issues that may appear in your photos. Give the 8-minute video above a watch for the complete step-by-step tutorial on how this technique is done.
P.S. You can also find more of Perry’s work and content through his website and YouTube channel.