A Basic Guide to Light Painting Photography
Light painting has been a basic technique in my photography ever since I learned how to really play with it. I started by just doing the usual of writing names and doing swirls but then I learned how to use it for my professional work.
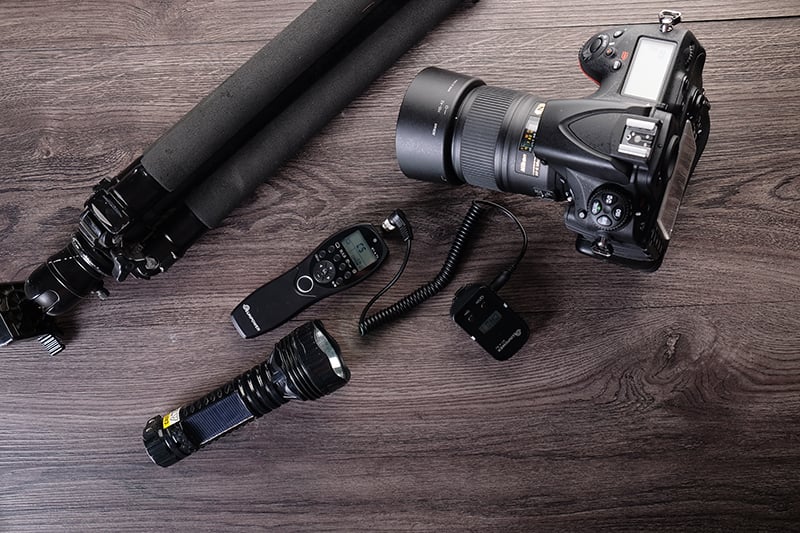
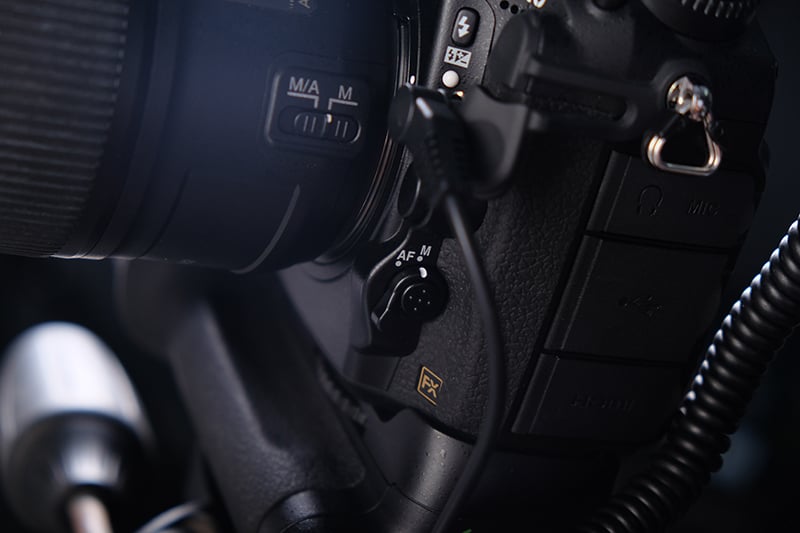
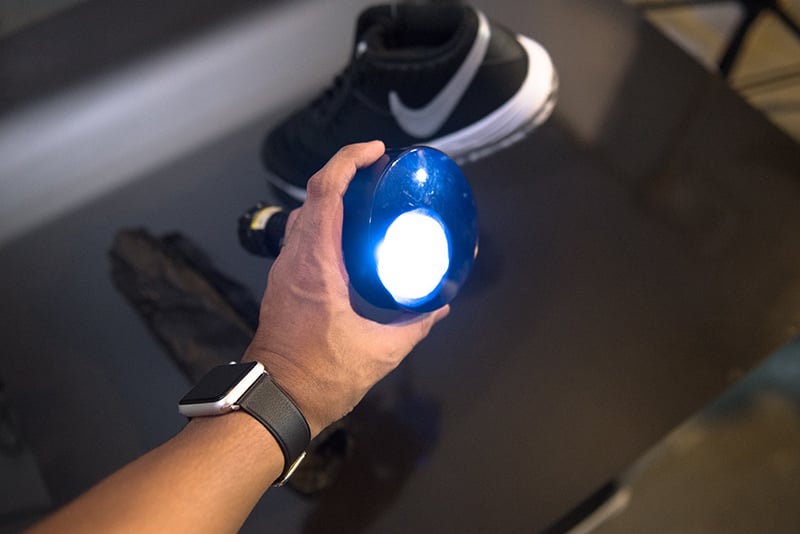
The basic things you will need is a camera that has manual exposure because you will be shooting with a long shutter speed, a tripod to keep the camera stable, an optional wireless or shutter release cable, and any flashlight you have.
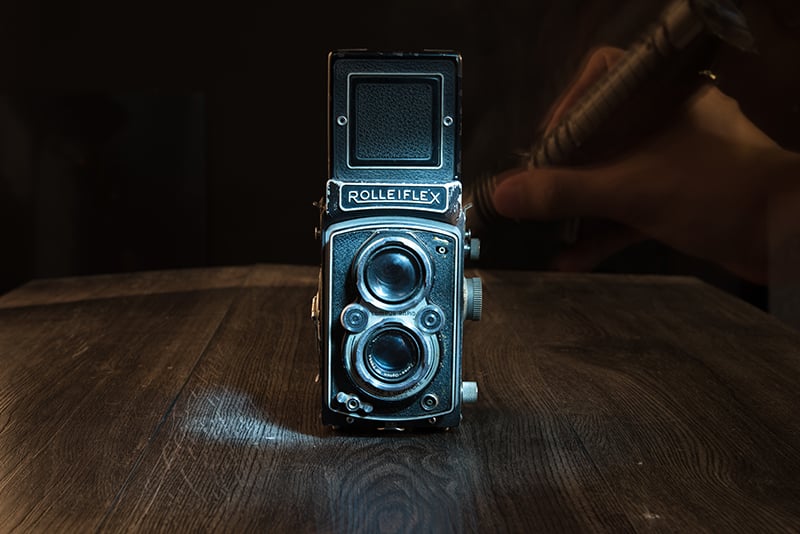
The Setup
Normally when doing light painting, you want to put your camera on a tripod.
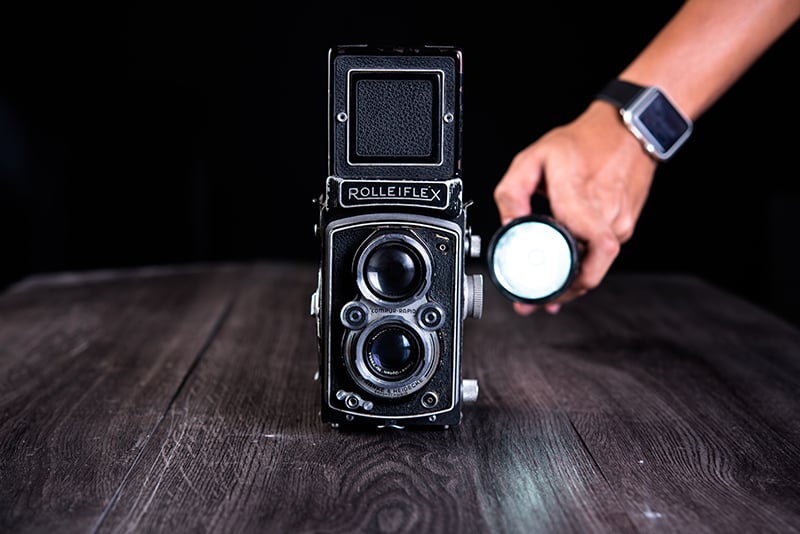
I usually shoot in a pitch black room when light painting (I’ll explain why below), so I pre-focus on my subject first while the light is on and switch my camera to manual focus so that I can click the shutter while all the lights are off and stop the camera from trying to focus.
The first thing you have to make sure if you want to have a clean light painted image is that no ambient light or artificial light is on. It’s better when you’re shooting in a pitch black area because the ambient light might expose your hand or your flashlight.
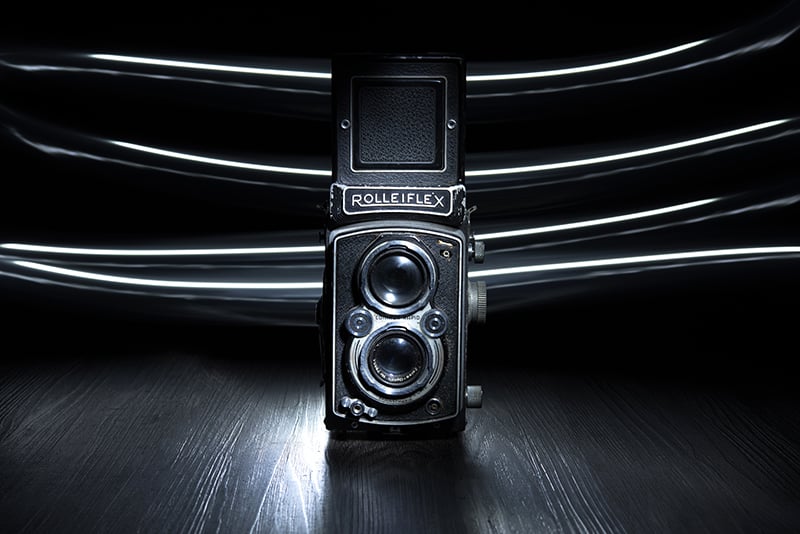
Another thing to remember when light painting is: only light your subject and make sure no light from you flashlight is hitting you or you will also get exposed in the shot.
How To Paint Your Subject
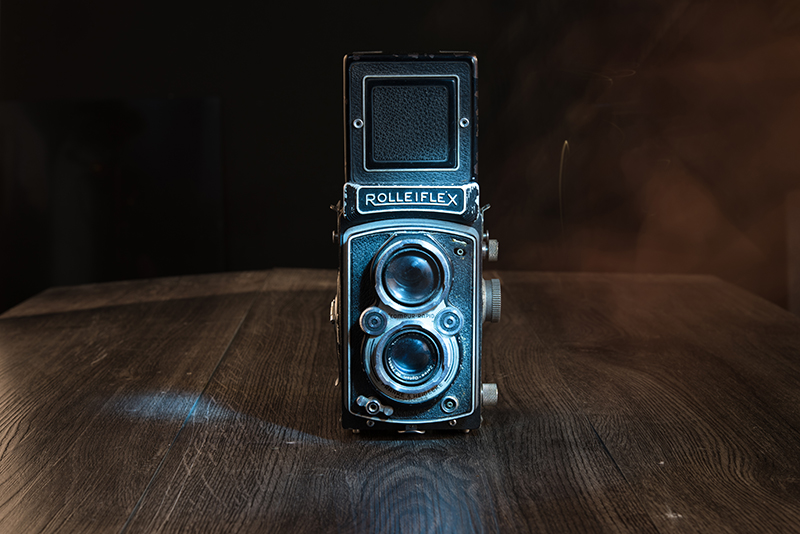
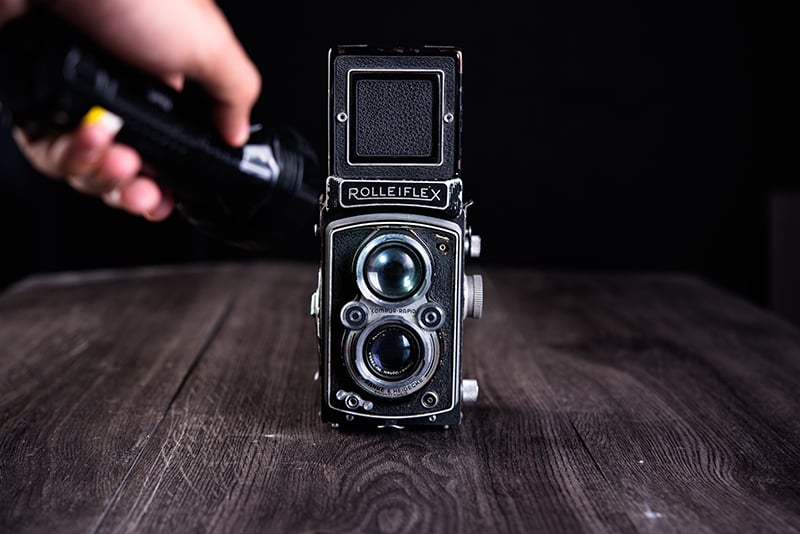
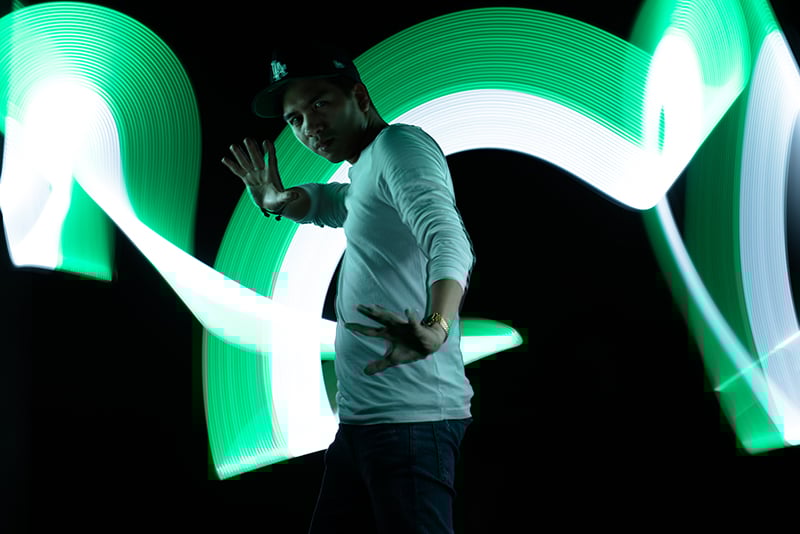
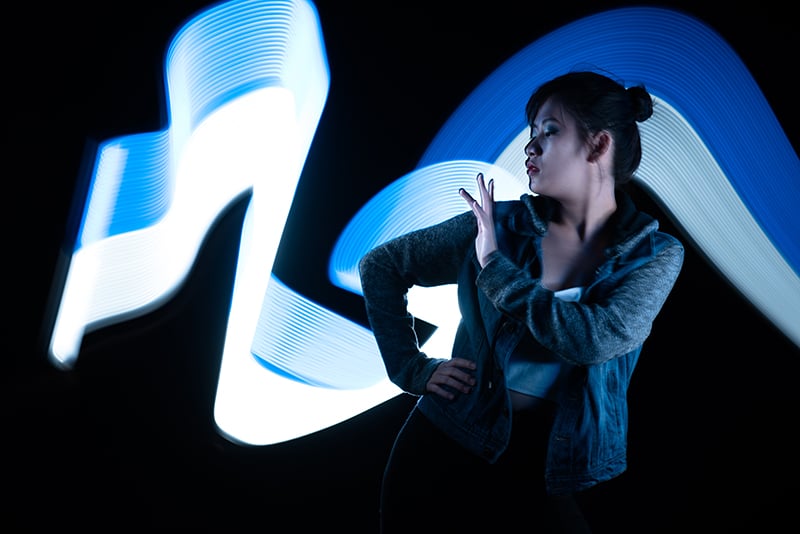
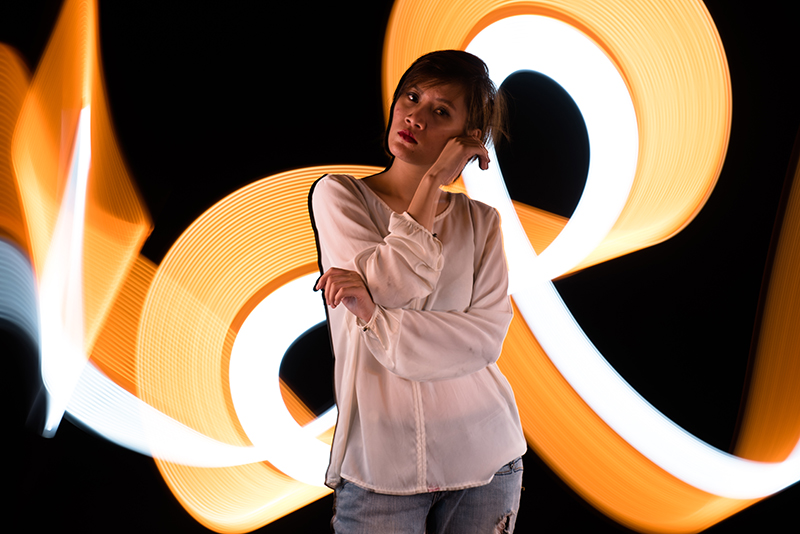
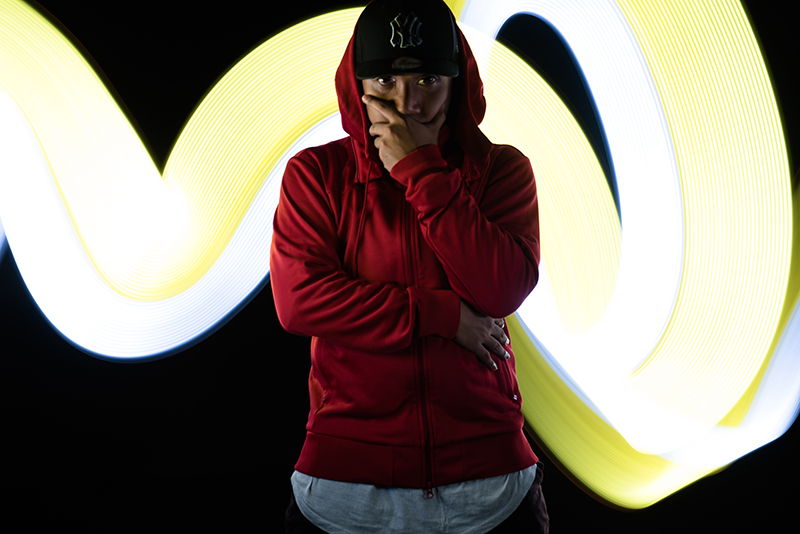
The simplest way to explain this is: if you point the light towards your subject it acts like a flash and exposes the subject.
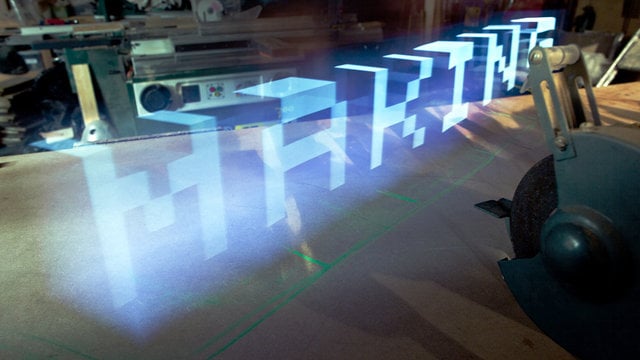
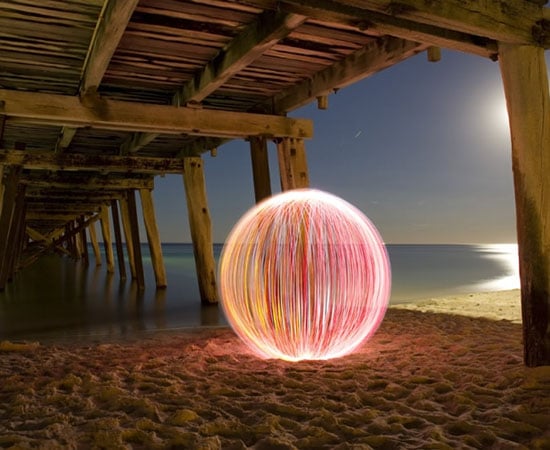
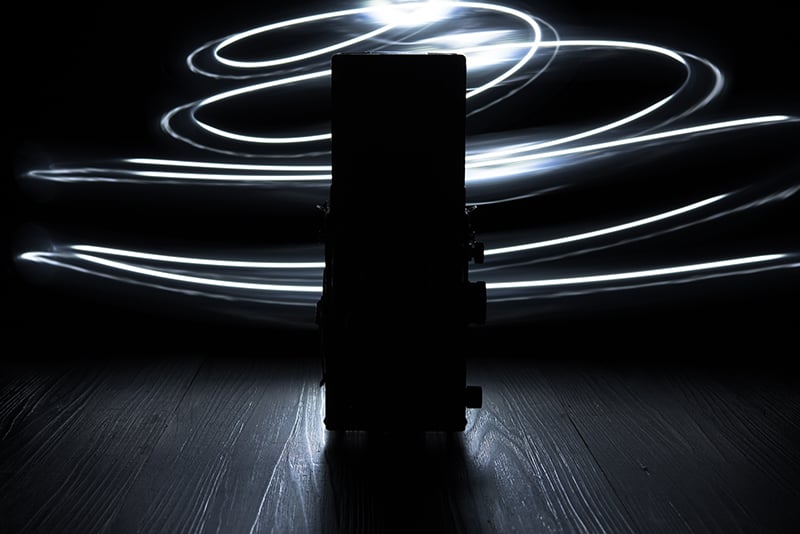
How to create light streaks or drawings
If you point your light towards the camera then you can create light streaks or drawings.
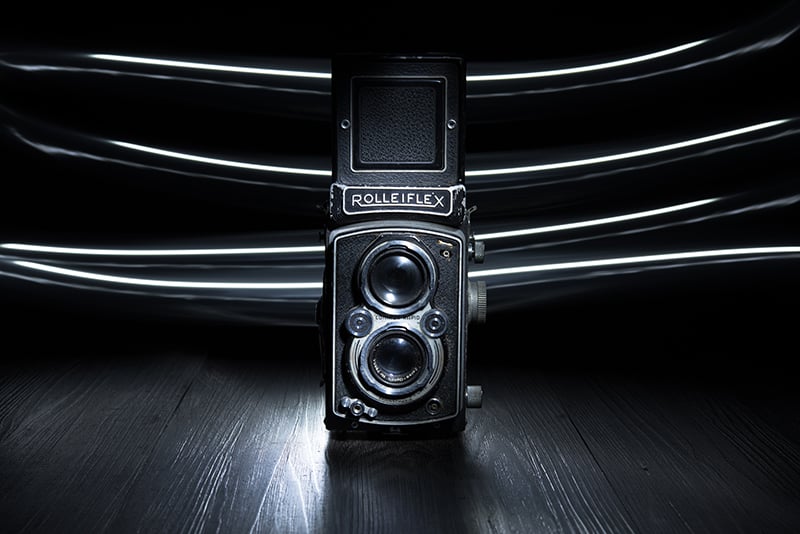
Combining both lighting the subject and creating light streaks at the back:
How to control your exposure
As I said before, light painting is trial and error. You need to see your first shot before you can adjust for the exposure.
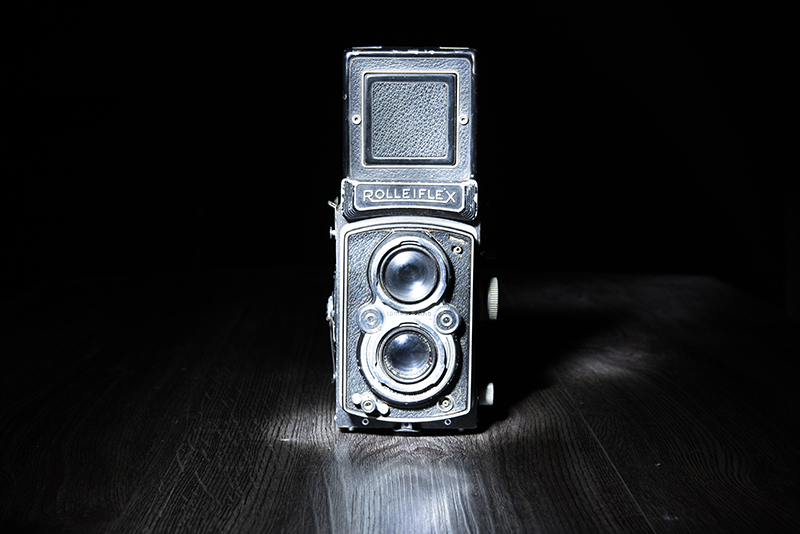
I normally start with a low ISO of 100, f/8, 10-20 seconds shutter speed.
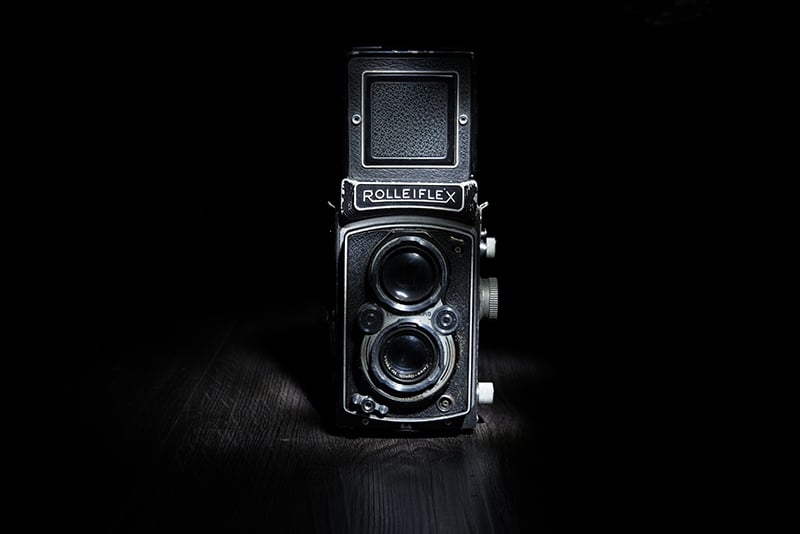
As you can see in this shot my subject is overexposed.
You can do two or three things for this.
- Time the light hitting the subject: The Longer the light is pointing at your subject or pointing at the camera in one position the more exposed or brighter it gets. So you can paint faster and just keep the same settings(iso,shutter and aperture) as before and you can see that you get less exposure. Longer/slower you paint – More exposure Faster you paint – less exposure
- Increase your flashlight’s power if possible. Increasing or decreasing your flashlights power can also change the exposure your subject gets.
- Changing your camera settings. Do the same time or amount of time you paint but change your iso or aperture to get more exposure or less exposure to your subject. Higher ISO/ Opening of f/stop – More Exposure Lower ISO/ Closing down of f/stop – Less Exposure
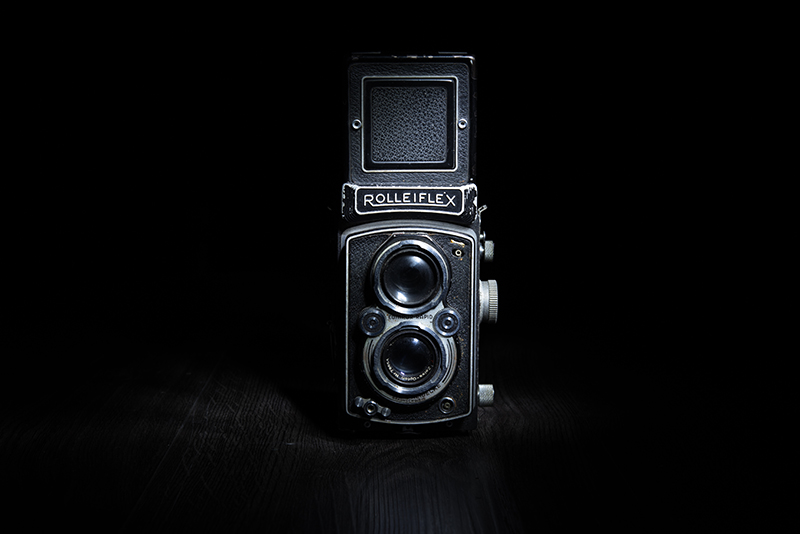
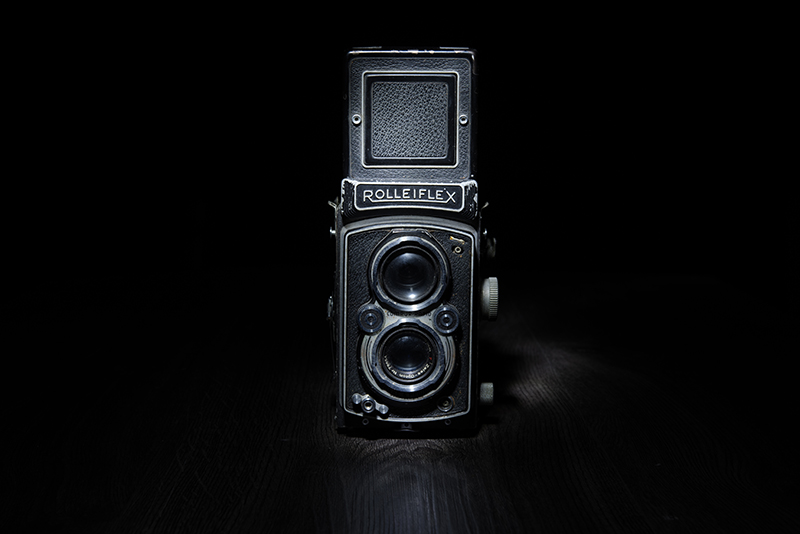
Below is an example of a better exposed subject.
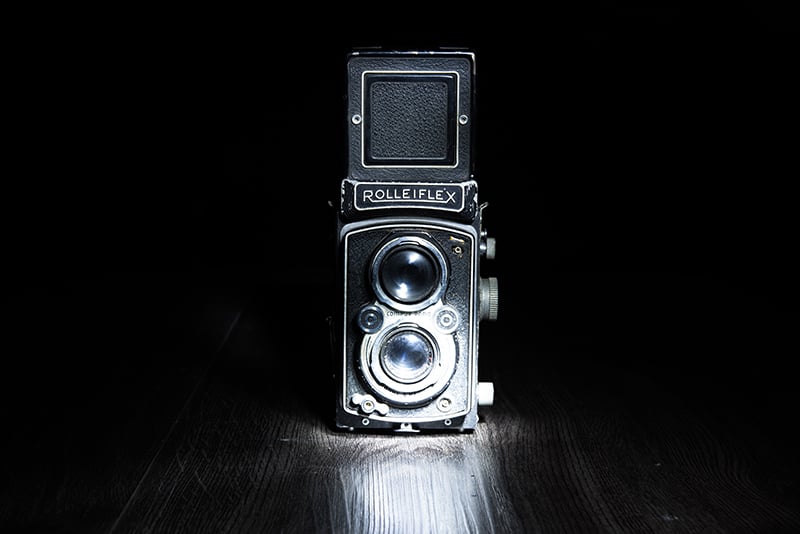
I wanted to show you the effect on how long you paint your subject. I painted the upper part of the camera about 5 seconds and painted the bottom part about 10 seconds. You can see that the lower part is overexposed.
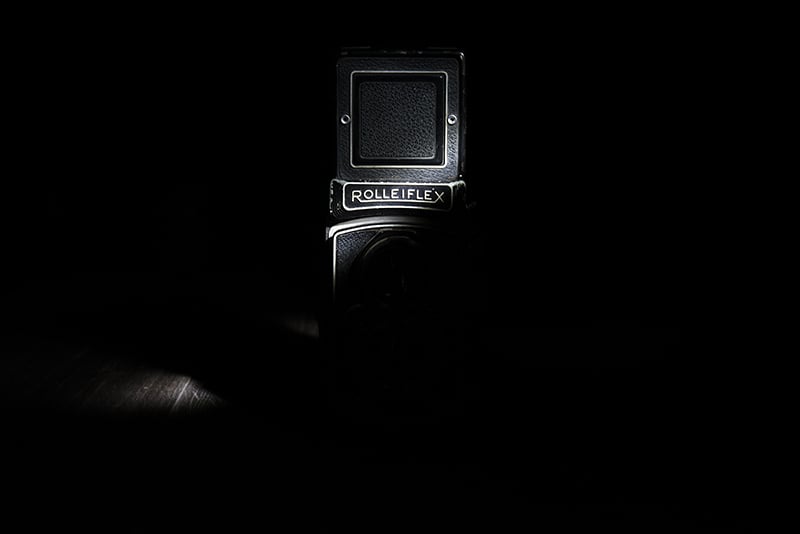
You can also make your limit your light source and just paint on the parts where you want.
It’s that simple actually. If you know how to control the light you paint with, then you can create anything you want. You just have to be aware of how long you paint your subject or how long you point the light towards your camera.
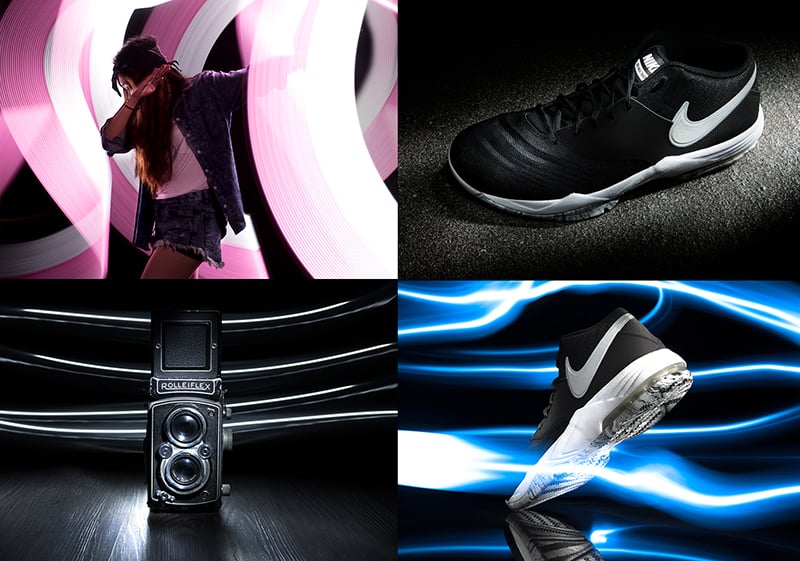
Here are some examples and step by step procedure for you to fully understand how to light paint:
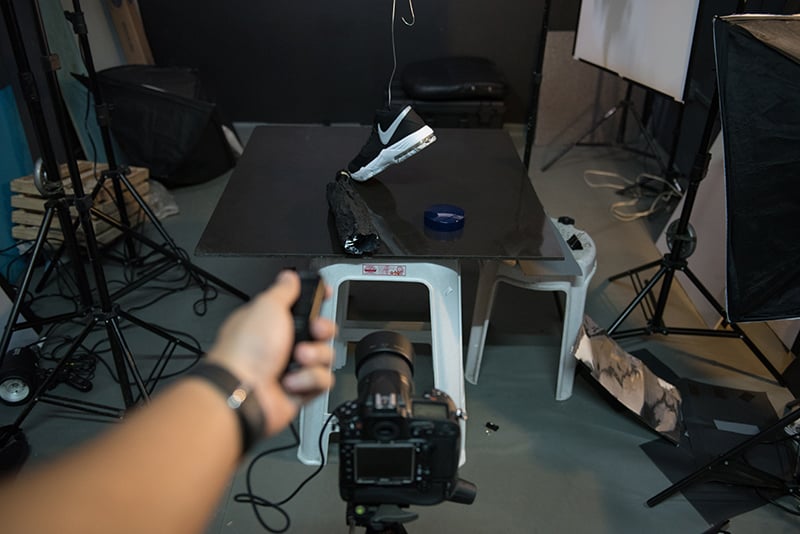
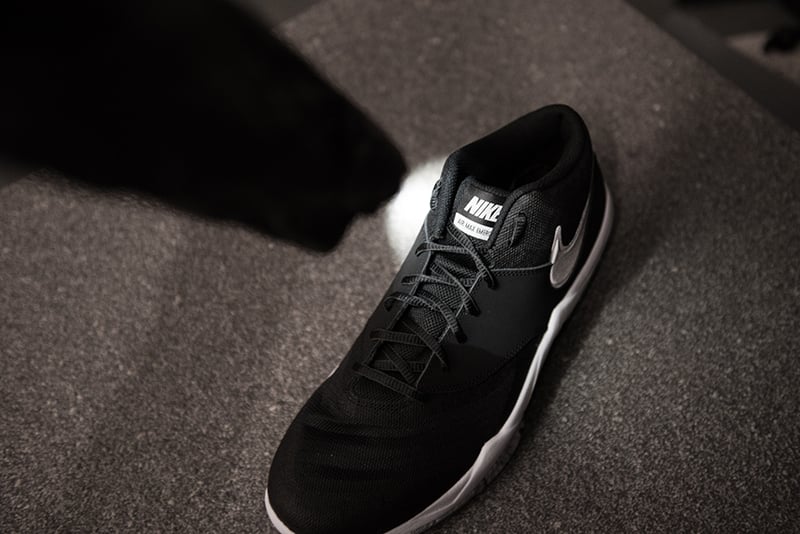
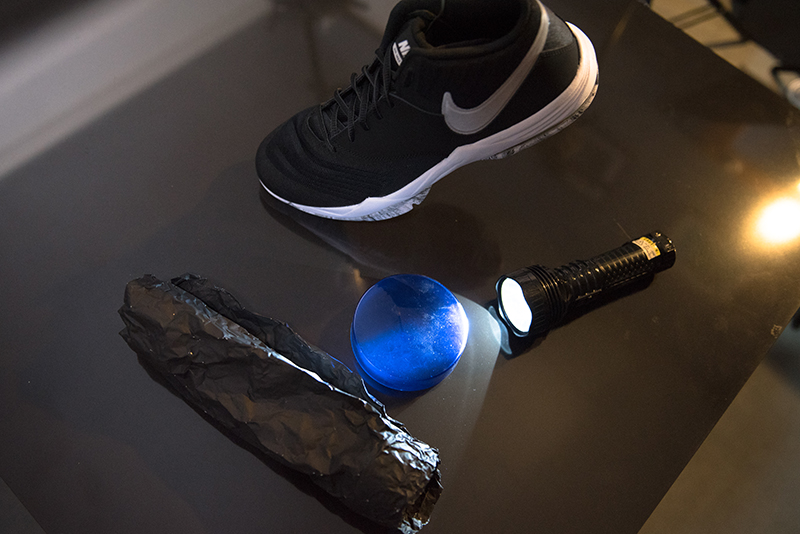
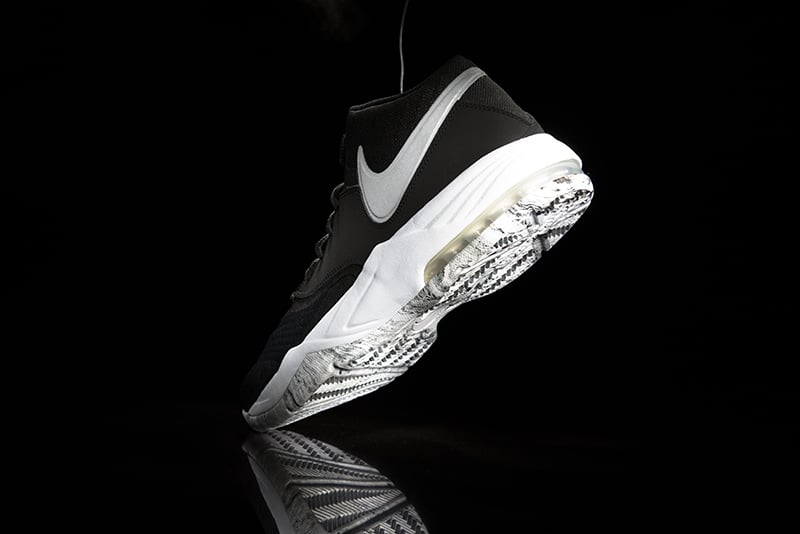
I bought some new shoes and before wearing them I wanted to take photos of it first. I used one of my tiles as the base of my subject. (Here’s my article on how I use tiles for my product photos.)
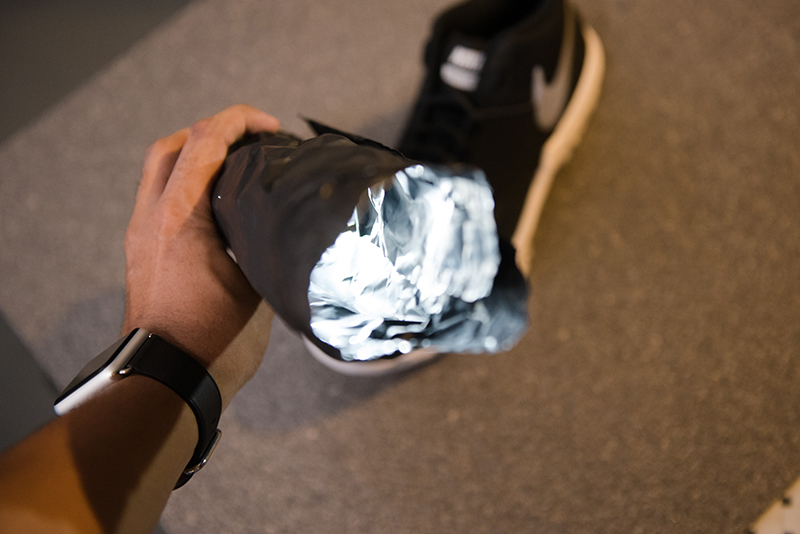
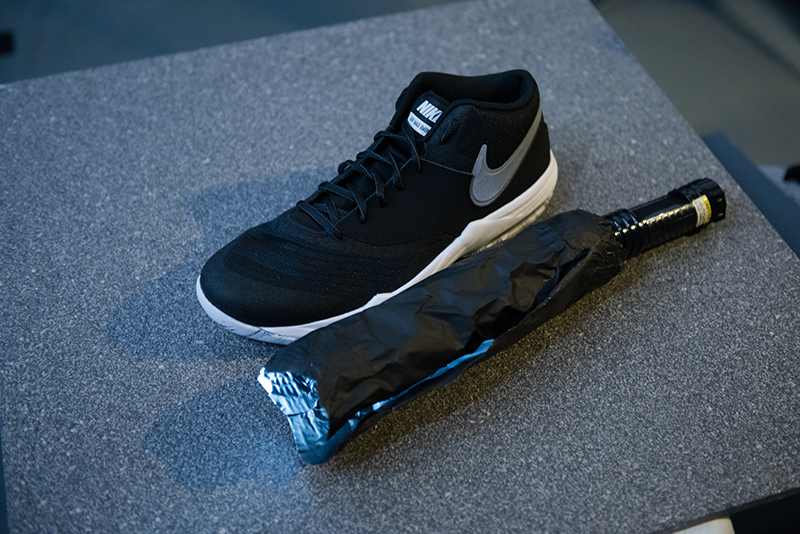
To have more control over my light, I made a DIY snoot out of cinefoil and placed it in front of my flashlight.
The first thing I wanted was to create a hard shadow coming from the back of the subject. So before doing the whole shot I tried doing this first.
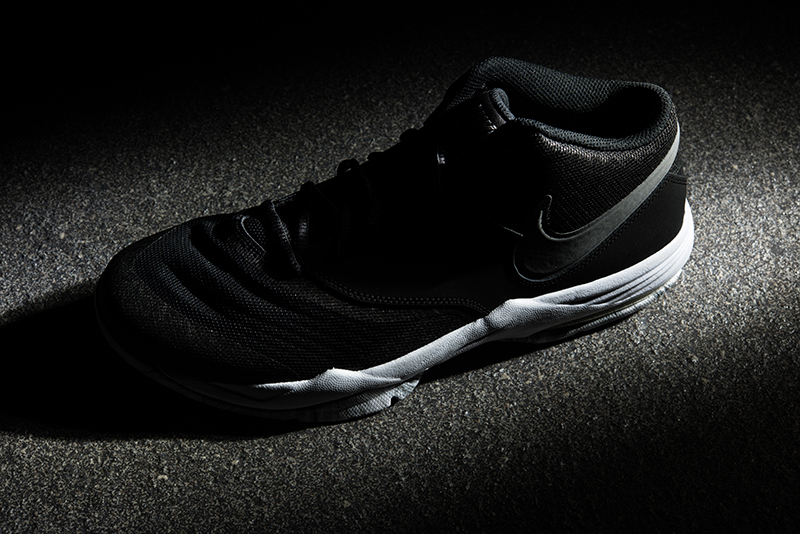
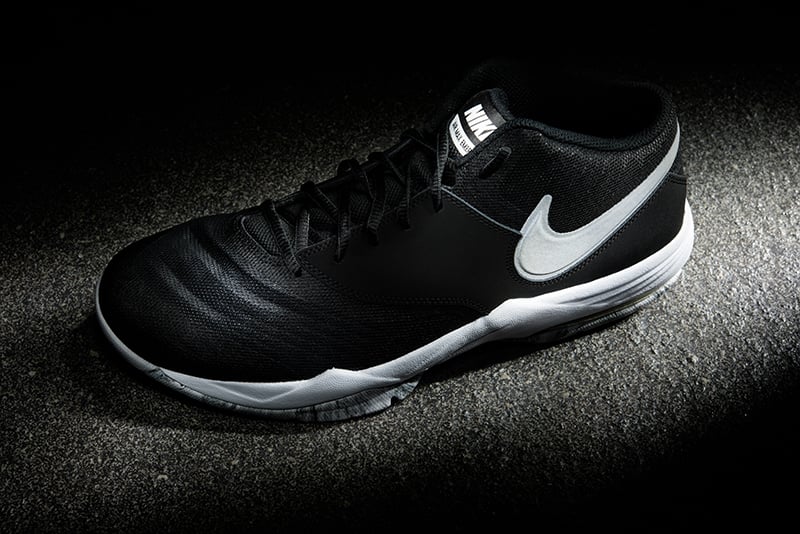
After I tried painting only the front of the shoes to see what it will look like.
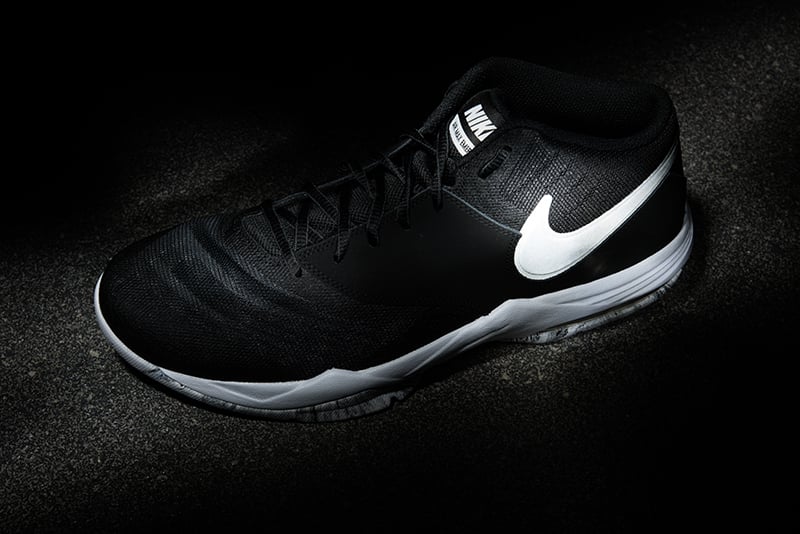
For the final result I combined both techniques in one exposure. It took me less than 10 shots to get the result that I wanted. Light painting gets easier after you’ve done it several times.
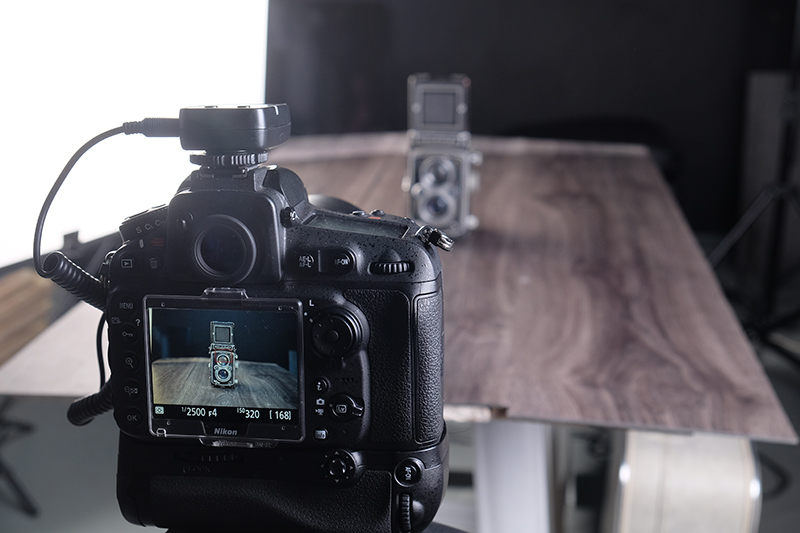
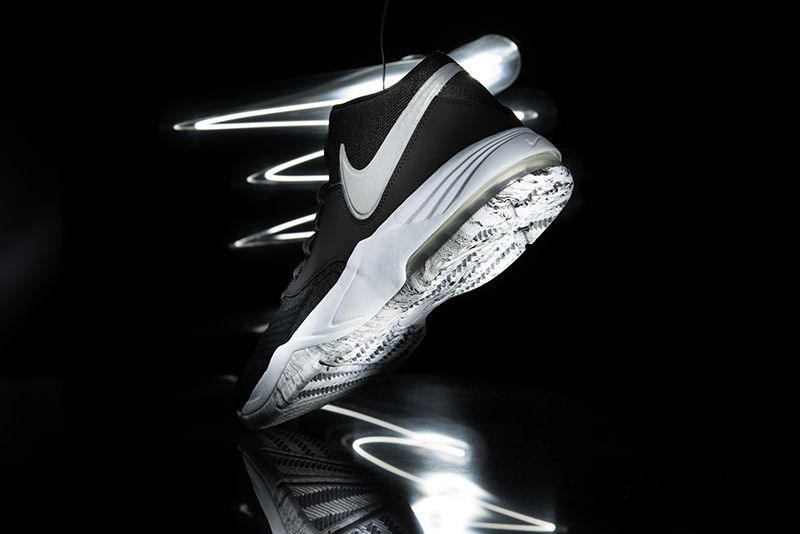
For my next shot I used a granite tile for the base of my subject and placed a boom stand with wire on top of the subject. I was still using the same flashlight with a DIY snoot, but for the background light in the final photo I got a blue plastic and placed it in front of my flashlight.
The first thing I did was play around with only lighting the shoes.
I now combined two techniques of lighting the shoes and drawing light streaks at the background.
For the final results, after lighting the subject in front, I got the blue plastic and used it to draw light streaks at the back of the subject.
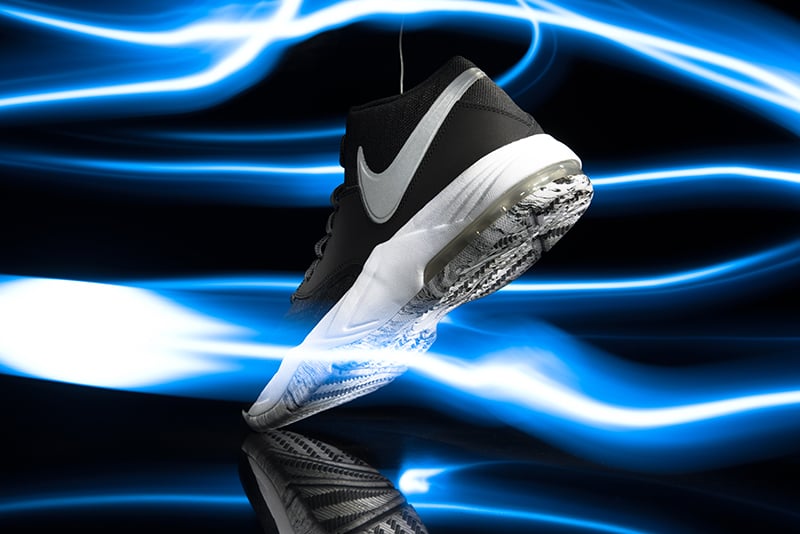
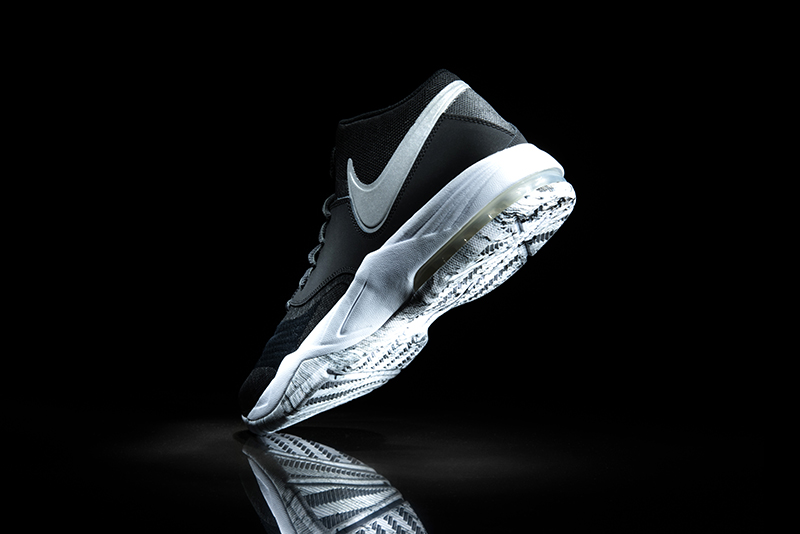
For the final photo I just edited out the wire and did a bit of levels adjustment.
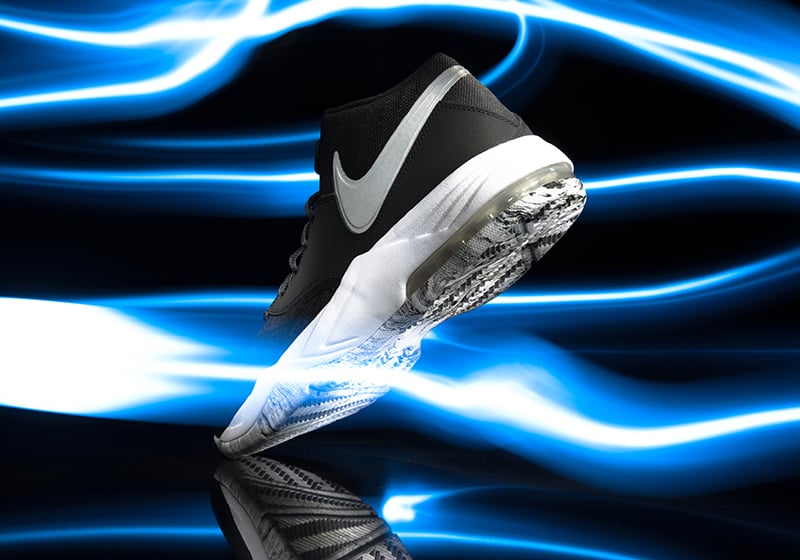
Another result from this set without the light streaks.
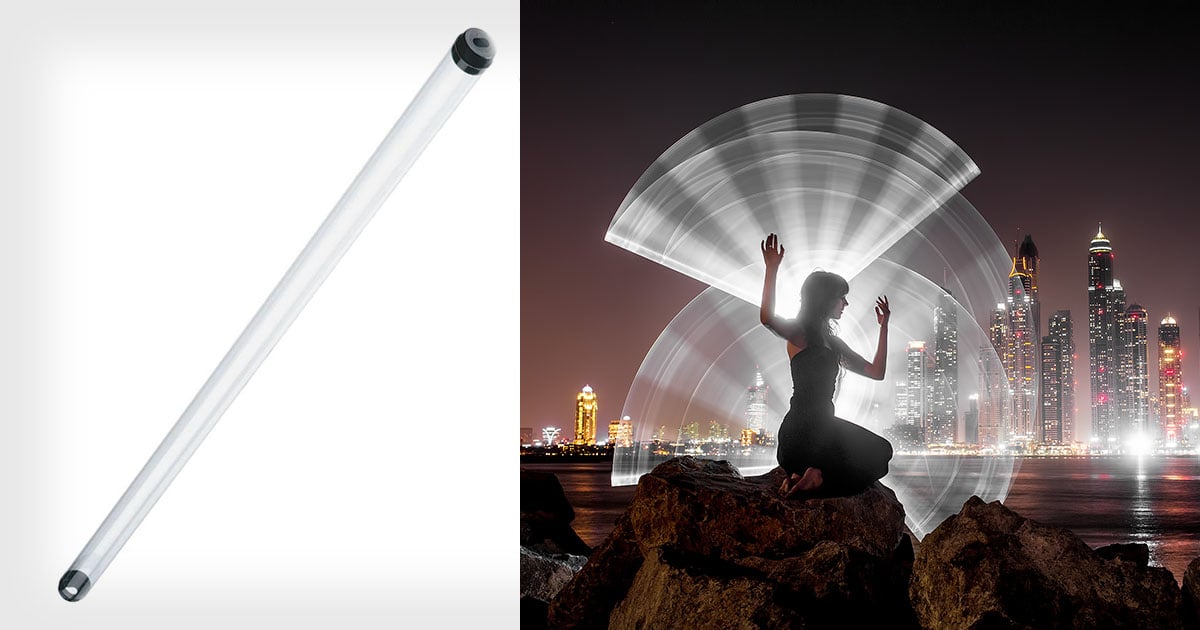
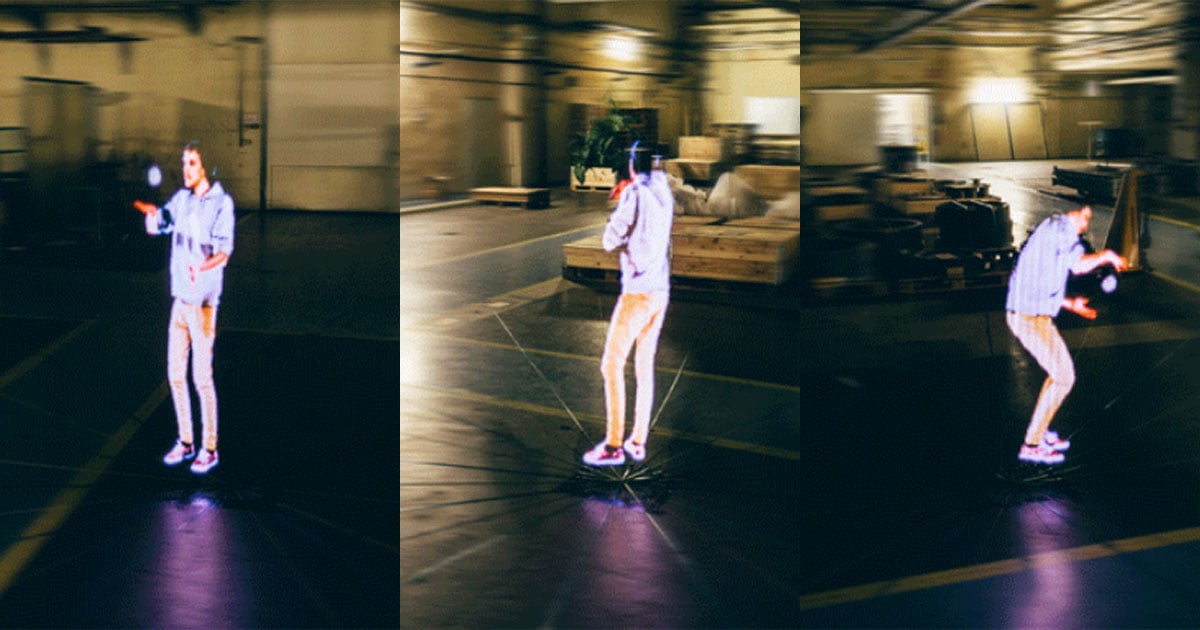
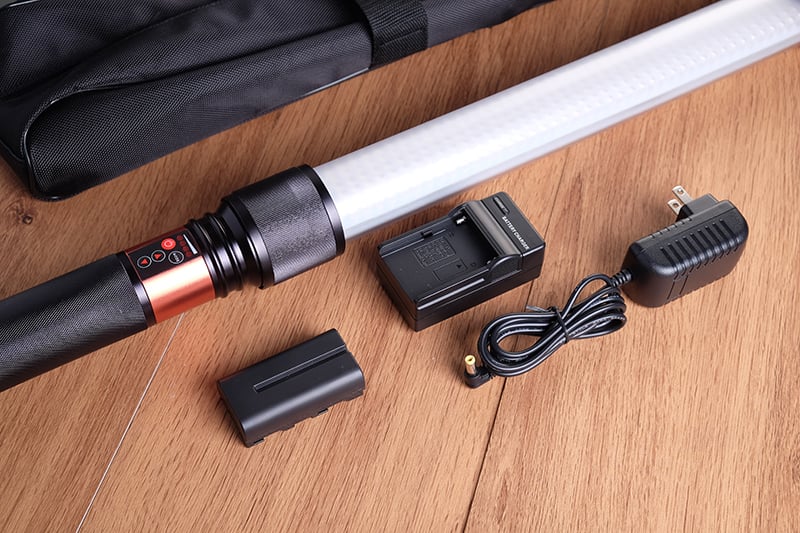
Trying out the I-Light Led light from a local store for the set below.
Normally for this I would light my subject separately using a flash to stop there movement but I tried just light painting them using only one led light.
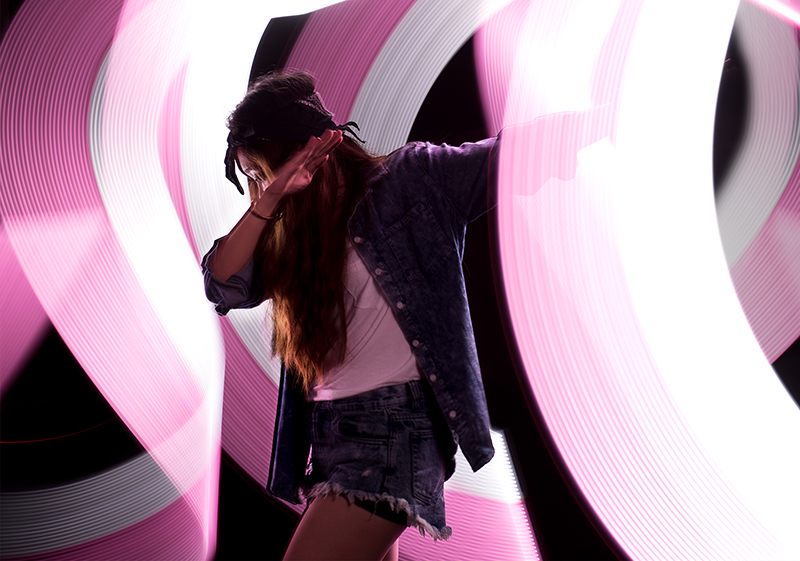
I placed a gel on the top part of the Led stick to get colors on the light streaks.
The final photos:

There are endless things you can do with light painting and I’ve even used it for my professional work. It’s just about learning the basic on how to do it to get you started!
Thanks to Sarah Palisada, Israel Palisada, Angelika Adrias, Angelou Adrias and Kevin Lanon for modeling. Also a big thanks to Vizen Marketing Philippines for letting me use the I-Light.