How to Turn a Photo from Day to Night Using a Few Photo Editing Tricks
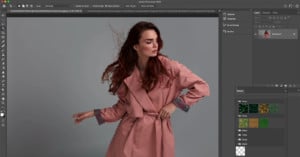
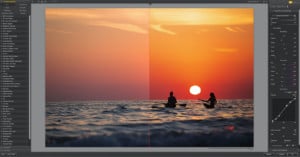
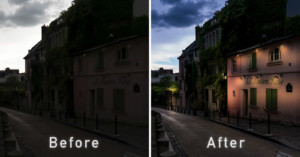
Photographer Serge Ramelli recently put together a fun tutorial that shows you how to do something that might seem, at first, impossible: he takes a daylight photo and, using only local adjustments, he turns it into a nighttime or "blue hour" shot complete with lamplight.