How to Turn a Photo from Day to Night Using a Few Photo Editing Tricks
Photographer Serge Ramelli recently put together a fun tutorial that shows you how to do something that might seem, at first, impossible: he takes a daylight photo and, using only local adjustments, he turns it into a nighttime or “blue hour” shot complete with lamplight.
He does not composite in any external elements or replace the sky, this is all done using local adjustments. The over-simplified step-by-step goes something like this:
- Light up laps using radial adjustments
- Use another radial adjustment to create some glow from the laps
- Darken the sky using a gradient adjustment
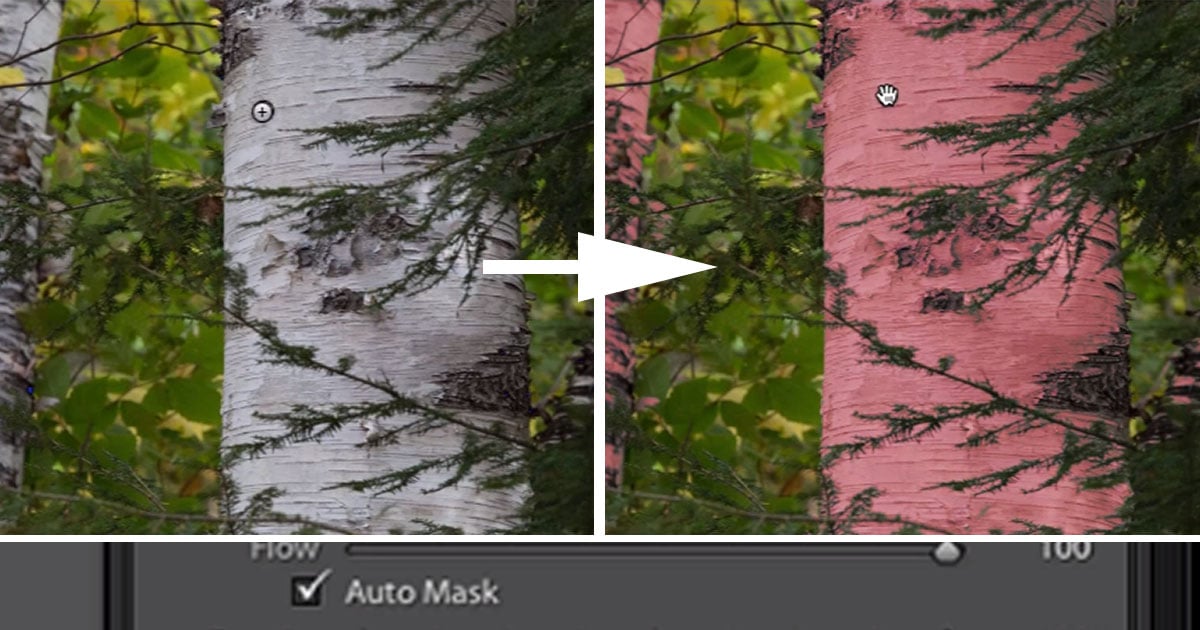
- Paint in some accents using dodge and burn
- Make global adjustments to match
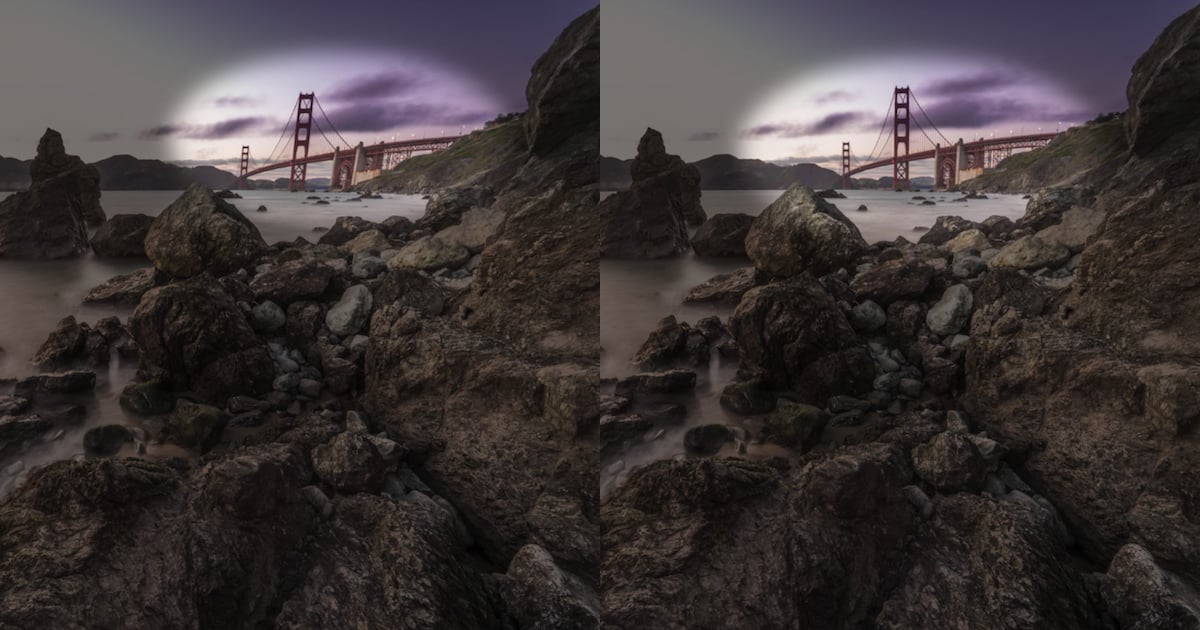
The result—which is definitely more dramatic in the second demo—looks something like this:

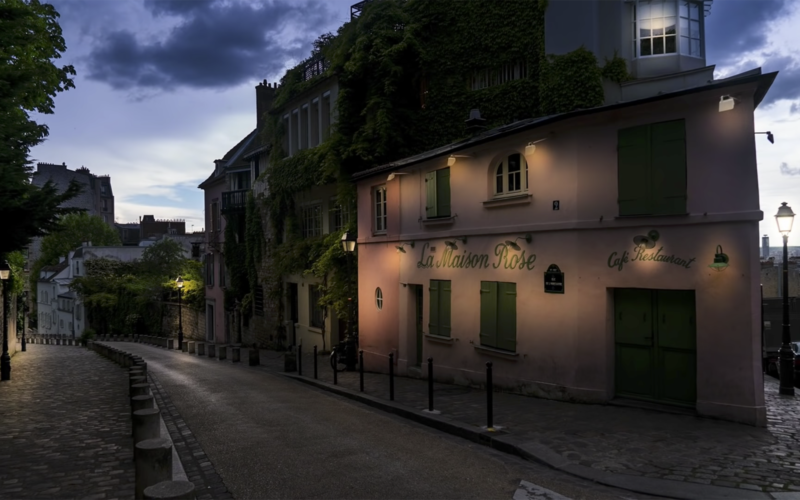
Fair warning: each of the edits that Serge makes are baked into some custom Local Adjustment Presets that the video is trying to sell, but they’re not magic. If you’re not interested in buying them, you can recreate these effects yourself with a little bit of work, and the demo above gives you the foundation you need to do that.
Check out the full demo above to see how this is done, and if you’re interested in more “dramatic” Lightroom photo editing tutorials like this one, there’s lots to explore on Serge’s YouTube channel.
Image creditsPhotos by Serge Ramelli and used with permission.