Quick Tip: How to Use the ‘Dark Mode’ Photo Editing Technique
Pye Jirsa over at SLR Lounge wants to flip your portrait editing workflow upside down. In his latest tutorial, Jirsa shows off a technique he calls “Dark Mode” that creates a moody, dramatic look in just a couple of very simple steps.
The tutorial focuses specifically on Adobe Lightroom, but it’s possible in any RAW photo editing program. Basically, Jirsa wants you to think about adjusting the exposure parameters of your images—specifically portraits—a totally different way.
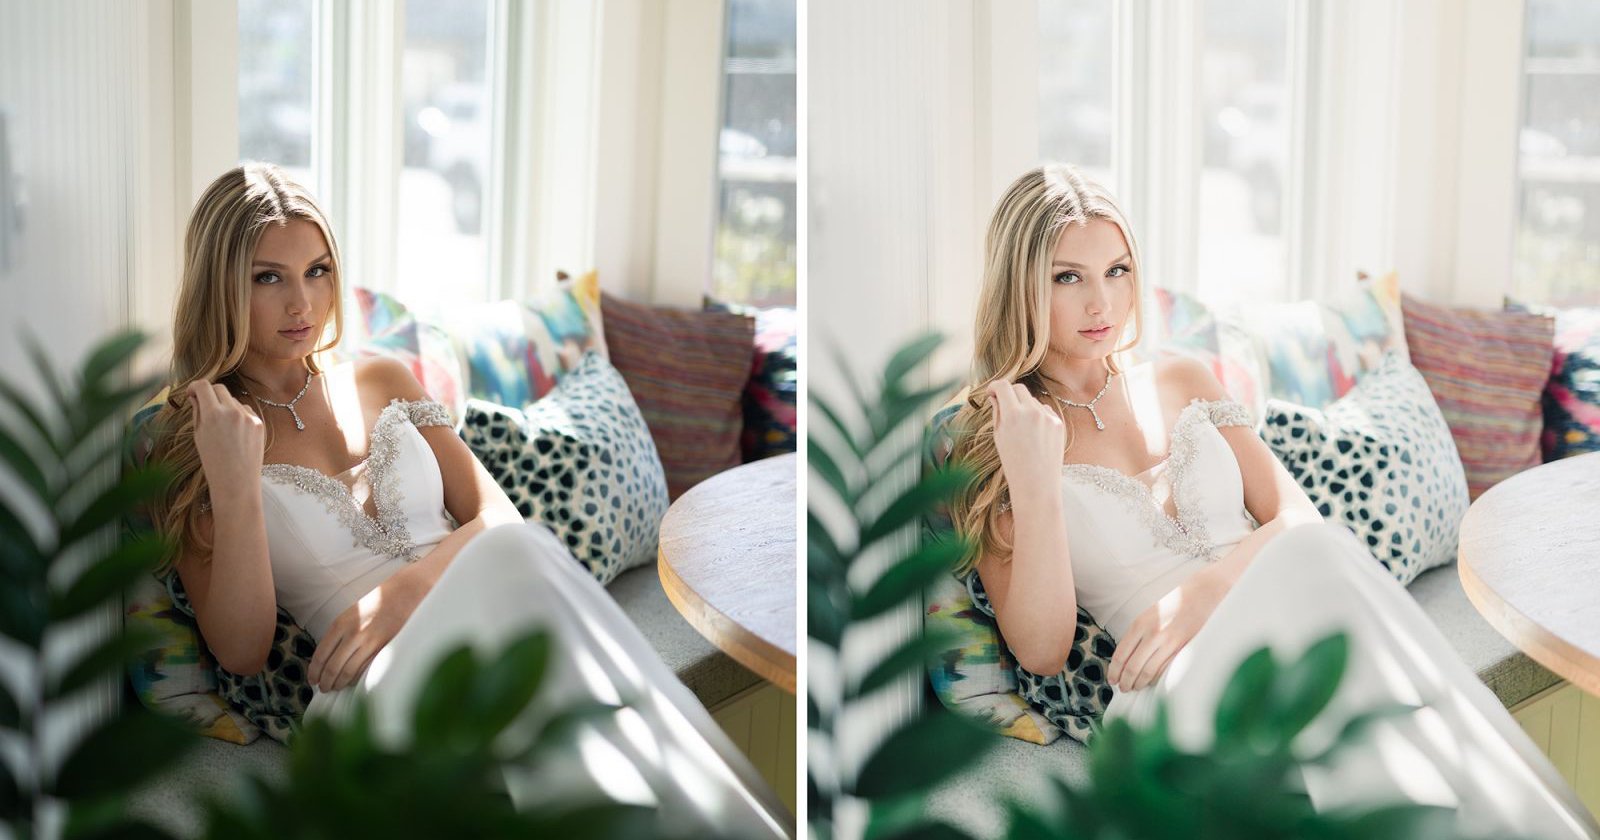
Instead of flattening out the image by going in and adjusting your Whites, Highlights, Shadows and Blacks right away, he starts by dropping the exposure a full three stops. From there, he’ll pull his black point up to +100, zero out the Whites, and use the Highlights slider to control the exposure on his subject. The final step is to refine the Whites and Highlights to ensure the skin tone doesn’t look at all “muted.”

“The beautiful part about this is that we end up with a very rich and dark-toned image, without really doing anything,” says Jirsa. “It’s a completely different way of actually editing the image, versus what we would normally think of.”
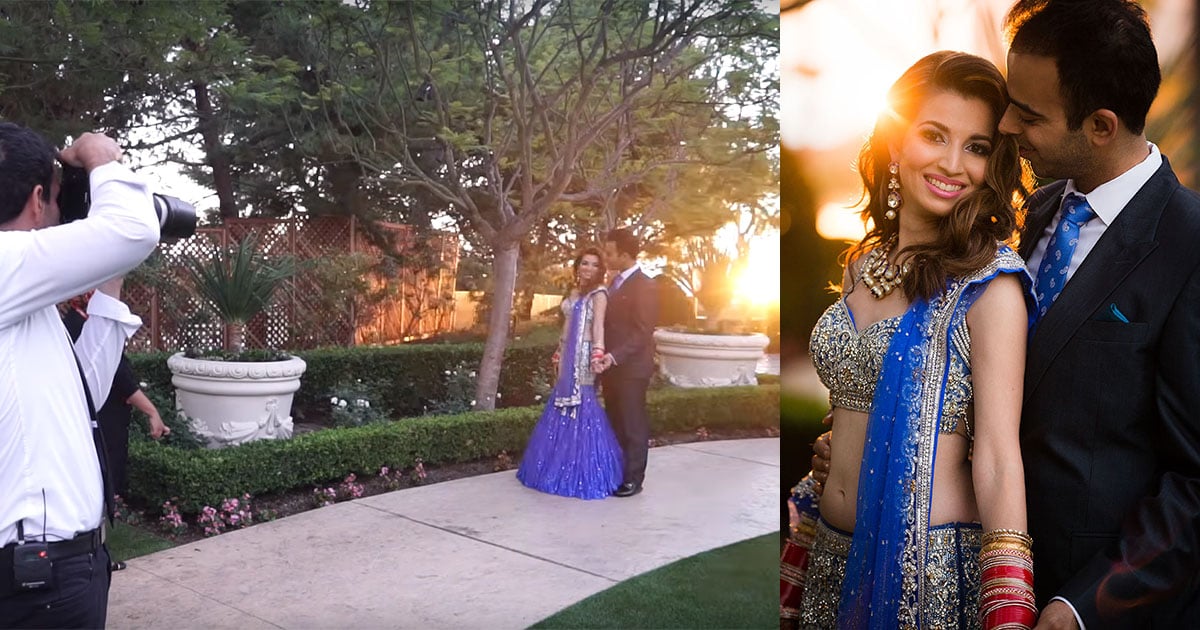
By combining “Dark Mode” and a 10-stop ND filter—which he used to bring the ambient light down in-camera—Jirsa is able to create a look that would otherwise only be possible by using high-speed sync and putting his strobe extremely close to the subject.
Check out the full video to see this quick tip in action or head over to SLR Lounge for an in-depth step-by-step breakdown of how to use the “Dark Mode” technique on your own images.