Create This ‘Dual-Lighting’ Effect Using Just 2 Layers in Photoshop
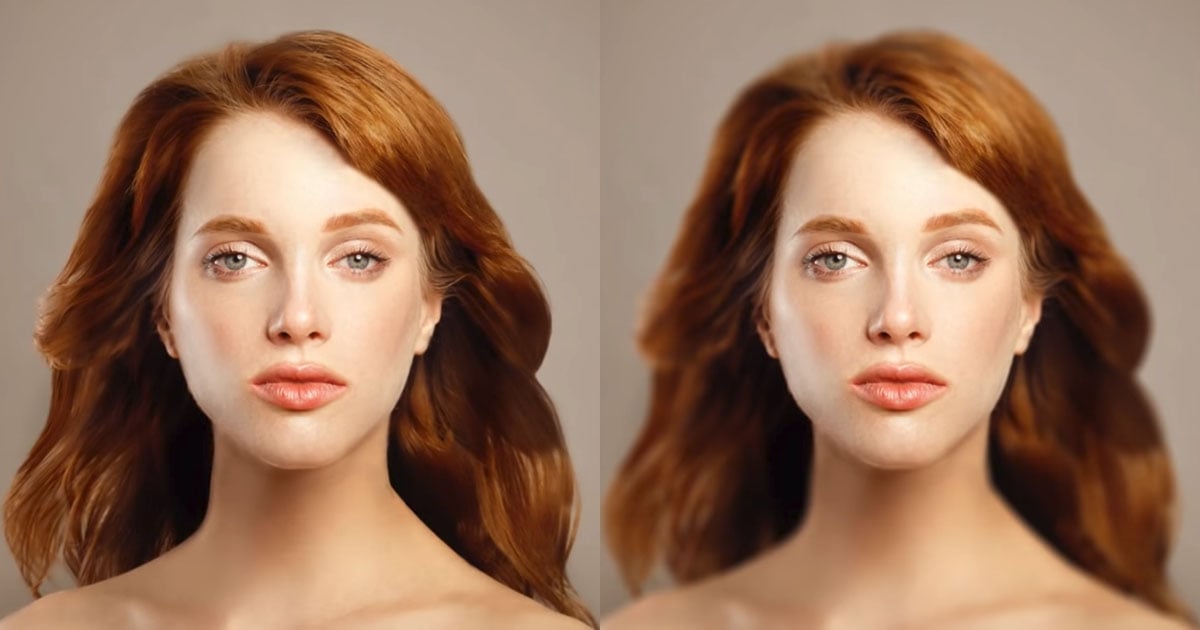
Want to create an epic ‘dual lighting’ effect for your studio portraits, but don’t have any gels or LEDs to work with? No problem. In this short tutorial, Photoshop master Unmesh Dinda of PIXimperfect will show you how to create this effect in post using just 2 layers!
Using just those steps, you’ll create the dual lighting effect on its own. However, if you want to take it a step further and create the additional “light painting effects” that you see in the before and after image below, you’ll need to take it a step further:
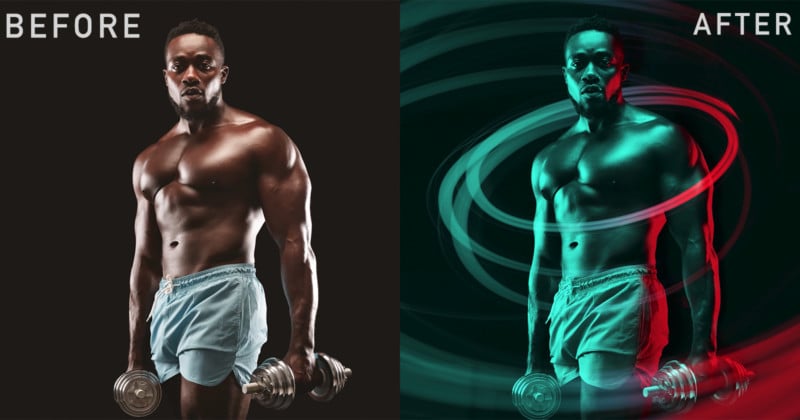
To add these elements, Dinda simply drags the light painting overlay onto his image, arranges it as needed, and sets the blend mode to Screen since it’s just color on black. He then selects the subject and uses that selection to paint in a mask, so the lighting effects look like they were painted around the subject instead of being painted in front of him.
The final step is to match the color of the light painting elements to the dual-lighting effect you just created. We can do this by copying the previously created gradient maps and clipping them to the light painting layer, adjusting the layer masks to match.
This is obviously a lot easier to see than it is to explain in writing, so if you want a step-by-step breakdown of how this is done, check out the full video up top. And if you want to follow along and learn to do this yourself, Dinda actually provides the images he used in the video description.