A Guide to Long Exposure Photography
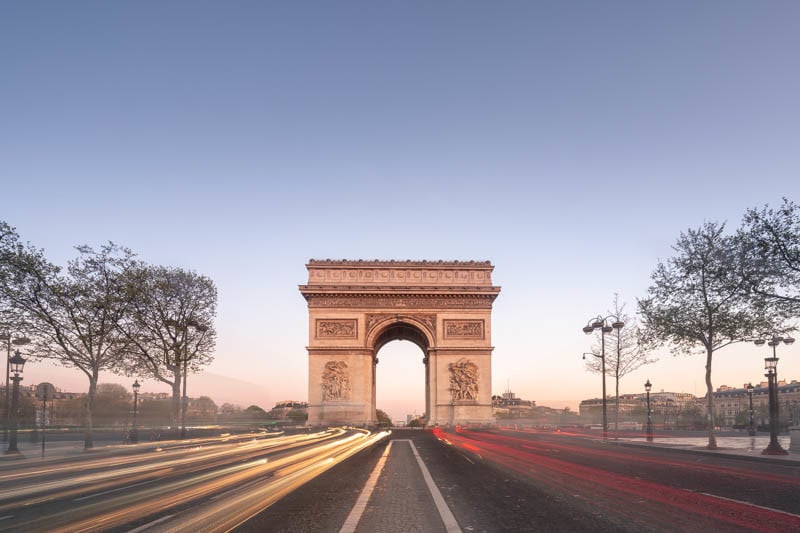
In the past few years, long exposure photography has become increasingly popular. Images in which the water seems to turn ethereal, the clouds turn into long, wispy streaks, or the lights from cars turn into long lines have an otherworldly quality that can be incredibly appealing. Since I’ve had a few people ask me how I go about shooting my long exposure images, I decided to write a guide.
What Gear Do You Need?
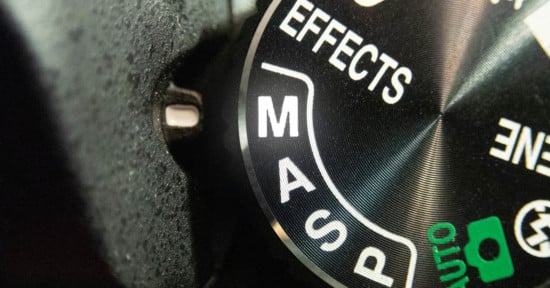
You obviously need a camera with manual exposure controls and manual focus (metering and autofocus won’t work if you’re using stronger ND filters).
The only other thing you absolutely will need is a way to keep your camera steady for the duration of your exposure. Most of the time that means a tripod, but sometimes you can also use a beanbag or a conveniently located ledge or bench…
If you want to take long exposure shots during the day you will also need ND filters. They basically reduce the amount of light that reaches the sensor or film by a certain amount of stops. If you don’t have those you’ll never be able to reduce your shutter time enough, even at the lowest ISO and smallest aperture. More on those later.
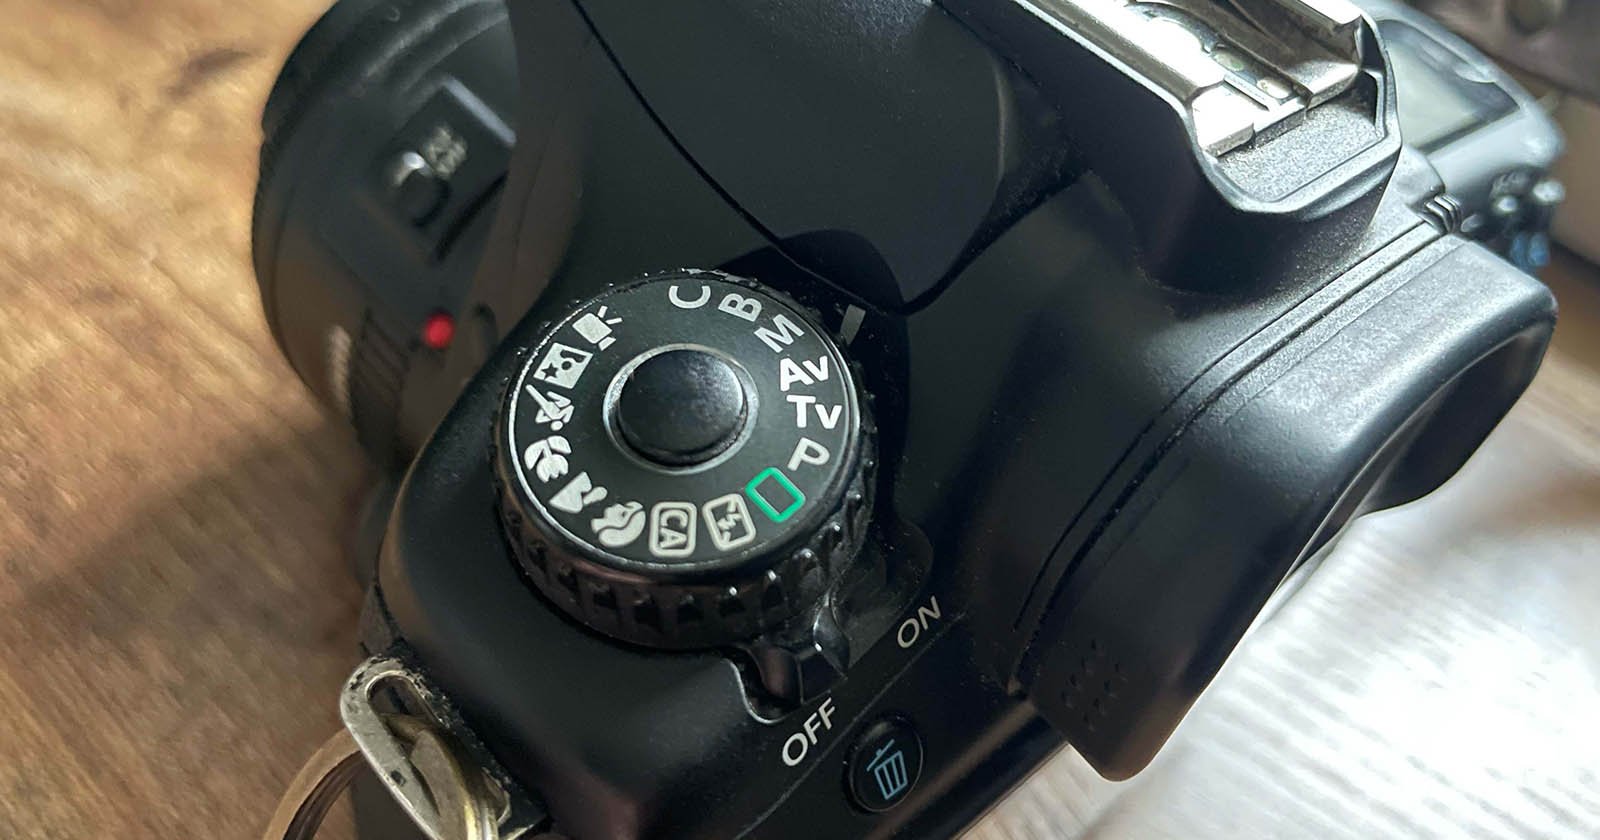
Most cameras have a max shutter speed. On most DSLRs, it’s 30 seconds. Some mirrorless cameras have the option for longer exposure times I believe. The way you can get around this and use even longer exposure times is by using the camera’s “bulb” mode. This allows the shutter to remain open for as long as you keep the shutter button pressed. Since you obviously don’t want to keep your finger on the shutter button for minutes at a time (and cause camera shake), you’ll also need a remote control (preferably one with a shutter lock).
If you’re shooting long exposure seascapes, one crucial piece of gear you should also never forget are a pair of dry socks. Driving with wet feet is not pleasant. Learn from my mistakes…
ND Filters
There are many different ND filters. There are two main types of filters: screw-in filters and square filters using a filter holder. I’m not going into the discussion which is better, as each has its advantages and disadvantages.
When it comes to the ND filter itself, you can get them in many different strengths, usually going from 2-stop filters to 15-stop filters. A 2-stop filter reduces the amount of light by 2 stops, meaning you multiply the needed exposure time by 4. A 15-stop filter similarly reduces the amount of light by 15 stops, so increasing exposure time by 2 15.
In my experience, I get the most use out of my 3- and 10-stop filters.
One thing to keep in mind is that different brands of filters can cause different kinds of color cast in the images. The Lee Big Stopper, for example, is notorious for introducing a blue cast in images. Shoot in RAW to circumvent this.
Composition
I’ll leave this mostly to your own creativity, but here are just a few tips:
- Less is more.
- Focus on lines, textures, light and shadow.
- It’s hard to learn to see how a camera sees a scene compared to our eyes. It’s even harder for long exposure images to learn how to see since there’s an added layer of abstraction. Practice, practice, practice…
Velocity and Optimal Exposure Times
The exposure time you need will depend on the effect you want in your image, and the velocity of the elements in your image (clouds, water, people, etc…).
Here’s some useful rule of thumbs I learned:
For people: if you want to see the motion blurred silhouettes, aim for an exposure time of 1/2s to at most a few seconds. Longer and people will start disappearing entirely unless they’re standing very still.
For water: if you want to create some motion in the water, aim for an exposure of a few seconds. If you’re shooting at a beach and want to show the motion of the water on the sand, best is to wait until a big wave has hit and the water is retreating.
If you want to get the misty effect where the water seems to disappear almost completely, aim for 1- to 2-minute exposure times or longer. The choppier the water is the longer your exposure time will need to be to smooth it out. (smaller, choppier waves need longer shutter times than big, rolling waves to smooth out, counterintuitively…)
To get motion in the clouds you’ll need shutter times of 2m-5m approximately, depending on the speed of the clouds (wind), and your focal length (longer focal lengths need less time, wider focal lengths need more time).
Workflow
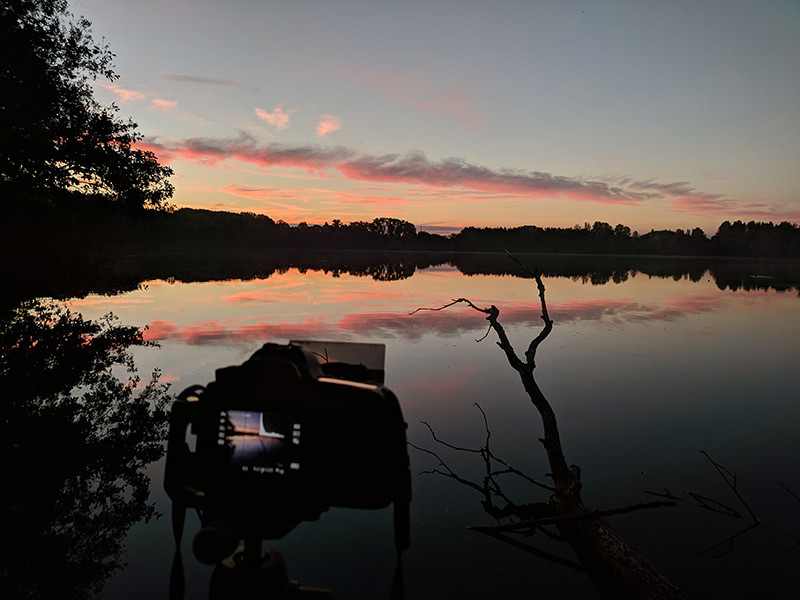
Now onto the interesting part. How do you actually set up and shoot a long exposure after you’ve found an interesting composition?
You’ve gone and looked around your location and decided on a good composition. The first thing to do is to make sure your tripod set up is stable. If you’re shooting on the beach, that means pushing it into the sand until it’s really down. Sometimes up to 10-15cm into the sand in my experience, especially if you’re close to the waterline and the sand is still wet or if you’re actually in the water. If you’re close to the waterline, before you take the shot make sure to let a wave roll over where your tripod is standing before you take the shot, this will make your tripod sink into the sand further, until it’s completely steady.
Once your tripod is set up, get your camera set up. That means focal length, composition fine-tuned, etc. Set all your other filters except the ND filter (I often use a graduated ND filter to balance the exposure, you might also want to use a polarizing filter for example). Once these are set up, set the camera to manual focus and focus where you want the image to be focused. Using live-view makes this a lot easier. Usually, you’ll be using a small aperture, so you should have plenty of depth of field. Most of the time I’m simply focused on infinity.
Here it’s time to start thinking about exposure. Since you’re on a tripod and the goal is to get a long exposure, you’ll ideally want to use the native iso of your camera. I tend to avoid the expanded low ISO values some cameras can use, but if you need a longer exposure time it can help in a pinch.
The aperture is set based on the depth of field you want to achieve. I tend to use between F/9 and F/16. Often you’ll have enough depth of field anyway that it actually doesn’t matter that much.
Based on this iso and aperture you can meter the correct exposure before the ND filter, this allows you to calculate the exposure with the ND filter. (I’ll get to the exposure calculation bit in more detail later, don’t worry)
If you’re shooting with a DSLR it’s also good practice to cover the viewfinder so that the light can’t get into the camera that way. Otherwise, it can throw off your exposure or even cause blotches in your image.
Calculating the Exposure
This is where I take a test-shot first. This will allow you to check the histogram, see if you need to change anything to your exposure, and do a first basic check of your composition. Refine if needed — otherwise, your test-shot will give you your optimal exposure time before the ND filter.
Calculating the exposure time after the ND filter is easy. Just double your exposure time as many times as your filter blocks stops. That means for a 3 stop filter you multiply by 8 (23), for a 10 stop filter by 1024 (210). Easy math right.
Or if you’re lazy like me, you can just use an app. I like the LEE Filters – ProGlass IRND Exposure Guide. It’s free and has a bunch of useful exposure calculating options. Even a timer. Lee also has a basic app (the blue one), but it doesn’t offer anything this one can’t do better. There are probably other apps out there that do the same thing, just look around and use that one that you like best.
For myself, I have a few exposure calculations memorized, so I tend to play around a bit with the iso and aperture to get to an easy to remember shutter time. For example, 1/8s shutter time becomes a 2m exposure with a 10 stop filter. So if I get an exposure time of 1/6s, I might just increase the iso to 125 to get 1/8s because I know that with a filter it becomes a nice and even 2m. Don’t be lazy like me, set your iso and aperture correctly and calculate the corresponding shutter time…
So now you have your composition, your camera is focused and you know the exposure needed. All you still need to do is put your ND filter on the camera, and take the shot…
Conclusion
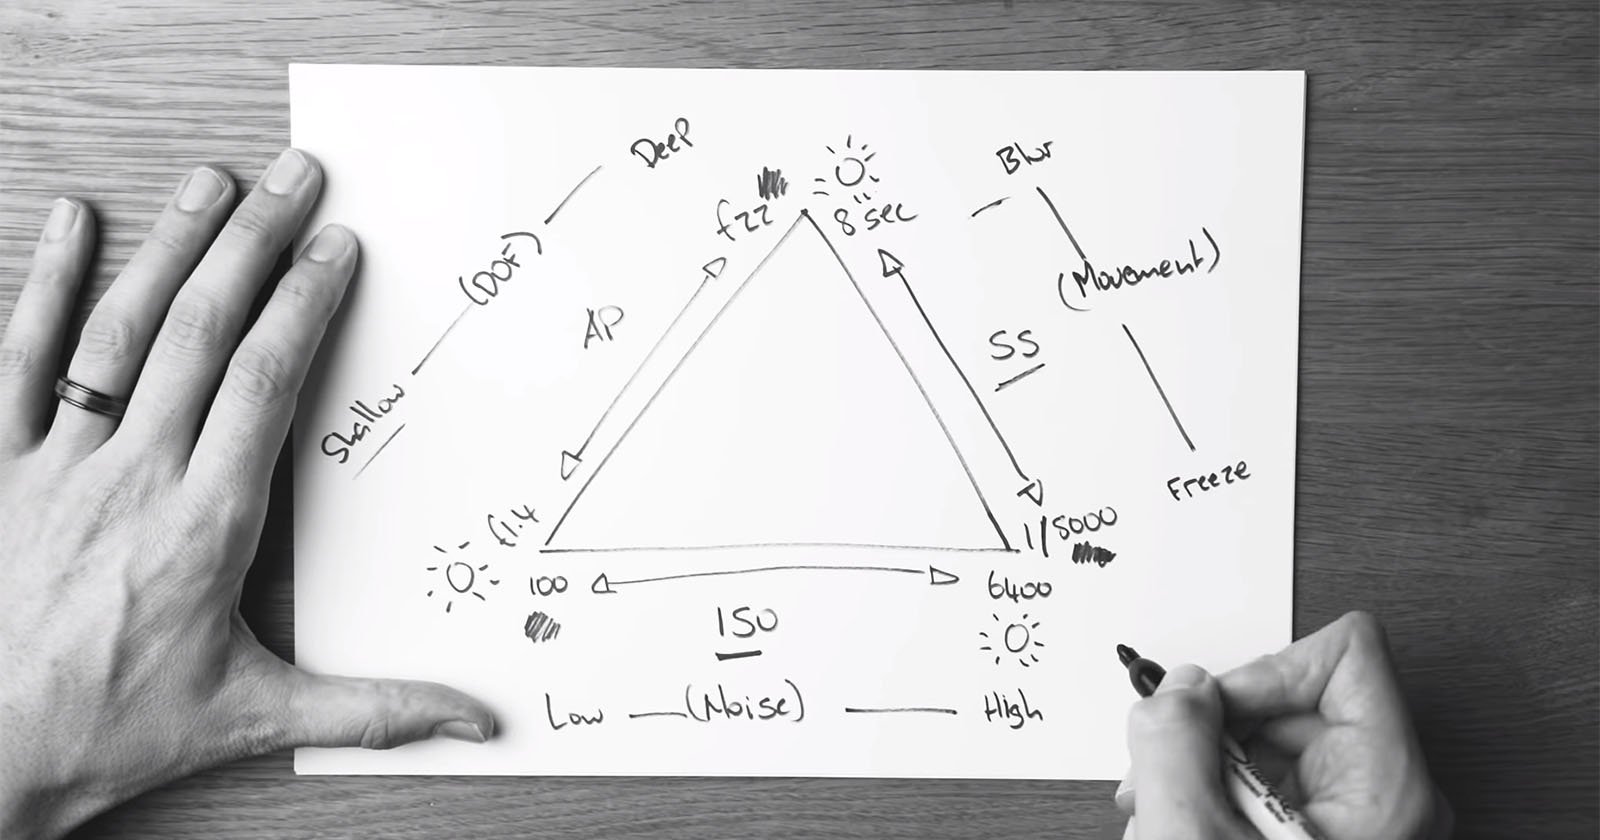
Taking long exposures really isn’t that hard on a technical level. With some basic understanding of the exposure triangle and a few basic pieces of gear, you can already go a long way. It takes some trial and error, but if you’re methodical about your approach and you practice a lot, the technique will quickly become second nature. And then you’re free to start learning how to see long exposure images.
About the author: Geert Van Look is a photographer based in Antwerp, Belgium. The opinions expressed in this article are solely those of the author. You can find more of Van Look’s work on his Instagram. This article was also published on Reddit.