A Beginner’s Step-by-Step Guide to Shooting Long Exposure Photos
Here’s a concise beginner’s step-by-step guide on how to capture long exposure photographs.
2. Lock the camera down on a sturdy tripod. Attach the camera remote.
3. If your lens has Image Stabilization or Vibration Reduction, it is best practice to turn these off so that no incidental camera shake is induced with the camera on the tripod.
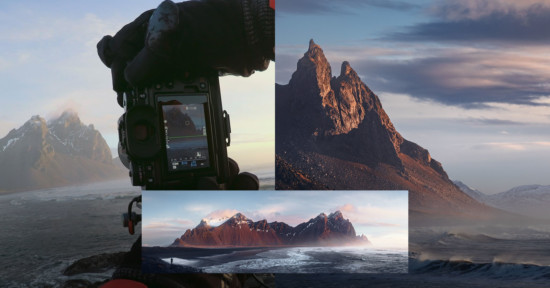
4. Focus. It is recommended to manually focus the image. I suggest using live view mode to ensure that the image is correctly focused. If autofocus is used, make sure that this is turned off once correct focus is achieved.
5. Using the Aperture Priority mode, set the depth of field required for the scene. Using the lowest ISO, take a test image and make a note of the resulting shutter speed calculated by the camera. It may be useful to check the histogram to make sure that the captured image is correctly exposed. Where incorrectly exposed, use exposure compensation to adjust the exposure and take another shot if necessary.
6. Attach the desired Neutral Density (ND) filter. Take extra care not to move the focus or lens barrel when attaching the filter.
7. Calculate the revised shutter speed based on the strength of the filter attached. This is calculated by doubling the shutter speed for each stop of light reduced. The aperture and ISO should remain unchanged.
8. If the resulting shutter speed is under 30 seconds then put the camera onto Manual Mode and dial in the revised settings. Where the shutter speed is beyond 30 seconds then the camera needs to be in Bulb Mode with the desired aperture. The shutter speed will be controlled with a remote.
9. Cover the viewfinder so that no ambient light can enter the camera and cause light-leak on the image.
10. Turning on the mirror lock-up option, take the image using the remote. An alternative to mirror lock-up is to put the camera into live-view mode and take the image.
11. Once the image has been captured, review it and check the histogram for correct exposure, and zoom in to check the focus is sharp.
12. If the image is under or overexposed, increase or decrease the shutter time where appropriate and take another image.
13. I recommend taking a second image, as the movement captured by the ND filter will always be different and you may be surprised with the results.
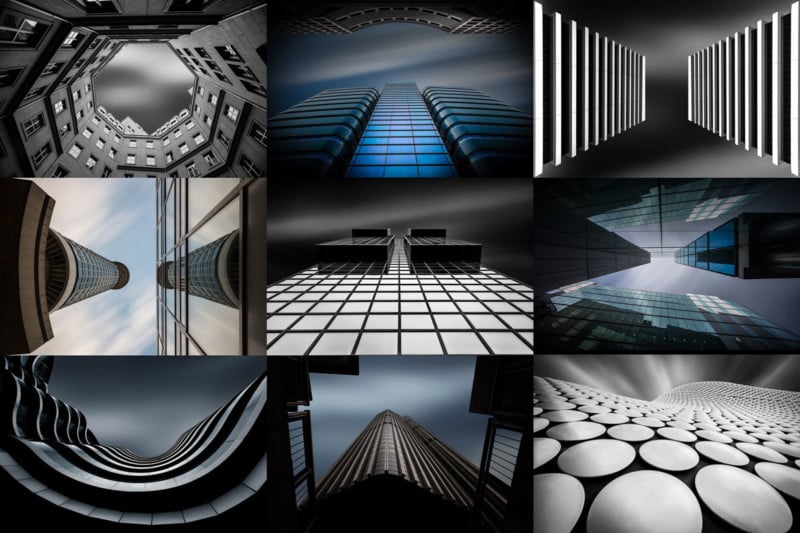
About the author: Antony Zacharias is an award-winning photographer, author, and tutor who specializes in long exposure photography. He is a brand ambassador for Hoya Filters and has recently written Mastering Long Exposure Photography – a Definitive Guide published by Ammonite Press. He uses a variety of techniques to create fine art prints in landscape, travel, urban and night sky photography. Antony is particularly known for his vivid architectural images and his unique perspectives on cities ranging from New York and London to Amsterdam and Paris. He offers tutorials and sells fine art images on his website. You can follow more of his work on Instagram and Facebook.