How to Use a Graduated ND Filter in Landscape Photography
In landscape photography, it is helpful to have three specific lens filters in your camera bag. These are the circular polarizer (CPL) filter, the neutral density (ND) filter, and the graduated neutral density filter (GND).
Table of Contents
What is a Graduated Neutral Density Filter?
A Graduated Neutral Density filter, or simply a GND filter, is a very helpful tool for landscape and outdoor photography.
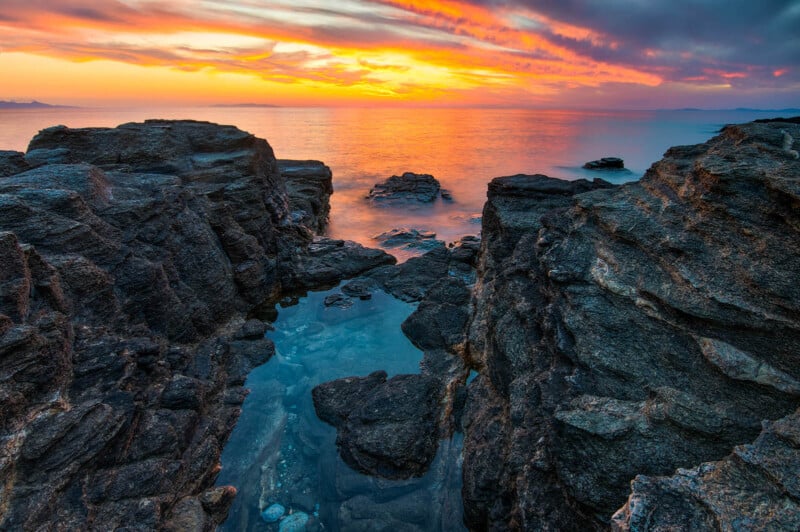
A very common issue that most landscape photographers will face out in the field is to balance the exposure between a (sometimes) very bright sky and a darker foreground.
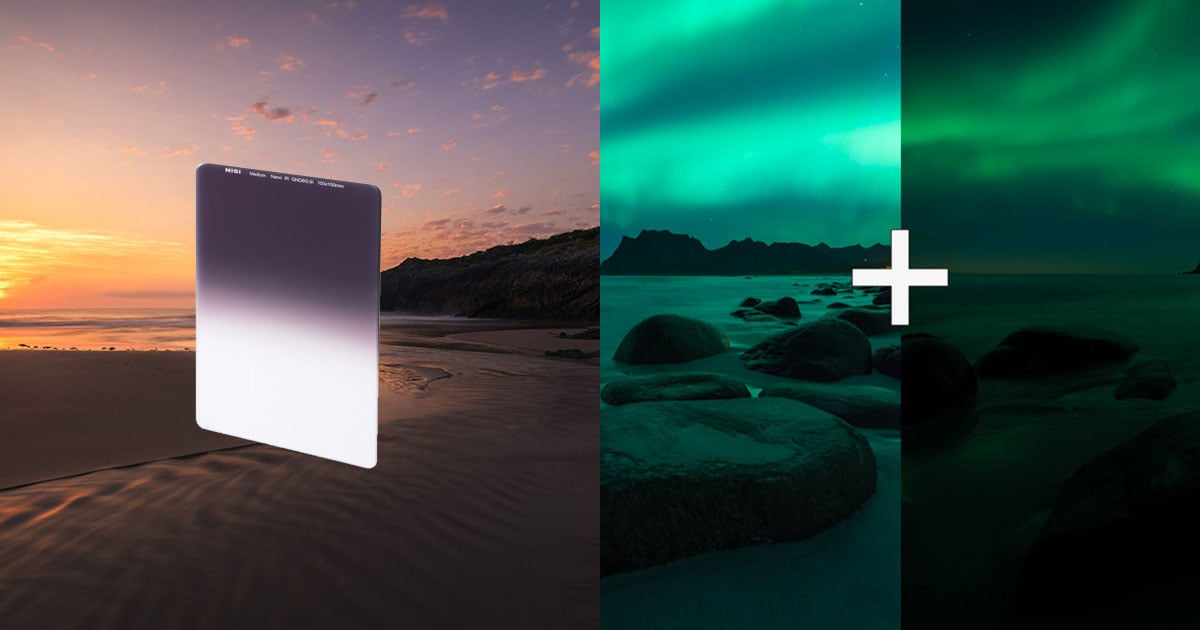
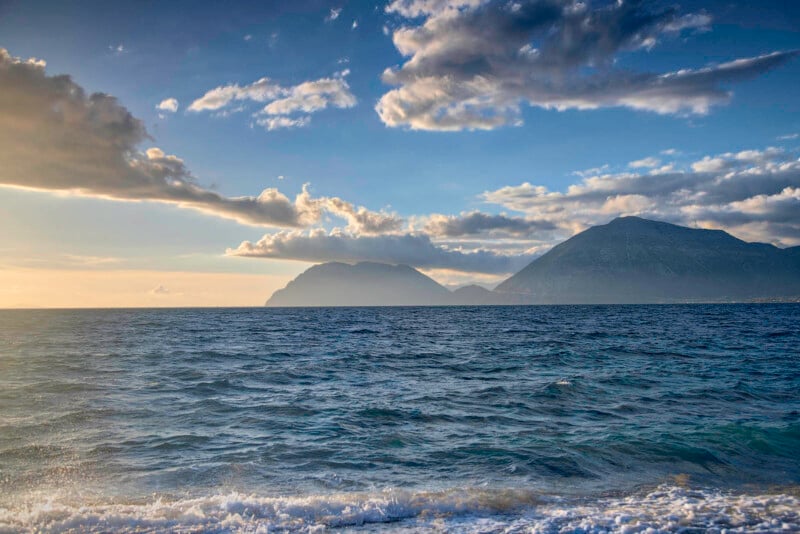
A GND filter will allow the photographer to balance the luminosity of the scene between the bright sky and the darker ground, for example when shooting during a sunrise or sunset.
GND filters consist of glass that is divided into two parts, the upper side is darker and acts like a regular ND filter (available in different ND strengths) while the bottom part is clear glass that has no effect on the image.
The concept is to put the sky, which is usually much brighter than the scene below, in the top part of the filter and reduce the incoming light and let the ambient light of the ground be captured through the clear glass.
Types of GND Filters
Now let’s analyze the types of graduated ND filters.
Soft Graduated Filter
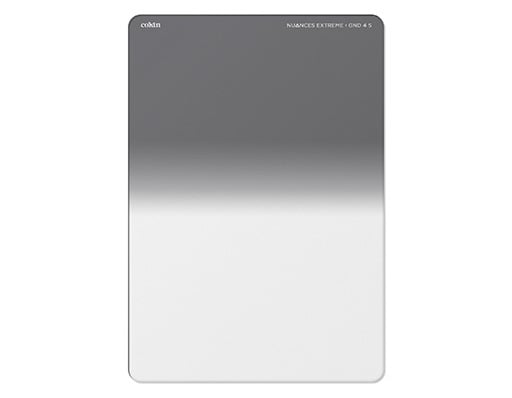
The soft graduated filter (GND-S) features a soft transition effect between the darker and lighter zones from the filter top. It is probably the most widely used type of graduated filter that can be used in almost all scenarios, no matter if the horizon is even or uneven, i.e. in an urban setting.
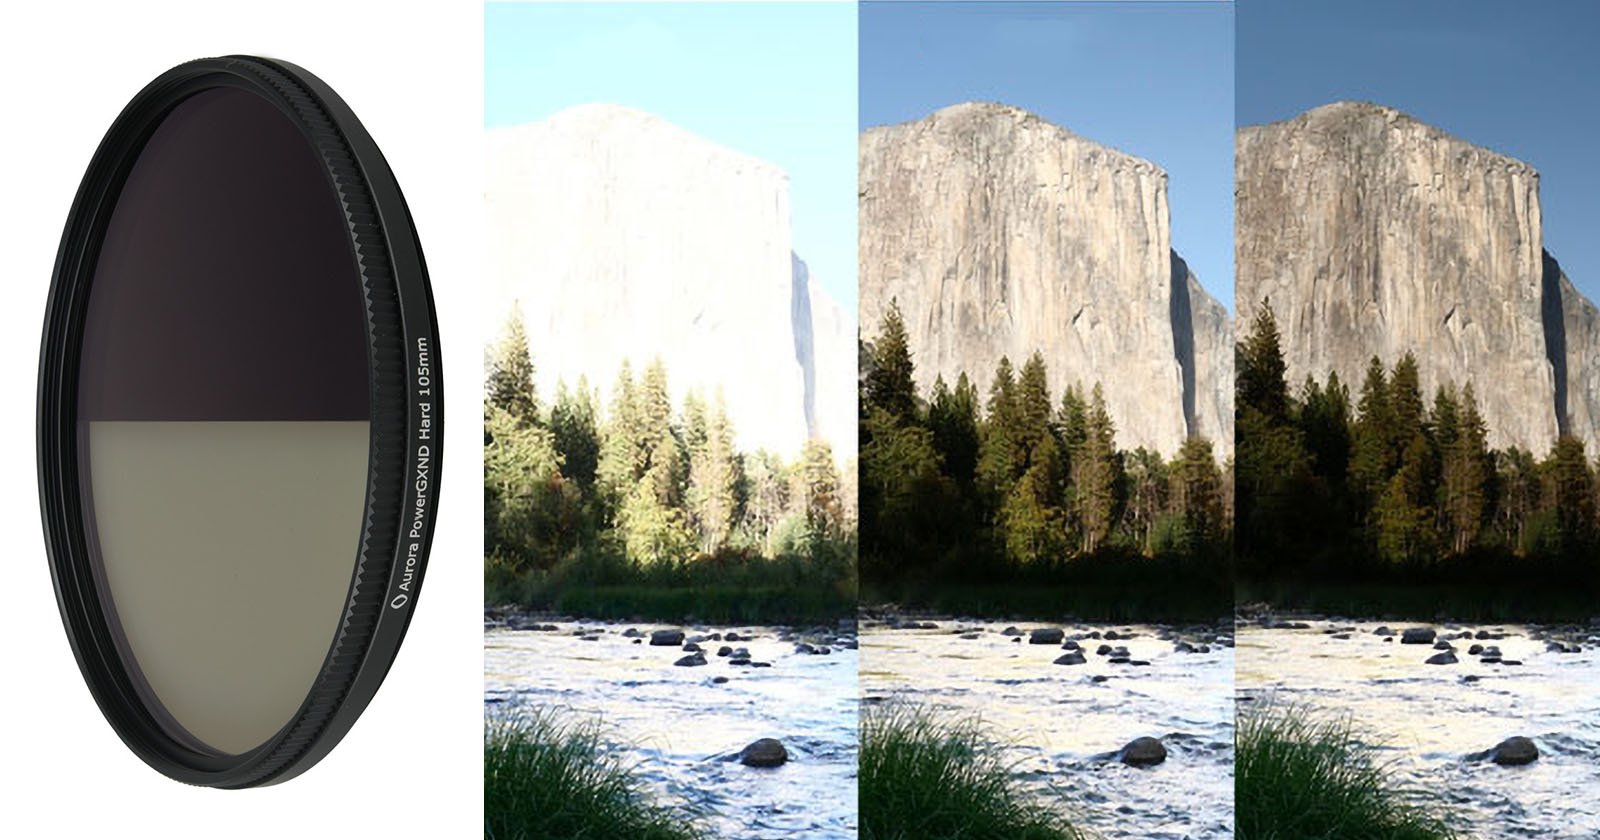
Hard Graduated Filter
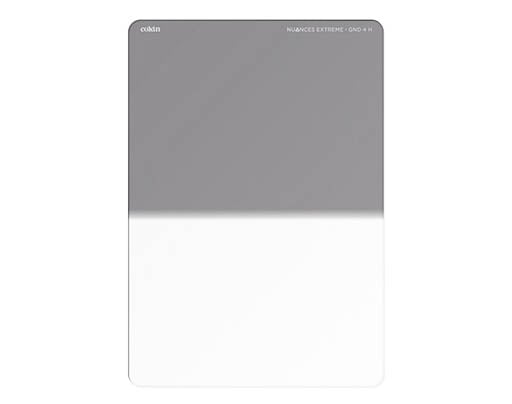
The hard graduated filter features a very fast transition effect between the darker and lighter zones from the filter top, which translates into a very short transition and the density of the filter is constant over almost half of its surface. This type is mostly used when the horizon is straight and is visible in the bigger part of the frame, i.e. on a seascape.
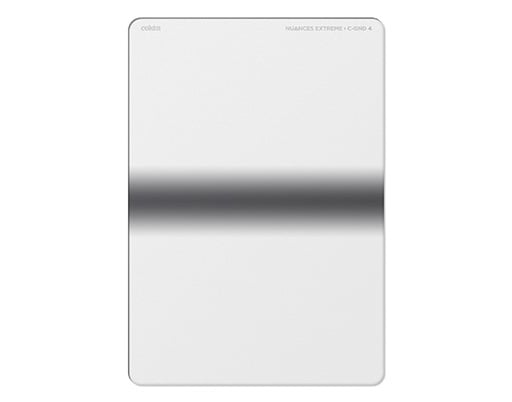
Reverse Graduated Filter
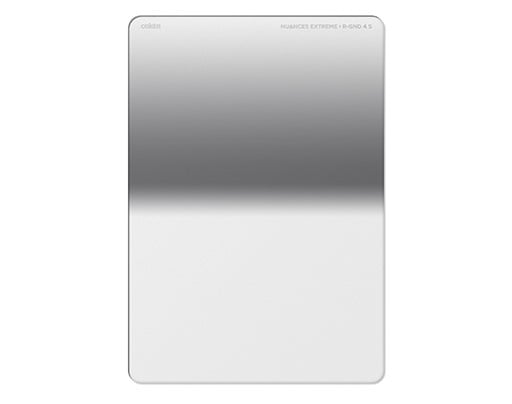
While the reverse graduated (R-GND) filter still has the darker part on the top as the soft and hard types, the main difference is that the transition from the darker zone to the lighter is inverted, resulting in there being a darker part close to the middle.
This provides a lighter effect than the soft graduated filter and it is ideal for scenarios in which the Sun is close to the horizon.
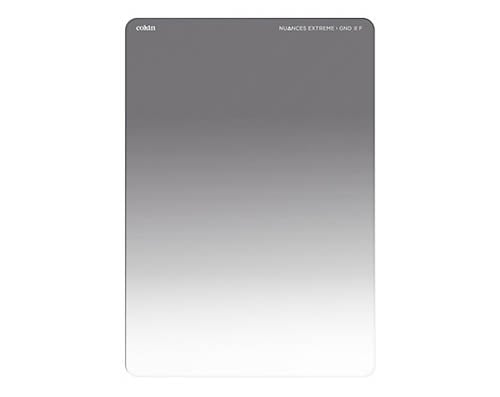
Full Graduated Filter
The full (or “blender”) graduated filter has its entire surface tinted, meaning that it has a very long and uninterrupted transition between the densest and the lightest area of the glass. For example, the densest area might be 3-stops and the lightest 1-stop.
This filter is ideal when shooting with ultra-wide-angle lenses, which due to their big field of view, could sometimes create a not balanced exposure.
Center Graduated Filter
The center graduated filter is a filter that can be used to adjust exposure on a very precise area, as it only has a very thin area that is darkened.
This filter can be used in scenarios where a specific part of the image has to be darkened, like for example when you are shooting at the seaside and the Sun can be seen close to the horizon, but the sky is full of clouds.
As is the case with regular ND filters, graduated ND filters also come in different strengths, such as 1, 2,3, and 4 stops of reduction. A 1-stop Hard GND filter will have a very mild reduction compared to a 4-stop soft GND.
Forms of GND Filters
Graduated neutral density filters usually come in rectangular form so that it is easier to place the horizon at the proper or desired spot, but in recent times they have become more filters available in regular screw-on forms.
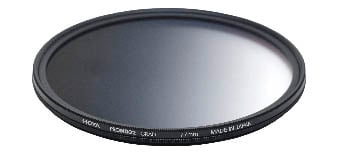
Screw-on GND filters are generally blender-type filters, meaning that its transition between the darkest and the lightest part is very mild. Although the glass area is much smaller compared to a rectangular GND filter and the gradient effect might affect a bigger part of the frame, still it is a very useful filter for landscape photography, especially when you want to carry only the necessary in your camera bag. It also provides a smaller overall surface, something very useful when there are strong winds at the shooting location.
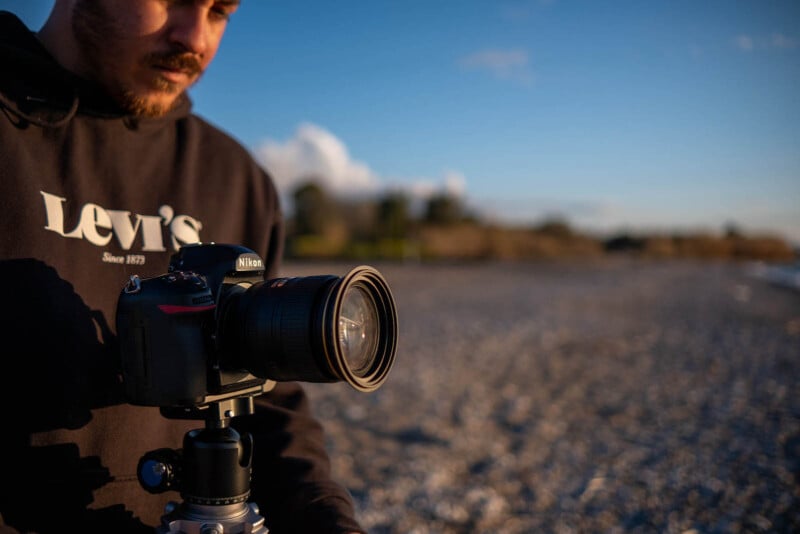
How to Attach a Graduated ND Filter
Now that you know what kinds of graduated neutral density filters are on the market, let’s move onto discussing how you attach them to your camera lens.
Screw-On GND Filter
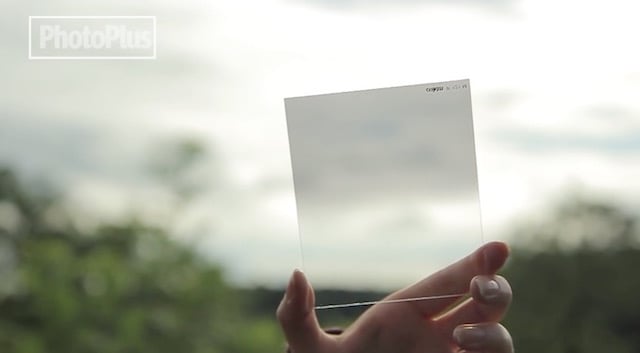
If you are using a circular screw-on filter, then as with all the regular screw-on filters, you just attach it in front of your lens by screwing it onto the filter threads. After that, you rotate the front part until the horizon level of the transition is even (depending on your scenery) and take the shot.
High-quality filters of this type also incorporate a small arrow in the outer ring which informs the user when the filter is in the proper straight position.
The effect of the rotation can be seen in the following video:
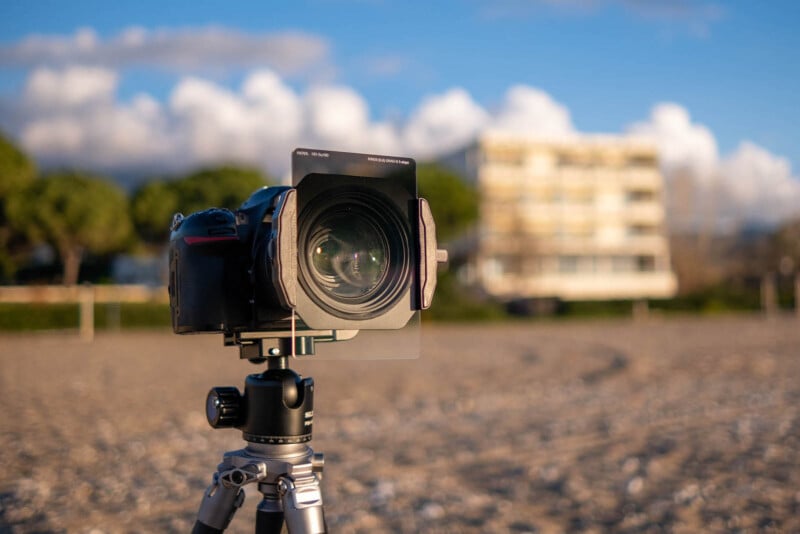
Rectangular GND Filter
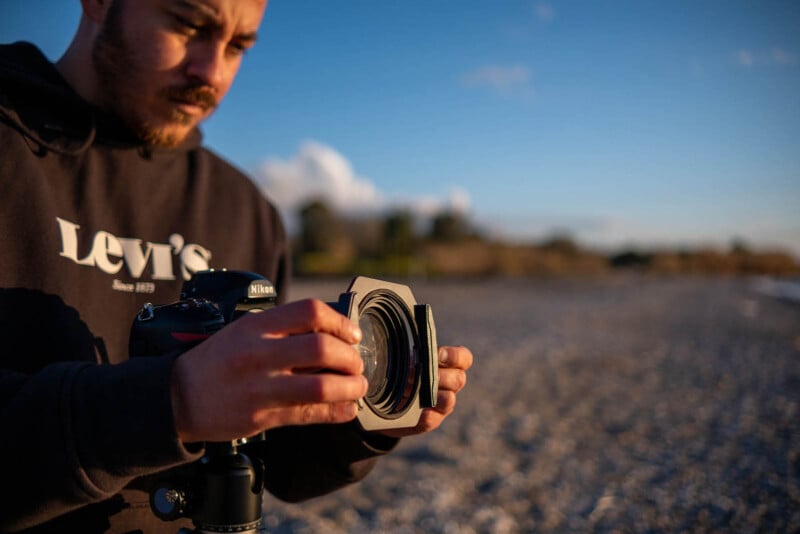
On the other hand, if a rectangular graduated ND filter is selected, no matter its type (soft, hard, etc), a filter holder is required to get the best possible results. It is possible to hand-hold it in front of the lens, although it’s not advised as the filter at some point will be full of unwanted scratches.
And also, by using a filter holder, you have the ability to add and use even more filters at the same time. For example, using an ND, a CPL, and a graduated ND to create a great-looking long exposure!
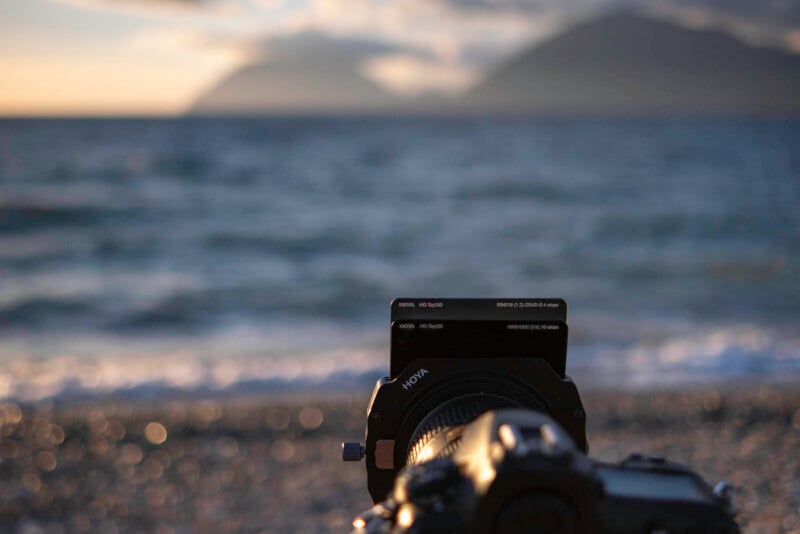
After the holder is attached to the lens, it is time to input the graduated ND filter on the holder and fix its position relative to the horizon (or whatever our needs are).
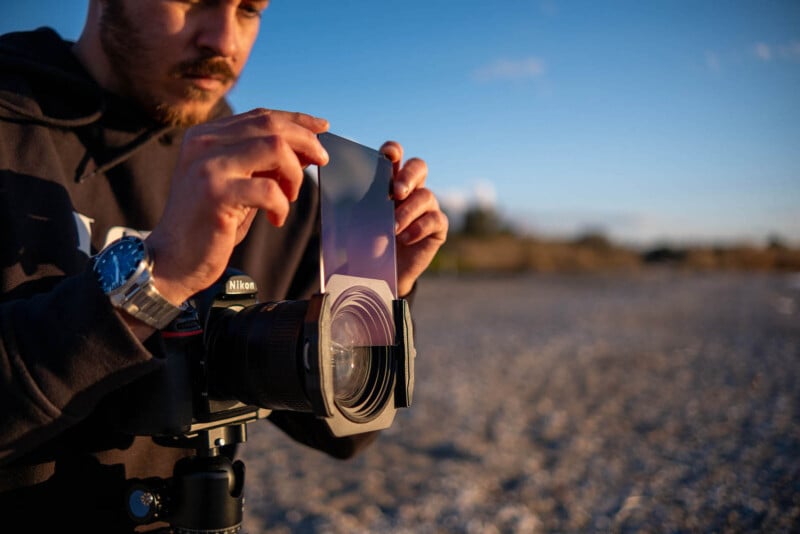
It is important to note that it is not necessary for the filter to be placed straight and parallel to the horizon, as depending on the scene and where the light is coming from, some parts of the sky might be already darker than others, meaning that it is possible to orientate the filter in any angle that suits our needs.
In case you plan to stack two or more filters, it is recommended that the graduated ND filter be placed last, for example in front of a 10-stop ND filter, so as to avoid having any optical aberrations.

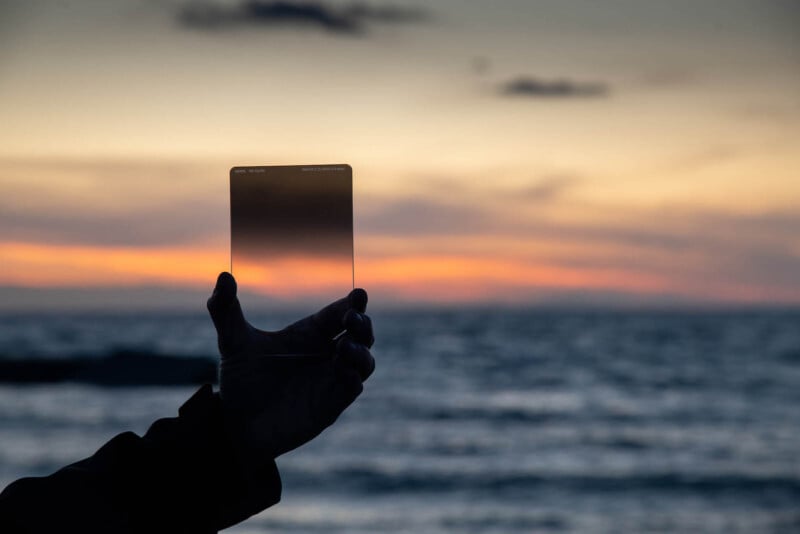
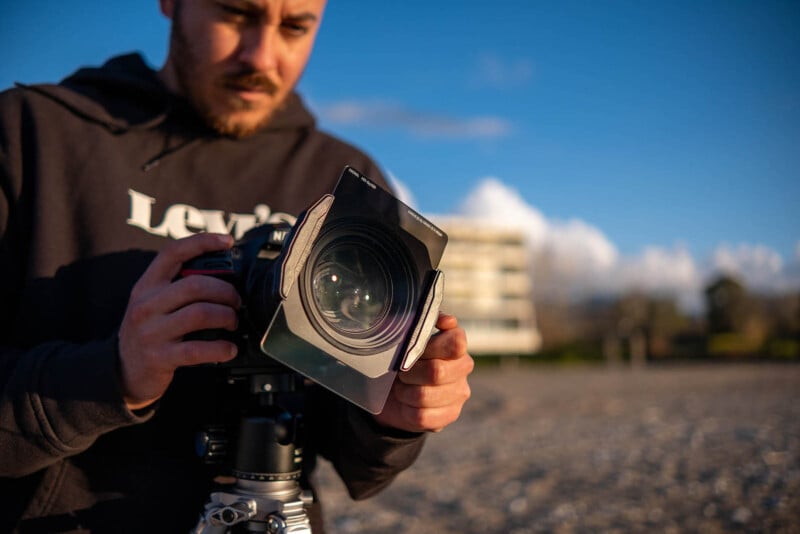
In general, rectangular graduated ND filters are preferred due to their large surface, they give the ability to place the horizon in the exact position you want to, and also they give a much smoother transition between the dark and light area.
The Proper Way to Calculate the Correct Exposure
Although the new digital viewfinders and LCD screens of the latest cameras can help us understand on the fly if we have achieved a balanced exposure for our shot, still there is a proper way to set the ideal exposure when using a graduated ND filter.
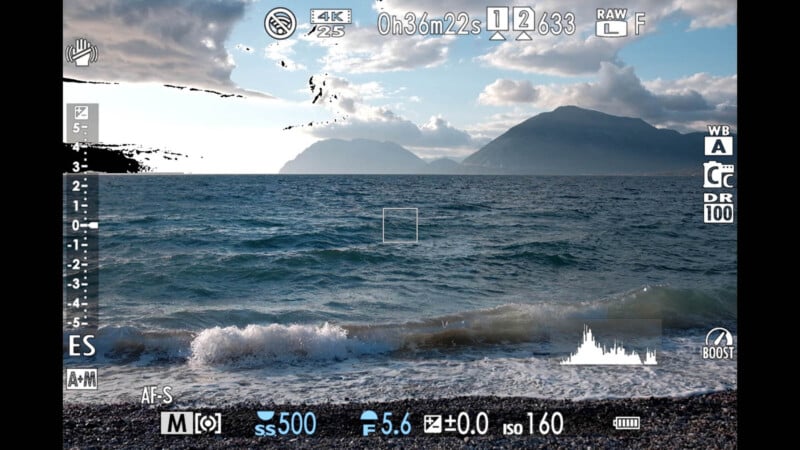
The first step is to change the camera shooting mode to manual to make use of the camera light meter. We will use it to take a reading from the foreground/terrain while filling most of the frame with it and noting it. You may want to use spot metering instead of matrix/multi metering when taking the reading to have an even more accurate result.
Then we take another reading for the sky, having a big part of it in our frame.
By comparing the two separate readings, we can find the luminosity difference (in f-stops) between the sky and the ground to know what ND strength should have the GND filter for that specific scene.
However, this can be complicated out in the field, resulting in possible missing shots, so the simpler way to calculate the correct exposure is to just use the first step, and just take a reading using the center-weighted option of the light meter only from the ground, and select the exposure settings based on that reading. Then attach the GND filter and take the shot, as shown in the following video:
Why Not Just Do Bracketing (HDR) or Simply Use Photoshop?
Bracketing is another way of creating a similar effect to a graduated ND filter, and except that it requires extra work in post-processing, it can create other issues that most times are not so easy to fix.
For example, if there are moving elements like trees and flowers at the shooting location while it’s windy, it would be very difficult to align those shots no matter if it is a long exposure or not (check the clouds on the following HDR blend).
And keep in mind that for bracketing shots it is advised to stabilize your camera, meaning carrying a tripod with you.
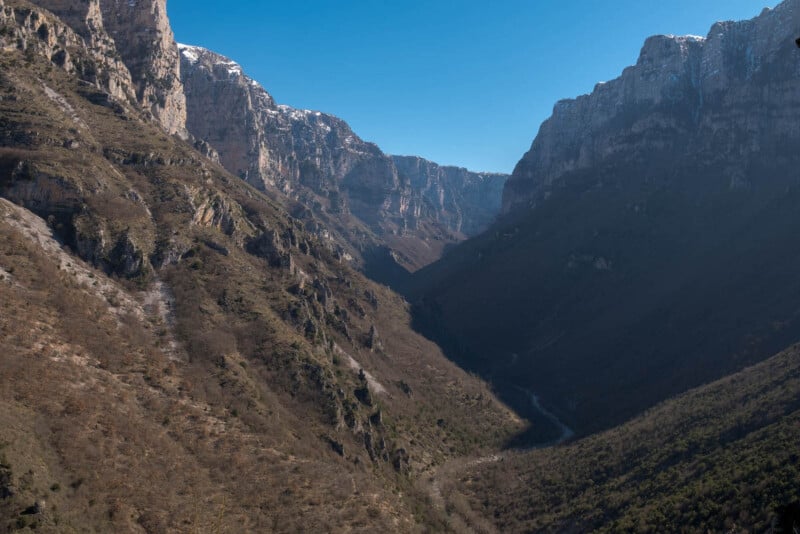
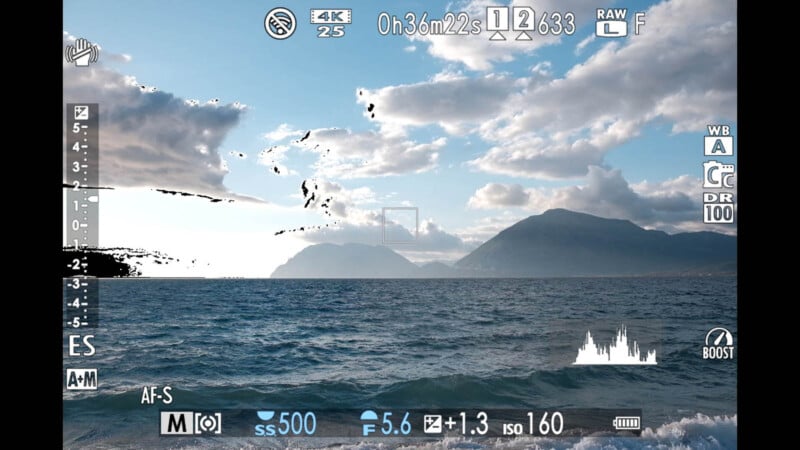
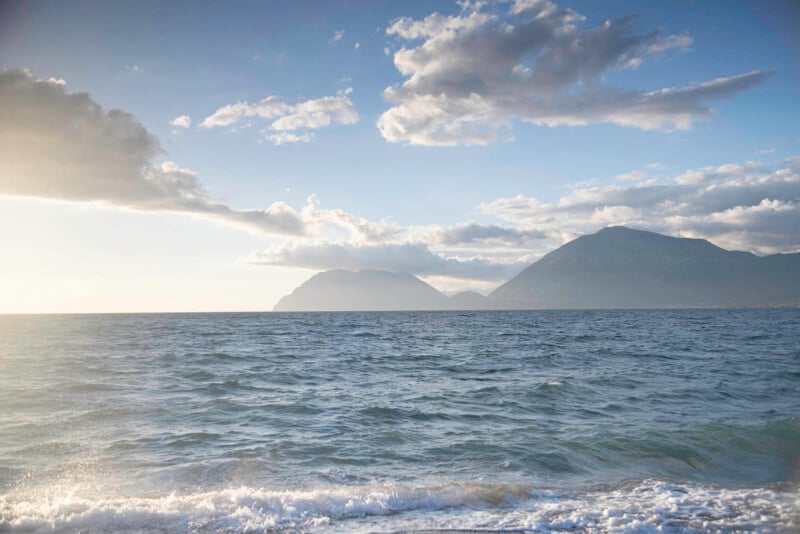
Here are two frames with bracketed exposures — one for the sky and one for the sea:
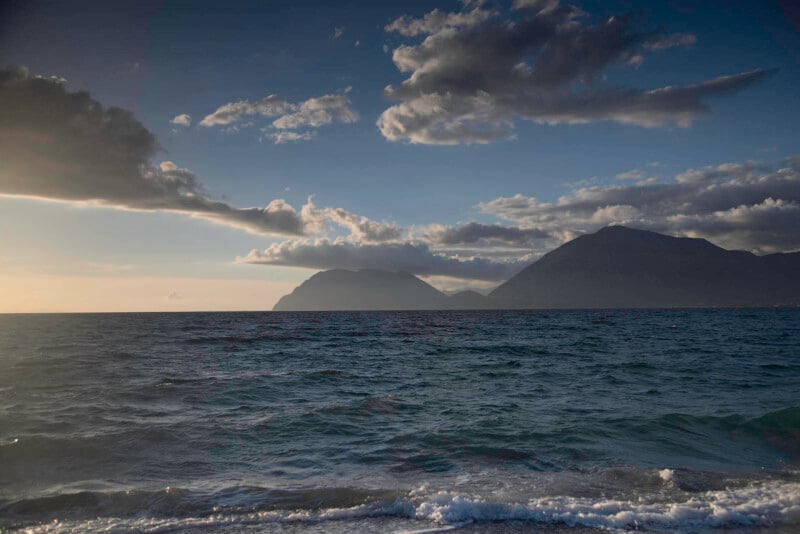
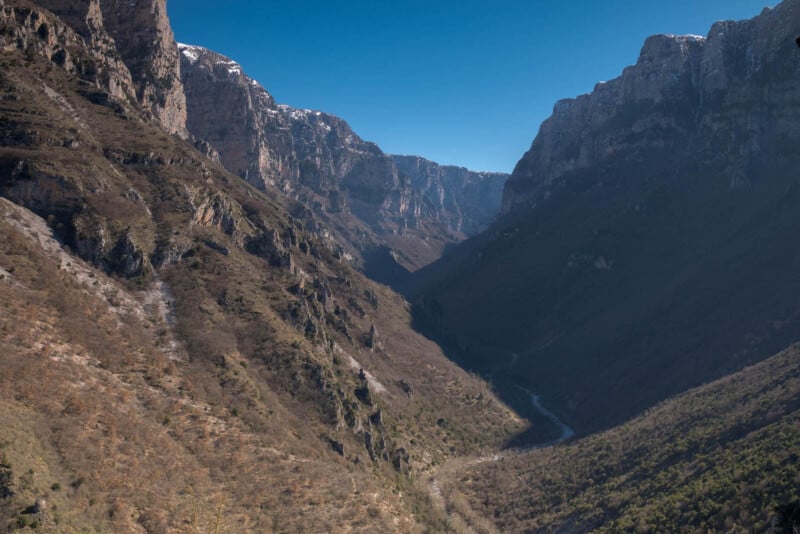
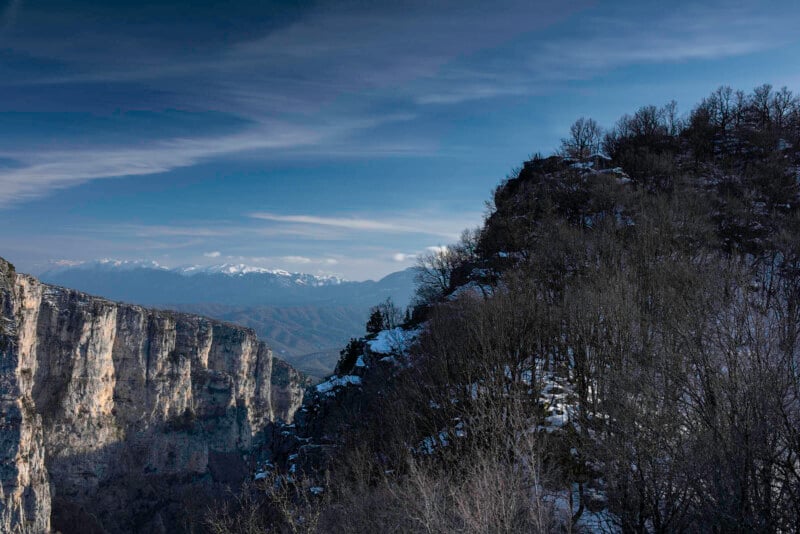
Here’s the result of blending the two frames into one HDR image:
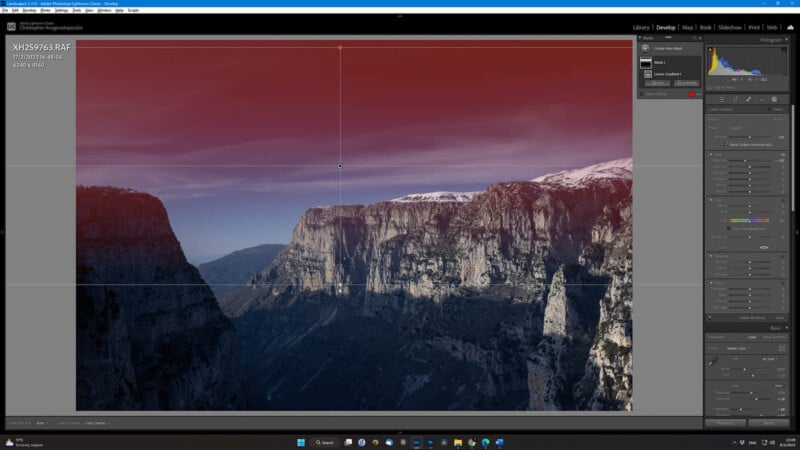
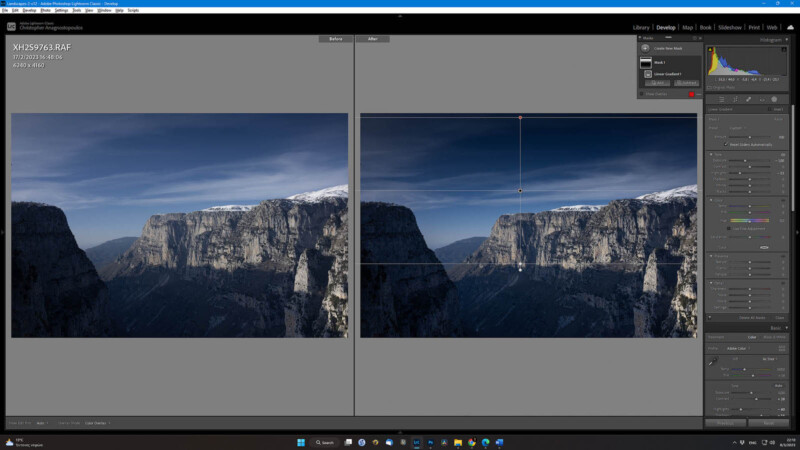
There is also the option of adding a digital gradient effect on your images in Photoshop/Lightroom, although the initial exposure must be close to perfect to have the necessary data to work with, meaning not overexposed, avoiding blown-out highlights, and overall achieving a very balanced shot.
While sometimes this can get the job done (depending on the scenario of course), still you have to keep in mind that the tonal range of an in-camera gradient transition by using an actual filter versus a digital one will be different.
Another advantage of using an actual GND filter is that of seeing directly the effect while shooting, making the necessary adjustments on-site, and avoiding spending extra time on editing.

On the other hand, a digital gradient filter on Photoshop, and/or a bracketing post-processing session will not cost you extra money to use them, compared to buying a GND filter and its required accessories (holder, case, etc) and of course will leave a lot of free space on your camera bag.
So in the end, it’s up to your needs and style to decide what is better for you, or maybe depending on the shooting scenario, you may want to use both.
Conclusion
No matter how camera technology has advanced — digital cameras can are now providing us with RAW files containing more than 14-15 stops of dynamic range to work with in post-processing — actual filters are still a must-have tool for photographers.
Not only they can help speed up the shooting while out in the field, helping the photographer make the required adjustments in framing and exposure on the fly, but they also provide a better and more natural end result with no need of spending extra time in front of a screen.
Oh, and you may enjoy the process of photography more, overall.
Image creditsAll photos, unless otherwise noted, by Christophe Anagnostopoulos. Product shots used with permission from cokin.com and hoyafilter.com.