How to Sharpen Your Photos in Lightroom Without Going Too Far
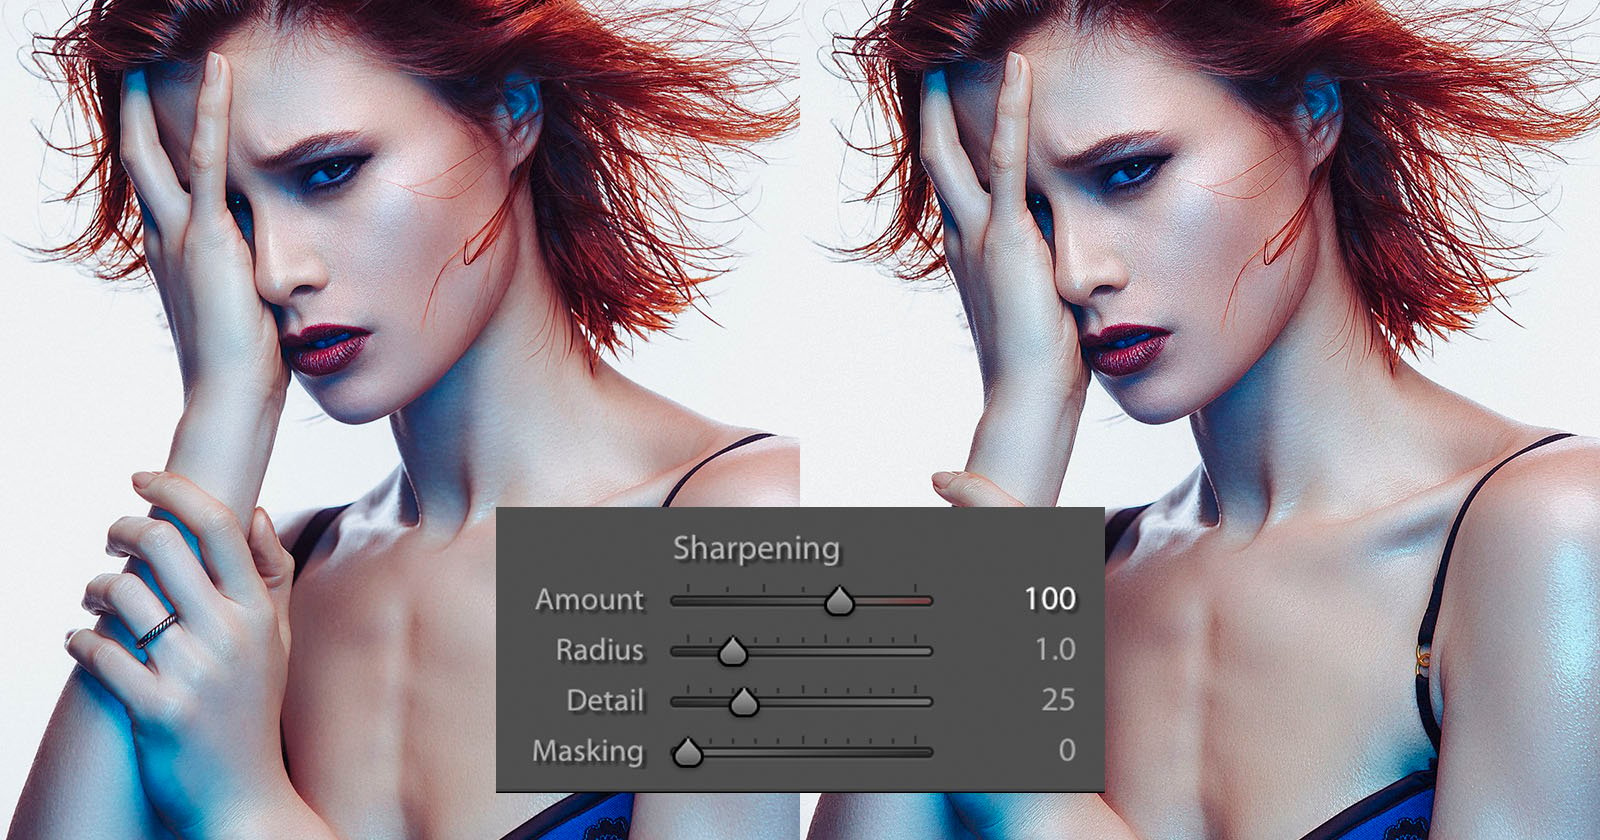
Sharpening gives your images a bit of pop by increasing the edge contrast, but it’s easy to go too far and end up with an over-sharpened mess. In this 10-minute video, Tony Northrup demonstrates how sharpening works in Lightroom and how to know how much is enough.
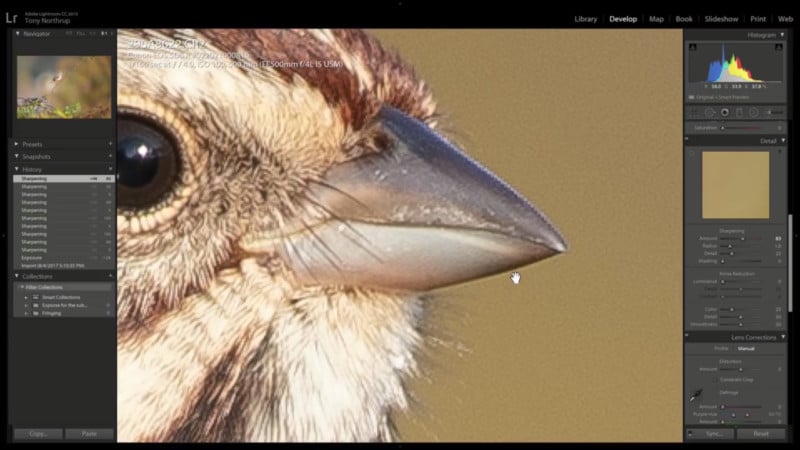
By zooming in on transition areas in your image and increasing your sharpening to the max setting, you will quickly notice the negative impact of sharpening too far. Northrup suggests sharpening to a level that looks natural but stopping before haloing occurs.
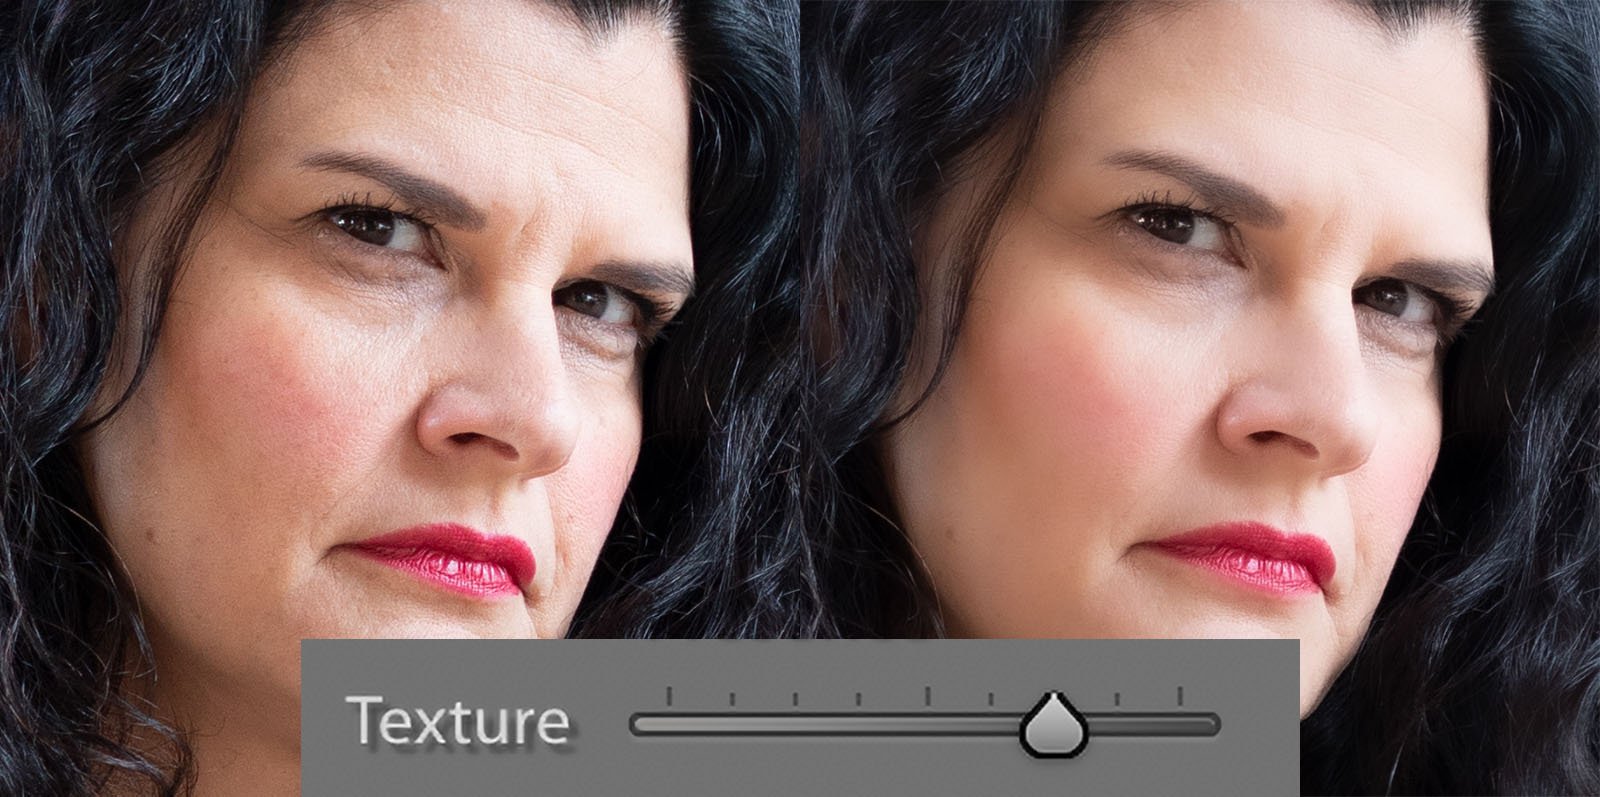
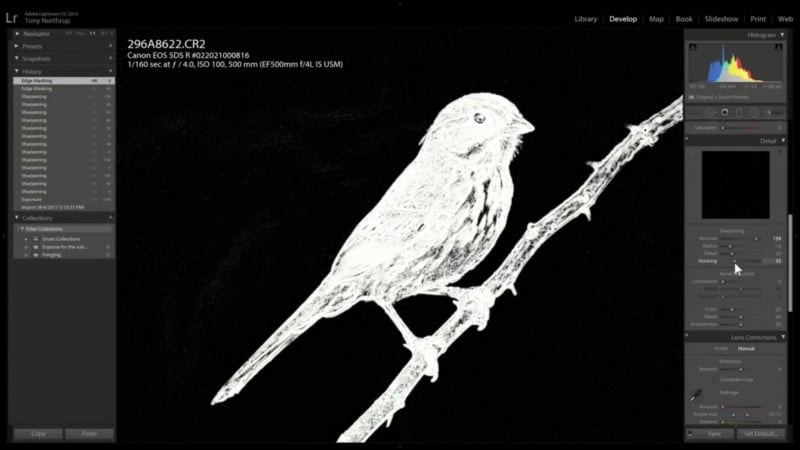
The mask slider helps avoid adding sharpening to out of focus areas such as the background, which will make sure that fine detail and noise isn’t emphasized. By holding Alt (or Option) while moving the slider, Lightroom will show in white the areas of the image that will be sharpened. Increase this slider until only your subject is being sharpened.
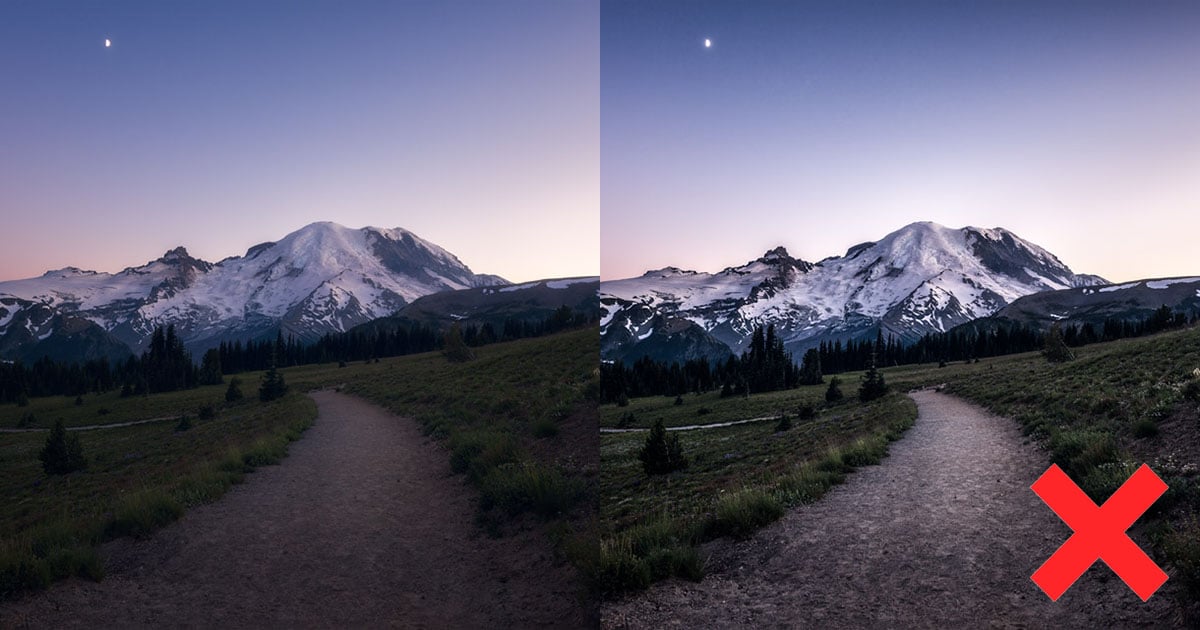
It’s important also to know that sharpening cannot save a blurry or out of focus image. It can improve it to some extent, but applying sharpening will not add detail that does not exist in your image.
(via Tony & Chelsea Northrup via Shutterbug)