Are You Sharpening Your Photos Enough?
I’ll own up to this and say that I’m guilty of being stuck in my ways. But age is no excuse for not being as adaptive as I should be to the changing times. But let me explain.
Back then I would export my file at the largest size we’d be requested for (usually 12×18 [A3]) and I’d sharpen it a little for print but that was it, I’d just sharpen it the once for that large print size. Of course, times have changed, but I’ve been guilty of not changing or adapting with them and me not sharpening my images enough has become one of those areas that I’ve overlooked for too long.


It’s important to point out at this stage that there is no ‘correct’ level of sharpening. The purpose of this article is not about telling you that you’re doing it wrong, but really more about getting you to look at your own images and try a few different sharpening amounts on your own shots. You wouldn’t want to get ‘stuck in your ways’ now, would you?
The Rise of Ultra-Sharp Shots
Many of you who follow a large proportion of professional photographers online may have already noticed this emerging trend for overly sharp images. You have to remember that this look is something that simply could not exist 20 or even 10 years ago due to limits in technology.
In recent years we’ve seen the rise of Fuji and Sony stomping all over the market with eye-wateringly sharp images straight out of camera thanks to not only their lenses but their sensor technology too. With this has come the ability to then sharpen those shots even more in post. The reason I make this distinction of “even more in post” is because regardless of what Mr. Adobe tells you, you can’t refocus and ‘sharpen’ a soft focus shot, it simply doesn’t work.
You need a razor sharp image to begin with before you can even consider sharpening your shot in these incredibly tack-sharp ways. So like I said, we’re only now seeing these ultra sharp images because even though sharpening in post has been around for years, the technology to create a sharp image to begin with has never been so strong.
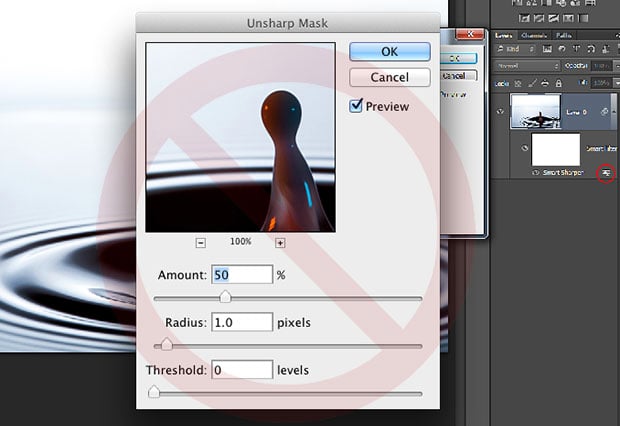
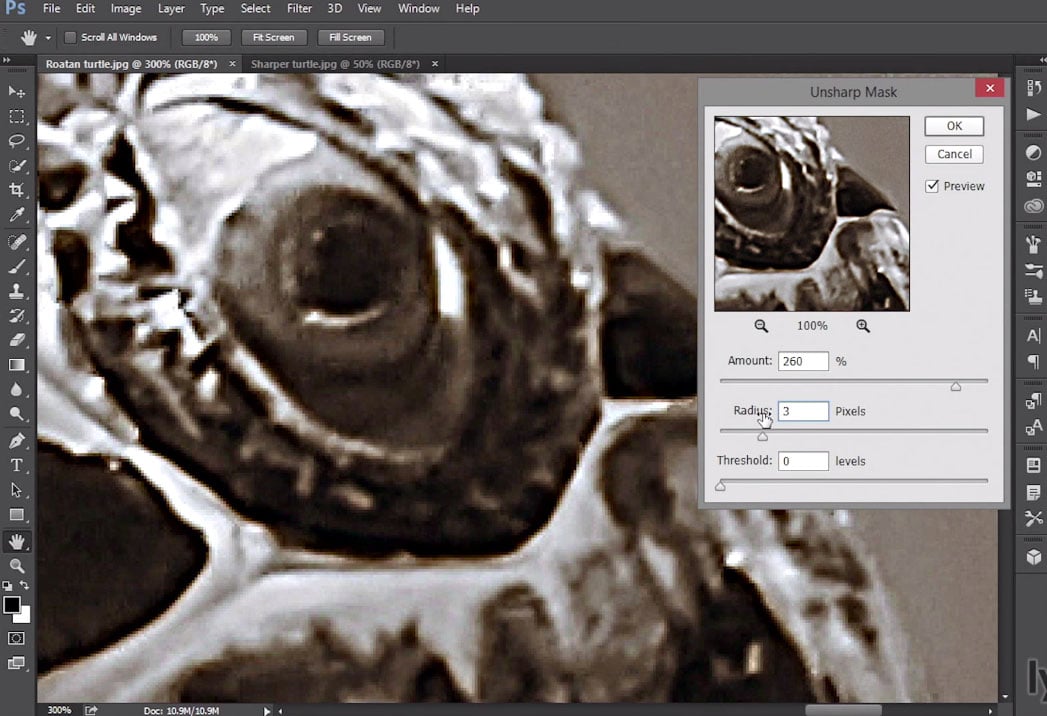
Remember: You can’t refocus an out-of-focus shot to make it sharper. The ‘sharpen’ tool in Photoshop doesn’t go back in time and retake your shot with a little more accuracy. It simply increases the contrast of adjacent pixels to present the illusion of your shot being ‘visually’ sharper at a distance.
Are You Sharpening Your Images Enough?
So, are you sharpening your images enough? Well, this is subjective, of course, and I think this trend of razor-sharp images will see an ebb and flow as time goes on. We see a lot of commercial advertising images online and a lot of these are pin-sharp right now. As a result, the aspiring photographers take note and we see a rise of pin-sharp images filter down.
But as with any new trend, there will always be those that purposefully steer clear of the mainstream, commercial look. There is even now a rise in photographers who purposefully only shoot with older lenses due to a dislike of the ultra-sharp more modern lenses.
There are other reasons to avoid these overly sharp images produced by modern cameras and lenses purely due to the aesthetics of it and we are seeing a lot of that from the world of cinematography right now. Many movies rely heavily on CG and 8K quality, but others believe that images with enough resolution and sharpness to see your DNA on screen is not what they want. For example a while ago I was at Panavision HQ here in London, whereupon I was told that Tom Cruise will not work on a film shot with the newest and sharpest lenses. He prefers the softer, slightly more flattering, older lenses. There’s nothing wrong with that, as like I said, sharpness is subjective, and it’s far from ‘the sharper the better’.
Location, Location, Location
In this section, I’ll explain the process of how to sharpen your shots, but in all honesty, you most likely already know ‘how’ to sharpen your shots, it’s the ‘how much’ we need to sharpen them we’ll address.
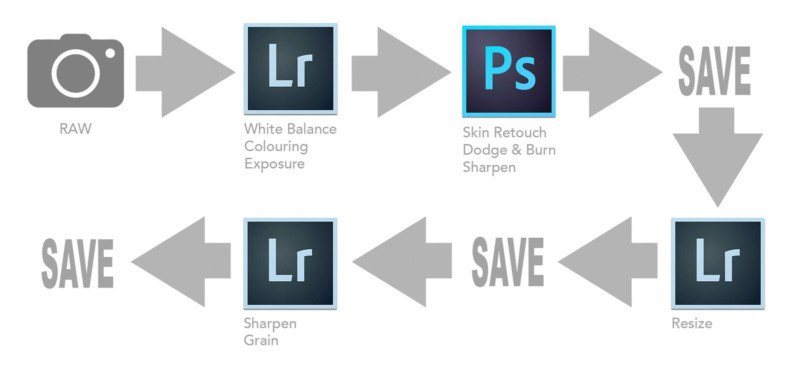
My post-pro process involves me importing my raws into Lightroom, adjusting exposure, white balance, etc, but NO sharpening whatsoever (beyond the very basic default amount already set on import). I then export my full size (12”x18”/4500x3000px) shots to Photoshop where I retouch the skin, do some local dodge and burn, etc, and then lastly I’ll sharpen them before saving.
Here is where I’ve been very lazy in the past. I simply sharpen the full-size file appropriately and then I re-save multiple versions out for the web from that one file. This results in that the original sharpen is completely unnoticeable when viewed on somebodies phone screen on Facebook. I literally may as well not have bothered sharpening it at all, because whatever I did to that huge A3 file is all but lost when downsized to the web.
We need to consider the location that these files will end up when sharpening our shots and unfortunately, one size will not fit all.
If you’re interested in my Photoshop sharpening process then you can view all the details here.
The Three Levels of Photoshop Sharpening: Detail, Global, Local
The Re-Size
My advice would be to do your retouch process as normal and even do your subtle large file sharpen as normal too. But at the end of all of that, be sure to add yet another step to the process and re-size and re-sharpen everything based on its intended final viewing location. So for example, if you’re going to post the shot on Facebook, resize it and re-sharpen it accordingly.
Cool, so I just resize my shot in Photoshop, sharpen it and then save it right?
To be fair, yes that is one option. But for me, I like to save out a few versions and I also like to add a little grain to my final images to trick some of the compression algorithms in social media sites.
Wait, what?
Thankfully I’ve already done a complete article on why and how I do this here. This is a trick I use to essentially fool the file compression engine into thinking there is more data in a shot than there really is. This can really help when it comes to reducing color banding in your shots too, so for me and my color work that’s incredibly useful.
So in short, no, I don’t just resize it once, sharpen it and then save it out. I use a slightly different method but please feel free to do what suits your workflow and requirements.
Back to Lightroom
This may seem a little counterintuitive, but when I’ve done all of my Photoshop work, I now save my image once, at its original full size and unflattened. Once all of the images from a set are completed, I fire up Lightroom, resize them all there via the export tool and then I lastly reimport them one last time and sharpen and add grain accordingly for their size before finally saving it out one last time.
Seems ridiculous right? Well you’re not wrong, but this is really only necessary if you a. want to add grain, b. want multiple versions of all different sizes, and c. want your images to look their best online.
Is All That Really Necessary?
One of the steps I really tried to skip was the resize. Unfortunately, this is very important and simply cannot be skipped. For example, I just tried to over-sharpen my large A3 file knowing that it would be viewed smaller. This really does very little and even with very high amounts of sharpening on the big file, the effect was almost unnoticeable when viewed online.


So by viewing the shots above, you should see that even though these shots all have drastically different amounts of sharpening applied, they visually look almost identical when seen online.
Note: When I say ‘sharpened in Lightroom’, I’m referring to the sharpen adjustment window halfway down in the Develop module.

What Size do you Recommend for the Web?
You’ll likely hear varying amounts for this one, but for me, I use 2048px on the longest side. I’ve found that this offers the best results on platforms like Facebook where this is the largest size you can get away with before some very heavy-handed resizing and compression kicks in on their end.
Step 1. Import your final Photoshop document into Lightroom.
Step 2. Go to export and then make the relevant size adjustments prior to actually exporting them.
Step 3. Resize to fit. Long Edge. 2048 pixels. 72 Pixels per inch
Step 4. Be sure not to check the ‘Sharpen For’ box.
How Much Sharpening is Too Much?
So now that we’ve resized our shots, import them back in and now we’re finally ready to start sharpening.
But how much sharpening is too much? Personally, I really believe you need to do your own tests, with your own camera, lenses, and workflow, but by all means, look at mine and see what I determined to be the best sharpening amount for me and my work online.
I tried a multitude of amounts and combinations, exported them and then uploaded them all to my site so that I could see what was looking best. Here’s a link to the results and my notes, but be warned, there are a lot of images here some of the tests may not make sense. But don’t worry as I’ve pulled out all the salient points and I’ll share them down below.
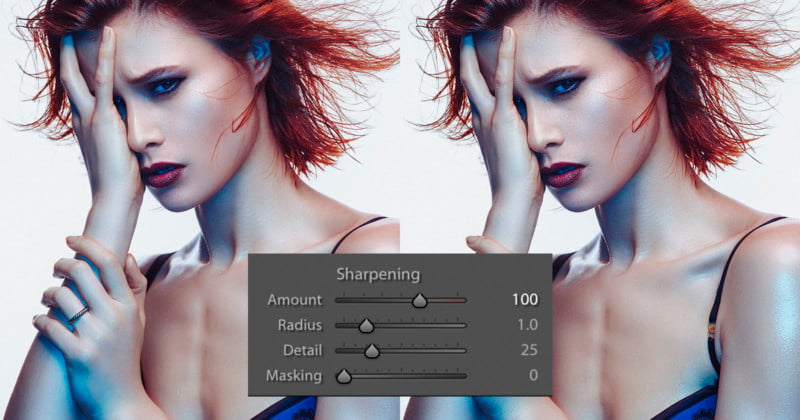
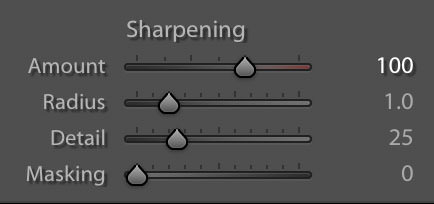
From these tests, I concluded that somewhere between 75-100 of Lightroom sharpening was a good amount on a 2048px file.
Take a look below at some of the varying amounts and see for yourself.


As I said, I found the sweet spot for me to be between +75 and +100 sharpening. For the other sliders, I leave them at the default amount which is Radius 1.0, Detail 25 and Masking 0.
I would again urge you to do your own tests as your camera brand and lens choice will play a significant role in your final decision. These images were all captured on the Nikon D850 with the 24-70 f2.8 zoom lens attached.
What About the Grain?
The eagle-eyed among you will likely have noticed the grain already being applied in the above shots. I was very concerned about applying the grain at the same time as sharpening due to sharpened grain looking horrendous in images. One test I did was to resize, add grain, export, import, sharpen, final export. I then compared this to simply applying grain and sharpening simultaneously before the final export. Take a look at the results below.


In a perfect world you’d do it properly by resizing, import, sharpen, export, import and then finally add grain. But to be fair, I was actually very happy with how Lightroom handled the final file when you do both the sharpen and grain at the same time. Take a look for yourselves and compare the shots above, but for me, doing them together is fine and cuts out another step.
How Much Grain?
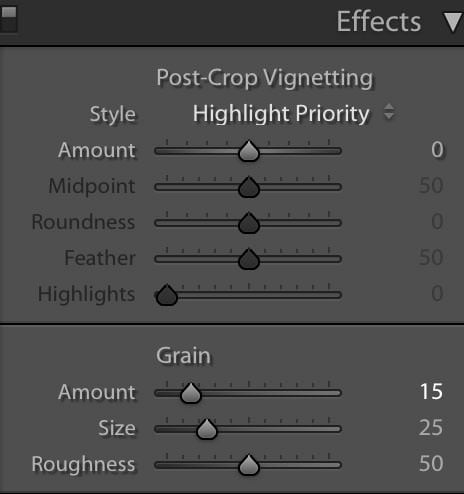
This will vary from shoot to shoot but here are the settings I use. The Grain window can be found in the ‘Effects’ tab towards the bottom of the pane in the Lightroom Develop module.
Amount: 15
Size: 25
Roughness: 50
Again this is a situation where I would recommend you play with varying amounts and looks to see what works for you. I tend to stick between 15 and 25 but black and white contrasty shots will visually respond well to larger amounts of grain compared to softer color images that require less. But all of this is subjective and you may well hate the idea of adding grain to your shots altogether… which is also fine.
Simple as That
So I fully appreciate that some of you may think that this way too much info. After all, we want to eat the burger, not meet the damn cow, Jake. But for those interested in furthering their understanding of why and how certain things are achieved and arrived at, I’ve included all of my tests and thoughts above. For those with ADHD though, I’ve also included a quick-fire, step-by-step process below which outlines what to do, not why to do it.
Sharpening your Images for the Web
Step 1

Be sure to resize your images for the web prior to sharpening. I import my retouched files from Photoshop into Lightroom and then export them at the new size of 2048px on the longest side. Be sure to do no sharpening at this point.
Step 2
Reimport your resized files back into Lightroom. Now apply the adequate amount of sharpening for your taste. I personally go for a sharpen amount of around 75-100 with a Radius of 1, Detail 25 and Masking 0.
Step 3

Add a small amount of grain to your image via the ‘Effects’ window in the ‘Develop’ module in Lightroom. I tend to keep the amount low, but enough so that it will reduce any color banding that may appear under the heavy compression algorithms of sites like Facebook. For most of my images, I tend to stick to around 15-20 grain amount, 25 size, and 50 roughness.
Step 4
The final export and again, I just use exactly the same settings as in the original export earlier. 2048px on the longest side at 72dpi.
Closing Comments
Once again, I apologize that this article was so long for a topic that simply could have stated ‘be sure to resize your shots before sharpening them’. But as with all of my teachings, I do believe that understanding the reasons you do things is just as important as doing them… this isn’t a 10:01 YouTube video after all ;)
One of the biggest takeaways from this, though, is to reiterate once again how subjective sharpening is. I shared my thoughts on this with a before and after shot on social media the other day and several people mentioned that they preferred the original. That’s totally fine and I may find that I get tired of overly sharp shots too in the future. The point I’m making here is that you may have looked at this article and not agreed with what I’m saying and felt confused. If you prefer the softer version shot, that’s totally okay and there’s nothing wrong with that.
Wherever you sit on this, I will just say that I thought the same thing until recently. I felt that I was sharpening my shots enough and it wasn’t until I did these tests that I actually decided to swallow the humble pie and decide to change my workflow to reflect a shift in the industry.
Resizing and sharpening your shots may already be basic practice to you. In fact, if you started shooting in the last ten years this is basic, common sense to you and the fact that somebody made an article about it is laughable to you. But for those that come from print *cough* old people *cough*, we may not be doing this and, myself included, needed to get with the times.
About the author: Jake Hicks is an editorial and fashion photographer based in Reading, UK. He specializes in keeping the skill in the camera and not just on the screen. If you’d like to learn more about his incredibly popular gelled lighting and post-pro techniques, visit this link for more info. You can find more of his work and writing on his website, Facebook, 500px, Instagram, Twitter, and Flickr. This article was also published here.