5 Post-Processing Mistakes Beginner Photographers Make
Looking back at my early photography, I shake my head in embarrassment. I know I should be proud of the fact that I’ve come a long way since then, but it’s hard not to notice just how poorly processed those images are. I’m sure I’m not alone.
I often look at hundreds of images daily and there are a few beginner’s post-processing mistakes that stand out; mistakes that make an image less interesting than what it should be.
#1. Too Much Saturation
Now, this might not come as a big surprise to you… The most common mistake is oversaturating.
We all love colorful images but at some point, it becomes too much. At some point, your images are so colorful that they become distracting. It’s time to pull that saturation slider back down when colors don’t look natural or when the less dominant colors are highly saturated.
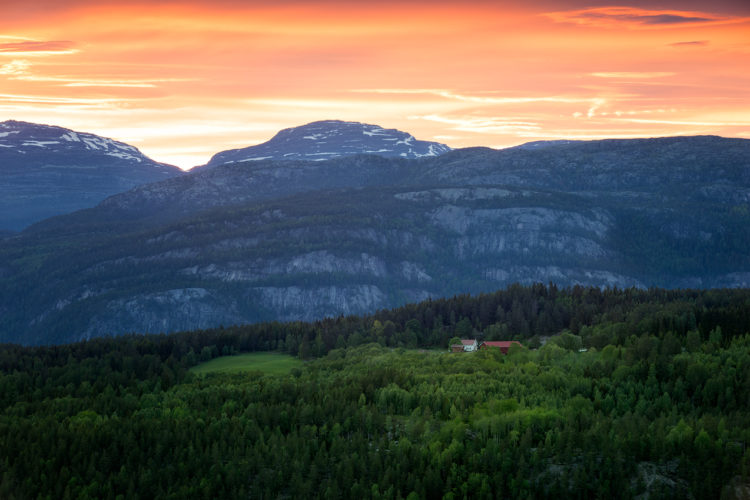
There are better ways to add saturation to an image than by using the Saturation Slider in your image editor. In fact, selectively adding saturation will make a big difference in your photography.
The HSL sliders in Lightroom and Luminosity Masks in Photoshop are good options when it comes to working selectively with colors. While you can still add a lot of saturation, doing it selectively won’t make the image look unnatural or unattractive.
#2. Over Sharpening
Just as with saturation, sharpening is something that should be added selectively or, at the very least, restrictively.
Oversharpening leads to unnecessary amounts of noise which is why we don’t want to sharpen certain areas such as the sky and smooth surfaces.
There are many ways to selectively add sharpening but you should make yourself familiar with the terms input- and output- sharpening.
Lightroom’s Details Tool is an easy way to add input sharpening. By holding Alt when using the Masking slider, you can control how much of the image is sharpened (black areas will not be sharpened).
Output sharpening or web sharpening is slightly more advanced but I recommend using a Photoshop plugin such as Raya Pro to automate the process.
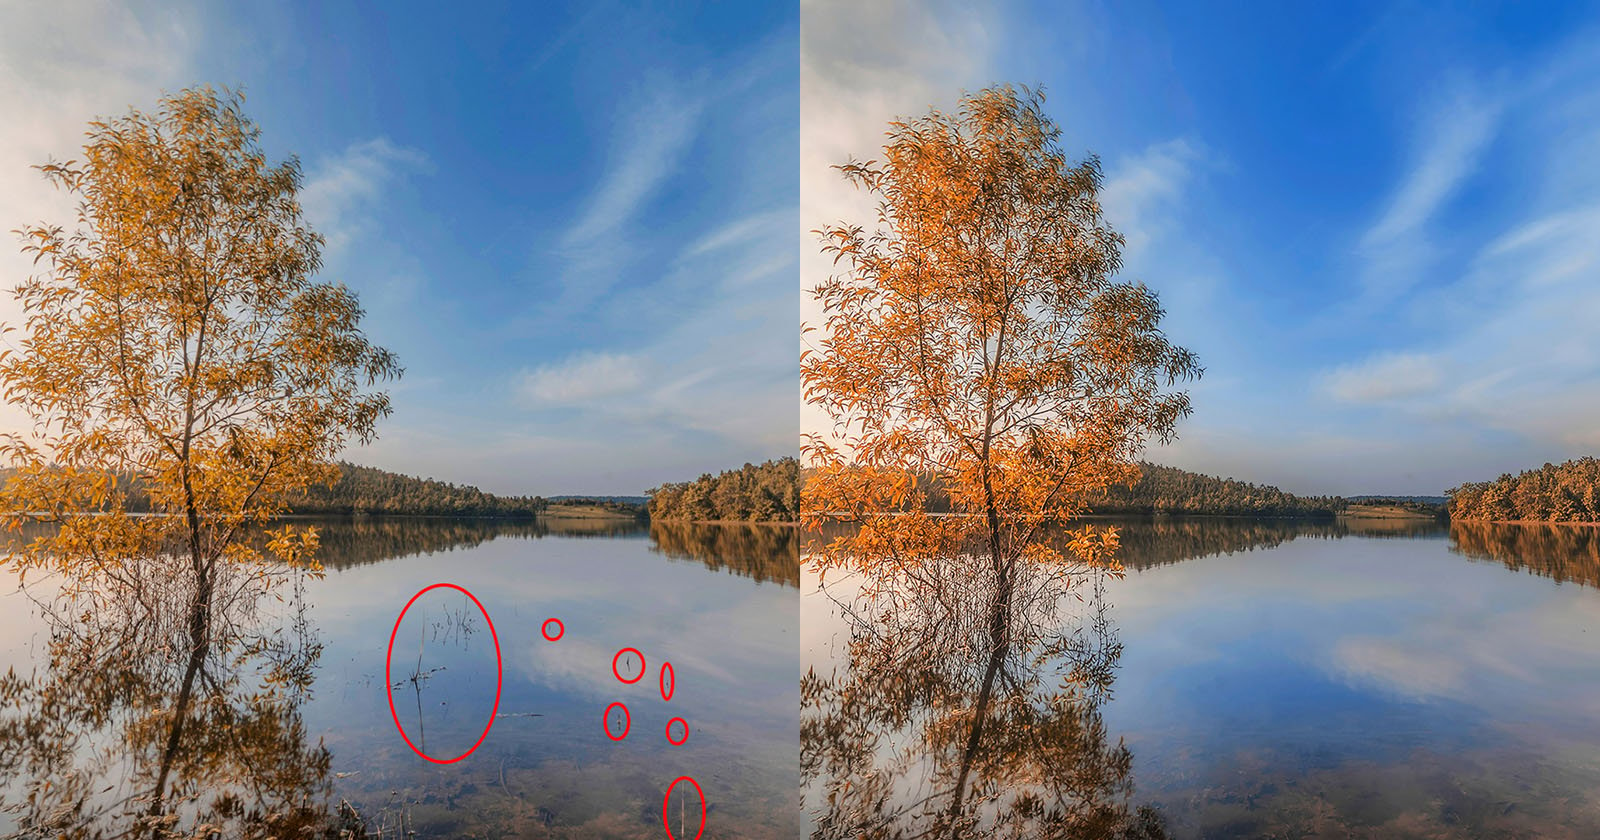
#3. Too Much Noise Reduction
While we want to sharpen an image and make the details appear sharp we also want to reduce noise and grain. This is a bit contradictory because sharpening, as we just mentioned, adds noise.
The majority of photo editors have options for removing noise. However, removing too much of it will result in a low-contrast and unnaturally smooth image. Just look at the comparison below:
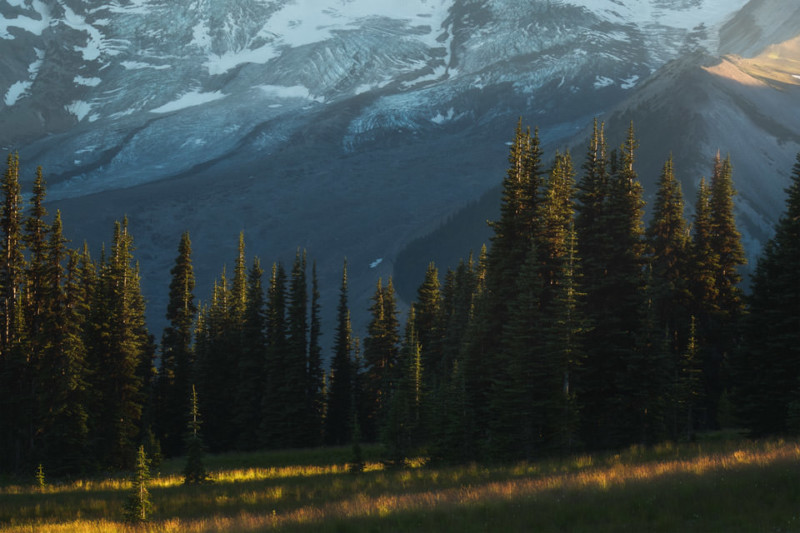
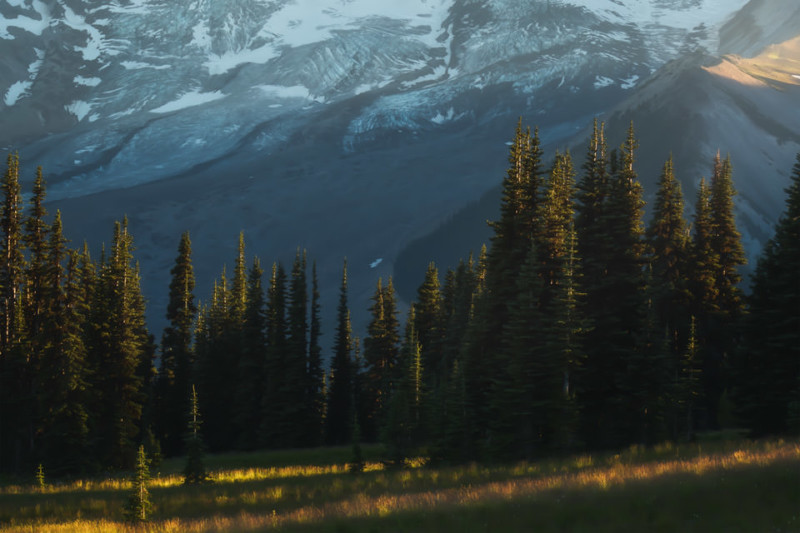
As you can see, adding too much noise reductions removes all the microdetails and we’re left with an unnaturally smooth image. The effects are especially visible in the grassy and background areas of the image.
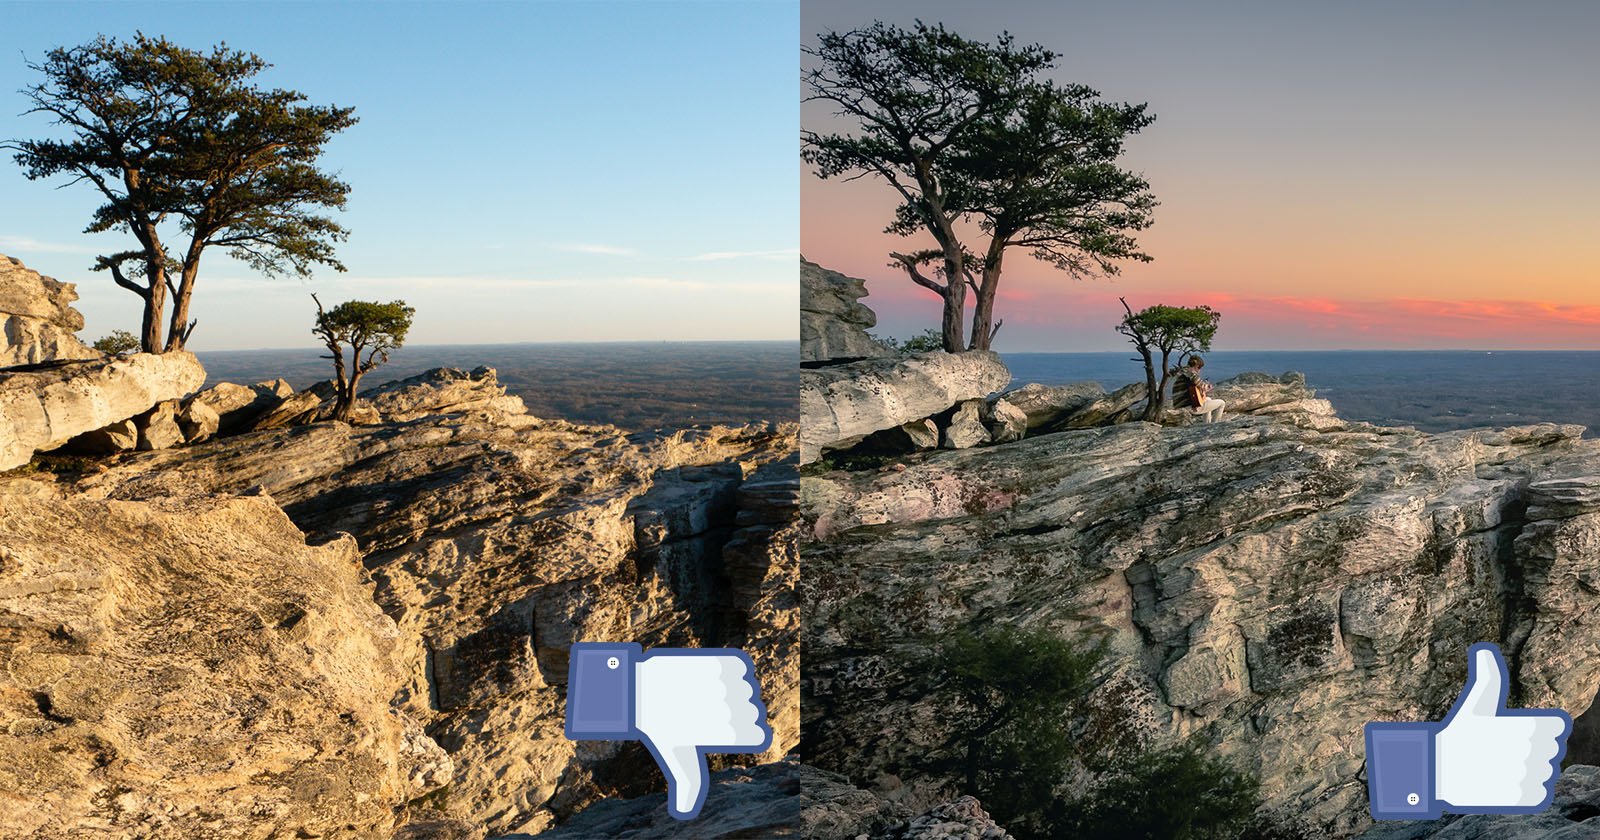
#4. Too Much Clarity
Lightroom’s Clarity Slider can really make an image pop but it can also completely break one. It’s a slider which should be used with care; pulling it too far (in any direction) will leave a negative impact on the image.
Just as with many other adjustments, I believe that clarity should be added selectively, rather than globally, as there are certain areas of the image you don’t want to be affected.
#5. Making Only Global Adjustments
If you’ve made it this far, you might have an idea of what the final beginner’s post-processing mistake is: only working with global adjustments.
This is a mistake that the majority of beginning photographers aren’t aware that they’re making but in order to make the most out of your processing you need to start making selective adjustments.
Using any slider in Lightroom and the majority of adjustment layers in Photoshop will affect the entire image, even the areas where you might not want it.
Like we talked about under mistake number 1, instead of using the Saturation Slider, a better way is to add saturation selectively by working with the HSL Slider.
You can also use Lightroom’s Adjustment Brush, Graduated Filter, or Radial Tool, as well as using Layer Masks in Photoshop to remove the adjustment from certain areas.