How to Photograph Your Own Eye
The world of macro photography is full of fascinating subjects, but eyes and irises have got to be among the most mesmerizing ones. As with most captivating subjects, capturing it can be quite a challenge.
At this point, I should mention, that the best image quality will be achieved by the use of a flash, and therefore the first challenge will be to find a willing subject/model.
In this article, I will teach you how to photograph your own iris but, obviously, the same techniques can be applied whenever photographing eyes, no matter who they belong to.
Table of Contents
The Equipment
- Camera and Macro Lens. Longer focal lengths work better.
- Flash or a bright light source.
- Circular Polarizing Filter.
- Tripod
- Patience
- Support or Headrest if you’re planning on photographing your own eyes.
The Setup
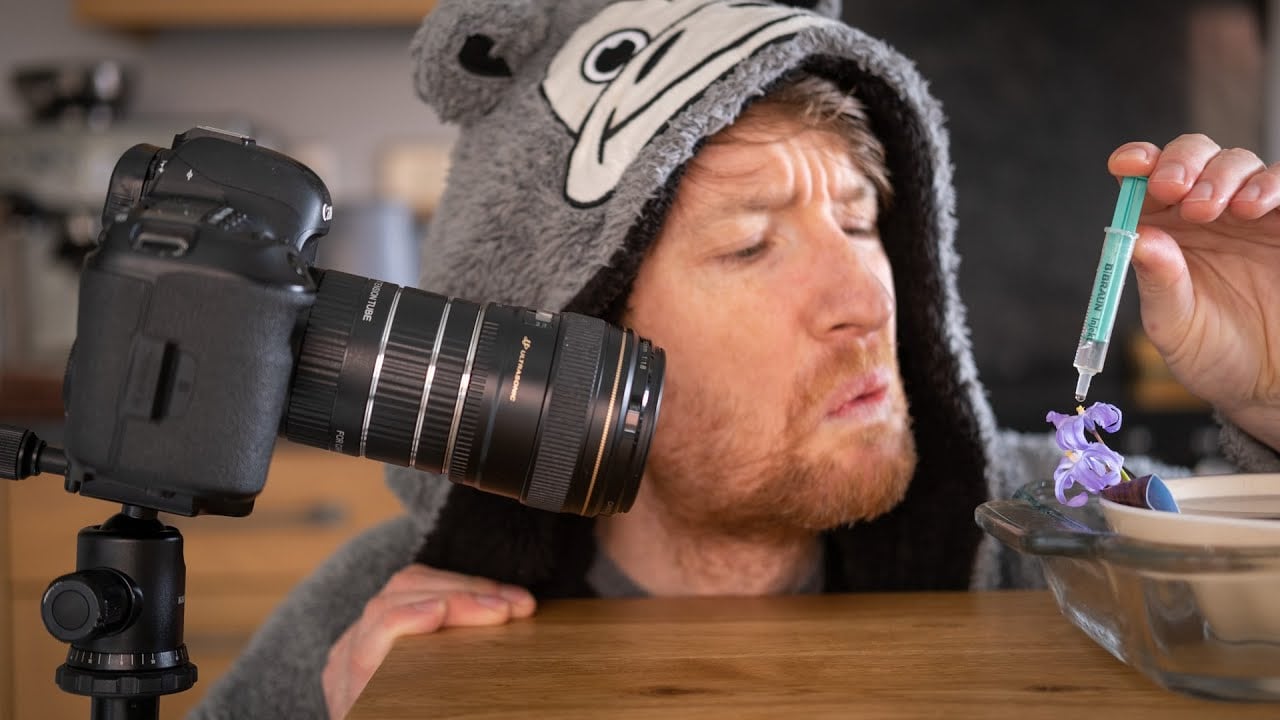
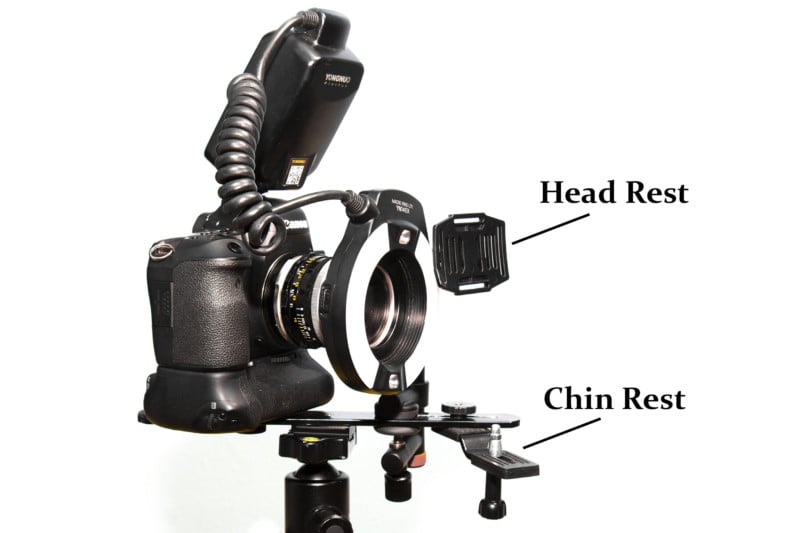
Let’s get started! First off, let’s set up our scene. As mentioned above you will need a solid surface to rest your head on and ideally something to rest it against, so that you will be able to hold it steady and keep focus.
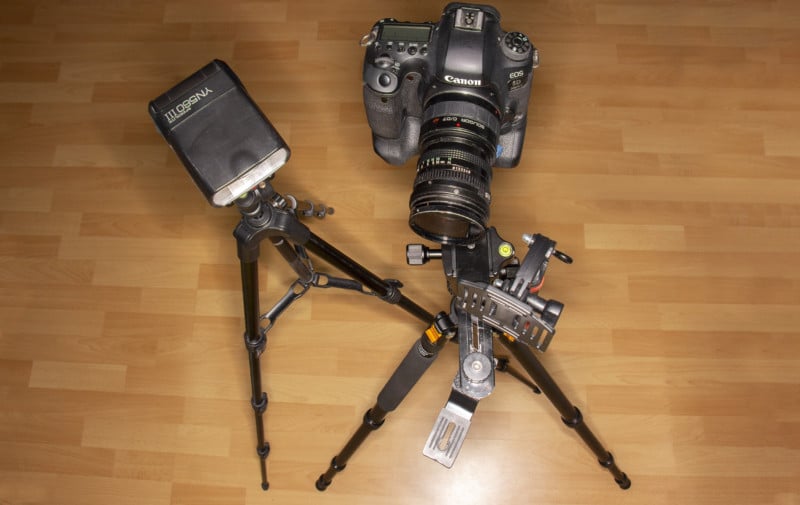
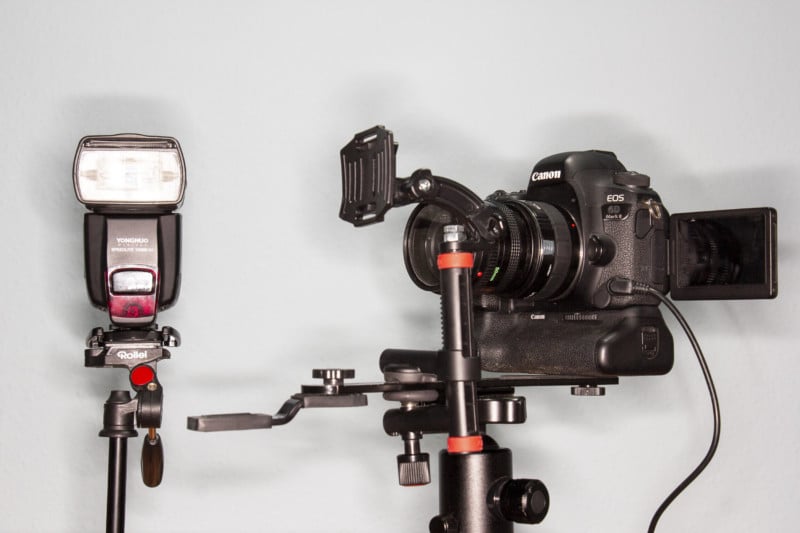
For my build, I used a flash bracket (the long flat bar) and a few repurposed GoPro accessories. This set-up can be mounted onto a steady tripod and allows for stable shots with continuous focus.
Alternatively, you can wedge your head into the corner of two walls or do it yourself with screw clamps or some scrap wood and a few screws.
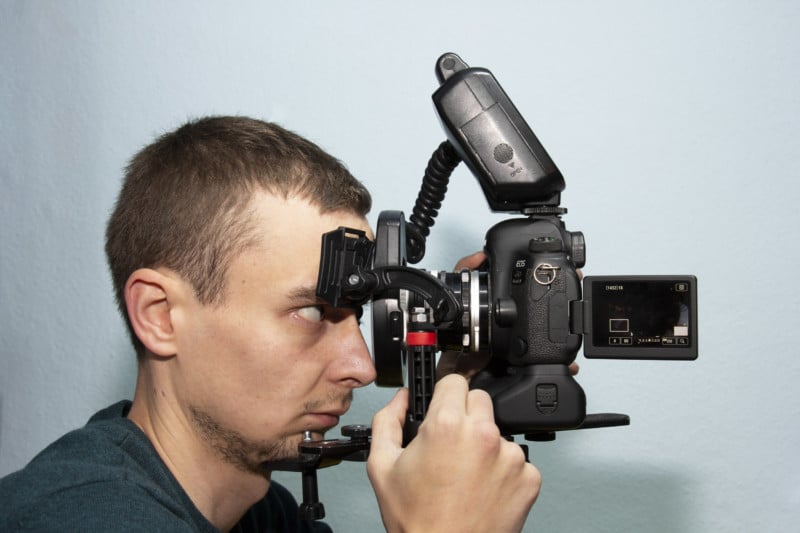
Framing your own eyeball can be tricky, as it will move between checking the composition in the flip screen and looking back, directly into the lens. Therefore, I recommend sticking with smaller magnification ratios rather than filling the frame with your iris; even though we are trading off some image resolution this way, I think it’s worth it as makes the shooting process much easier.
Light and Reflections
In my initial setup, I used a macro ring flash, which made for perfect and even lighting, but unfortunately, it was impossible to cut out the distinct reflection in my eye.
I used a reversed 28mm lens at its shortest working distance to push the reflections more towards the outside of my iris, but the results were less than perfect:
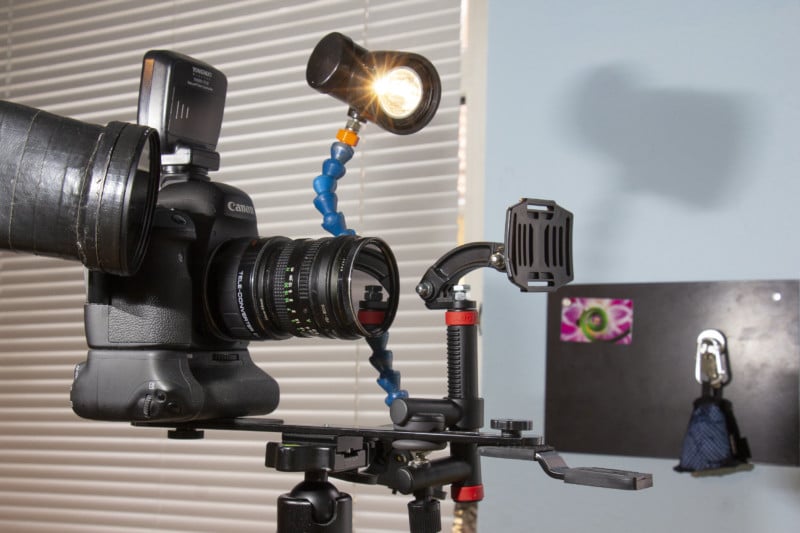
To address this problem, I switched the ring light out in lieu of an off-camera flash and the reversed 28mm lens for a reversed 50mm lens on a 2x teleconverter. This way I got to maintain an ideal working distance of about two inches, which allows enough light to enter my eye without being blocked by the lens.

However, taking the flash off-camera would cause reflections of the speedlight and various other objects around the studio to appear in my eye, so I added a circular polarizing filter to the front of my lens. This helped to cut out glare and avoid reflections.
Cross Polarization with a Second CPL Filter
To further increase the effectiveness of that CPL filter, I also attached one to my speedlight, allowing for cross-polarization to happen and therefore to minimize glare.
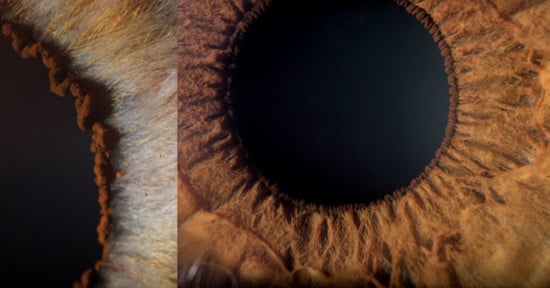
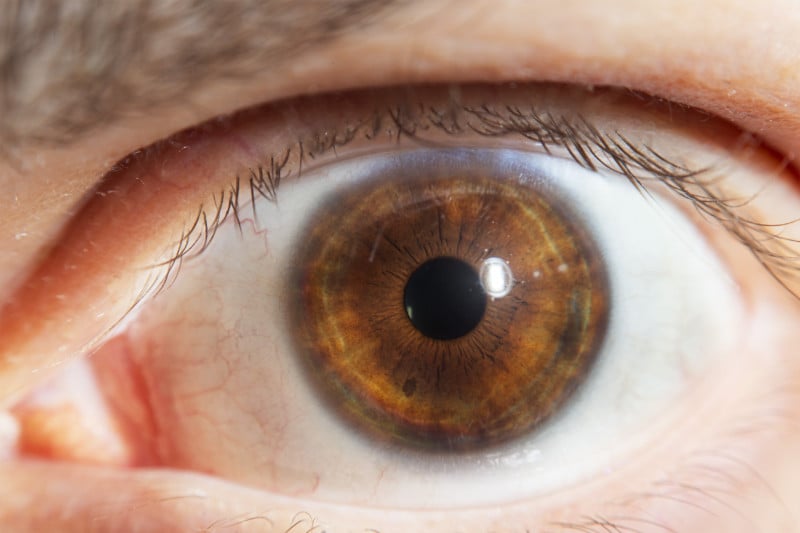
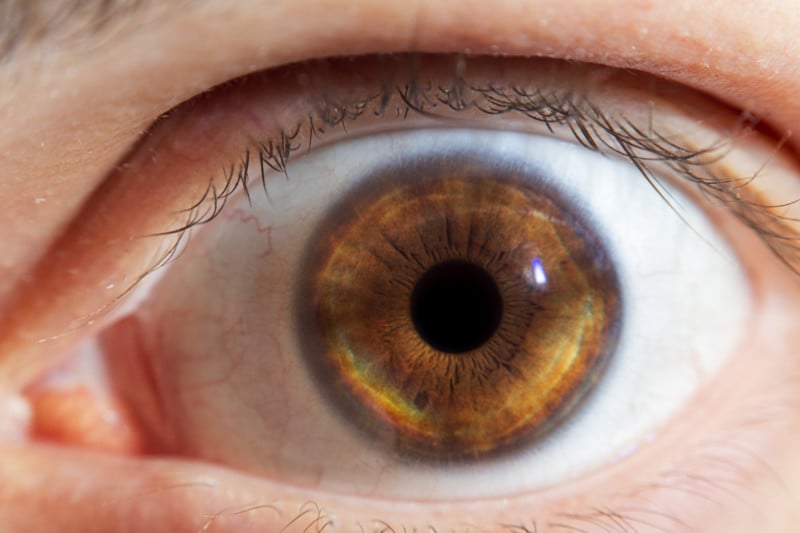
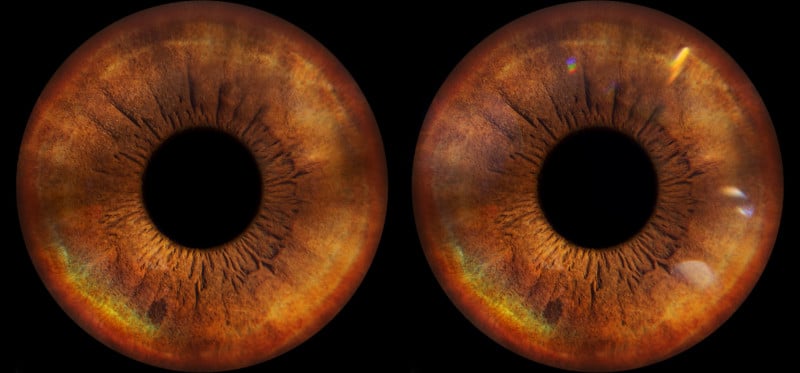
Cross polarization is a technique where polarizing filters are applied to both the light source and the lens in opposing directions. By doing so, we are able to cut back specular highlights drastically. The two images below convey the results of this technique.
But even without applying this technique, the quality of light and the extent of reflections caught in your eye can be suppressed to a large degree, simply by moving your lights off to the side.
I achieved the best results with the light positioned roughly 110 degrees from the eye and 70 degrees from the camera. This allows for enough light to enter the eye while keeping its reflection to a minimum.
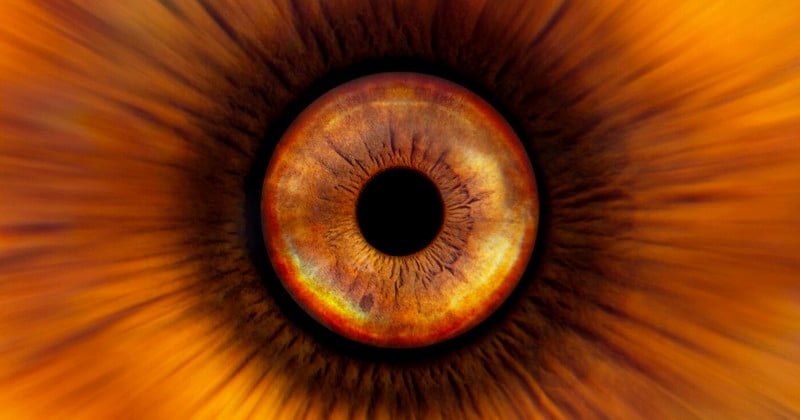
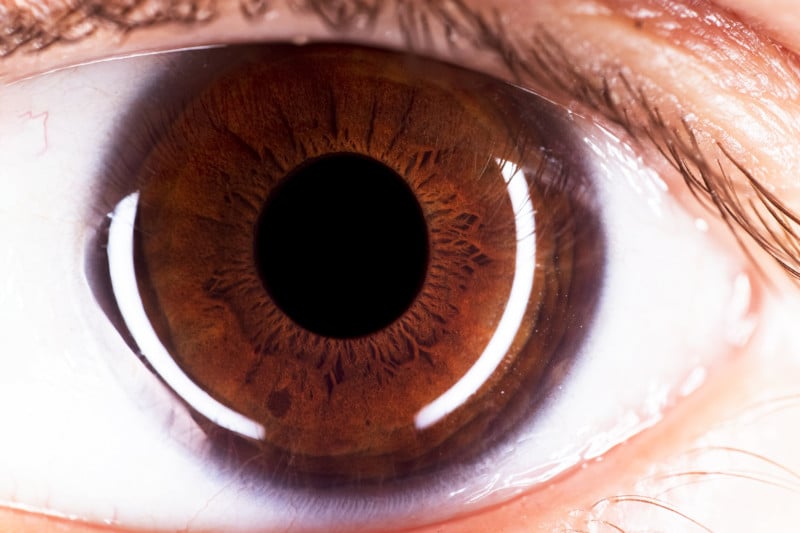
Of course, specular highlights and the inevitable reflections of your own eyelashes can be retouched in post-processing as well. But even though removing all obstructions from the subject provides the clearest possible view of it, it bears the risk of making the eye appear flat and lifeless:
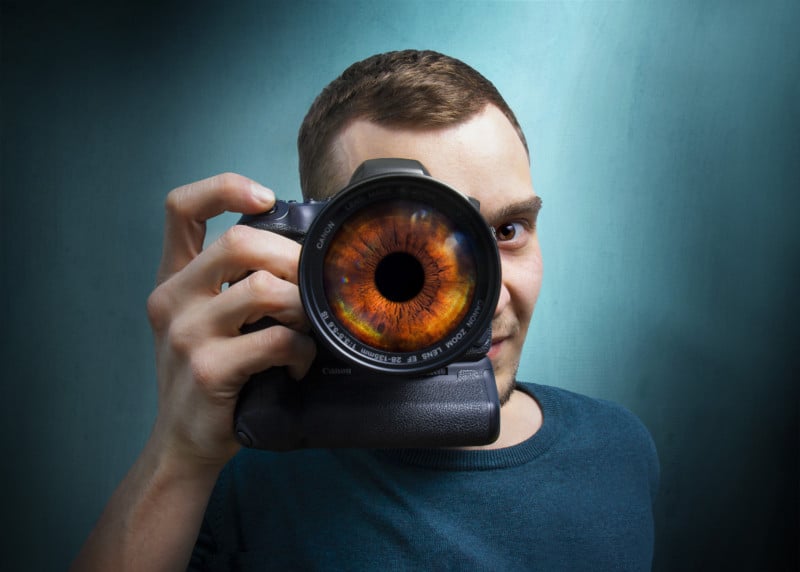
For the same reason, I decided to edit back in some flares when I created the composite image below.
Shooting Eye Photos Outside
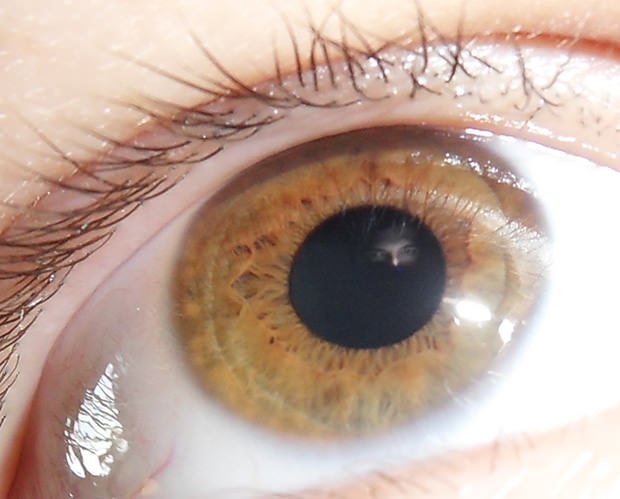
Of course, you can take a different approach too and photograph the human eye outside, in ambient light.
However, this method requires a lot of light and will only promise success on the sunniest of days. And even then you are going to need a high shutter speed or a tripod and likely a high ISO too.
And, because you’re using ambient light, you will inevitably catch lots of glare in the eye you’re photographing, along with a reflection of your camera lens.
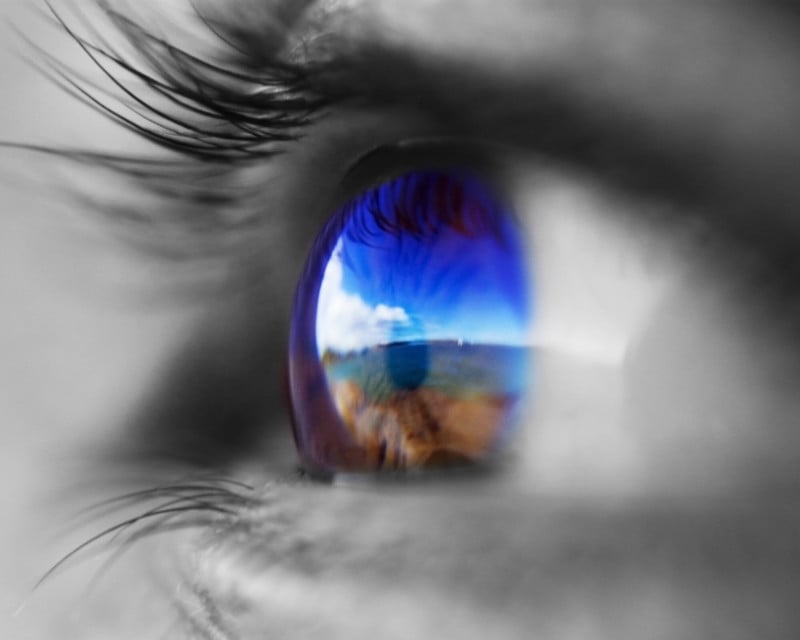
Unless, of course, you shoot from an angle. This way you can get creative and catch the view of the eye you’re photographing as a reflection, like in the image below.
A Video Tutorial on Photographing Your Eye
About the author: Maximilian Simson is a photographer and artist based in London, Ontario. The opinoins expressed in this article are solely those of the author. You can find more of Simson’s work on his website and Facebook.