
Easy Macro Photography Tips for Incredible Close-Up Photos
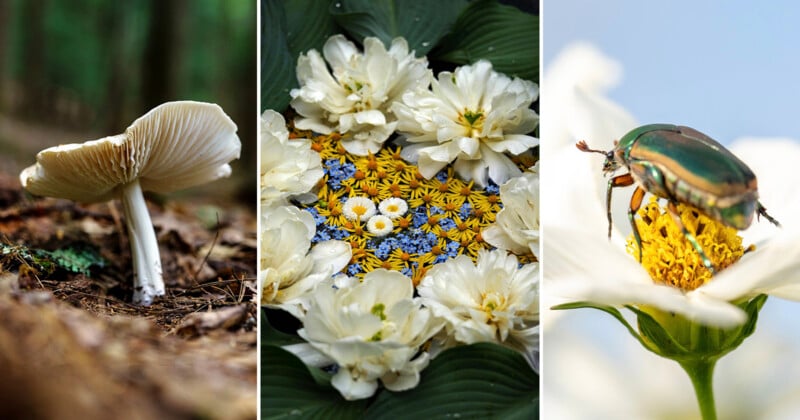
Looking to improve your macro photography? This guide explores techniques for capturing sharper close-up images of flowers, insects, products, food, and more, along with recommended camera settings, lighting setups, lenses, diffusers, focus-stacking tips, and creative tricks to take your macro shots to the next level.
Macro photography opens up an entirely different world. Tiny textures, insects, droplets of water, flower petals, jewelry details, and even everyday objects suddenly become dramatic subjects filled with color and texture. For beginners, macro photography can feel intimidating at first because depth of field becomes razor-thin, and even the smallest movement can ruin sharpness. Fortunately, learning a few core techniques and understanding how lighting works can dramatically improve results almost immediately.
This guide covers my favorite macro photography tips, recommended settings, useful gear, lighting advice, and techniques for photographing subjects ranging from insects and flowers to products and food.
What Is Macro Photography?
Macro photography is close-up photography in which subjects appear life-sized or larger on the camera sensor. True macro lenses offer 1:1 magnification, meaning the subject is reproduced at actual size on the sensor itself.
One of the reasons macro photography is so fun is because it transforms ordinary subjects into something visually extraordinary. A tiny insect wing suddenly reveals intricate textures, while flower petals begin to resemble landscapes full of color and detail. Even common household objects can become abstract works of art when photographed up close.
The Best Cameras and Lenses for Beginner Macro Photography
While nearly any modern camera can capture macro images, interchangeable lens cameras offer the greatest flexibility. Mirrorless cameras are especially useful because focus peaking, magnified live view, and advanced autofocus systems make close focusing easier.
The most important piece of gear for macro photography is the lens. Dedicated macro lenses provide the sharpness and close focusing capabilities necessary for true macro work. A 50mm or 60mm macro lens works well for products, flowers, and tabletop photography because these focal lengths are compact and easy to use indoors. A 90mm to 105mm macro lens is often considered the ideal all-around option because it provides a comfortable working distance for insects while still remaining manageable in size. Longer lenses in the 150mm range are excellent for skittish insects because they allow photographers to stay farther away from the subject.
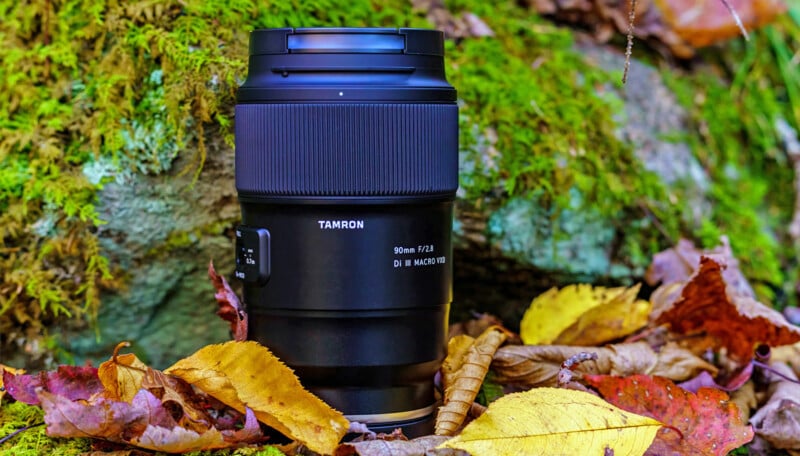
One of my personal favorite macro lenses is the Tamron 90mm F2.8 Di III Macro VXD. I originally reviewed the lens a few years ago and was immediately impressed by its incredible sharpness, smooth background rendering, and fast autofocus performance. It handled everything from flowers and insects to product photography beautifully, and the image quality was so consistently good that I recently purchased one for my own kit. To this day, one of my favorite features of the lens is that the hood has a panel that opens for easy access to rotating lens filters.
Beginners who are not ready to purchase a dedicated macro lens still have several affordable options. Extension tubes are among the best budget-friendly tools because they reduce the minimum focusing distance without affecting image quality. Close-up filters, sometimes called diopters, attach to the front of a lens and provide a quick way to experiment with macro photography. Reverse lens adapters are another inexpensive option that can produce surprisingly high magnification, although they are more difficult to use and generally require manual operation.
Camera Settings for Macro Photography
Macro photography behaves very differently from standard photography because the depth of field becomes extremely shallow at close distances. Even at moderate apertures, only a tiny portion of the subject may appear sharp.
Aperture plays a major role in determining how much of the subject remains in focus. Many beginners make the mistake of shooting wide open at f/2.8, only to discover that almost none of the subject is sharp. In most situations, an aperture between f/5.6 and f/11 produces a much better balance between sharpness and background blur. Insect photographers often work around f/8 because it provides enough depth while still allowing attractive separation from the background. Smaller apertures like f/16 can increase depth of field further, though diffraction may begin to soften fine details.
In my own work, I love using shallow depth of field, so I shoot many of my macro images at f/2.8. I enjoy leaning into that razor-thin plane of focus to emphasize texture, create creamy bokeh, and guide the viewer’s eye directly to the precise detail I want the photograph to highlight.
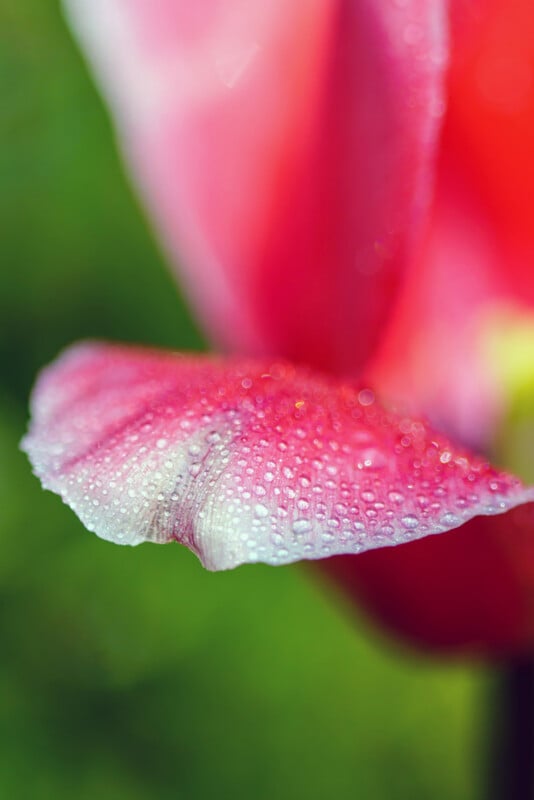
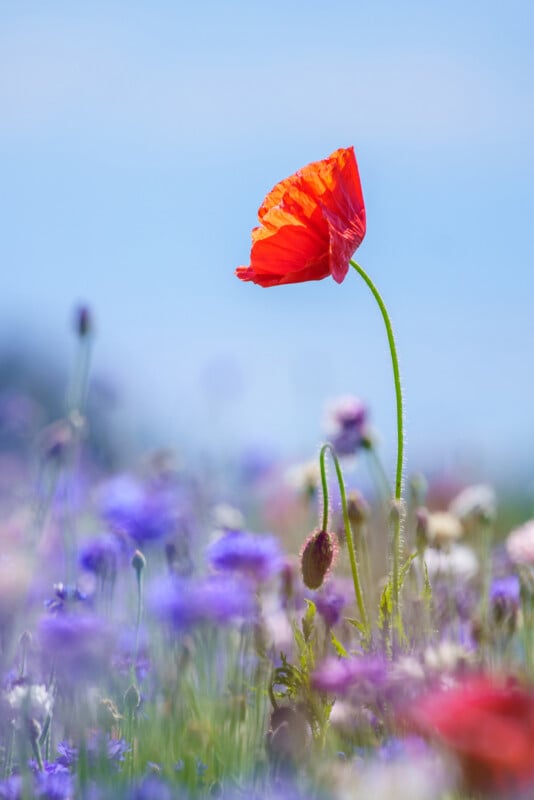
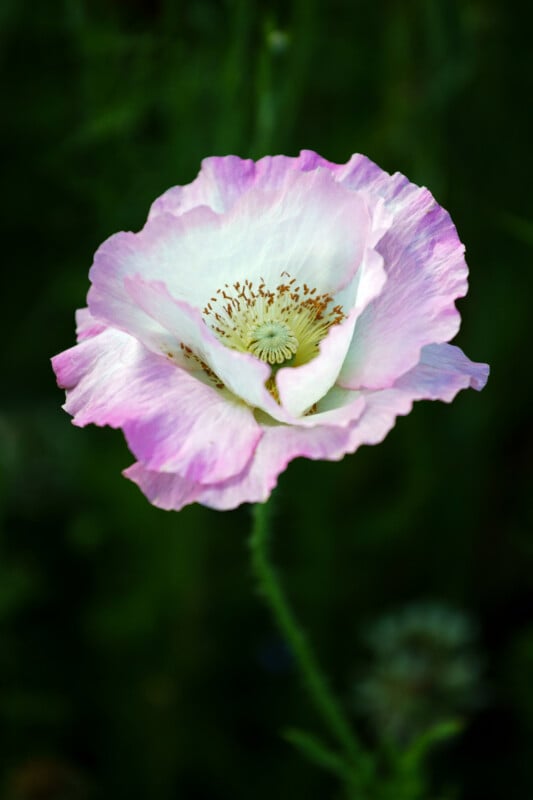
Shutter speed is equally important because tiny movements become exaggerated at macro distances. Handheld macro photography generally benefits from shutter speeds around 1/200 second or faster. Insects often require even faster speeds because they move unpredictably. With flowers, even a light breeze can make photographing them tricky, so I often increase my shutter speed to compensate, as with the image above. If lighting conditions become too dark, increasing ISO is usually preferable to risking motion blur. Modern cameras handle ISO 800 or even ISO 1600 remarkably well, especially after light noise reduction during editing.
Manual focus is commonly preferred for macro photography because autofocus systems sometimes struggle at high magnifications. A popular technique involves manually setting the focus, then slowly rocking the body forward and backward until the subject snaps into focus. Mirrorless cameras make this easier thanks to focus magnification and focus peaking tools.
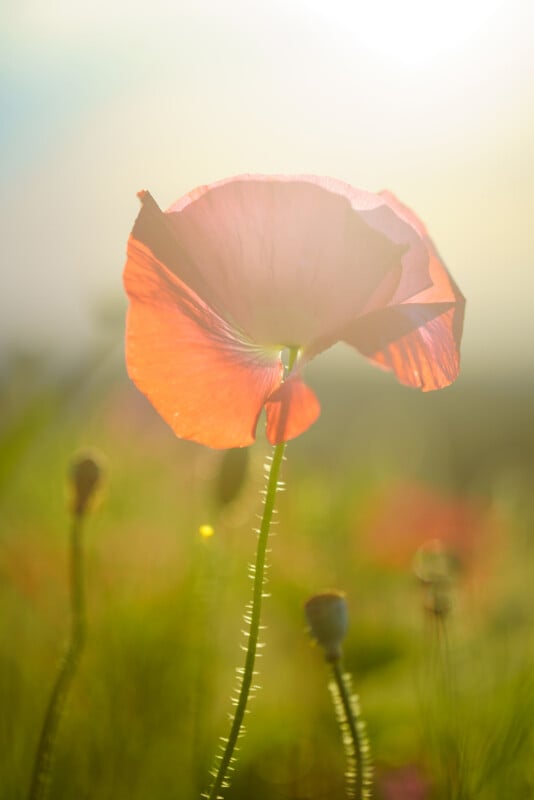
Why Lighting Matters More Than the Camera
Lighting is one of the most important aspects of macro photography. Even an expensive camera and lens combination will produce disappointing results if the lighting is poor. Macro photography often requires smaller apertures and faster shutter speeds, which means photographers need more light than expected.
Natural light is one of the best places to start with macro photography. Soft morning light or overcast conditions create flattering illumination without harsh shadows, helping reveal fine detail and texture more naturally. Early morning is especially useful for insect photography because cooler temperatures slow insects down, making them easier to photograph carefully.
Personally, my favorite lighting conditions for macro photography are during golden hour or on mild overcast days when cloud cover creates soft, even light across the scene. Even on bright sunny days, you can often find beautifully diffused lighting by shooting in open shade. For very small subjects, using a reflector or diffuser above the subject can help block harsh direct sunlight and create a softer, more controlled look, especially if someone helps hold it in place.
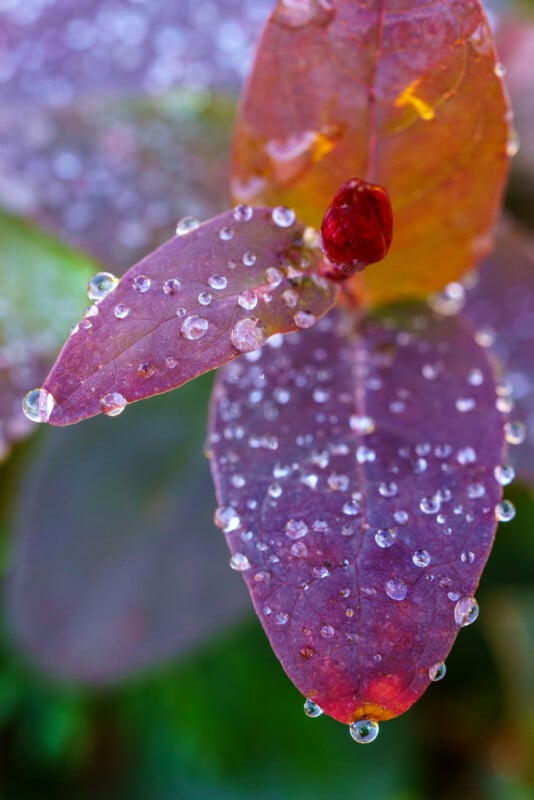
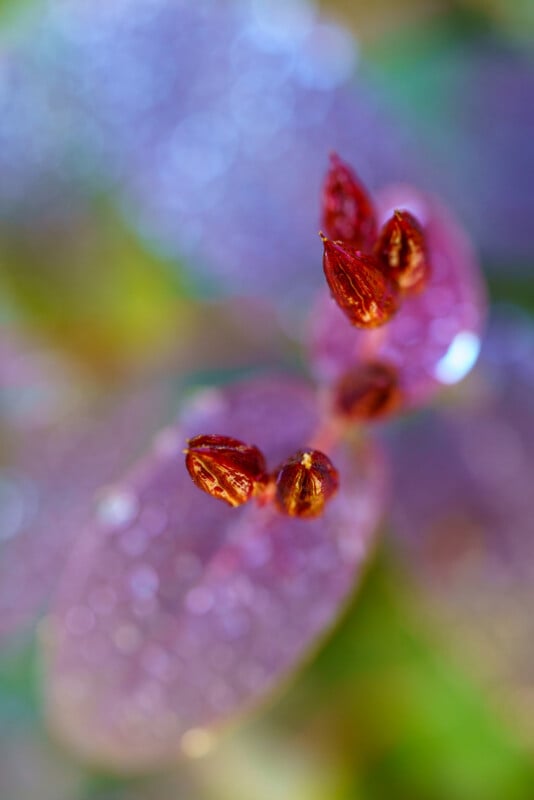
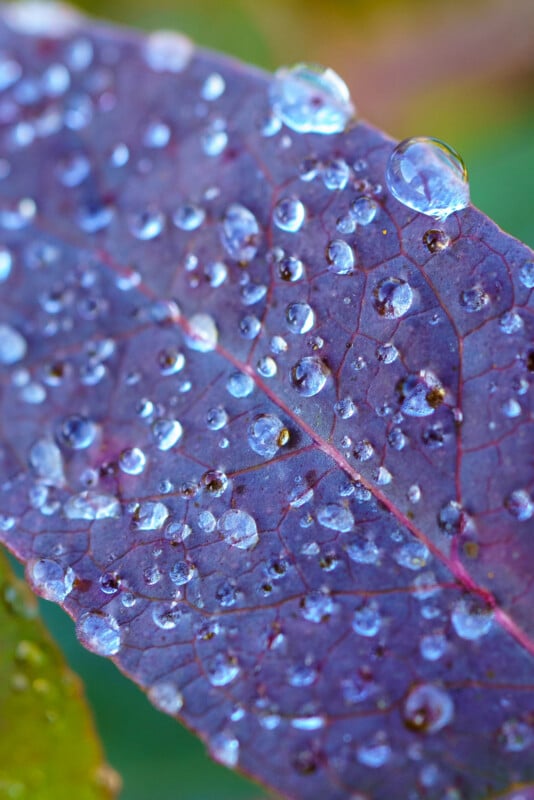
Artificial lighting becomes increasingly important as photographers move into more advanced macro work. LED lights are excellent for beginners because they allow photographers to see exactly how shadows and reflections appear in real time. Small RGB pocket LEDs can also introduce creative lighting effects and colored accents.
Flash photography is incredibly useful for macro work because it freezes motion and improves sharpness. A simple speedlight with diffusion can dramatically elevate image quality. Ring lights are a beginner-friendly option that creates even illumination around the lens, although the lighting can sometimes appear flat. Twin macro flash systems provide more directional lighting and better texture rendering, making them especially useful for insects and scientific macro photography.
Diffusers, Reflectors, and Light Control
One of the biggest secrets in macro photography is diffusion. Harsh light creates ugly reflections, blown highlights, and distracting shadows. Diffusers soften light and produce smoother, more professional-looking results.
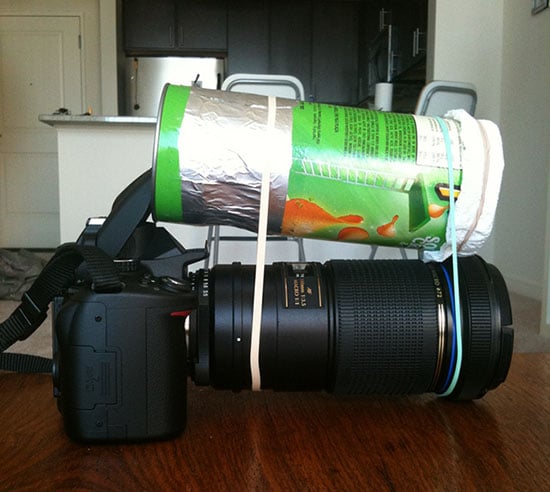
Many macro photographers use portable softboxes or diffusion panels mounted directly in front of their flash units. Even simple household materials can work surprisingly well. White plastic containers, translucent fabric, or foam sheets can all effectively soften light. Soft diffused lighting is particularly important when photographing insects because shiny shells and wings can reflect harsh flash in unpleasant ways.
Reflectors are another extremely useful tool. Small white or silver reflectors help bounce light back into shadows and restore detail. A simple piece of white foam board can dramatically improve flower photography by naturally brightening dark areas.
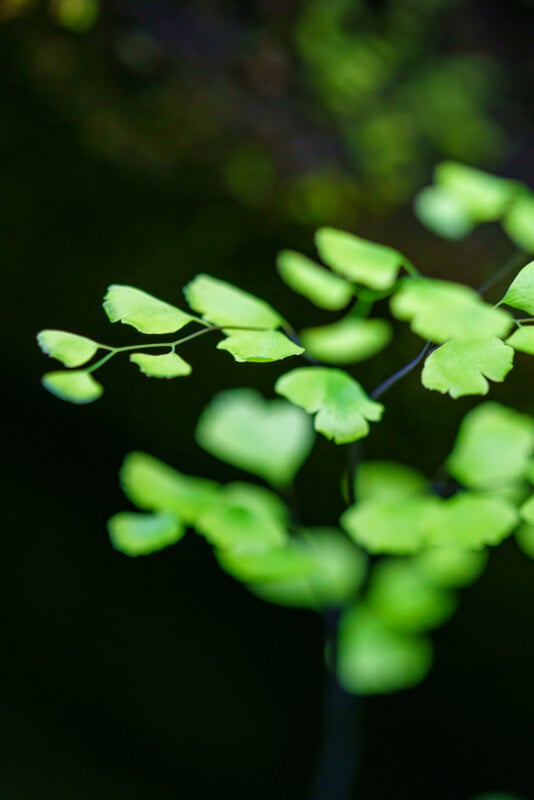
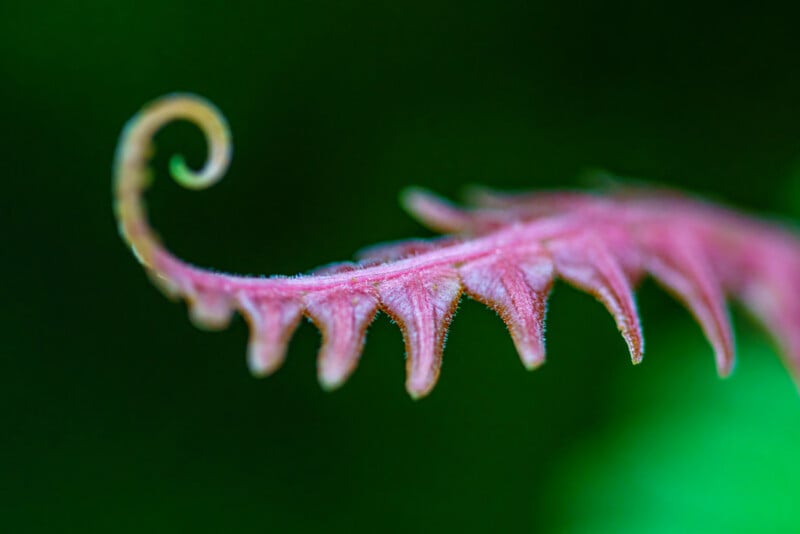
Why Stability Matters in Macro Photography
At macro distances, even the slightest movement can destroy sharpness. Stability becomes critical.
Tripods are among the most valuable accessories for macro photographers because they enable careful composition and precise focusing. Models with adjustable center columns and low shooting positions are especially useful for flowers and ground-level subjects.
Recently, we tried the ProMaster iota tripods, and they stood out as an excellent option for macro photography. Their ability to get extremely low to the ground makes them especially useful for shooting flowers, insects, and small subjects at eye level, while still maintaining stability for precise framing and focus. Despite the solid build, they remain impressively lightweight, which makes them easy to carry into the field for longer shooting sessions without adding unnecessary bulk to your kit.
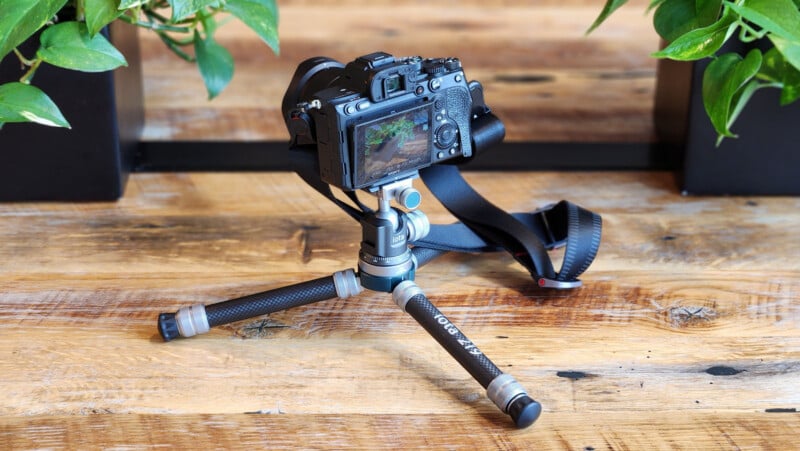
Macro focusing rails add another level of precision by allowing extremely fine, controlled forward and backward adjustments of the camera without moving the tripod or repositioning the entire setup. This level of micro-adjustment is especially valuable in macro photography, where even a millimeter shift can dramatically change focus placement. They are particularly useful for focus stacking work, product photography, and any situation where absolute precision is required, helping you dial in critical focus with far more consistency and control than hand movement alone allows.
Best Macro Photography Techniques for Sharp Images
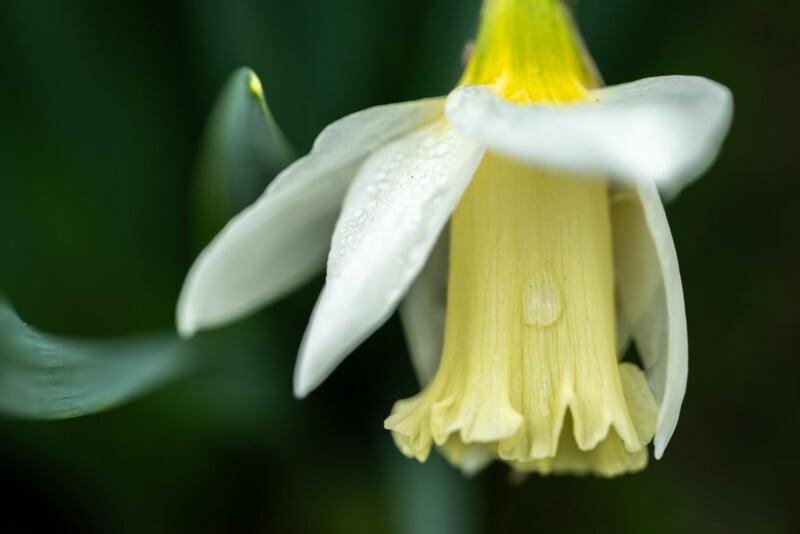
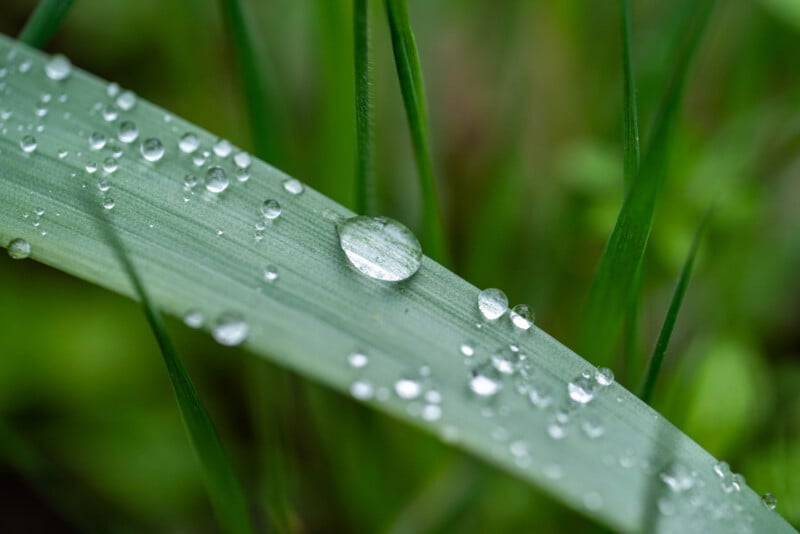
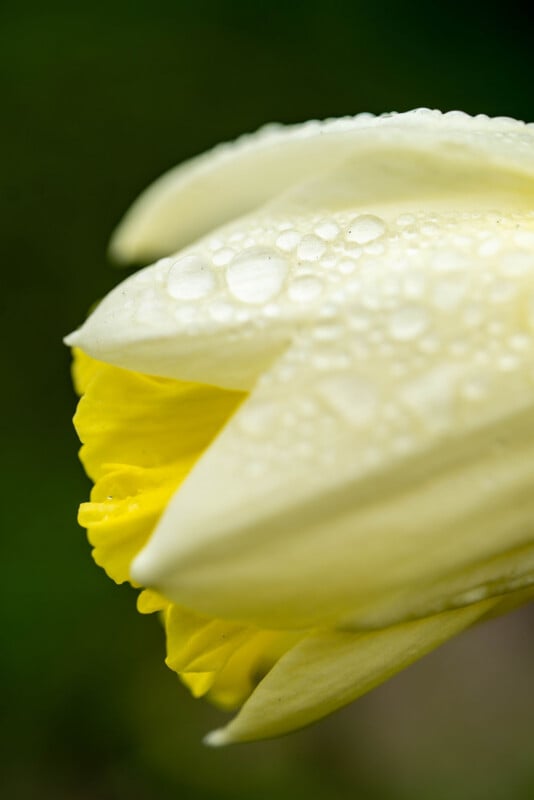
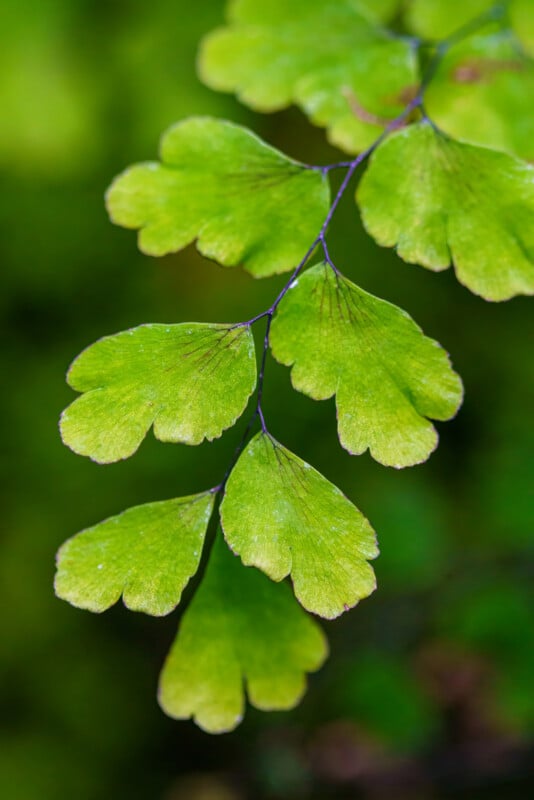
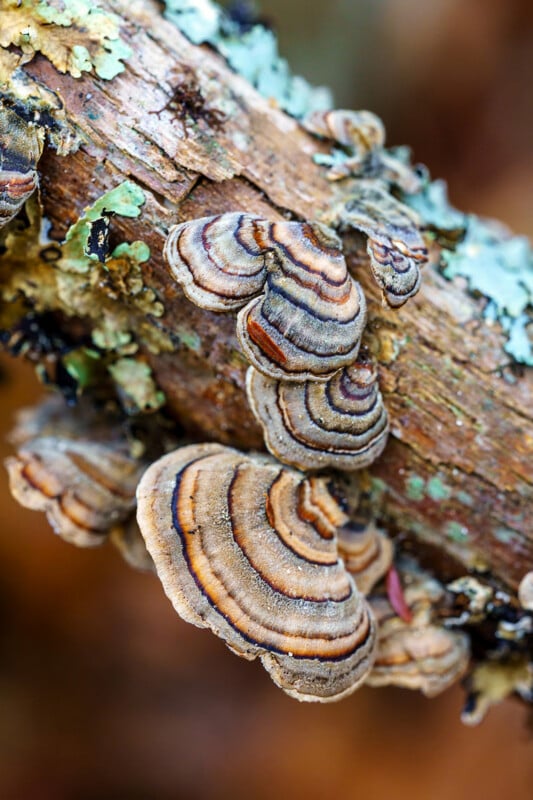
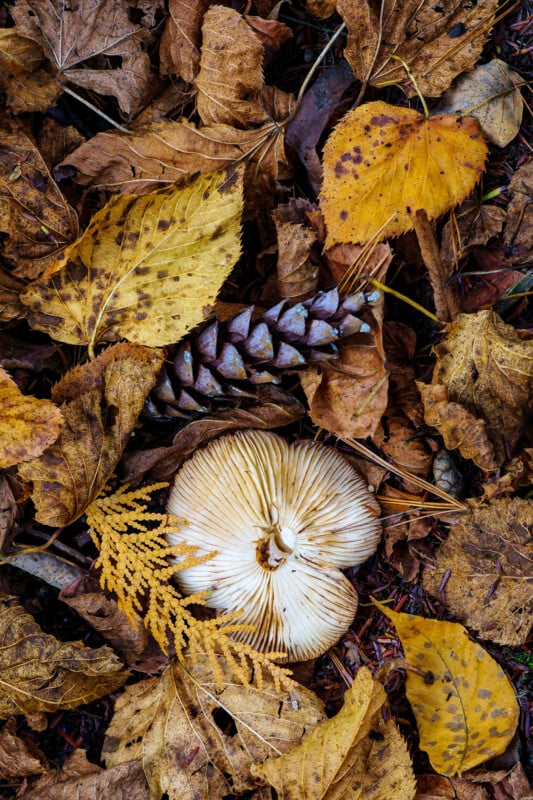
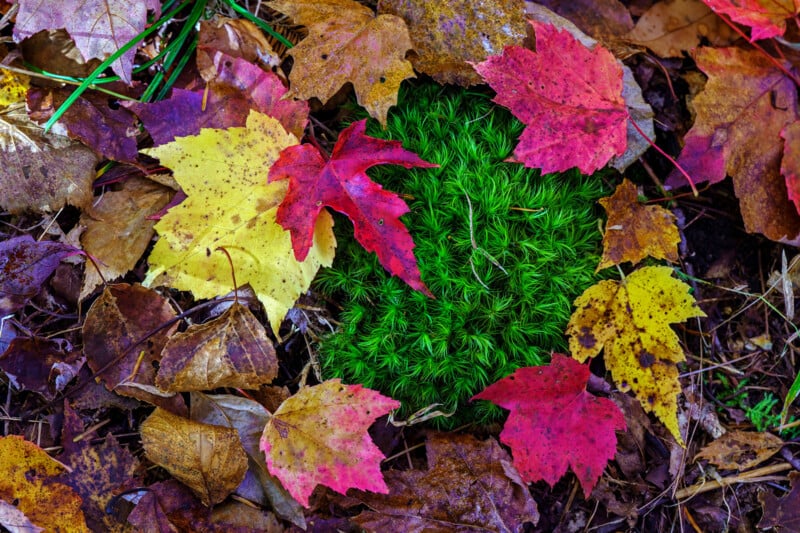
One of the most effective beginner techniques is to keep the camera sensor parallel to the subject whenever possible. This increases the amount of the subject that remains in focus and is particularly useful for watches, jewelry, coins, and flat objects. This is especially helpful at f/2.8. If the subject is photographed at an angle, the amount of it that is sharp will be a slender slice of the composition. Conversely, if you photograph the subject straight on or like a flat lay, then you can keep as much of your subject sharp as possible.
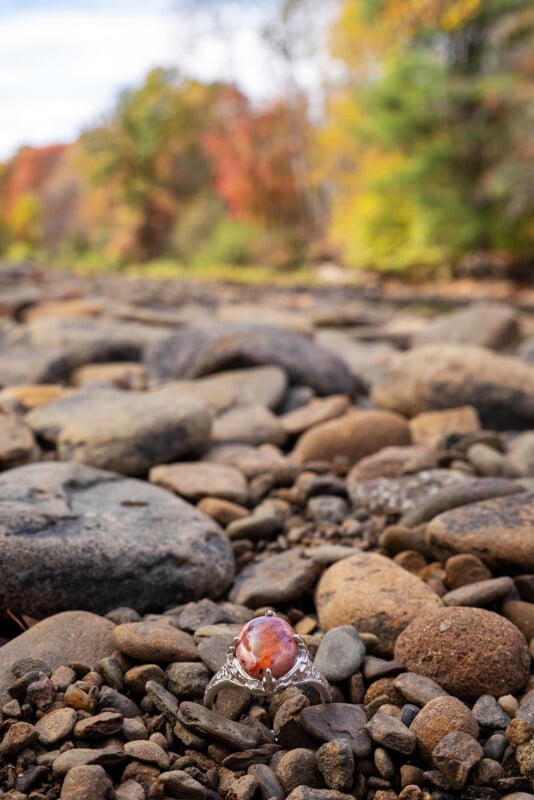
In the following two images, I photographed both subjects straight on; the first shows a shallow depth of field, while the second shows a flat lay style. Conversely, in the third image, I photographed the flower at an angle, and you can see how less of the subject is in focus. You can use this technique to your advantage to focus the viewer on exactly where you want the focal point to be.
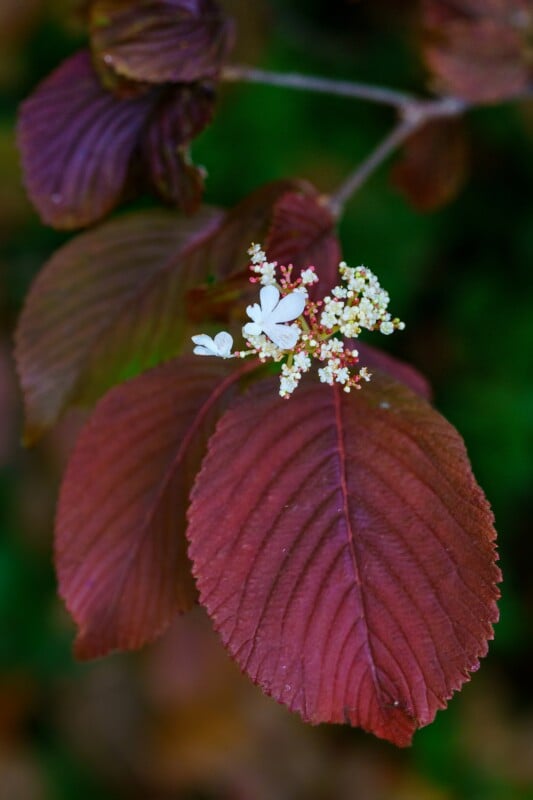

Remote camera triggers are also extremely helpful. Pressing the shutter button directly can introduce subtle camera shake, especially at high magnifications. Wireless remotes, wired shutter releases, smartphone camera apps, and built-in timers all help reduce vibration and improve consistency.
Breathing technique matters more than many beginners realize. Some macro photographers stabilize themselves by holding their elbows tightly against their bodies or leaning against nearby surfaces. Small movements that would normally go unnoticed become highly visible in macro photography.
Focus Stacking for Extreme Detail
Focus stacking is one of the most powerful techniques in macro photography. Instead of relying on a single exposure, photographers capture multiple images focused at slightly different distances and combine them into one fully sharp photograph.
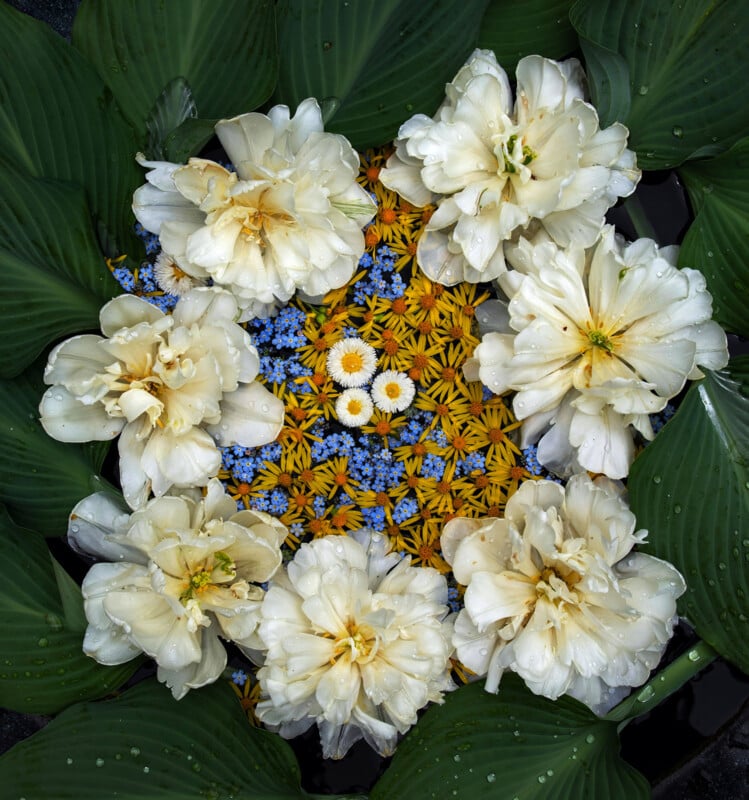
This technique is especially useful for products, flowers, watches, and static insects. Since macro depth of field is naturally limited, focus stacking allows photographers to maintain high sharpness without resorting to extremely small apertures that may soften the image through diffraction.
Many modern cameras now include built-in focus bracketing systems that automate much of the process. Software such as Photoshop, Helicon Focus, and Zerene Stacker can then merge the images.
Macro Photography Tips for Insects
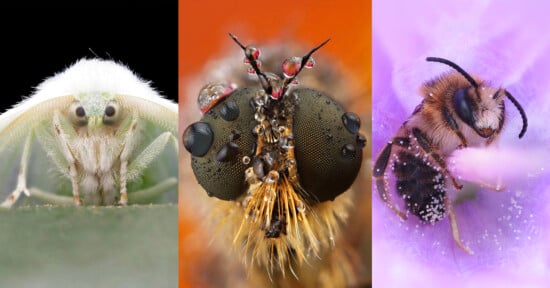
Insect photography is one of the most exciting forms of macro photography because it reveals details invisible to the naked eye. Patience becomes essential when photographing living subjects.
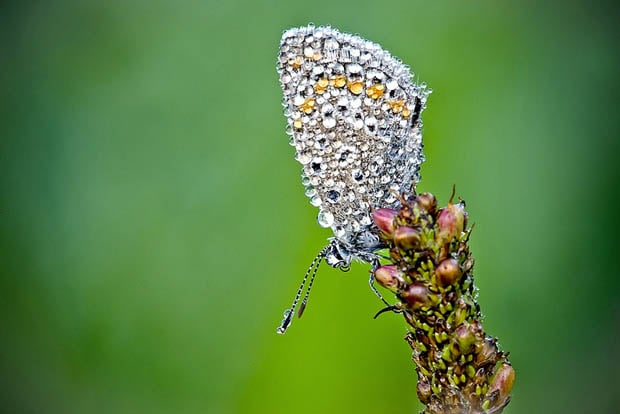
Early morning is widely considered the best time to photograph insects because cooler temperatures slow their movement. Morning dew can also add beautiful droplets and atmosphere to the scene. Longer macro lenses in the 90mm to 150mm range help photographers maintain a comfortable distance without scaring subjects away.
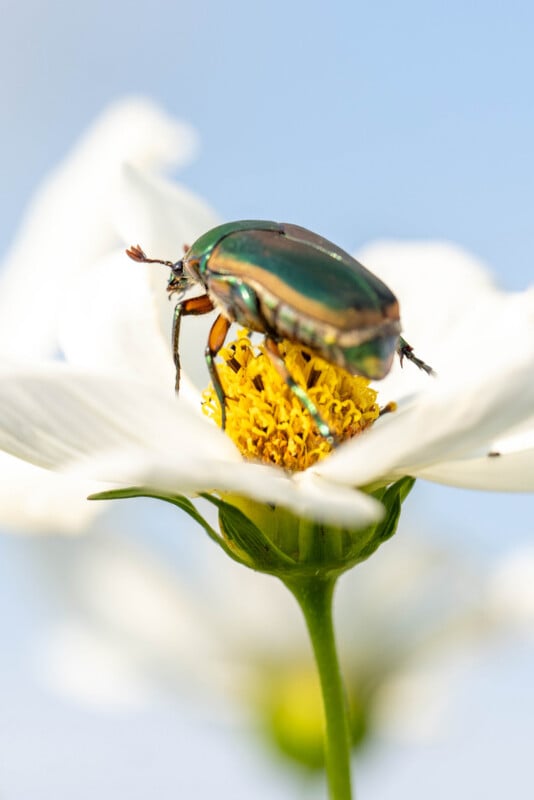
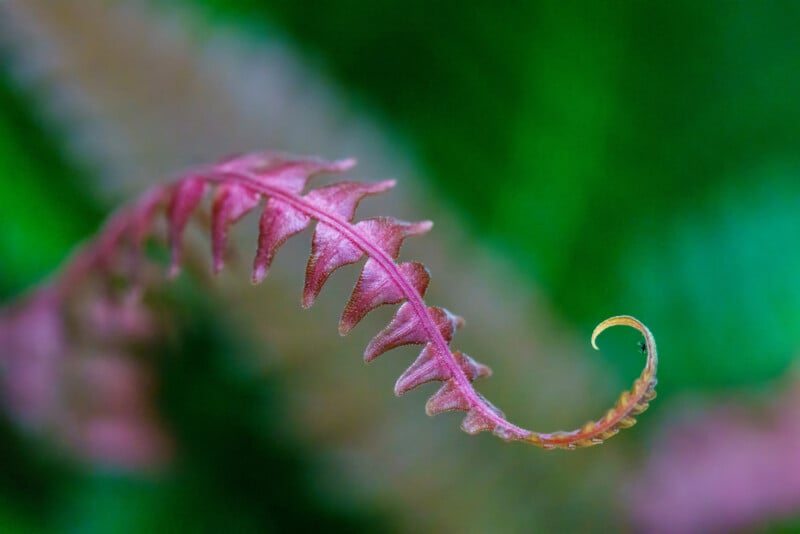
Background control is extremely important when photographing insects. Even slight shifts in camera position can transform a distracting background into a smooth wash of color. Diffused flash lighting helps maintain sharpness while avoiding harsh reflections on shells and wings.
Focusing on the eyes is usually the key to a successful insect photograph. Even with a limited depth of field, sharp eyes make the image feel intentional and alive.
Macro Photography Tips for Flowers
Flowers are ideal beginner macro subjects because they remain relatively still and offer endless variety in color and texture.
Photographing flowers after rain often yields beautiful results, as droplets add sparkle and depth. Many photographers also carry small spray bottles to create artificial dew when conditions are dry.
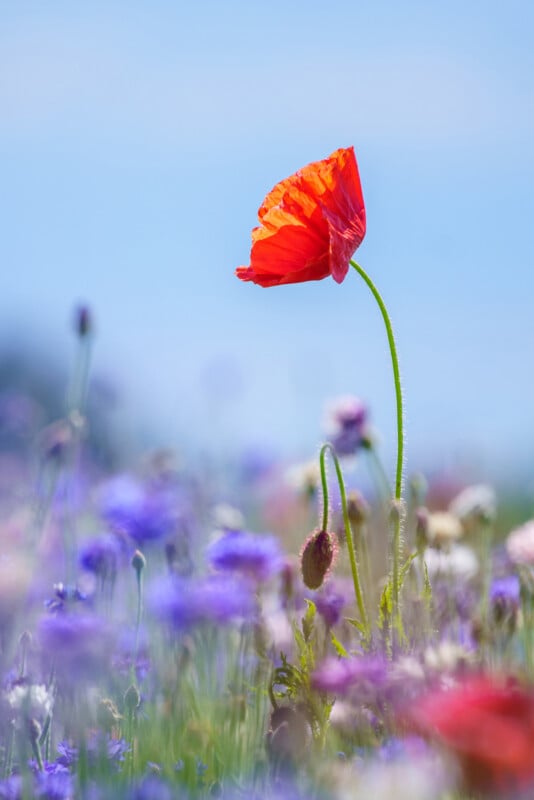
Backlighting can create especially dramatic flower images. Sunlight passing through petals creates glowing translucent colors that make flowers appear luminous. Wind is one of the biggest challenges in flower photography, so portable wind blockers or clamps can help stabilize stems during shooting.
Experimenting with angles is also important. Instead of always photographing flowers from above, try shooting from the side or even underneath to create more dynamic compositions.
Product and Jewelry Macro Photography Tips
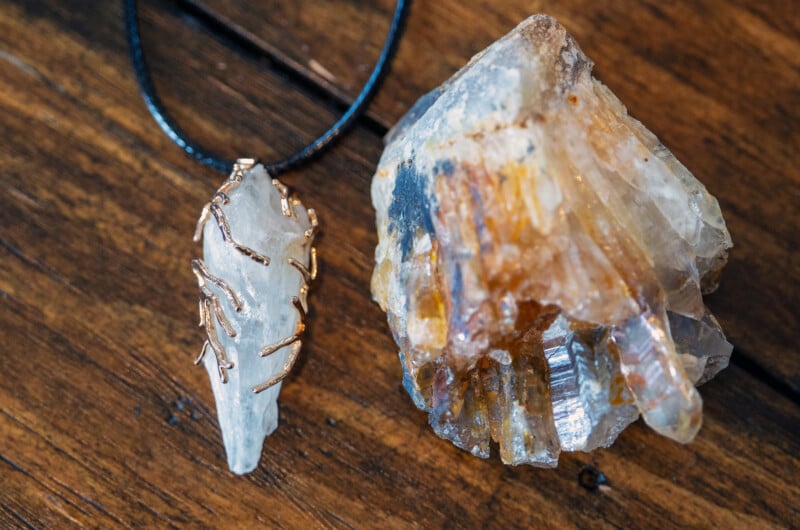
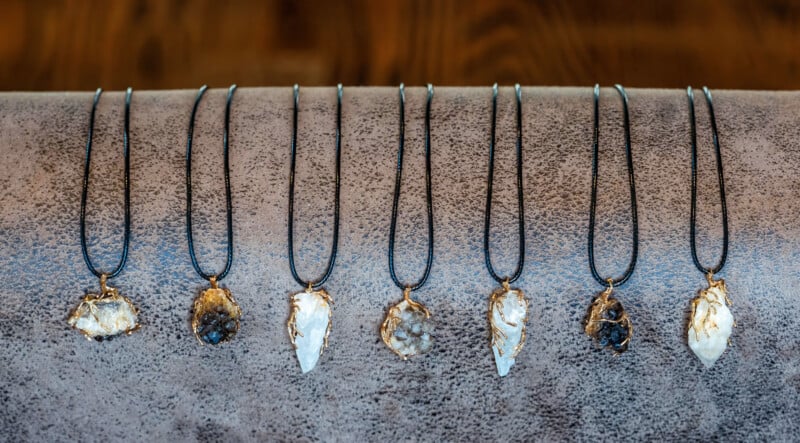
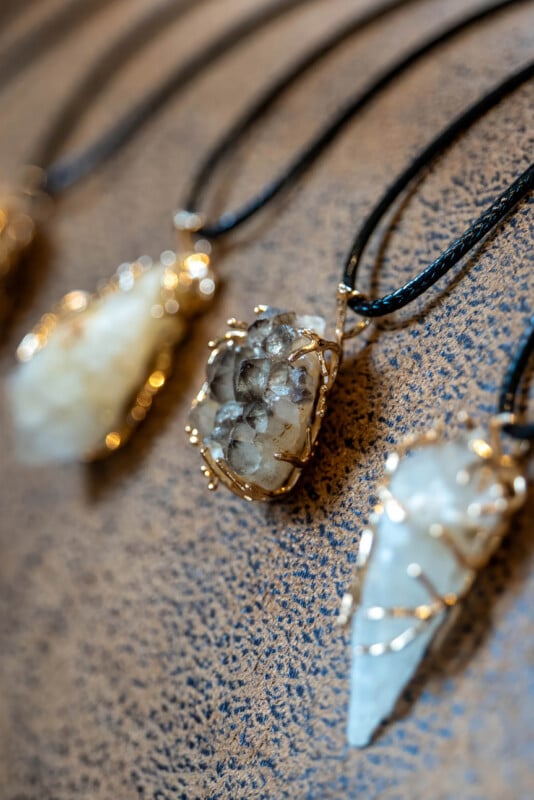
Macro photography techniques are extremely valuable for product photography, especially for watches, jewelry, electronics, and luxury goods.
Lighting control becomes critical because reflective surfaces easily reveal unwanted glare and dust. Light boxes are among the easiest ways to achieve soft, even illumination for products. They help reduce harsh reflections while maintaining clean backgrounds.
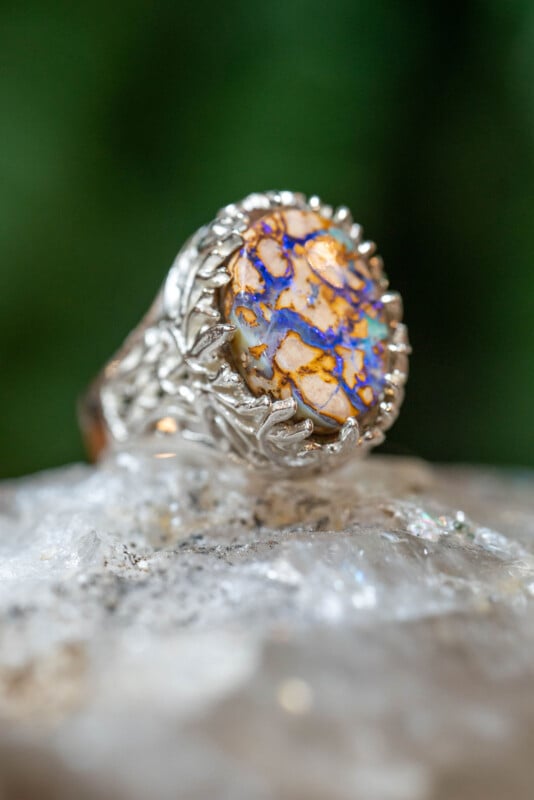
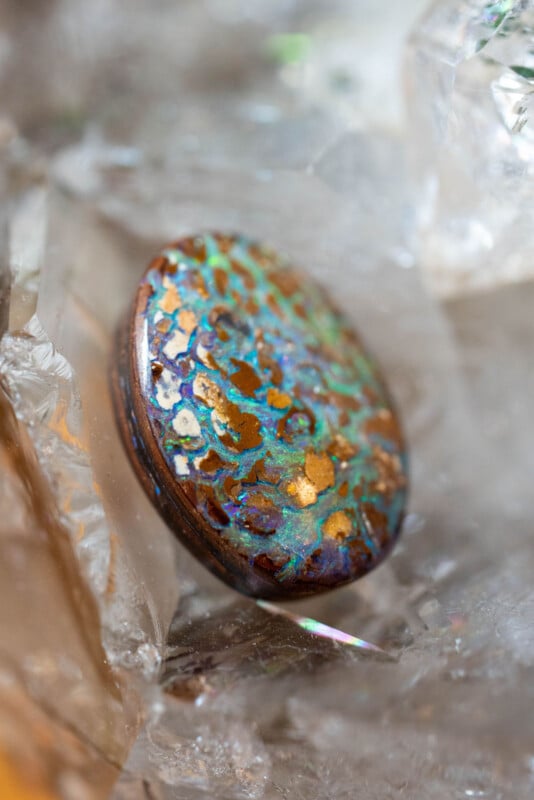
Cleaning the subject thoroughly before shooting saves significant editing time. Macro photography exaggerates dust particles, fingerprints, and tiny scratches that are often invisible to the naked eye. Microfiber cloths, air blowers, and gloves become essential tools.
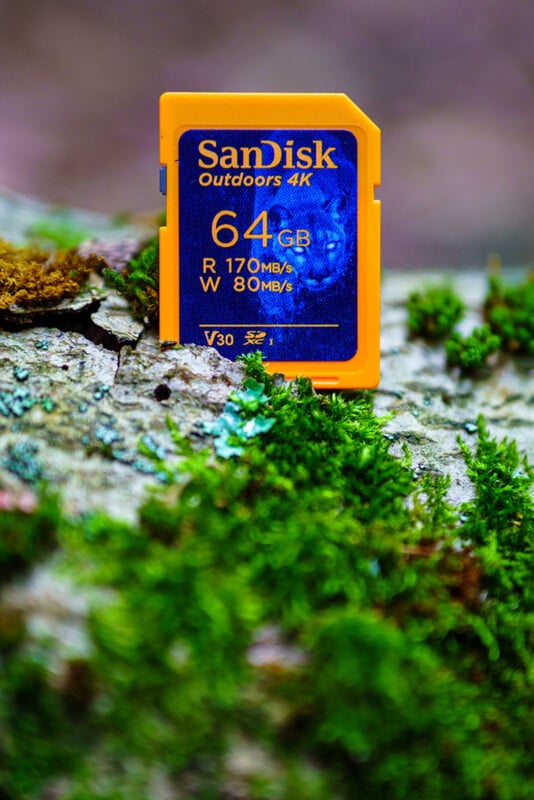
Polarizing filters are particularly useful for reducing reflections on glass, polished metal, and glossy surfaces. Product photographers often combine polarizers with diffused lighting to create cleaner, more professional images.
![A black [pro]master device with a 128GB SD card is resting on a mossy branch among pink cherry blossoms. The SD card is partially inserted in the device, and the scene is outdoors.](https://petapixel.com/assets/uploads/2026/05/Macro-Image-by-Kate-G-DSC01304-800x534.jpg)
Food Macro Photography Tips
Macro photography can make food appear incredibly rich and textured. Close-up food images work especially well for ingredients like coffee beans, fruit, chocolate, bread crusts, spices, and ice crystals.
Side lighting is often the most effective approach because it emphasizes texture and depth, bringing out the natural contours and fine details of your subject. Front lighting, on the other hand, can flatten the scene and reduce the sense of dimensionality. Keeping props minimal also helps ensure the viewer’s attention stays on the textures themselves rather than being pulled toward distracting elements in the frame.
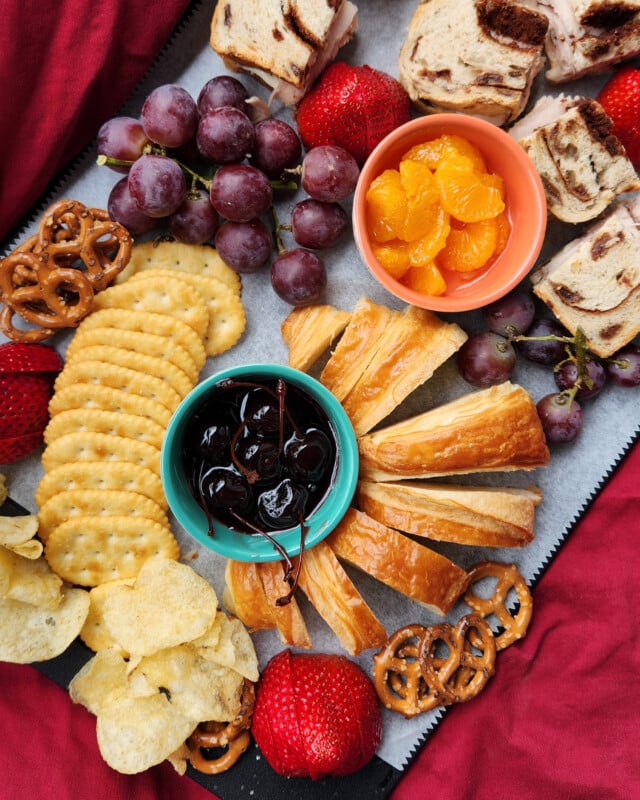
That said, a more layered or flat lay approach can also work well when done intentionally, think charcuterie boards, food piled in open-air market scenes, or naturally cluttered food setups can feel cohesive and visually rich when composed carefully.
Creative Macro Photography Ideas
Macro photography encourages experimentation because almost anything can become an interesting subject. Water droplets are particularly popular because they can act like tiny lenses and reflect surrounding colors and shapes.
Textures are another endless source of inspiration. Rust, feathers, peeling paint, ice, fabric fibers, and wood grain all reveal fascinating patterns when viewed up close. Everyday objects like keyboards, watches, coins, camera gear, or cooking utensils can become surprisingly cinematic under macro lighting.
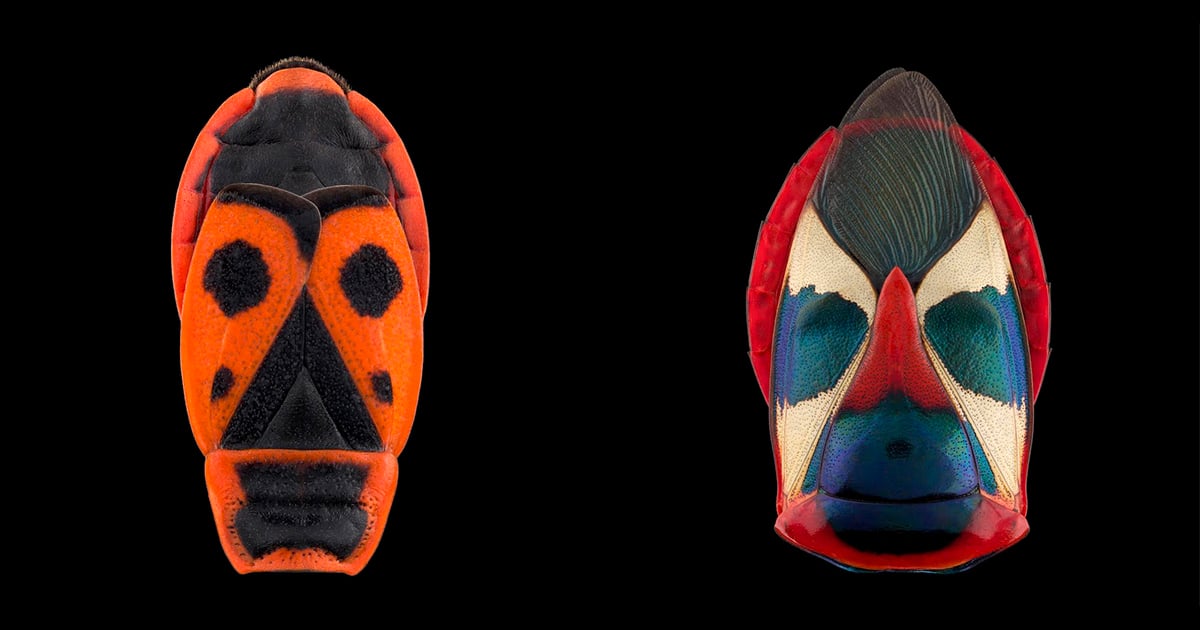
Abstract macro photography is especially rewarding because it challenges viewers to recognize familiar subjects in unfamiliar ways.
Common Beginner Macro Photography Mistakes
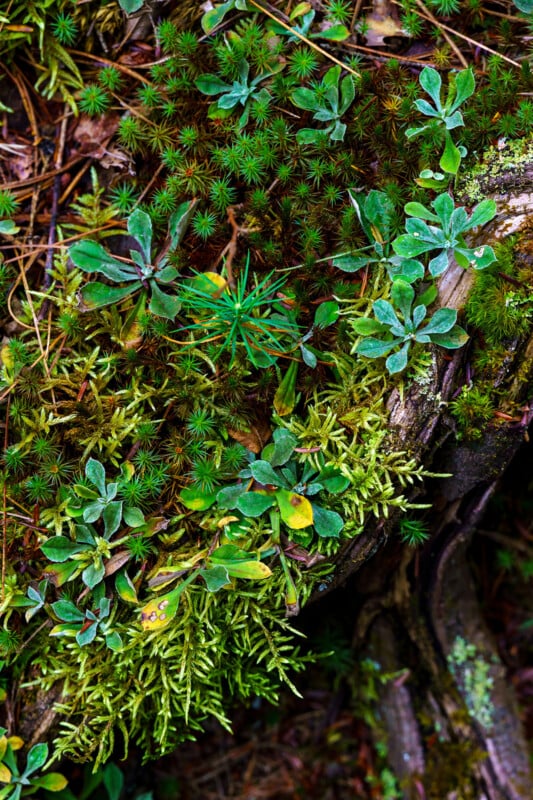
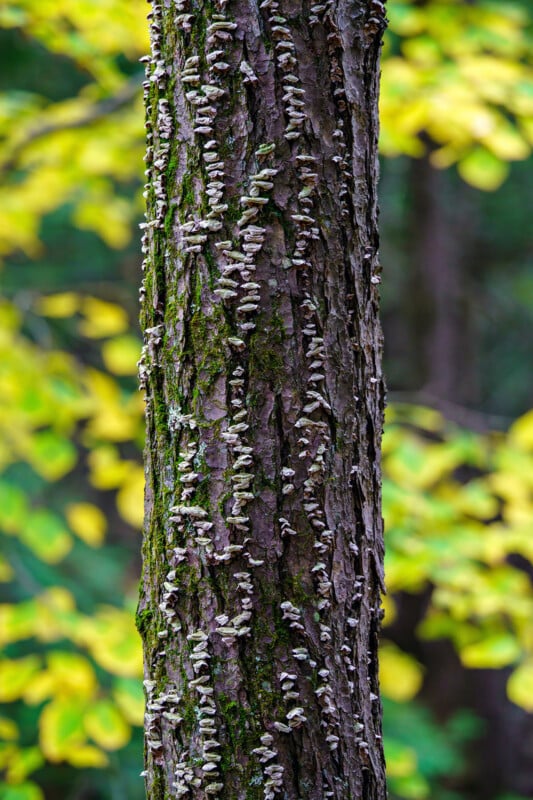
One of the most common mistakes beginners make is using apertures that are too wide, photographed from too far away, and therefore with too much empty negative space. While blurry backgrounds are attractive, shooting at f/2.8 often leaves only a tiny sliver of the subject sharp. A healthy balance of positive and negative often helps keep the image looking well executed.
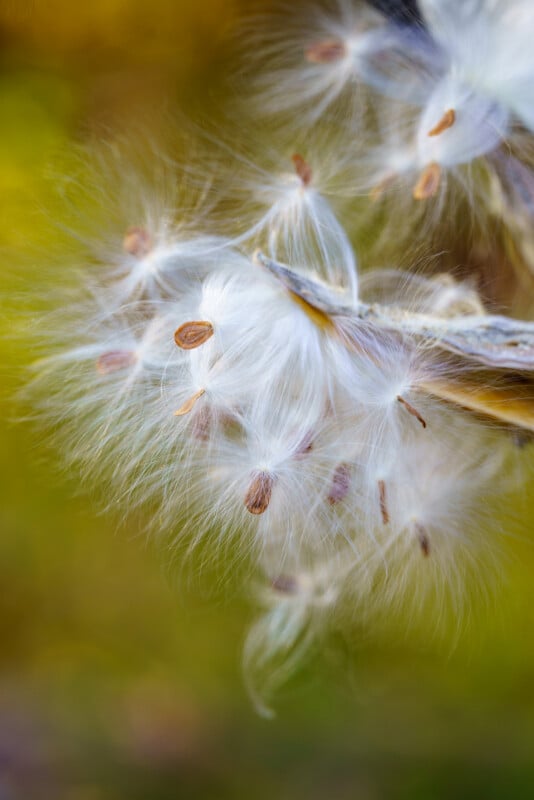
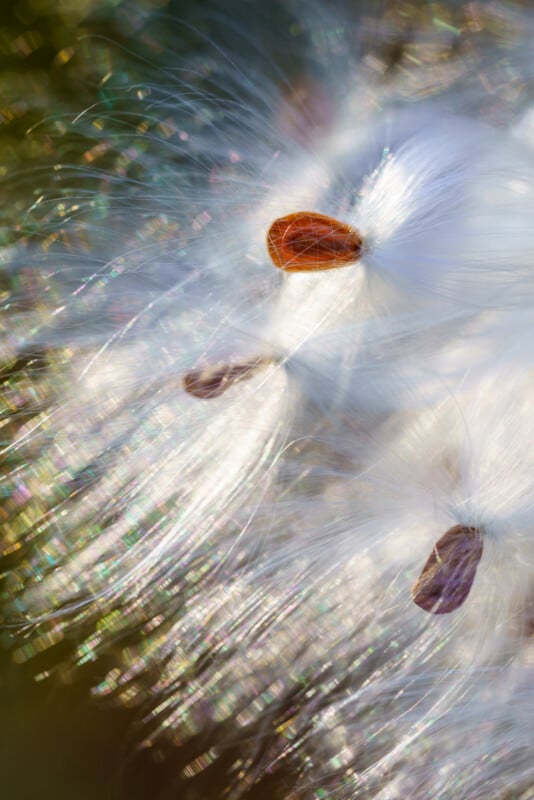
Harsh lighting is another frequent problem. Direct undiffused flash can create ugly reflections and unnatural shadows. Learning how to diffuse light properly dramatically improves image quality.
Many beginners also overlook the background entirely. Because macro photography isolates subjects so strongly, even small distractions become highly noticeable. Paying attention to background color and texture is essential for creating clean compositions.
Rushing is another major issue. Macro photography rewards patience and careful adjustments. Tiny shifts in angle, lighting, or focus can completely transform an image.
Editing Tips for Macro Photography
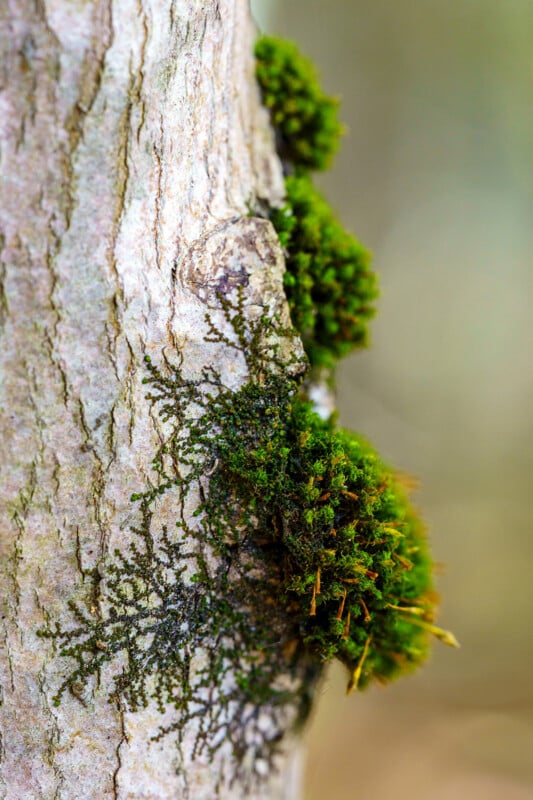
Post-processing can enhance macro images significantly when applied carefully. Sharpening helps emphasize texture and detail, although over-sharpening can quickly introduce halos and noise. Clarity and texture adjustments are often useful but should remain subtle to avoid an artificial appearance.
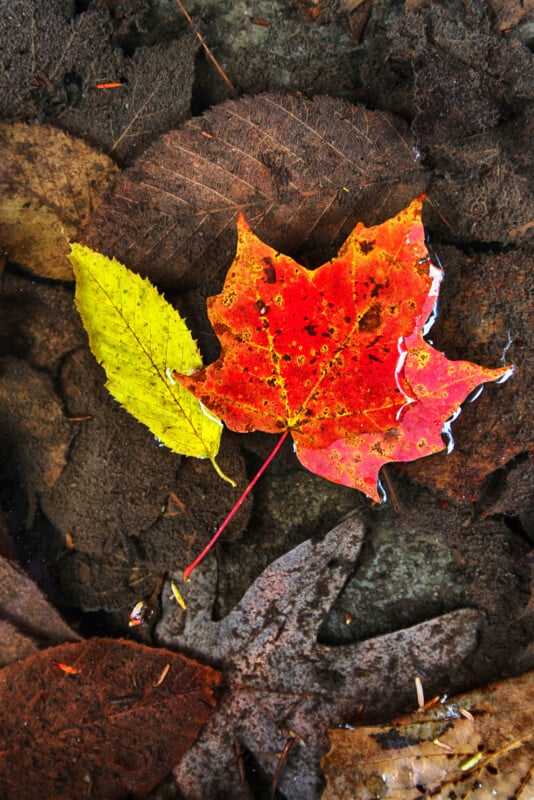
Dust spot removal is almost unavoidable in macro photography because tiny imperfections become so visible at high magnifications. Careful cleanup work can make images look dramatically cleaner and more professional.
Color grading also plays a large role in macro photography. Slight adjustments to warmth, saturation, and contrast can enhance mood while still maintaining a natural appearance.
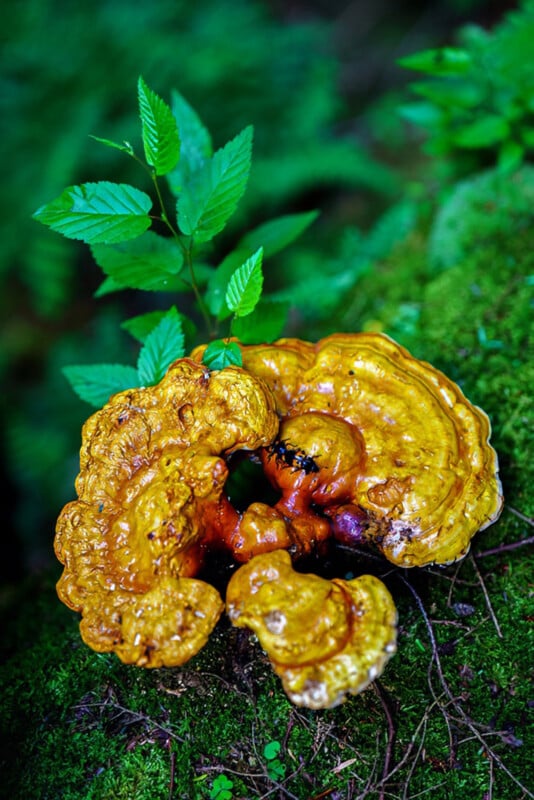
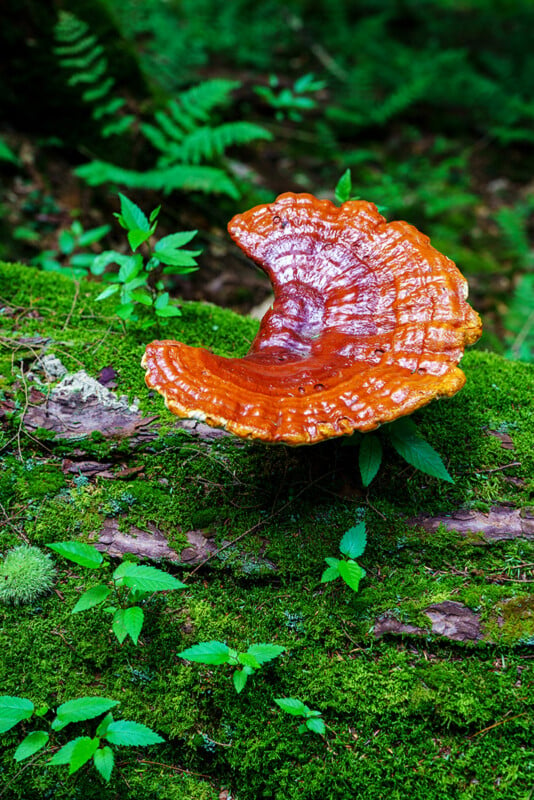
Macro photography teaches you to slow down and pay attention to details that normally go unnoticed. It transforms tiny subjects into dramatic scenes filled with texture, color, and atmosphere. While the genre can feel technical at first, it quickly becomes far more approachable with simple lighting, stable shooting techniques, and thoughtful composition.
Starting with flowers, household objects, or inexpensive extension tubes is often a great way to build confidence. From there, you can gradually explore more advanced techniques like insect photography, focus stacking, and creative lighting setups. The more time you spend experimenting with macro photography, the more fascinating the tiny world around you becomes.
Image creditsPhotographs by Kate Garibaldi
Affiliate Disclosure PetaPixel articles may include affiliate links; we may earn a commission if you buy through one.