CPL Filter: Why, When, and How to Use a Circular Polarizer

A CPL filter, or circular polarizer filter, is a popular and powerful filter that can reduce or eliminate glare and reflections from surfaces in your photographs. In this article, we will introduce this filter type and analyze its use and effects.
Table of Contents
What is a CPL Filter?
Have you ever seen beautiful summer photos of boats floating on crystal-clear waters and wondered why your photos captured at the sea do not look as clear or pretty? What is the trick to capturing photos in which you can see beneath the water’s surface?


Well, the answer is very easy: this effect can be achieved by using a CPL filter. A CPL filter is a glass filter that reduces or eliminates the glare from reflective surfaces in photos.
It is very important to note at this point that even with today’s advances in technology and AI software, it still remains one of the few filter effects that cannot be reproduced digitally.
Basically either you will capture the scene with the CPL filter removing any unwanted reflections at that time of the capture… or not. Reflections captured in a photo cannot be magically eliminated from the scene with a photo editing app.
On some occasions, it might be possible to remove some unwanted reflections, for example from glasses on a studio portrait, but that will definitely require a lot of time in post-processing.
Let’s see some before and after examples:


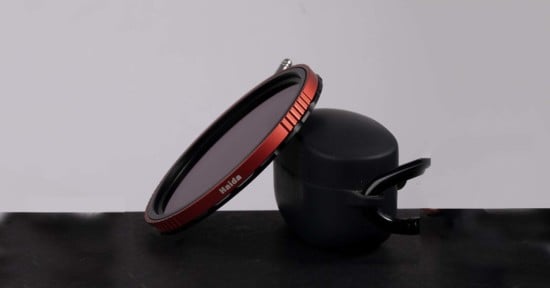
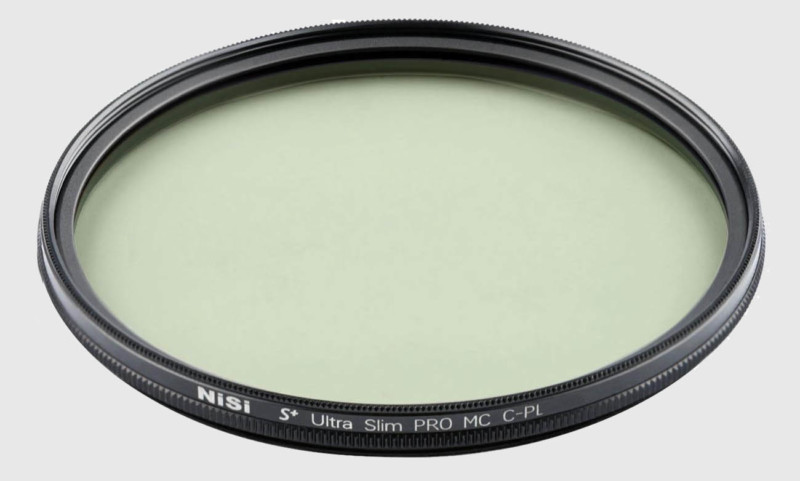
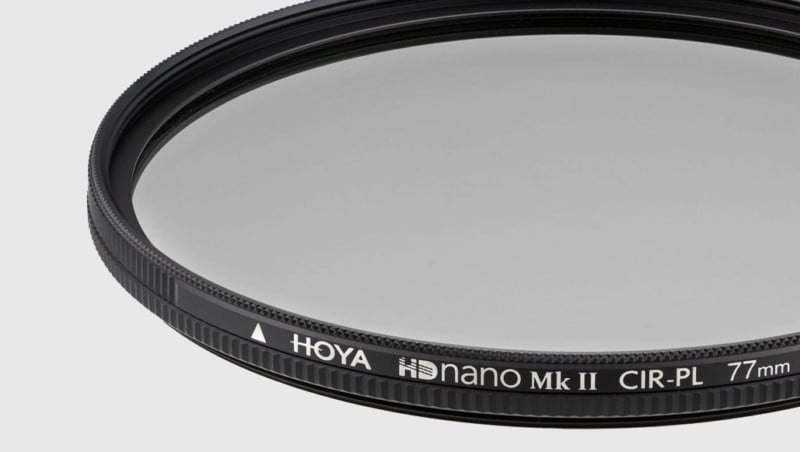
The Design of CPL Filters
A CPL filter consists of two slim metallic frames that are very close to each other. Each metallic frame holds one piece of a similar to an ND glass.
Note: A CPL filter can also act as an ND filter with a blocking strength of 1-1.5 stops.
The first optical element is placed on the metallic frame, which is attached to the lens filter thread and is static, while the second optical element is placed on the moving outer frame, which gives us the ability to rotate it based on the position of the camera and lens.
Why should the front element rotate, you might be asking?
The rotating glass on the front has a linear polarizer that filters the unpolarized incoming light, transforming it into linear. Basically, as light literally comes from all directions, this glass contains many tiny lines that will block specific waves of light, letting only the waves of the X-axis pass.
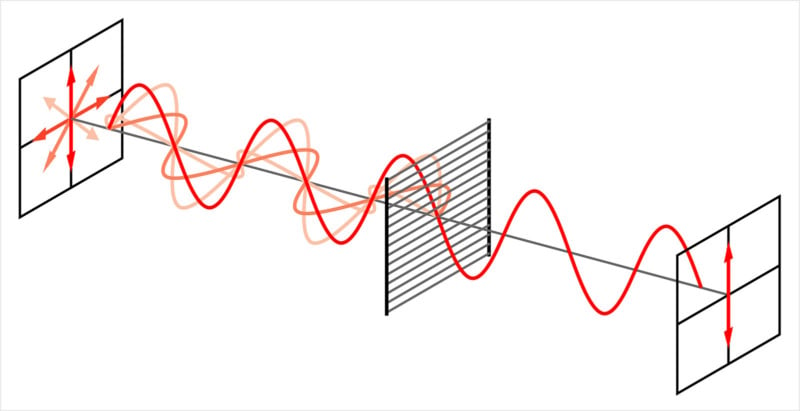
The static element on the back is a quarter-wave plate glass that transforms the passed linear polarized light into circularly polarized light.

This must happen in order to avoid any possible issues with the autofocus systems of our cameras and also any possible misreading of the camera light meter. Linearly polarized light can cause issues with both systems.
During the analog era of cameras, when autofocus systems had not been introduced yet, most polarizer filters were linear only.
How a CPL Filter Affects Photos
In addition to cutting out any possible reflections and glare directly on the scene, a CPL filter also:
- Increases the overall contrast of the image.
- Enhances overall colors (saturation) and especially those beautiful blue skies and in foliage.
- Reduces atmospheric haze.
Here are some sample photos captured using a circular polarizer filter.


How to Achieve the Optimal Polarization Effect
To achieve the optimal polarization effect, the light source (the Sun, for example) must be located at an angle of 90° degrees from the point where the camera is looking.
An easy and very practical way to calculate out in the field if you can achieve the maximum polarization is to use the rule of thumb.
Your index finger must look in the way the camera is looking and your thumb will target the sun, like shown below:

So practically during the summer season when we have the chance to visit some beautiful seascapes, midday is the best time to capture crystal clear waters of the scenery, as in the photo below:

Some filters have also a marked point on their frame which indicates the proper position to have an optimal polarization effect.
The Side Effects of CPL Filters
A CPL filter is a must-have tool in the camera bag of a photographer/videographer and in most cases is extremely useful, but there is an unwanted optical effect that can be produced when a CPL filter is used with an ultra-wide lens (with a focal length below 24mm in full-frame format).
For example let’s see the following picture:

In this case, a lens with a focal length of 20mm was used and as we can see, the filter couldn’t maintain the polarization effect in the whole sky, having produced uneven darker parts in the sky, and more specifically in the side of the image which was far from the sun.
Note that this has nothing to do with the CPL manufacturer or build quality — it’s an optical phenomenon that inevitably will happen.
Also, as many times happens with most circular filters, if you use an ultra-wide or wide-angle lens, some vignetting might be visible if the metallic frame of the filter is thick and not slim.
When is a CPL Filter Useful?
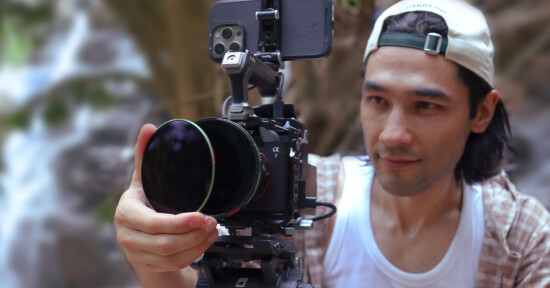
The most common use of a CPL filter is in landscape and travel photography, as it can enhance the image drastically on the fly. Just rotate the front element until the polarization effect becomes visible, and you will capture an image with enhanced colors and a boost in the overall contrast of the image.

Especially during autumn and spring is ideal as it can create very beautiful tones on the produced image.

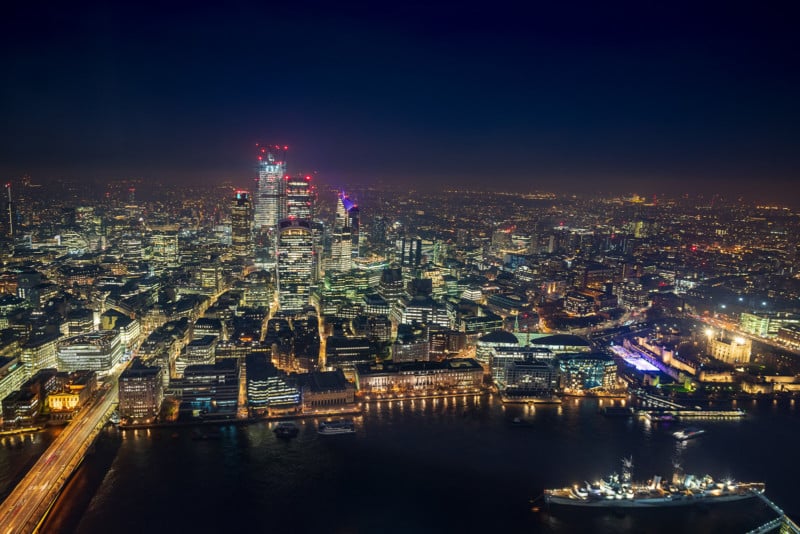
Another very common use of a CPL filter is when we need to photograph through glass.
For example, when photographing out of a store or a house as we look through its window. Or from the inside of an observation deck of a skyscraper, looking at the city from a high vantage point.
As its main effect is to cut reflections, it is very useful in product photography, especially when we photograph jewels and watches.
When Not to Use a CPL Filter
When should you not use a CPL filter for your photos? Mostly when your goal is to capture reflections that would be reduced or eliminated by the filter.

You may also want to think twice about using a CPL filter in lower light situations, as the light-blocking effects of the filter could make it harder for you to properly expose the scene.
As stated earlier, you may also choose not to use a CPL filter when using ultra-wide lenses to avoid creating uneven darkened areas in the sky.
Conclusion
As we mentioned in the beginning, the CPL filter effect still remains something that even the most advanced software cannot reproduce accurately (at least at the time this article was written), and we consider this filter one of the most important for every photographer.
It is a very easy and relatively cheap way to enhance the overall quality of your shots and we definitely recommend having one in your camera bag no matter the photographic genre you prefer to shoot.