How to Shoot Pro Portraits in Everyday Places
My name is Nick Fancher and I’m a portrait and commercial photographer who specializes in lighting, specifically with the use of small flash in unconventional locations.
In my gear bag, which is small enough that I don’t need to check it on an airline, I can fit a camera body (Canon 5D Mark III), two lenses (85mm f/1.2L II, 35mm f/1.4L), two flashes (Cactus RF60 w/ transmitter), and my 13” MacBook Pro.
Because my gear setup is so lean, I’ve learned how to push each piece to their fullest extent. I’ve learned how to make the best of a sunny day, a cloudy day, an empty office, a parking garage… You get the idea.
I love sharing the setups with photographers because I know what it’s like to start with nothing; how long it takes to build up a gear kit. I want to share what I’ve learned to make your journey a bit easier. Some of you will have used these techniques before. I am not claiming to have invented any of these. These are merely techniques that I’ve figured out over time by experimenting.
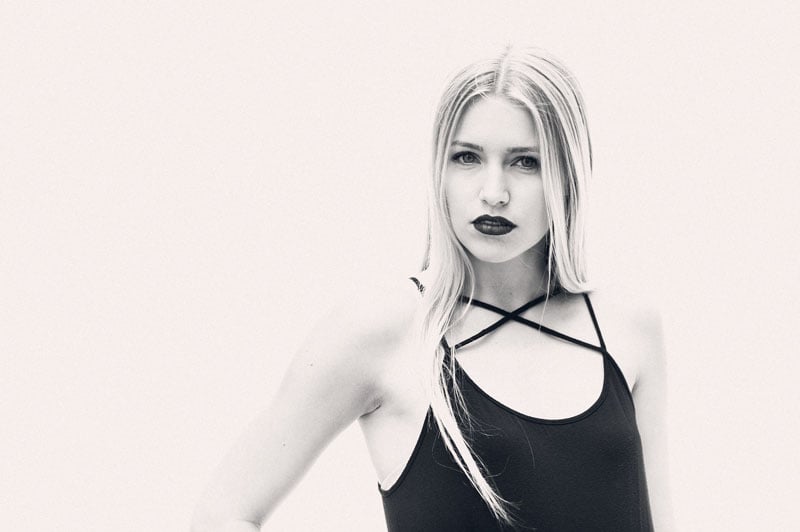
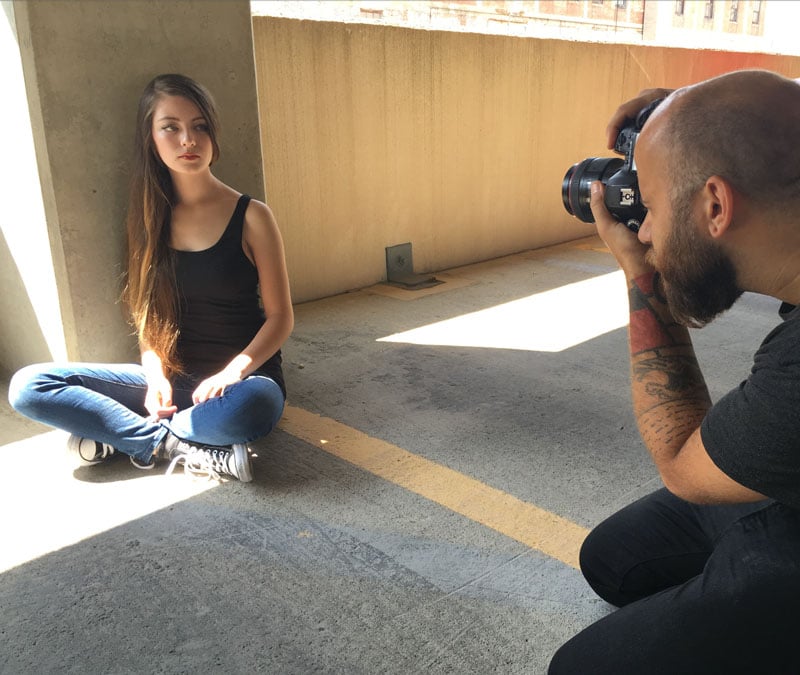
#1: Shade Against Sunlight
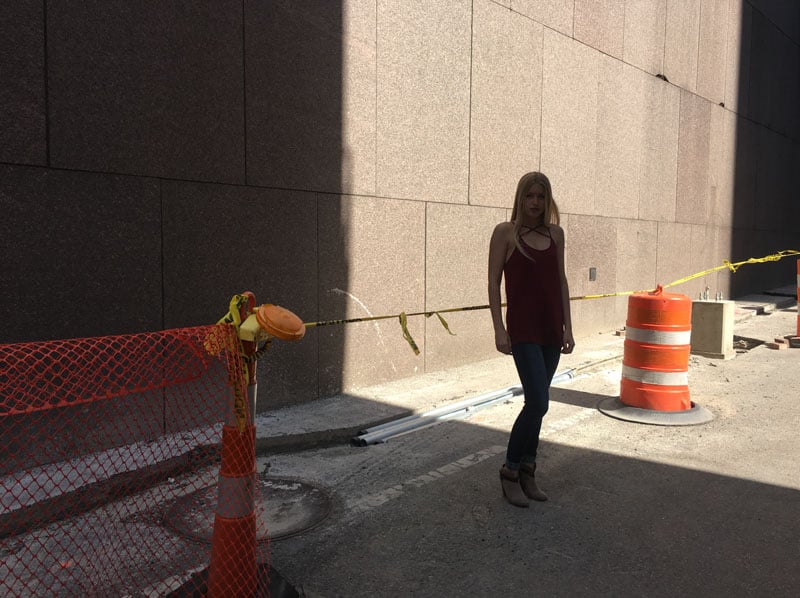
In this first setup, I looked for a spot in the shade in front of sunlight (preferably a plain background). As long as the background is 3-4 stops brighter than the subject in the foreground, it will blow out white when you expose for the subject.
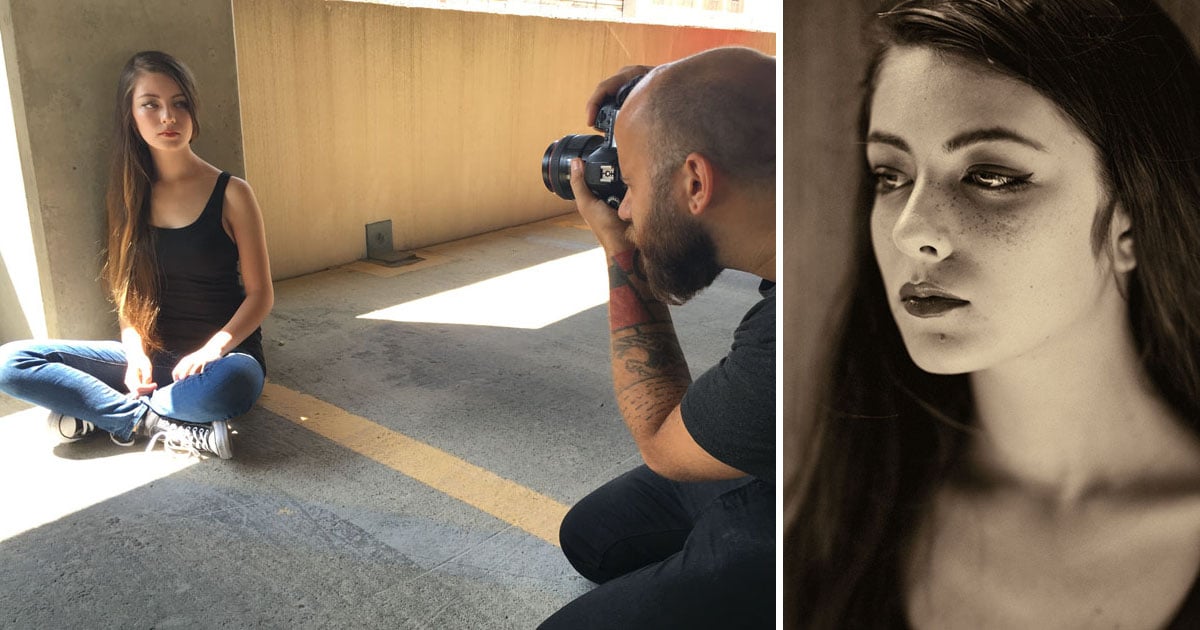
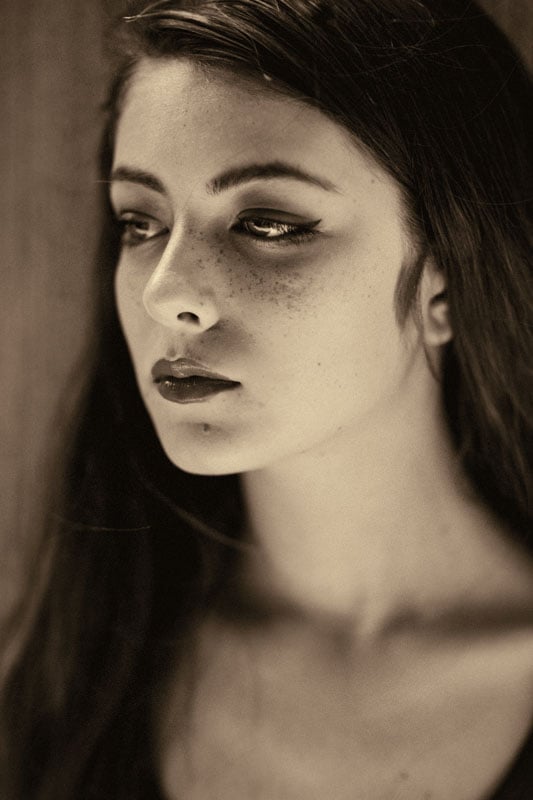
#2: Sunlight in the Shade
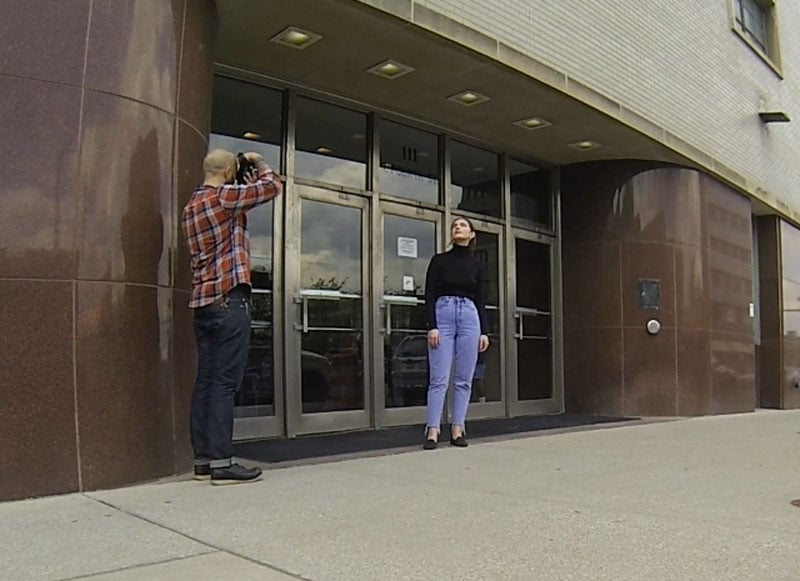
Here I looked for the opposite: a spot of sunlight with a background of shade. I placed the subject in the doorway of a building so that just her face was emerging from the shadows. When the sun hit her space, I exposed for her face, leaving the rest of the scene dark.
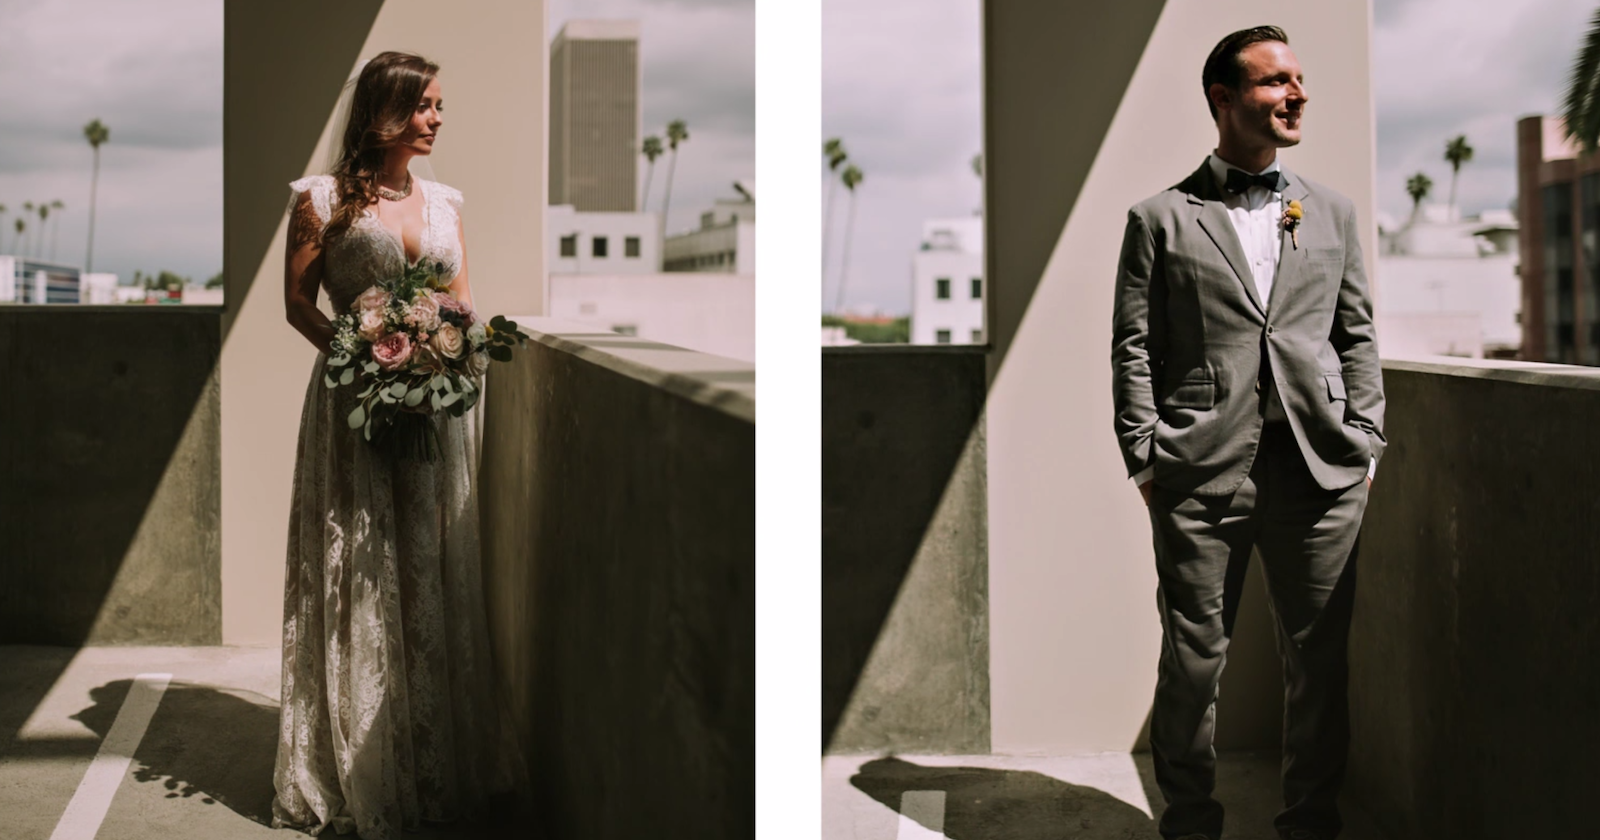
#3: The Parking Garage
Parking garages are a wonderful resource. Shoot on the roof for a clean background or, like in this shot, place your subject against a low wall so the sun can light the ground in front of them, making for a fantastic catch light.
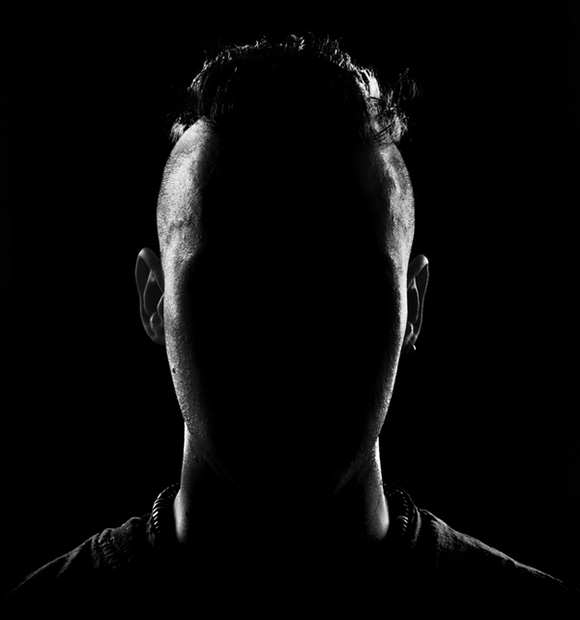
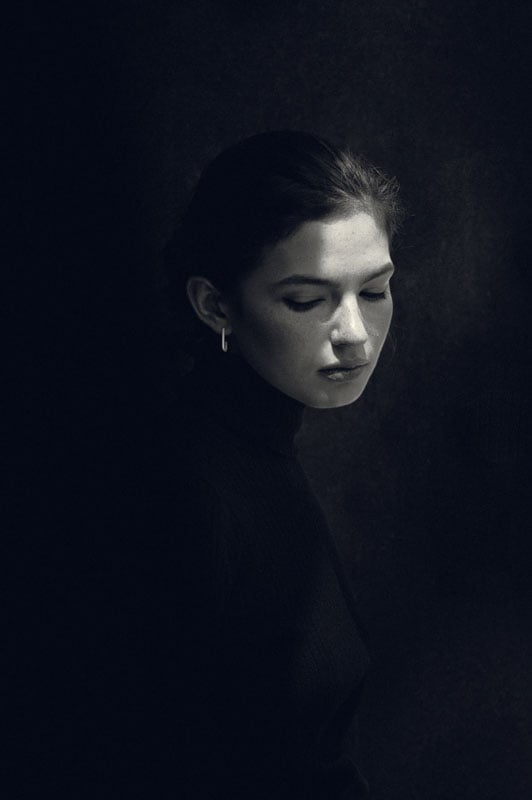
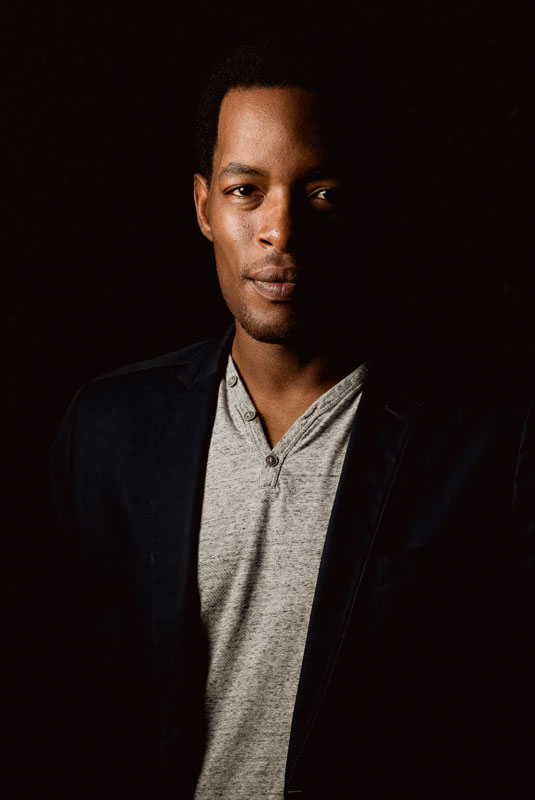
#4: A Dark Background
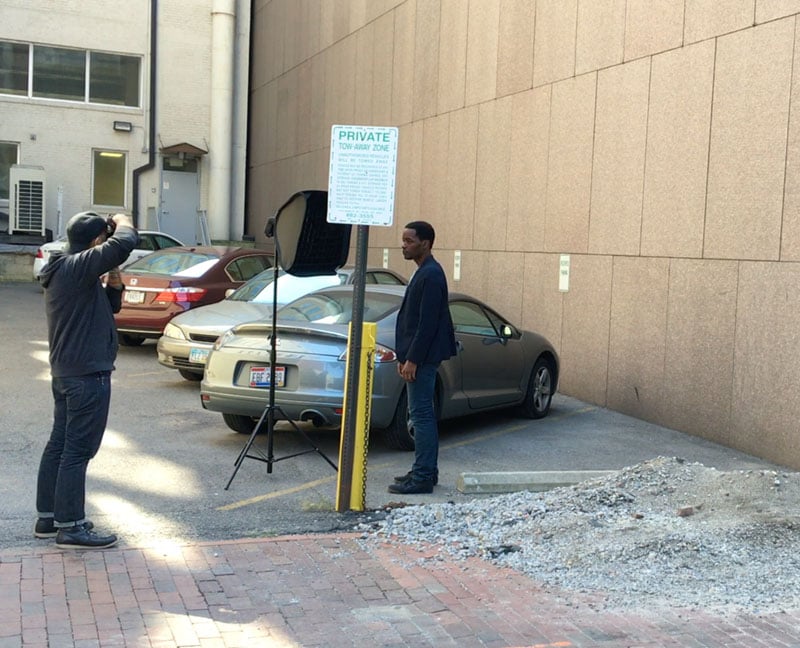
Want a lit portrait on a black background and you’re outside? You don’t even need high-speed sync. Look for a spot in the shade, preferably in front of a middle or dark-toned wall. Take an ambient light reading, making sure the background is reading as black.
Now place your subject at least ten feet away from the background and place your flash close to your subject. Raise the flash output until the subject is properly exposed (I am typically at ½ or ¼ power). As long as your flash doesn’t spill on to the background (it helps to use a gridded soft box to minimize light spill) it will read as black.
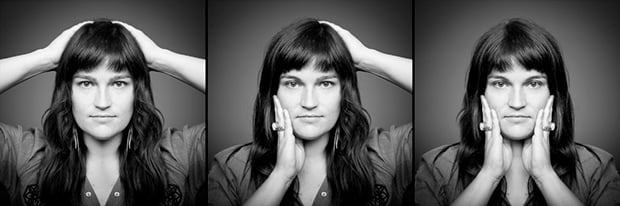
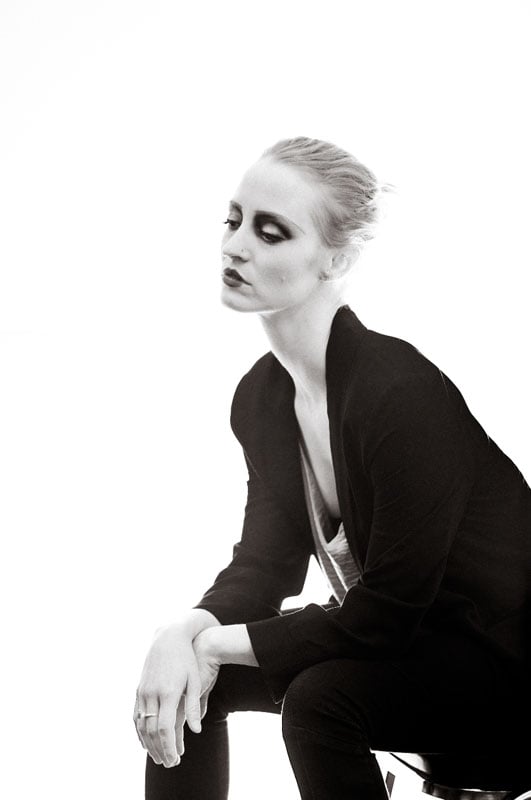
#5: White Seamless in Hallway
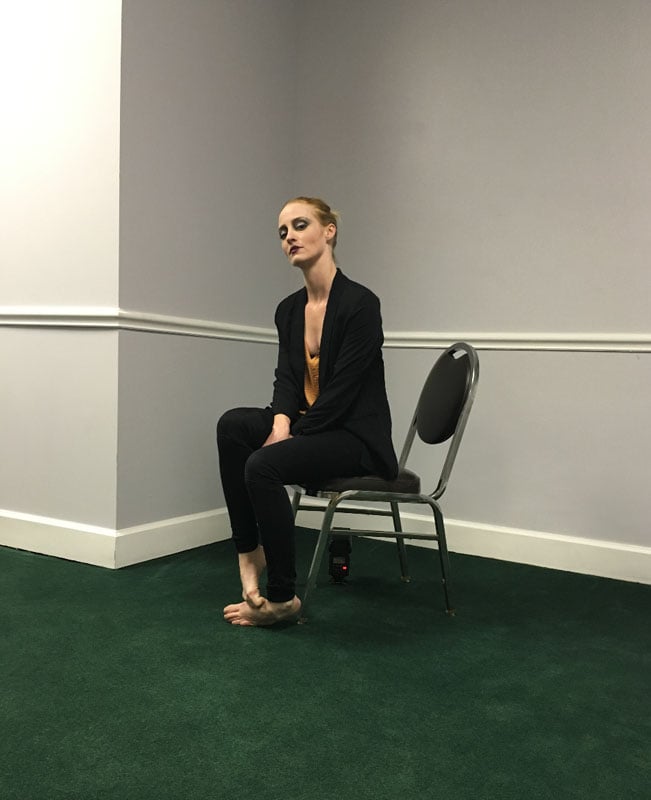
How about a one light white seamless? I set a chair about 4 feet from the corner of two light grey walls and placed a flash just behind the chair on the floor, aiming back at the wall. By setting a moderate flash output of ¼ and opening my aperture to f/2.8 and an ISO of 400, I was able to get an ethereal, bright white portrait with one flash in a sad-looking office.
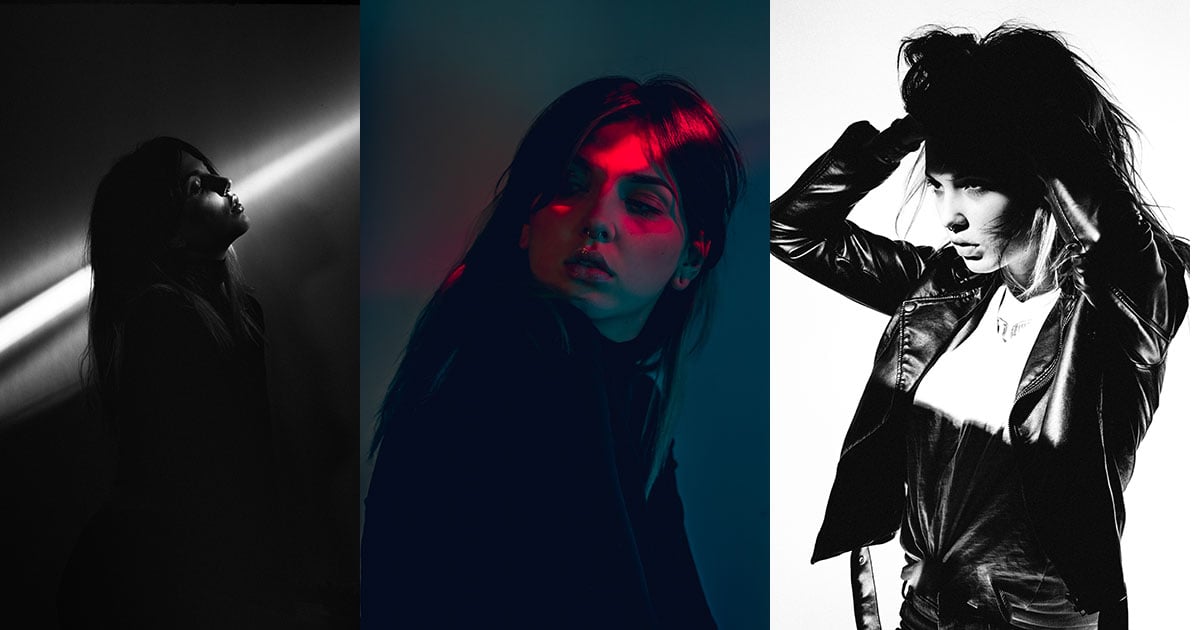
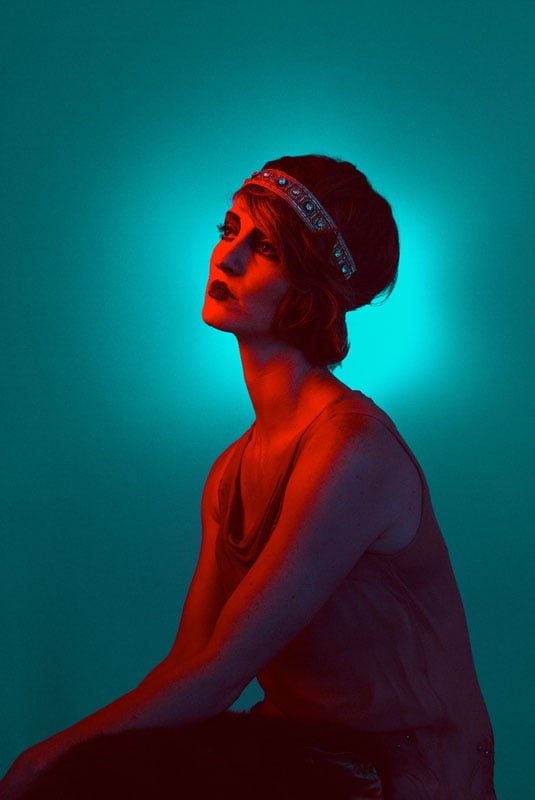
#6: Using a Colored Gel
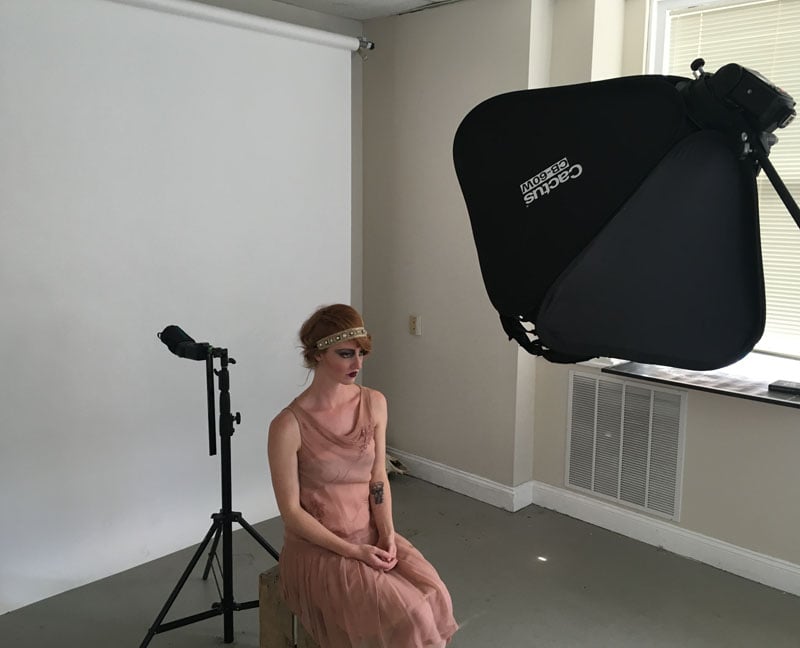
Let’s get stylized. Try placing a colored gel on a flash and zoom it in to 105mm. Now place it behind the subject aiming at the wall behind them to make a halo: the closer the flash to the background, the smaller the halo. Now add a complementary color to your main light and get a pretty rad effect. Note that though I was shooting in my studio on a white sweep, this could be done anywhere with a light-toned, neutrally colored wall.
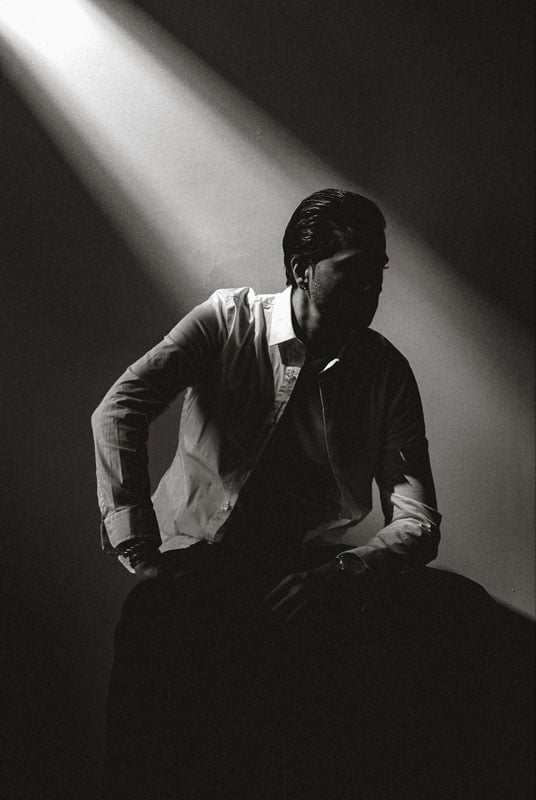
#7: DIY Barn Doors
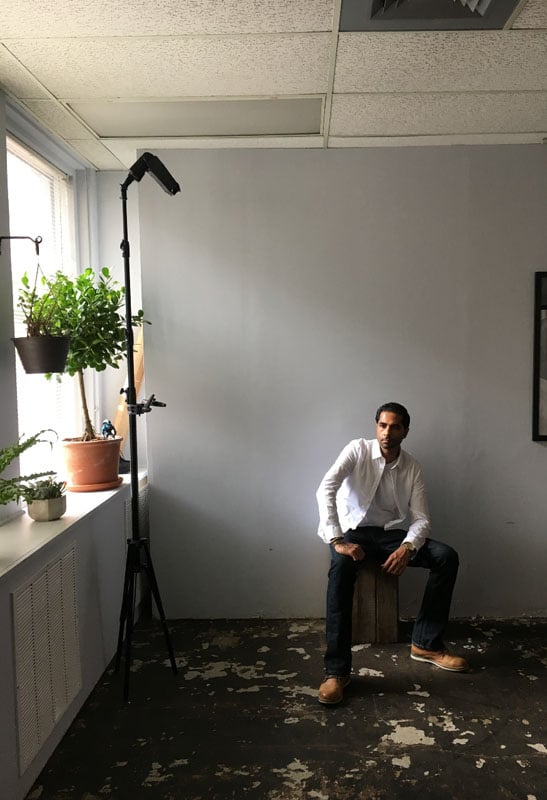
My most used light modifier is some DIY barn doors that I made out of black foam board. They are sort of a hybrid between a snoot and a grid. It shapes the flash into a vertical/horizontal strip of light rather than a spot like a snoot and without reducing the output like a grid.
By placing the barn doors against a background and aiming the light parallel across the surface, the horizontal light slit turns into an epic ray of light. It’s super fun to experiment with.
Be sure to also check out my similar previous post, You Don’t Need a Studio for Pro Portraits — Make the Most of What You DO Have. Happy shooting!
P.S. If you’ve enjoyed these lessons, make sure to check out Studio Anywhere 2. It’s currently out in eBook form on Rocky Nook (make sure to use the coupon code STUDIONF2 to save 35%) and will be available in print form worldwide, January 2017. Also, if you’re a hands-on learner like I am, make sure to catch one of my workshops.
About the author: Nick Fancher is a Columbus, Ohio-based portrait and commerce photographer. You can connect with him on Facebook here. You can also find more of his work and writing on his website and Instagram.