The Basics of Color Gels in Photography
The use of strong and complementary colors is an ever-growing trend in photography. Many modern advertising campaigns feature bold and contrasting colors in order to draw your focus to the product or message they are trying to sell. One way to create such vibrant color in your own images is by using colored gels (also known as color filters, filter gels, lighting gels, or simply gels).
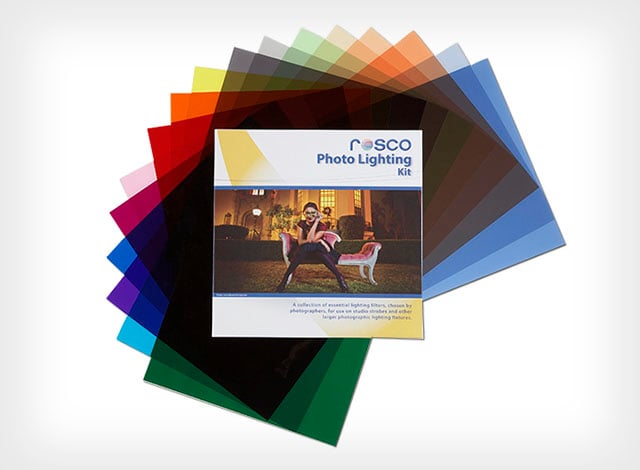
What Are Color Gels?
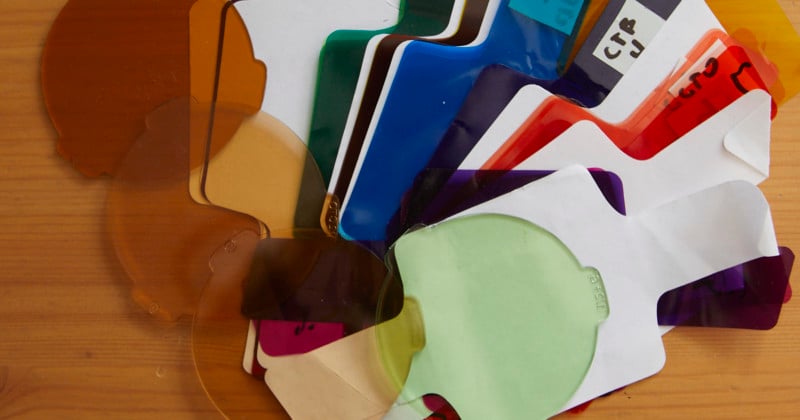
Color gels are essentially pieces of thin semi-transparent plastic (generally polycarbonate, polyester, or some other heat-resistant type) that change the color of your light.
There are two types of gels used in photography: creative color effects gels and color correction gels. The first ones will be used primarily for creating various color casts that have nothing to do with light source temperature. For example, if a red gel is placed in front of a light, it will make it red. A yellow gel will make it yellow, and a blue one blue. Those are different from light temperature and tint adjustment gels, which are used to balance light sources with the ambient lights around you.
Temperature Correction Gels
Temperature adjustment gels will make a light source “cooler” or “warmer” depending on what is used. For instance, a CTO (color temperature orange) will make a light warmer, whereas a CTB (color temperature blue) will make it colder. The CTO and CTB gels can be easily confused with orange and blue gels so it is important to understand that those gels are not the same, and will not give a similar effect at all. I remember once trying to recreate sunlight using a yellow gel, only to find out that this didn’t work at all.
A third rarely used gel, is the plus/minus green. It will make the light source have a green, or magenta tone. Essentially, there is a gel for each end of the “temperature adjustment” scale: CTO, CTB, minus green, plus green.
A word of caution: Before we go any further, you must be aware that gels can melt when placed on a hot light source. It is a good idea to purchase high-quality, heat-resistant gels made for cinema lights or avoid using modeling lamps unless they are LED lights with proper cooling.
The Basic Rule of Color Gels
Let’s dive right into how to go about working with gels. Starting with the most basic rule of every gel: it reduces overall light output. Think of gels as obstacles that cut a portion of the light’s power. Some gels like Profoto and Expo Imaging might say how much light was cut by each gel. As such, a blue gel cuts four stops of light, while a yellow one only cuts half a stop of light. You may want to intuitively dial the power-up and use gels on the most powerful light you have.
Let’s see how light falloff looks with a gel:
As you can see, the less light there is, the more saturated the color. Hence, when setting up a gel, the first thing you want to do is go low with the power and then dial it up to reach the look you are trying to achieve.
There will be a certain sweet spot between a dark saturated color cast and a burnt overexposed gel shot. That’s not to say one is right and the other is wrong — I deliberately create both dark and overexposed looks depending on what the image dictates. I like to use a very low-powered light with gels because, as you now know, less is more when it comes to working with color gels.
Let’s look at some practical examples where I used gels for effect and I will tell you exactly what I did and why.
Using Color Gels on a Fill Light
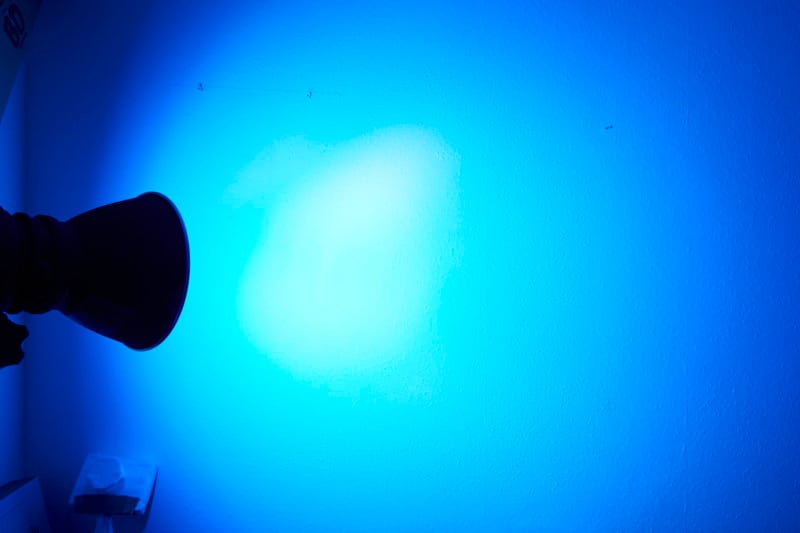
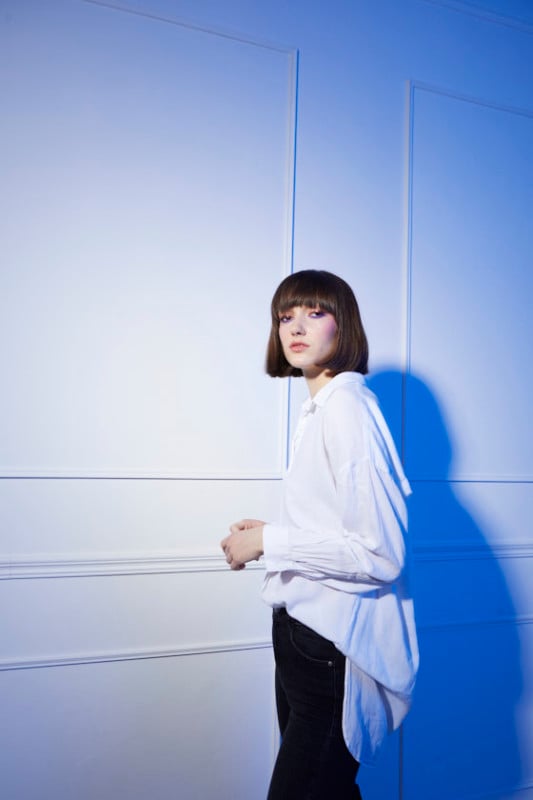
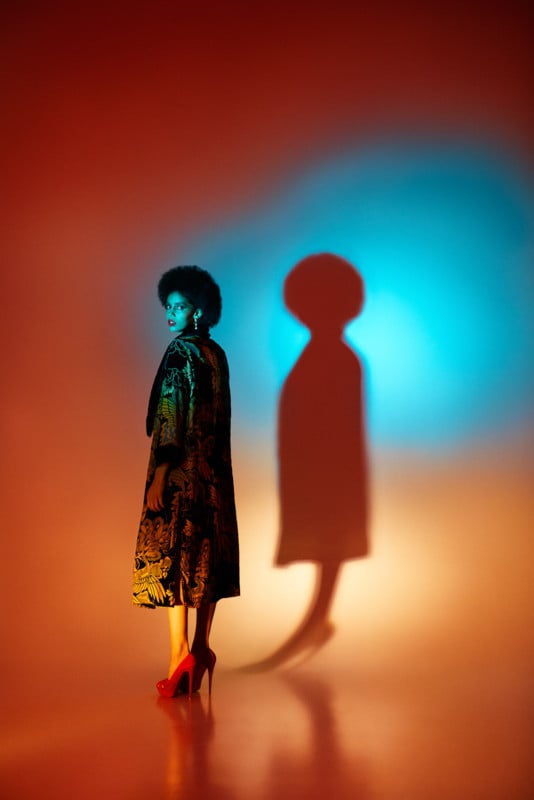
Because gels always show up in the shadow and need very little power to do so, I created a blue room in the studio just by gelling my fill light. As you know, fill lights are designed to lift shadows and be “invisible” themselves. A great way to fill a photograph is to bounce your flash into the ceiling and light up the whole room.
While you may think that the blue is a traditional fill light, it actually is not. As the more careful ones will notice, there is a shadow cast on the background. The trick I used was by placing a small light source very far away and gelling it blue. The shadow helped add definition to the photograph. Nonetheless, because of a stark exposure difference between the gel and the key, I was able to get a clean white strip of light which then slowly graduated into the blue.
Using Color Gels for Background Gradients
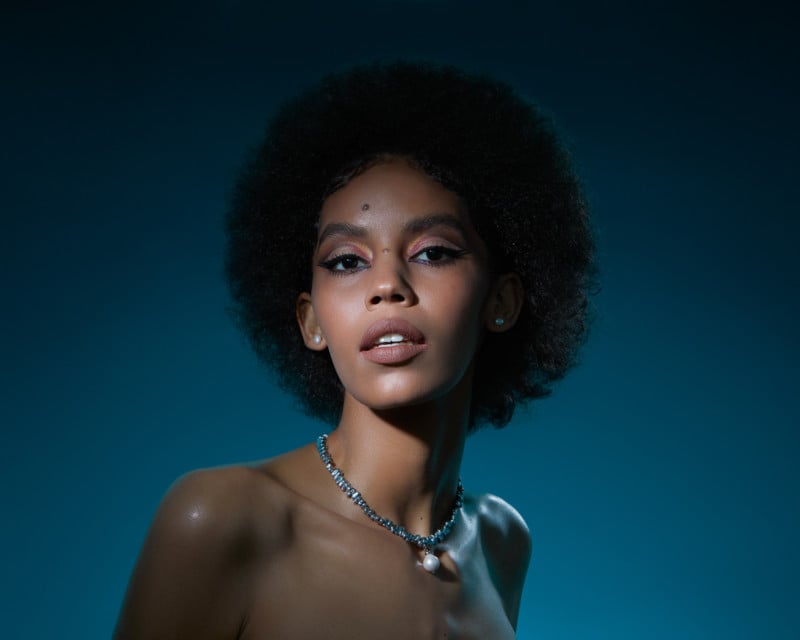
Who doesn’t love a nice commercial-looking gradient? For this image, I wanted to create as smooth of a gradient as possible while also having a noticeable difference between the top and bottom.
To achieve this, I used a black background and placed a diffused umbrella with a blue gel at the bottom. The reason I wanted a large light source was because the background wasn’t perfectly smooth and all creases would show up.
Background Painting
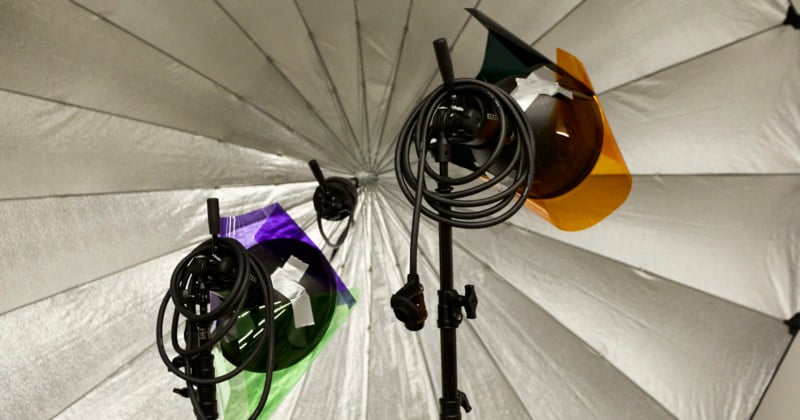
This is where I feel like Jackson Pollock, what I mean by this is I get to simply play around with different lights in different positions. Having a bunch of Cinefoil, flags, grids, and other things helps me create shapes and patterns with light.
There really isn’t a clear-cut way to paint your backgrounds with gels. You can either create smooth transitions or have clearly defined lines.
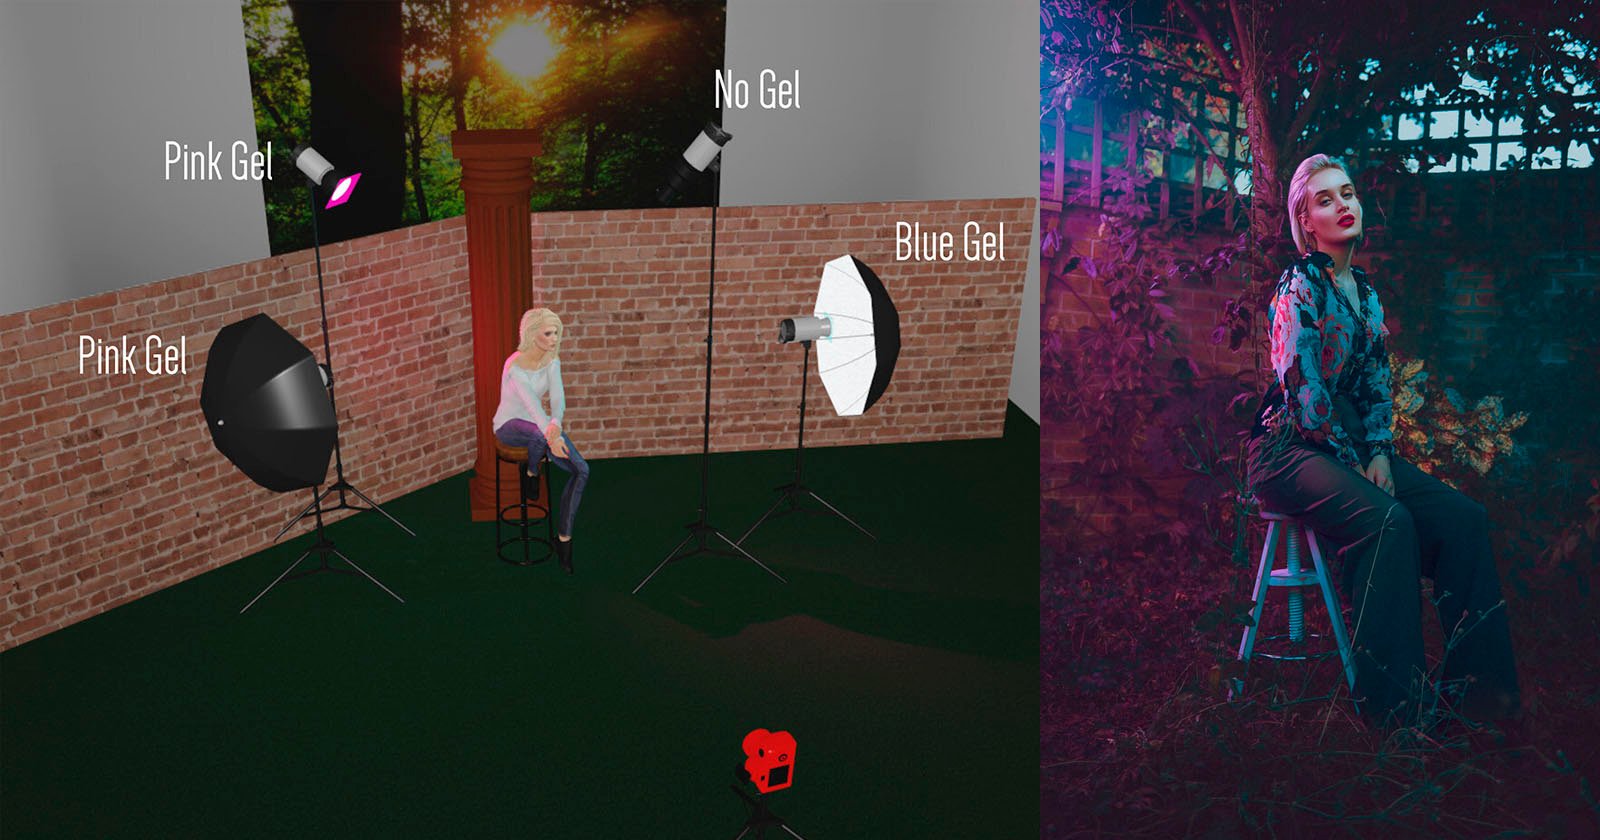
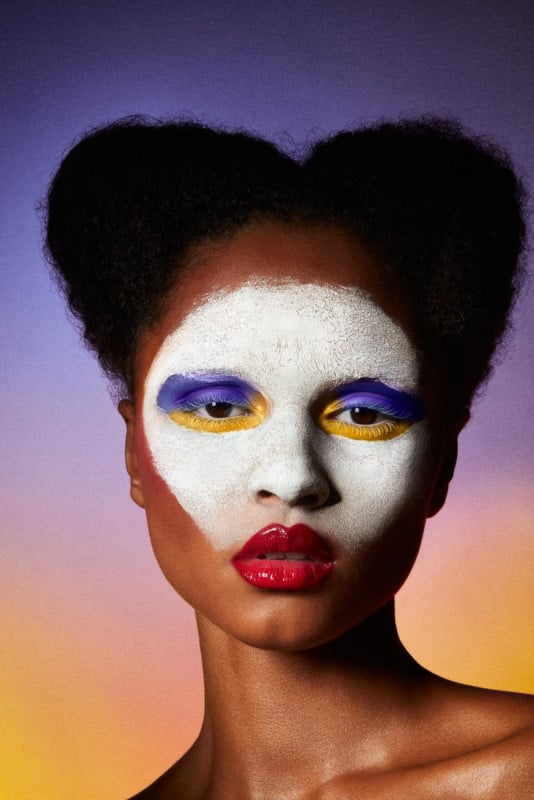
For the picture below, I used three lights to light the background: a blue, pink, and yellow light. The pink one had a very tight grid on it so that I would only get a patch of light, while the blue and yellow had barn doors on them so that there would be somewhat of a horizontal line dividing the colors.
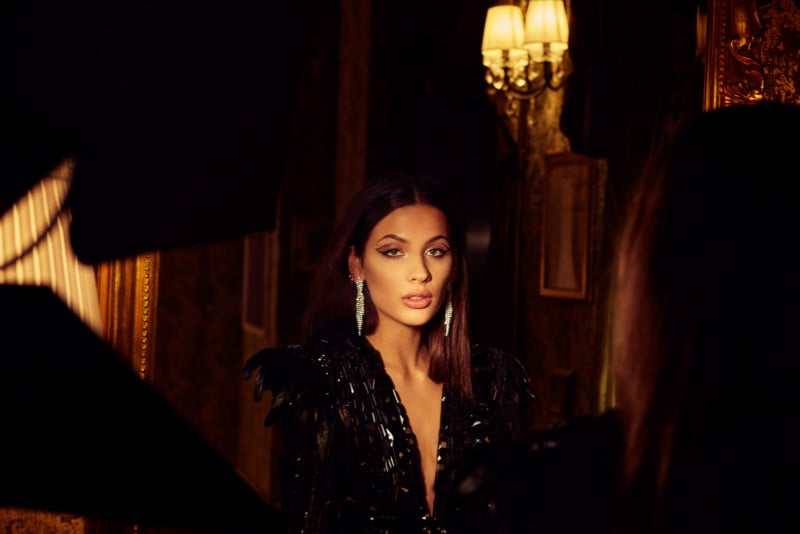
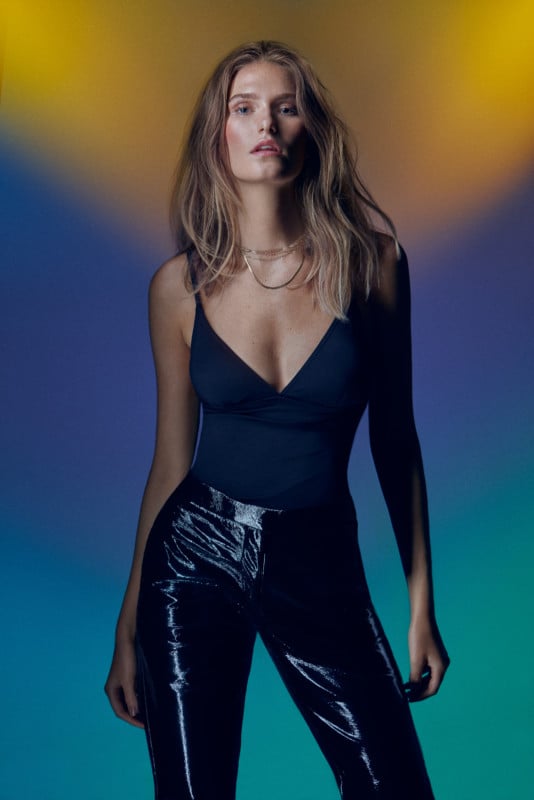
Background and Subject Painting
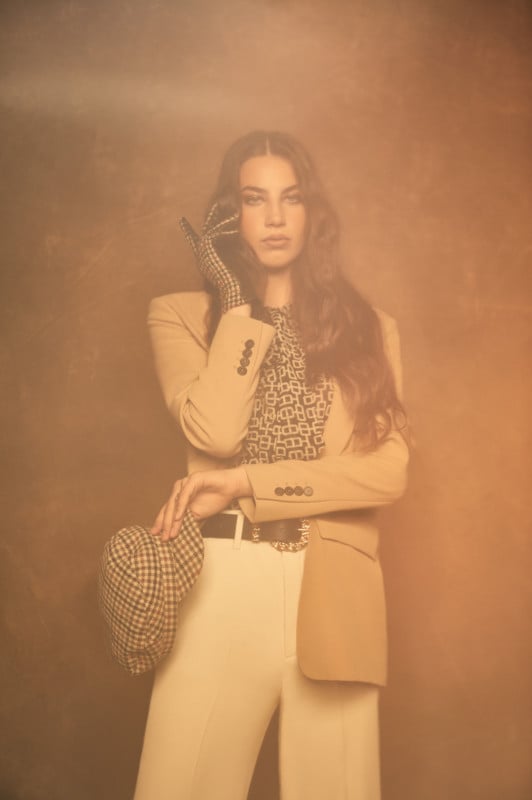
How many lights are in this picture? If you answered three, you’re correct. There is blue light, a lukewarm CTO, and a big fill light which is a full CTO. The two spots you see were created by using a very tight 5deg grid. Because the grid wasn’t perfect, the spots have an odd shape. In this case, it makes the picture slightly imperfect but also much more interesting.
Using Color Gels as Lens Obstructions
Finally, an additional way to use gels without actually putting them on lights is by placing them directly on, or, in front of your lens. This process is bound to bring out some interesting blurs and distortion to help create a unique final image. With this method, you can capture some reflections off the glossy gel surface, some diffraction, and maybe even end up coloring some of the shadows.
An interesting approach would be to light up the gel you wrapped next to your lens by placing a light right under the camera. There is no exact science to this, so you just need to try and experiment with what you have to see what happens.
Closing Thoughts
Working with color gels is a lot about playing around and always feeling like a beginner, or at least feeling free. Whenever I work with gels, I never think about the theory of what does what, I simply put it on a light and see what it creates and then go from there. The wonderful thing about this is you can be as creative as you want when adding colors to your lighting with gels.