DIY: How to Make Your Own Flash Diffuser for Macro Photography
When it comes to macro photography, DIY solutions for would-be macro shooters looking to get better results without emptying their wallets abound—from reverse lensing, to DIY macro tubes, to full-blown light boxes. Today, we’ll add to that list by showing you how to make a simple DIY flash diffuser.
This tutorial comes from user Brown_Hash over on Instructables, and it’s both quick and easy. To start, you’ll need to gather: scissors, gaffer tape and clear packing tape, some foam core board, aluminum foil, a sheet of translucent plastic (he used the plastic from a document folder), a ruler, rubber bands, and glue.
Once you’ve got your materials, cover one side of the foam core in aluminum foil. This is where the glue comes in, but if you can, buy foam core with an adhesive side. That way you can simply peel the cover off the adhesive side and stick the aluminum directly on there without messing with glue.
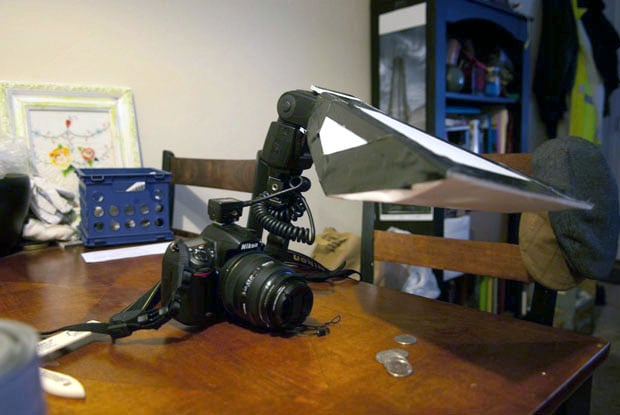
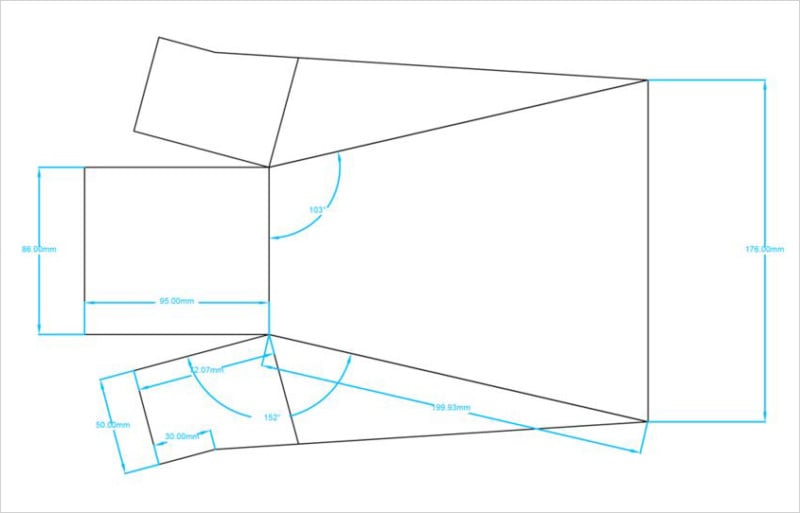
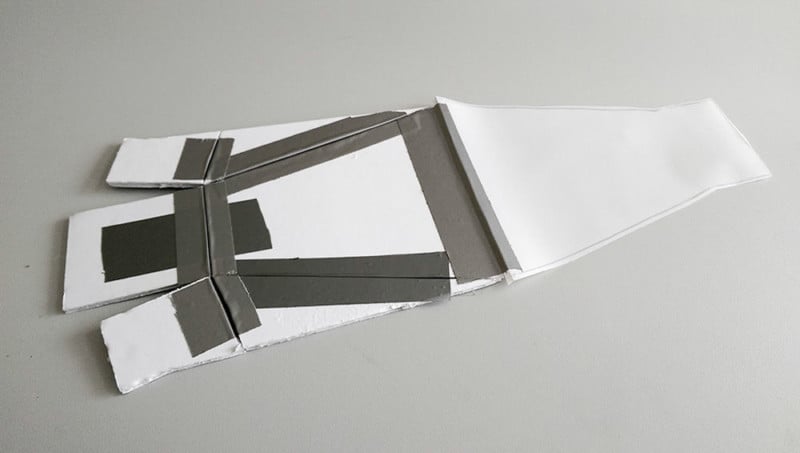
Next, follow the blueprint above to cut your diffuser parts out of your aluminum foil-covered foam core (the measurements shown are made based on a Canon 580 EXII so adjust them as needed), and tape together the pieces of your diffuser using gaffers tape on the outside, and clear tape on the aluminum-covered inside.
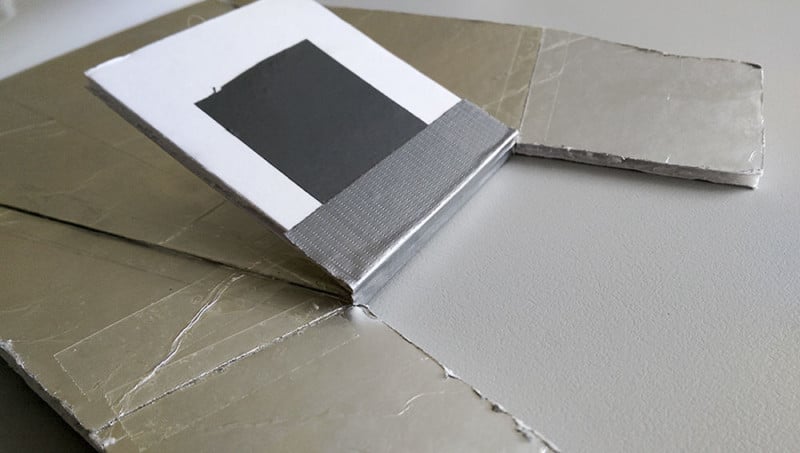
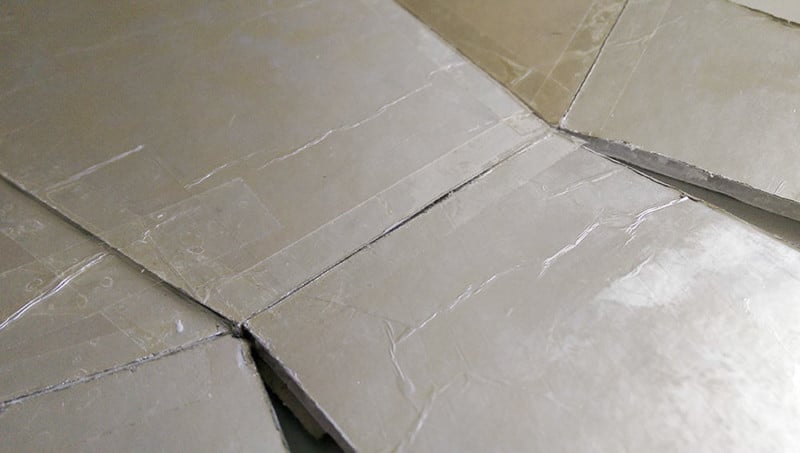
You’ll end up with something that looks like this:
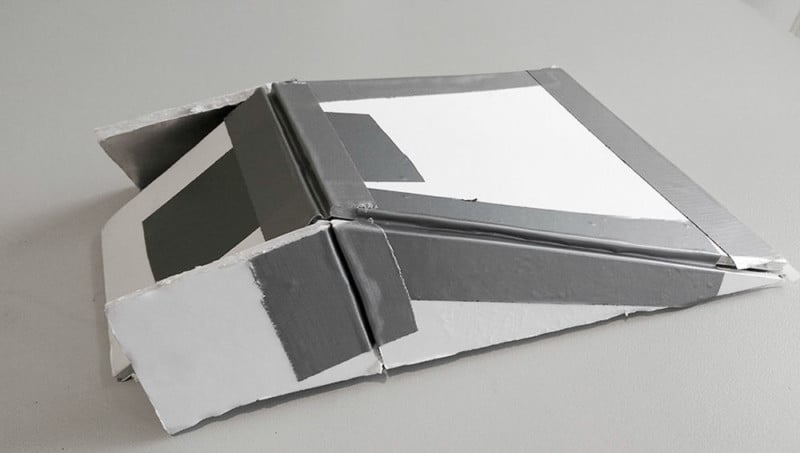
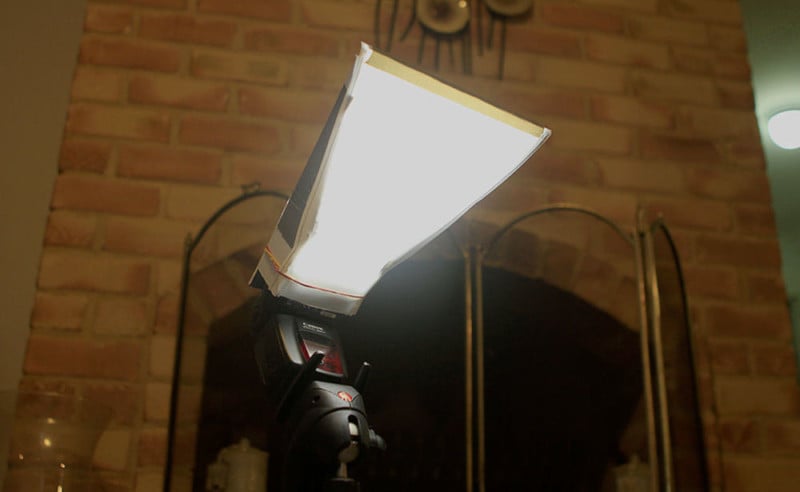
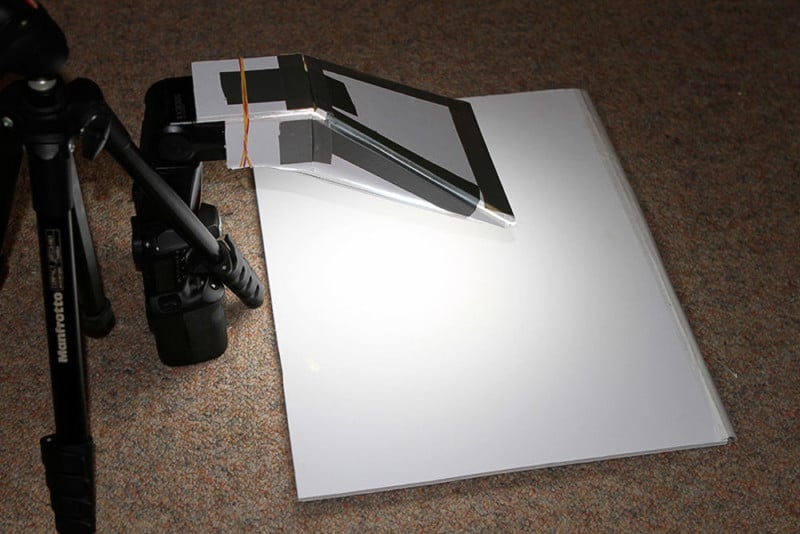
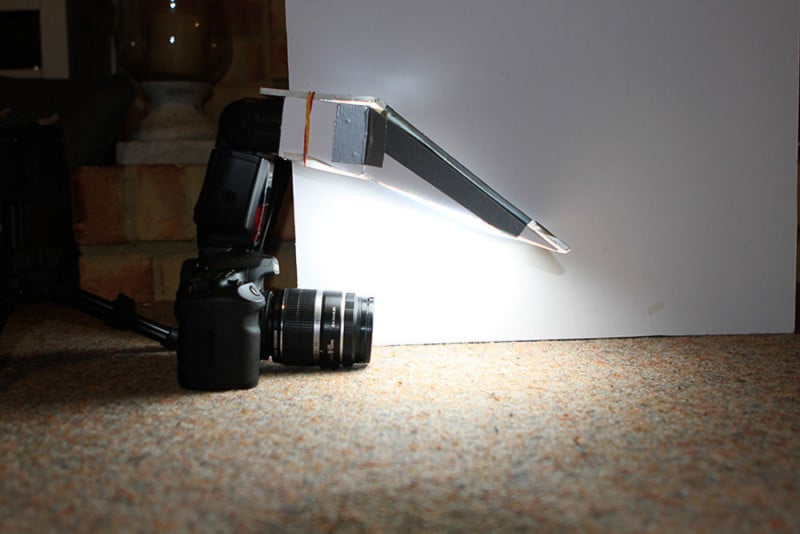
Finally, the last step is to add the actual diffusing material. Cut out a piece of that translucent plastic (in this case, the folder) or paper (e.g. white parchment paper) in the shape of the top of your diffuser, and attach it to the front edge with gaffer’s tape:
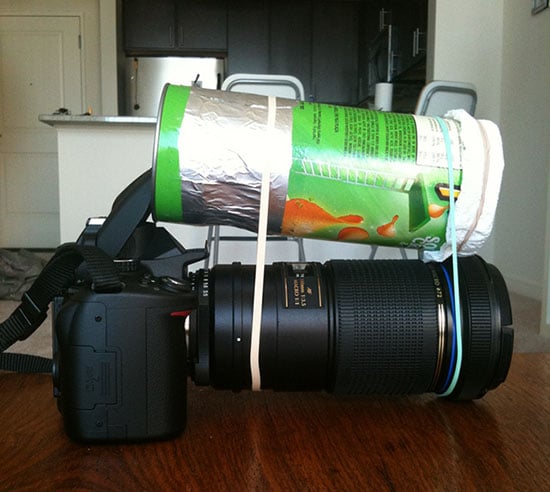
And that’s it! The fully assembled diffuser is attached to your flash using rubber bands. These hold both the frame and the diffusing paper/plastic in place. The final product can be folded flat to carry around in a camera or laptop bag, and looks like this when assembled:
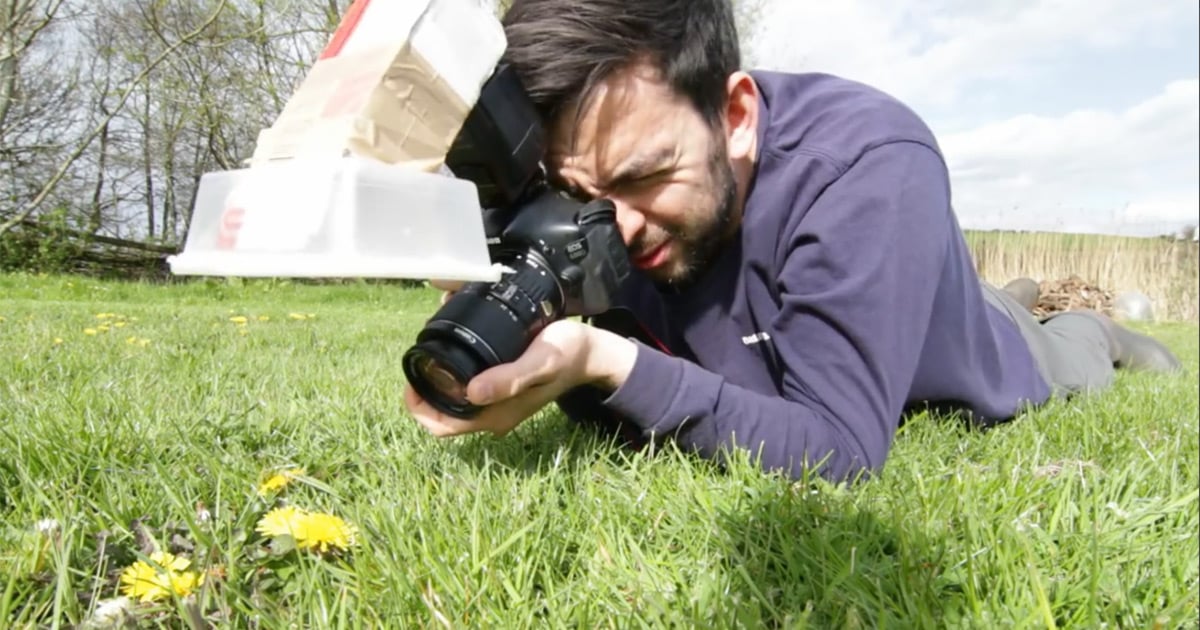
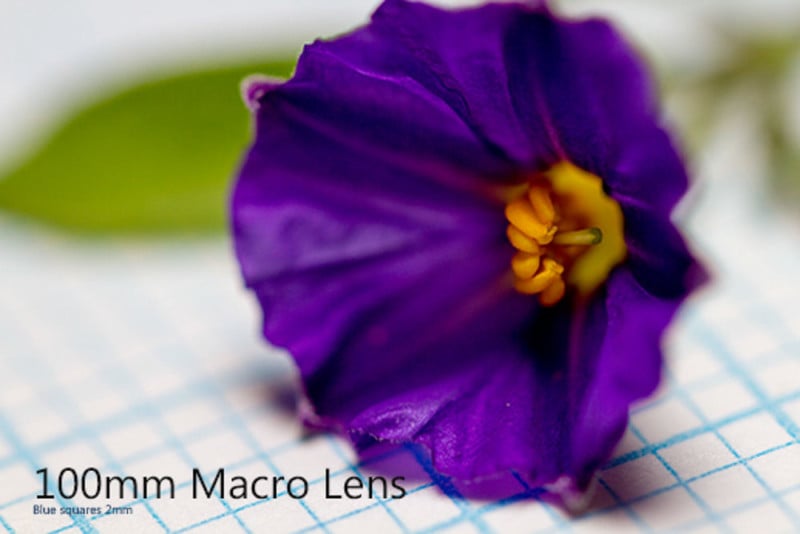
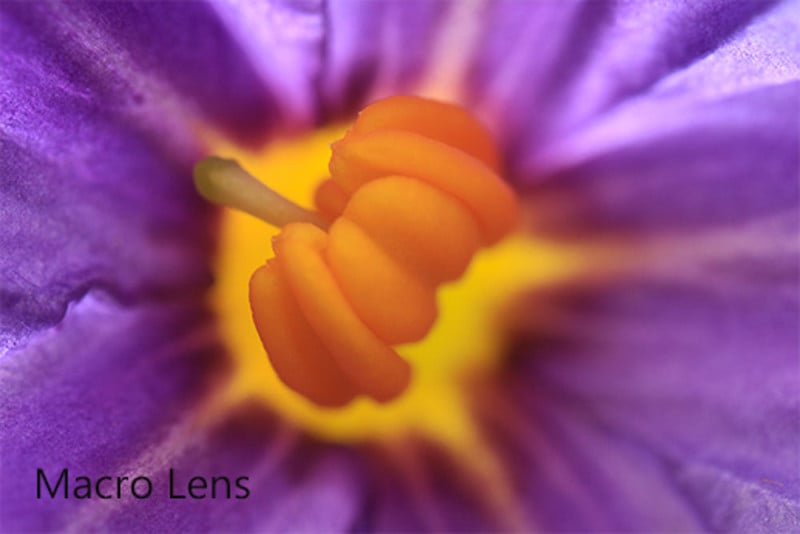
And here are a couple of sample images:
To see all the pictures and read the steps in a bit more detail, head over to the Instructables page here. And if you have any suggestions on how this diffuser could be improved or tweaked to make it even better, drop them in the comments.