Macro Photography on a Budget: A Quick and Easy Beginner’s Guide
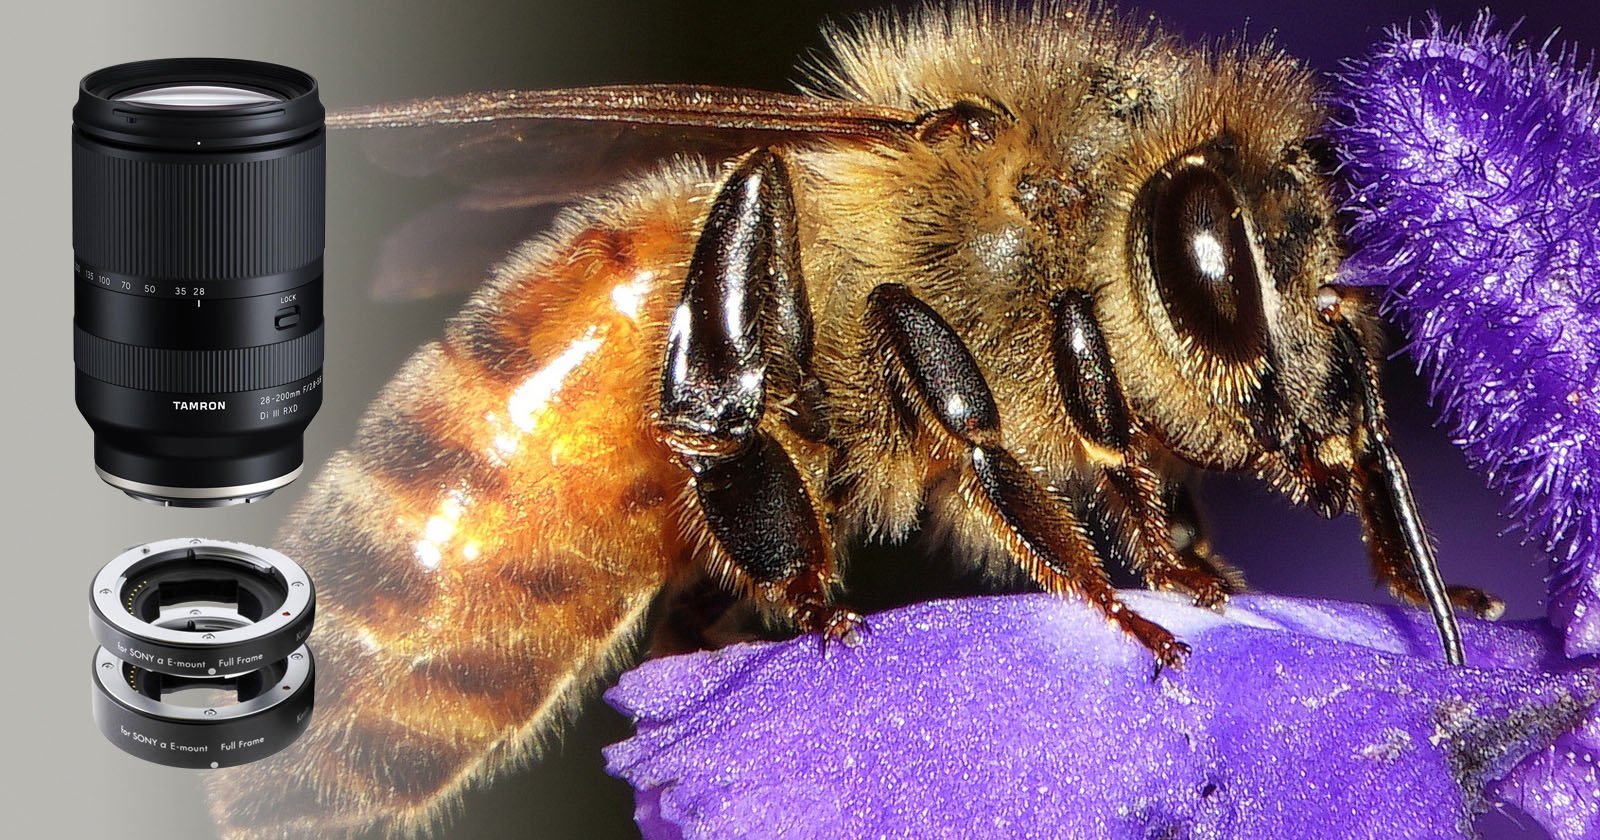
Macro photography can be incredibly expensive, but as British photographer Adam Kappa shows in this video, it doesn’t have to be. In 7 minutes, Kappa demonstrates how to produce impressive macro shots using kit lenses, extension tubes, and a flash diffuser crafted from a Chinese takeout container.
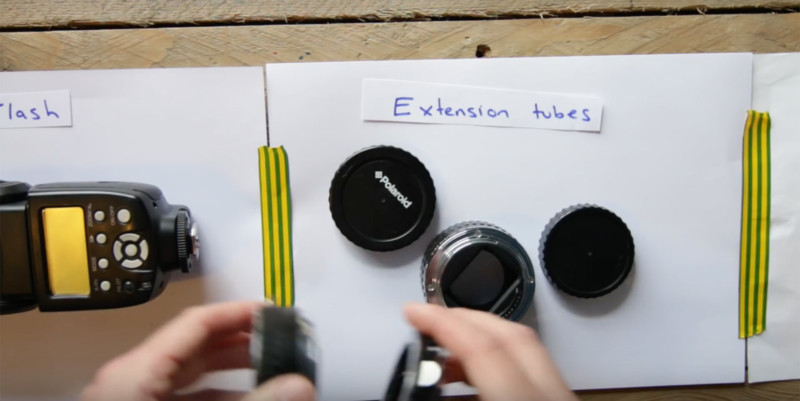
The video is a year old at this point, but the lessons are still just as relevant today as they were when it was first released. Same gear, same setup, same great results. It all comes down to two pieces of gear: extension tubes, and some sort of diffuser.
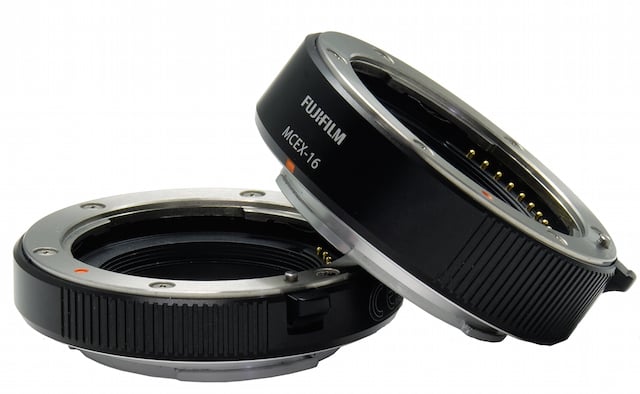
Extension tubes are a relatively cheap piece of kit that reduce the minimum focus distance of a lens. Paired with an 18-55mm kit lens, you can get nice and close to your subject to capture them in detail. Unfortunately, cheaper extension tubes do not include auto focus, so you’ll need to set your lens to manual focus and move the camera in order to get your subject sharp.
A flash diffuser is useful for softening the light that is given off by your flash. Assuming you are using a top-mount flash, the diffuser slips over it and softens the light when it fires.
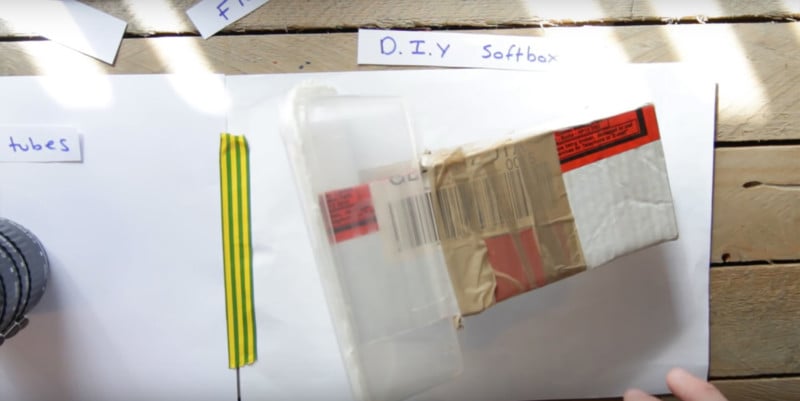
You can, of course, buy a diffuser from any photography store… or you can take the budget approach as Kappa does. To save money, he fashioned a DIY diffuser from some cardboard, paper towel, and a Chinese takeout container.
Kappa’s video is definitely worth watching if you want to use this budget setup to capture shots like the one below.
He goes in to practical detail in the field, showing you exactly how to set up and use this combination to capture great macro shots on the cheap. He has also kindly written up detailed instructions on his blog, so be sure to check it out and subscribe to his YouTube channel for more tips.
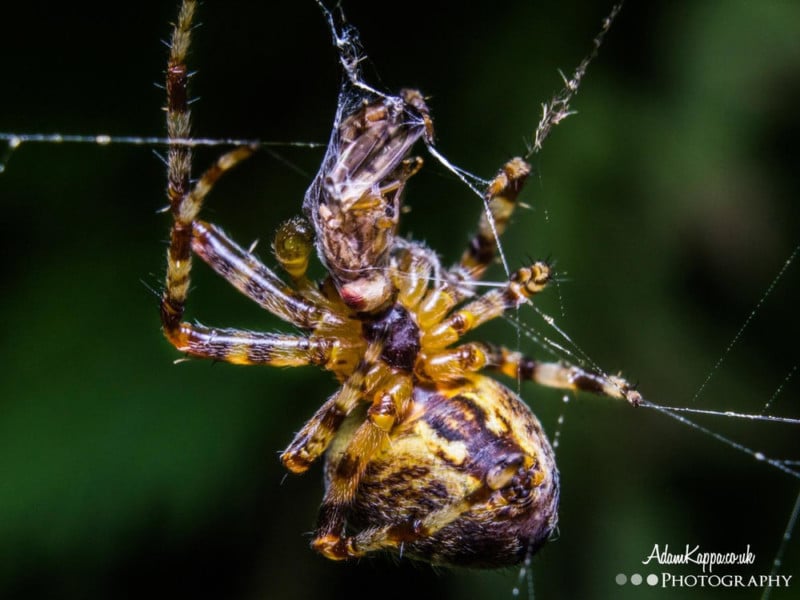
Image credits: Photographs by Adam Kappa and used with permission