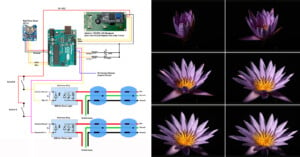
How to Build a Time-Lapse Controller to Photograph Growing Plants
This article is about how to make a time-lapse system that controls the lighting conditions and triggers the camera shutter for time-lapse plants.

This article is about how to make a time-lapse system that controls the lighting conditions and triggers the camera shutter for time-lapse plants.
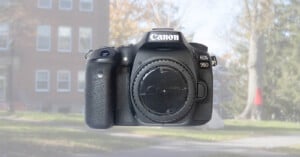
I was interested in seeing how well a pinhole would work on a small sensor (APS-C) DSLR so I decided to give it a try. All I needed to do was to drill a hole in the spare body cap, darken a piece of aluminum foil with a permanent marker, punch a small hole in it, and then tape it to the front of the body cap.
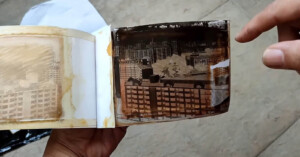
A decade ago, I stumbled upon a page where someone detailed their process for crafting their own instant film, something similar to Polaroid Type55 or the New55. At that time, the instructions seemed too complex for me to tackle, and I never ventured into the world of instant film creation.
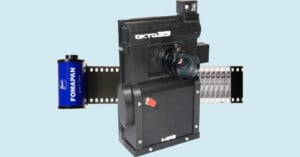
A couple of years ago I have been occasionally shooting 35mm films with point-and-shoot still cameras while also having the desire to shoot motion picture films.
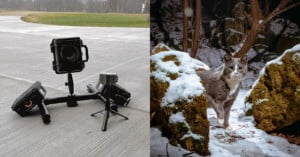
As a wildlife photographer, I'm always looking for ways to capture stunning images of animals in their natural habitats. One technique I've found to be incredibly effective is using a custom-made, DIY, DSLR camera trap, which is a camera setup that is triggered by the movement of an animal.
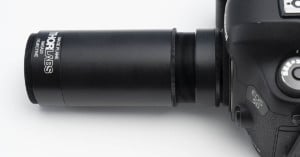
The Mitutoyo long working distance objectives are popular in macro photography, but often difficult to mount to a camera.
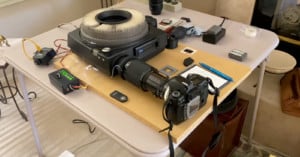
For those with family members who grew up in the 1980s (or earlier), a slide projector was a pretty common way to share and show images before the internet was a thing. But these days, finding a way to get people to sit and view these images in a dark room with you is even harder than finding a functional projector. To covert his old 35mm slides to digital, photographer Scott Lawrence built a custom digitizing system based on a slide projector.
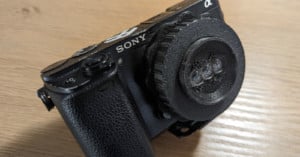
This trinocular "wigglegram" lens creates vintage film-looking stereographs and is made with a combination of 3D-printed parts and scavenged disposable camera lenses.
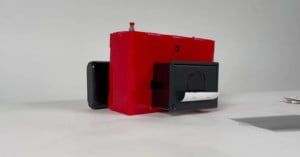
The KineCAM is an instant camera-inspired "DIY" device that allows users to capture and create "animated" photographs (of physical GIFs) in the form of a kinegram.
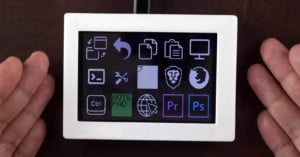
As creatives are tasked with greater and greater volumes of work, accessories to help speed up their workflow become more and more valuable. While editing consoles can be incredibly useful, they can also be incredibly expensive, which is why YouTuber "Pedro" of DSLR DIY CNC has shared how you can build your own custom "InfiniteDeck" for just about $50.
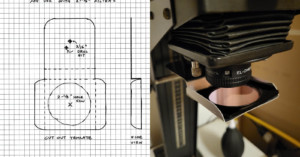
Have you ever had a repeated inconvenience that finally makes you say to yourself, "Okay, I’m done with this garbage"? Well, that’s the exact feeling I had with using contrast filters on my enlarger. Anytime I wanted to use a contrast filter, I needed to use tape to hold it in place while I was printing.
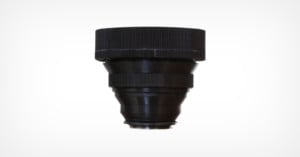
Photographer Felix Steele has created a design for a 3D-printed 164mm f/2.5 lens that has no fasteners or screws, uses affordable glass elements, and can be built at home for less than $15.
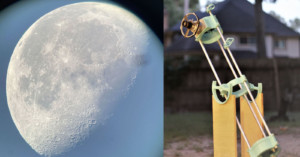
A photographer has used his 3D printer to create an impressive 900mm reflector telescope that is so simple to put together that "it’s like assembling furniture from IKEA."
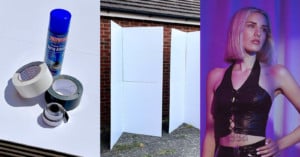
I’ve used poly-boards, bounce-boards, and even white sheets and white walls as lighting modifiers to soften the light in the past, but arguably the quickest and most efficient way to instantly achieve beautifully soft light, is the V-Flat.
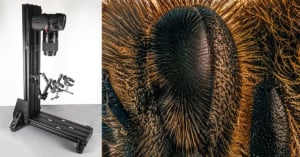
I do a fair bit of macro photography in the studio, for both scientific and artistic purposes. I’ve used tripods, boom poles, and large copy stands to get the camera in close. The setups were often complicated, and I sometimes felt I was concentrating more on the gear than the photograph.
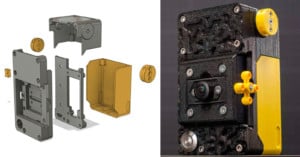
Are you sometimes annoyed by having too many easy and convenient ways to take perfect photos? Don’t despair…
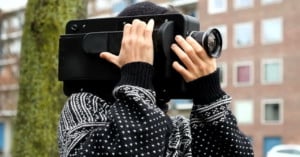
There is no denying that shooting on film is expensive. It is among the many reasons major studios have all shifted to using digital cameras for their movie-making. But even with the shift in technology and cost, there is just something appealing about the way these old analog cameras work. This is why engineer and designer Yuta Ikeya decided to make his own analog movie camera with 3D printing.
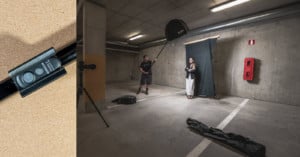
I occasionally like to do some light painting with strobes. To make that easier, I ripped off the legs of an old light stand so that it is just a handheld pole with a light. I also wanted to be able to control my camera with a remote when holding the light so that I can operate my camera on a tripod and do everything without an assistant.
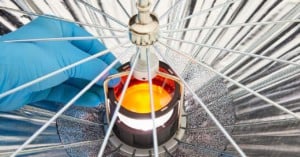
I purchased some of the new compact and foldable Godox softboxes (e.g. AD-S60S, AD-S65W, AD-S85S, etc) for my Godox AD300 Pros. They work just fine but I wanted to use the magnetic color gels from my AK-R1 kit with them, so I decided to design my own gel holder compatible with the AD300 Pro.
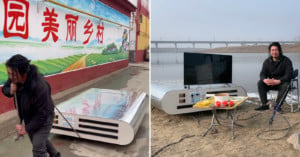
Battery technology has provided a plethora of ways to take power away from traditional wall outlets, including relatively small packs that can power photography lights. A man in China took that idea to the extreme by building a colossal 27,000,000mAh "portable" power bank.
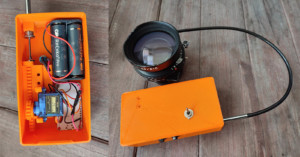
I do mainly large format photography, and I often take my own self-portrait by using my pneumatic cable release that has a long cable and air bulb release. However, I have long been thinking about how to make a more modern kind of remote cable release. In this article, I will show how I created a DIY remote cable release.
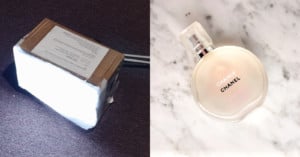
Almost anything can be used as a light modifier. As long as it interacts with light in one way or another, it can be considered a light modifier. In this article, I will show you how to build a do-it-yourself (DIY) softbox with things you likely already have around at home.
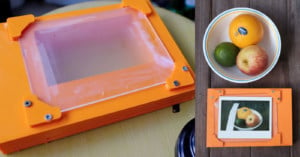
I recently began shooting with the new LomoGraflok 4×5 instant back from Lomography on my Chamonix 4×5 camera and found that I needed to use a spacer every time we compose a shot.
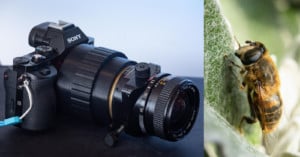
Photography enthusiast and camera tinkerer Nicholas Sherlock has created a new 3D-printed variable length extension tube for macro photography using wide and ultra-wide lenses.
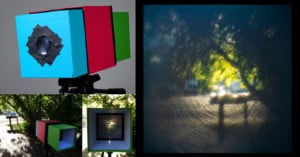
If you ever find yourself stuck indoors and in need of a fun and educational project, try building yourself a camera obscura. Here's a 7-minute video by Fotodiox showing how you can put together a small DIY one with ordinary craft store supplies.
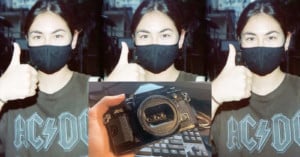
I've got to admit that half of the reason I bought a film camera was to post cool-looking pictures on Instagram, so when I saw these things called "wigglegrams" on Instagram, I immediately wanted to make my own.

I have made many DIY backgrounds for my photography. Honestly, too many. It gets really addictive. If you have been thinking of creating some for yourself or how you can improve your photography collection for very little money, these tips on creating your own DIY background are going to be super helpful.
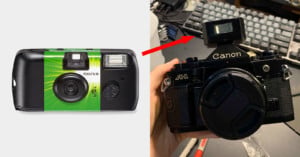
Recently I bought a film camera from the 1970s, the Canon A-1. Considering that the camera is almost three times older than me, it was no surprise that there are a few issues with it.
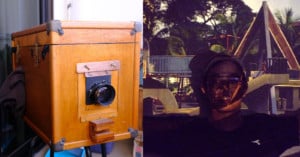
I have been shooting 4x5 color transparencies or commonly known as color slide film for many years but the best that I could enjoy them was to put them on the light table and viewing them through a loupe. Unlike my 35mm and 120 slides, I have never seen them projected big simply it is not easy to locate a 4×5 slide projector.
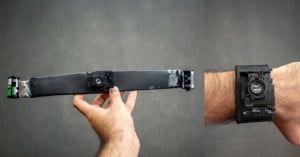
Iranian photographer and camera tinkerer Alireza Rostami has created a new homemade wrist camera that operates in a neat way: two 35mm film cassettes are attached to the strap under the wrist, and 35mm film travels through the camera inside the straps.