How I Attached a Camera Remote to a Handheld Light Pole
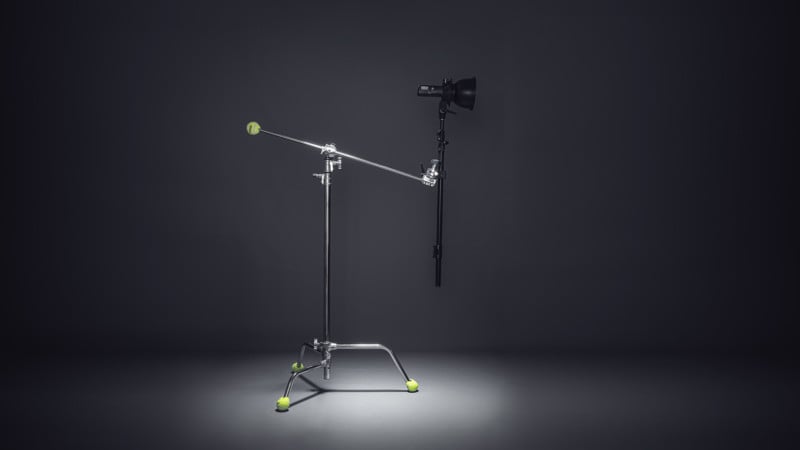
I occasionally like to do some light painting with strobes. To make that easier, I ripped off the legs of an old light stand so that it is just a handheld pole with a light. I also wanted to be able to control my camera with a remote when holding the light so that I can operate my camera on a tripod and do everything without an assistant.
The Evolution of a DIY Holder
At first, I had the remote attached to the pole with gaffer tape. It worked but was flimsy. And when I needed the remote elsewhere, it was not easy to take off. When I got my first 3D printer, I printed a proper holder.
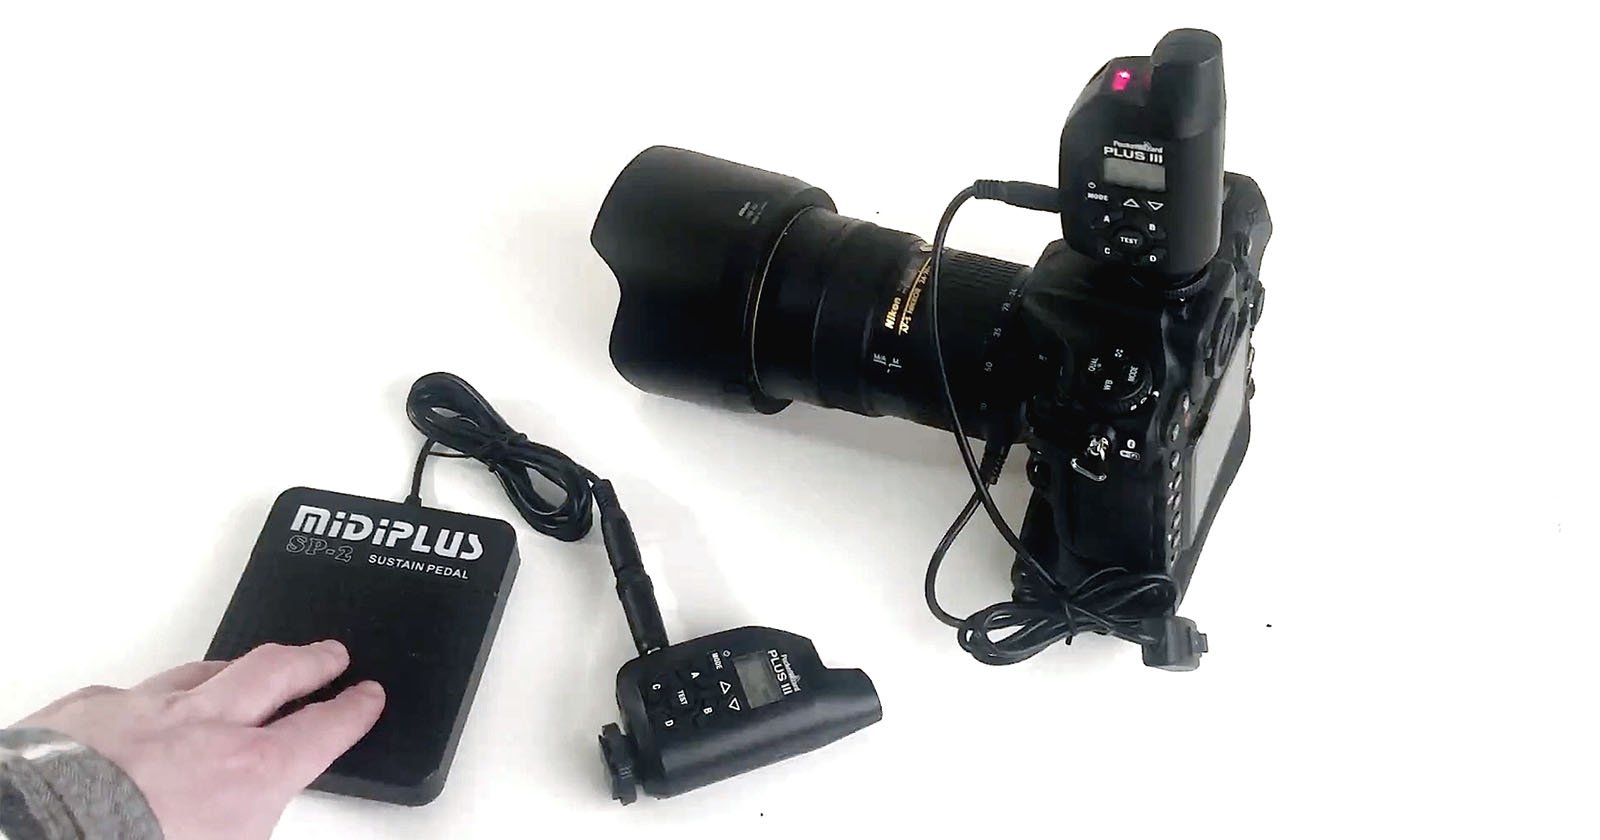
After my first remote broke, I started looking for a new camera remote and wanted a smaller one. That is when I found a small camera remote that is so tiny that it fits in the palm of my hand when shooting self-portraits. I created a second 3D-printed holder for the new remote — it feels natural to use and light painting jobs are quick to do.
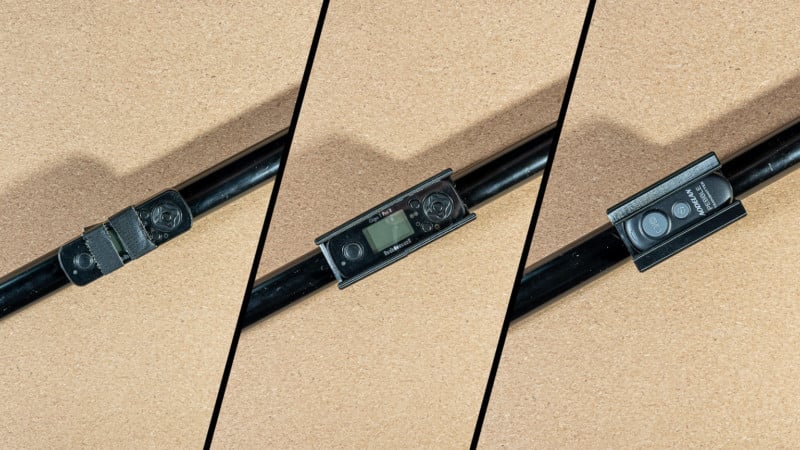
The remote is friction-fitted to the adapter so it’s easy to put into place and take off. This one fits so well that I can use it without worrying about it dropping to the ground. With the previous model, I used gaffer tape to give it extra friction for extra safety.
Solo Shoots with a Handheld Light
I use this mainly for light painting. I have light-painted cars, motorcycles, and even a horse.
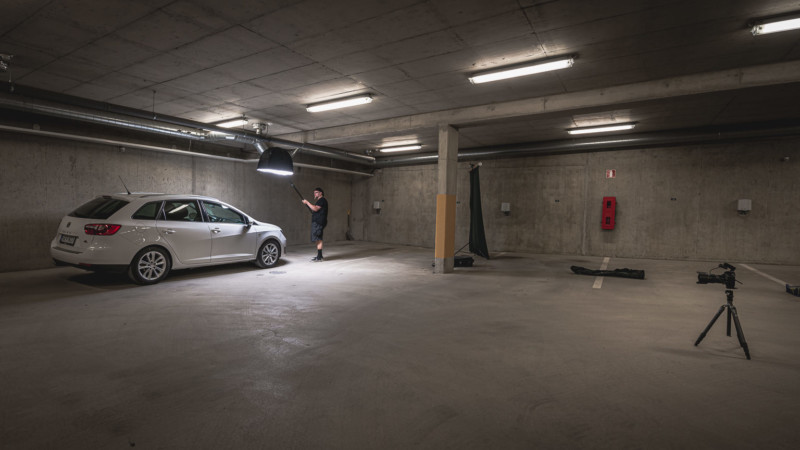
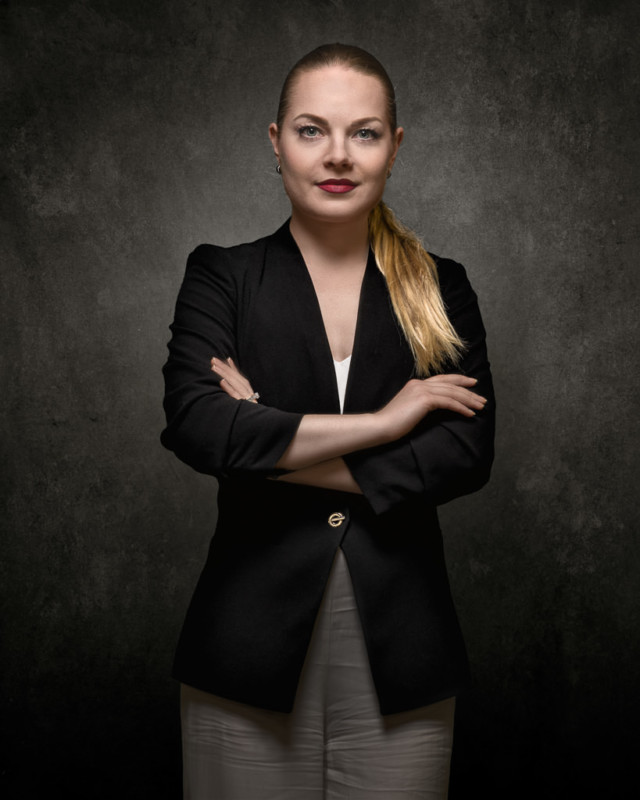
This setup got a lot of use in my ongoing series with people and how they move. When making that series, I also used it to shoot quick portraits on a location.
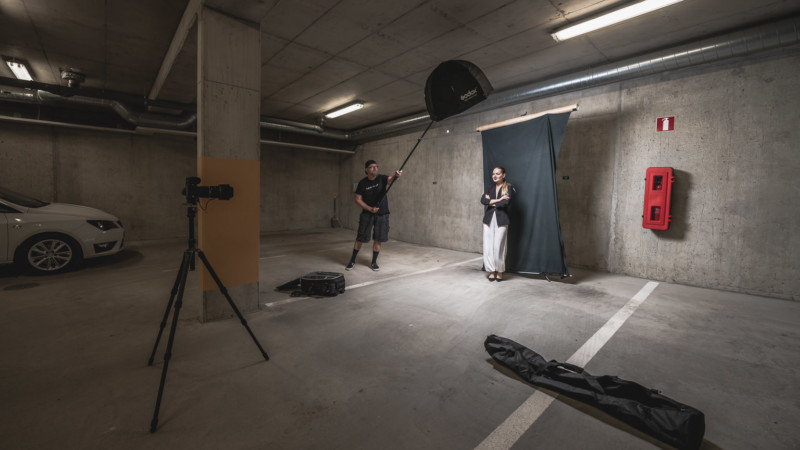
I usually set up my camera on a tripod with manual settings. I take some test shots to get the background correctly underexposed. Then I adjust the flash power to those settings to get the correct exposure to the subject. Then I light paint the subject.
When lighting and photographing a car, I go from front to back with the strobe above the car’s contours to get the whole car exposed. Then I take several detail shots of the car. These shots are then combined in Photoshop into one image.
I prefer to use the background on the location but I have also changed it when it was not possible. For example, one time a Volkswagen Beetle I was shooting could not be started from where it parked, so we had to photograph it there and I swapped the background in post.
Video and Download
Here’s a 1-minute video about the 3D-printed camera remote holder:
If you’re interested in 3D-printing your own remote holder and would like to see mine for reference, the STL file for the remote holder and 29mm pole can be found here.