Photographer Turns Slide Projector Into a Arduino-Powered Digitizer
For those with family members who grew up in the 1980s (or earlier), a slide projector was a pretty common way to share and show images before the internet was a thing. But these days, finding a way to get people to sit and view these images in a dark room with you is even harder than finding a functional projector. To covert his old 35mm slides to digital, photographer Scott Lawrence built a custom digitizing system based on a slide projector.
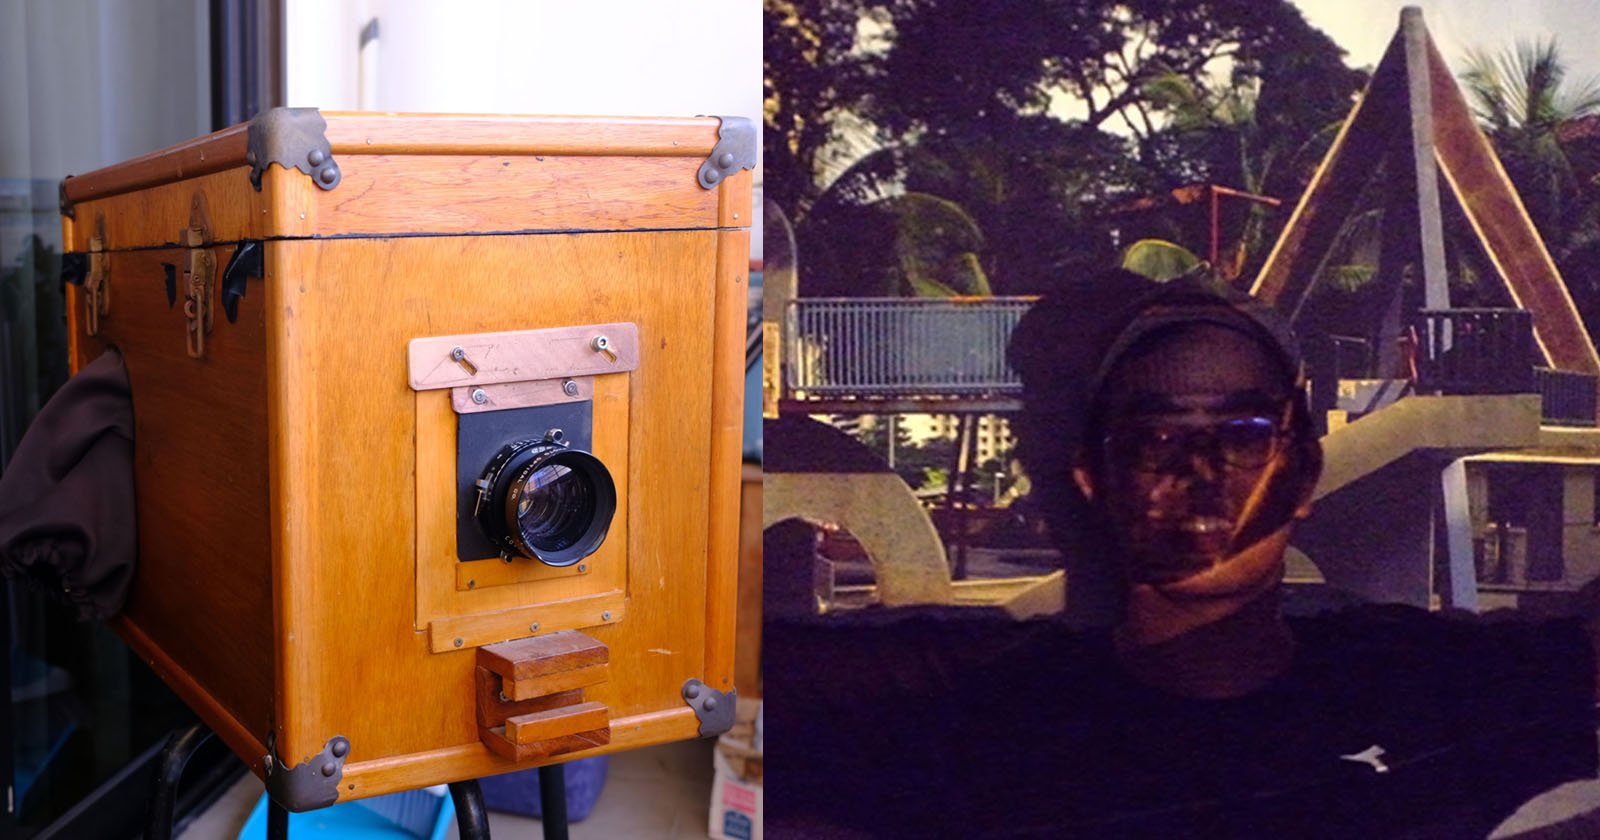
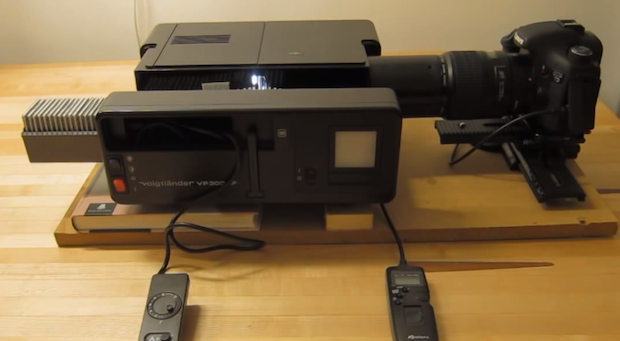
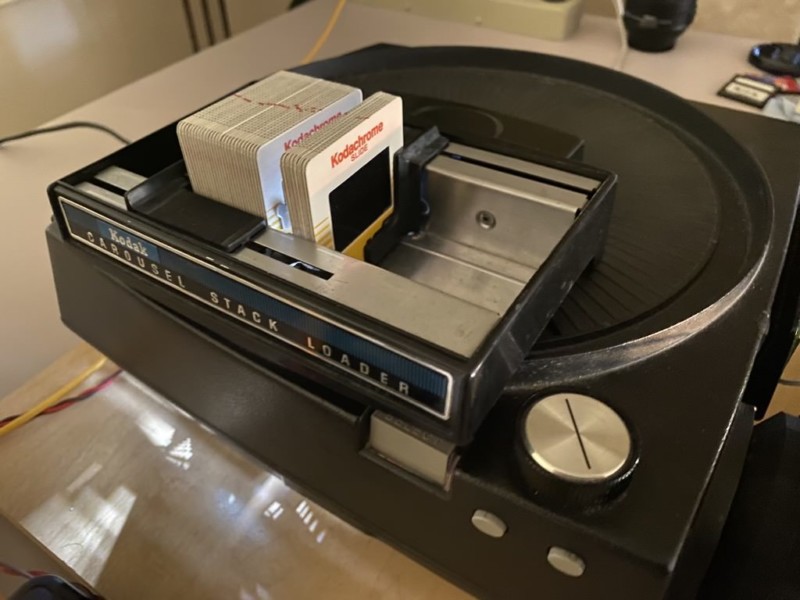
Starting with a Kodak Carousel 760, Lawrence replaced the lenses from the projector and replaced it with a new LED panel from a Ulanzi 49 that is then, through a series of 3D-printed components and cables, connected directly to his Nikon D70 (set to f22) and a Vivitar 210mm macro zoom lens with a 2x teleconverter added to it to capture each of the images projected through the slides.
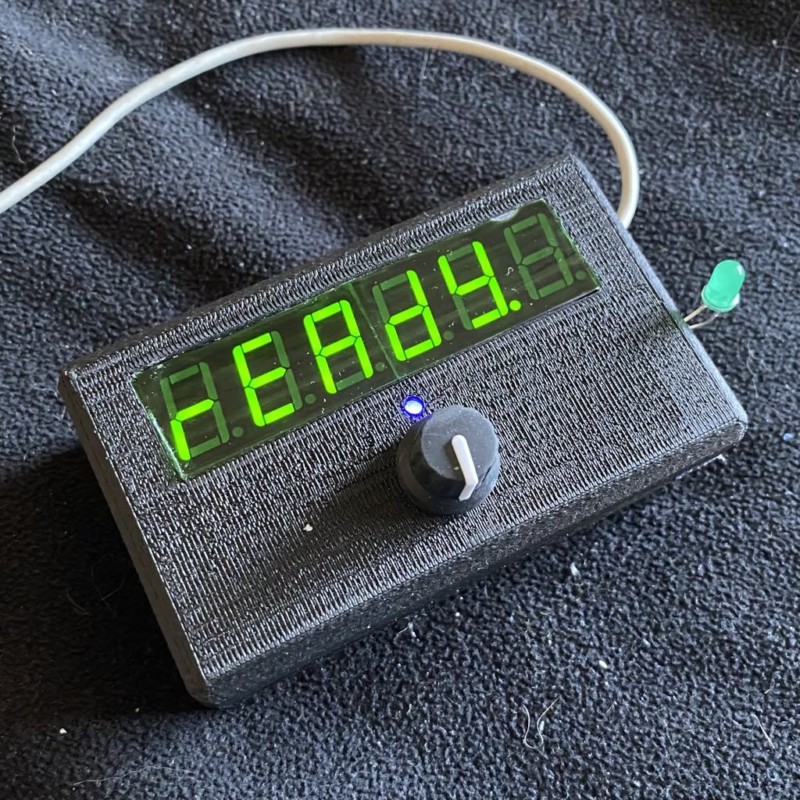
The “brains” of the unit as Lawrence calls it, is an Arduino Leonardo (SS micro) with a six-digit LED display and an Adafruit I2C rotary controller connected to an Infrared LED to remote trigger the camera to capture the slides as they move through the projector.
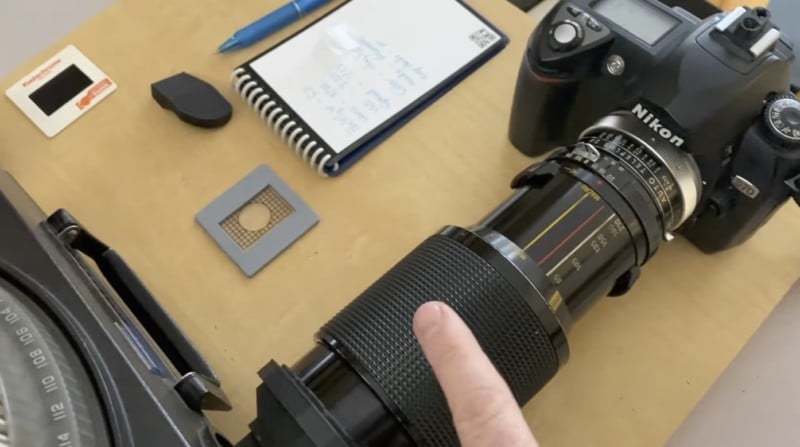
According to Lawrence, replacing the light bulbs with a compact LED allows for much more precise brightness control and keeps the system as a whole much less hot compared to the regular incandescent bulbs the projectors usually ship with. Then once started, the Arduino-powered system automatically advances the carousel and triggers the camera to capture each slide (using the IR LED), making it incredibly easy to digitize large volumes of slides in a short amount of time.
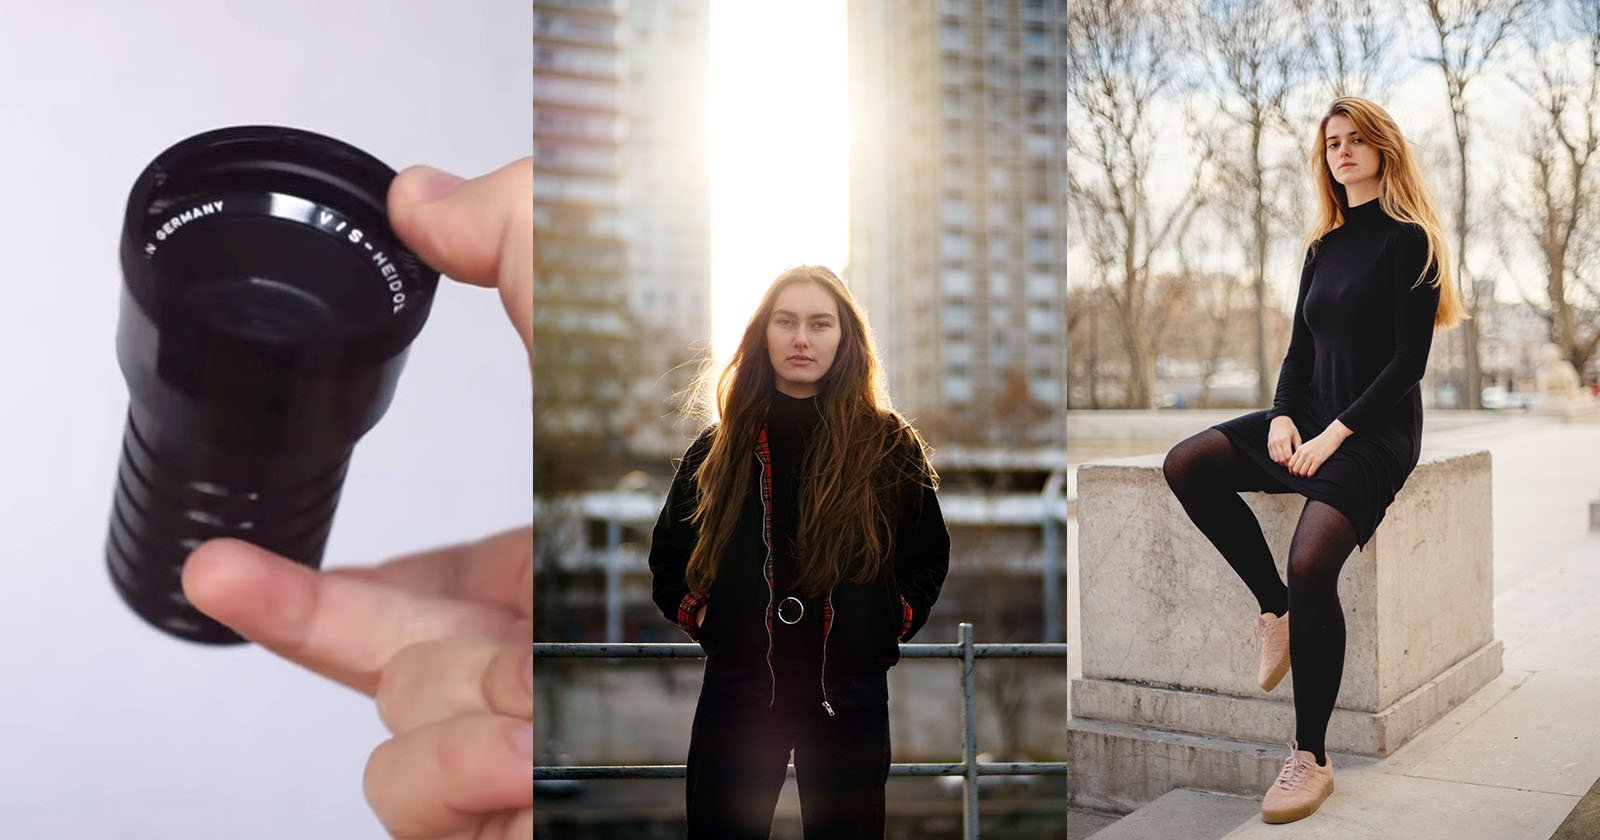
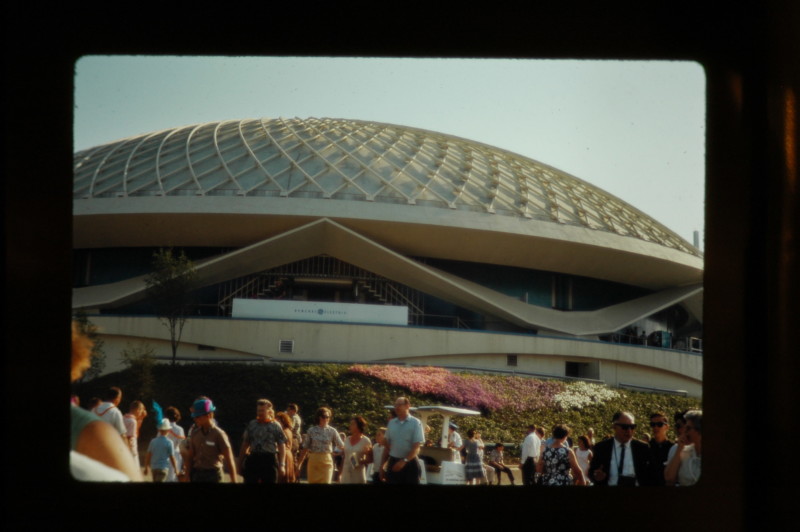
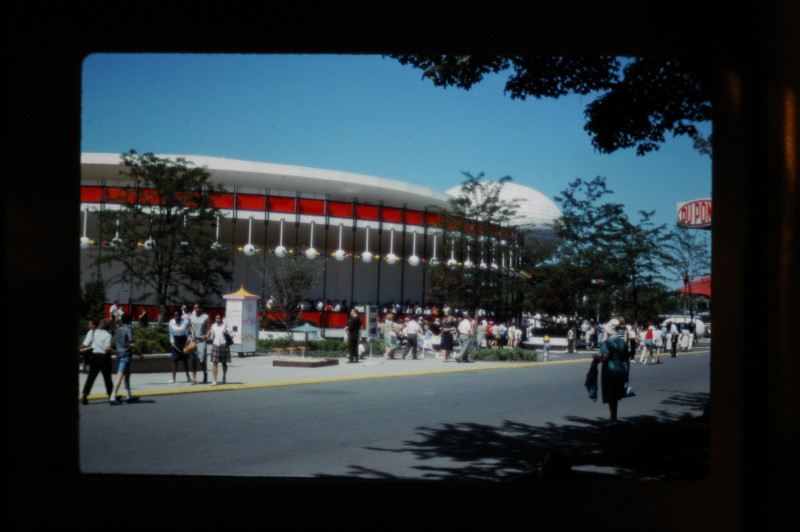
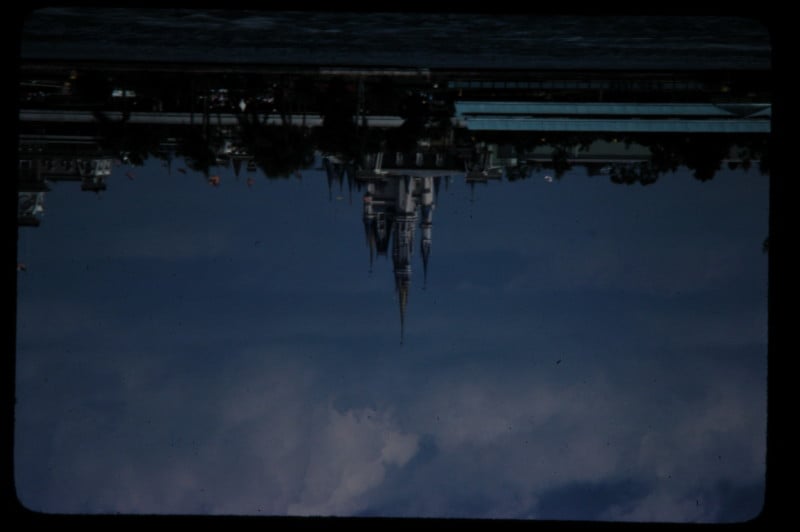
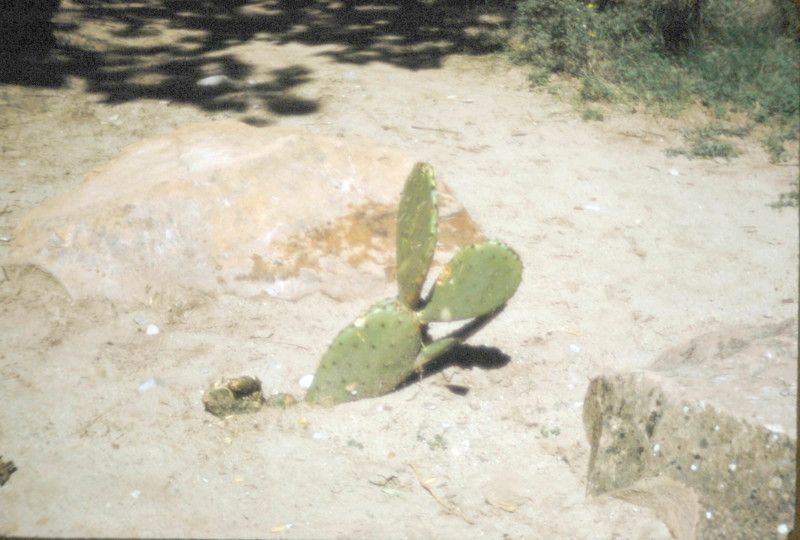
Below are some captures created by the setup;
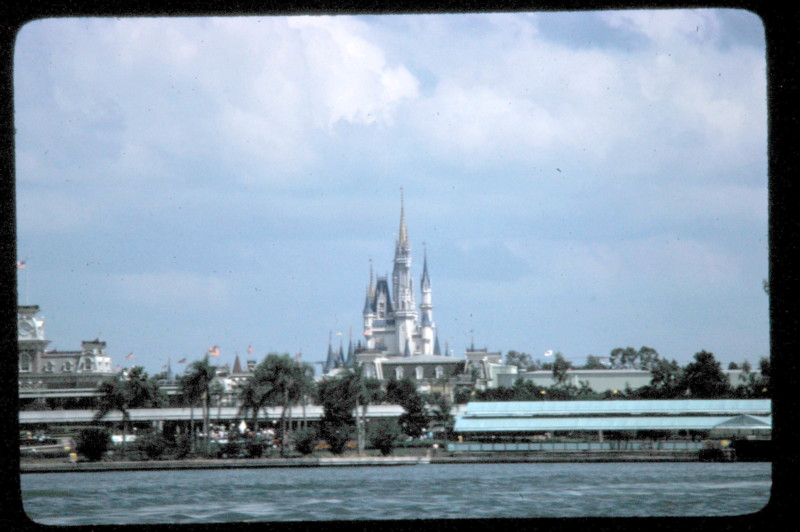
While the setup and 3D-printing may be a little overly-technical, Lawrence says the system itself is rather straightforward and simple. “you put a tray or stack of slides on top, make sure the camera is pointing at it, in focus, and has its manual exposure set properly (i was using 320 ISO, f/22, 1/10 sec shutter speed), and start the controller. Then just wait 10 minutes, and all 140 slides are captured!”
“If it took too long to do the capture, or any culling was needed before the capture, it just wasn’t going to happen. These slides would disappear if no one did anything, so any amount of capturing of them (even with poor results) is better than not doing anything at all. For the most part, these are family trips and vacations. No one else would care to do it, nor would anyone pay to do it…”
Lawrence says he is still working on the post-processing aspect of the setup. He currently has the images placed in a gallery with a small database on the backend where the images are tagged with what group or “slide tray” the images are from and any additional dates or keywords that may be relevant to make them easier to search through. His hope is eventually the software will be able to present albums based on the grouping defined by this database.
The photographer also plans on making the software and 3D-printing files available online through GitHub soon so that anyone can use them to get to digitizing their old projector slides so that they may be preserved (and shared) for years to come.
Image creditsPhotographs courtesy Scott Lawrence