Vaonis Vespera Review: Easy To Use But with Underwhelming Results
The Vaonis Vespera Observation Station is a small robotic telescope designed to be smart and fully automated, taking the guesswork out of astronomy and making it easy for beginners to start their journey.
The new Vaonis Vespera, originally announced almost two years ago and is now becoming available for $2,499, is technically a camera and not a telescope as it has no eyepiece or viewfinder. Instead, it captures images and sends them to a connected mobile device which can be shared with up to five other connected smartphones using the Singularity app.
While the device does works as described, the question is whether or not the Vespera is the ideal smart telescope and astrophotography solution for photographers.
Design and Build Quality
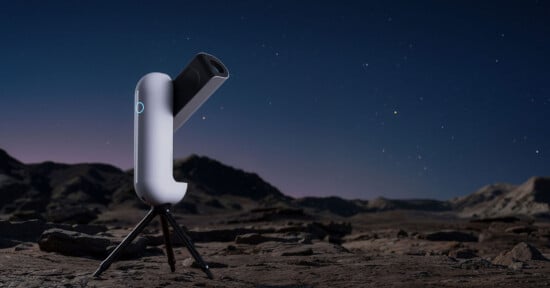
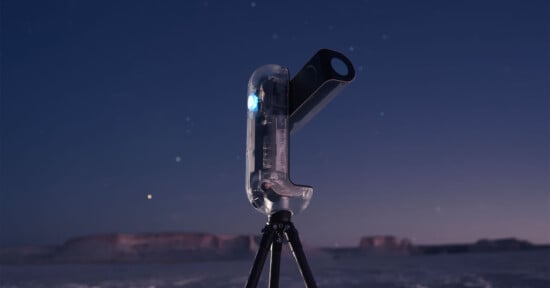
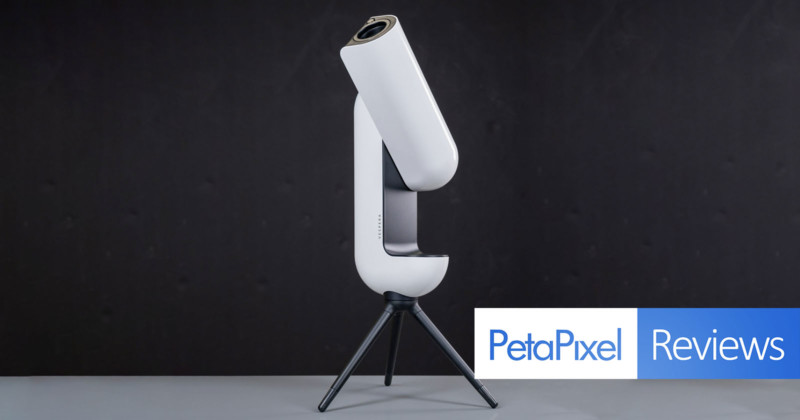
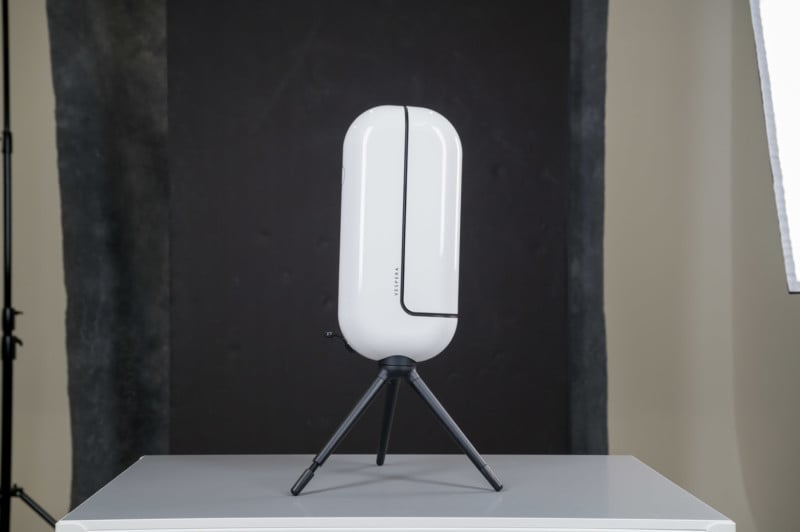
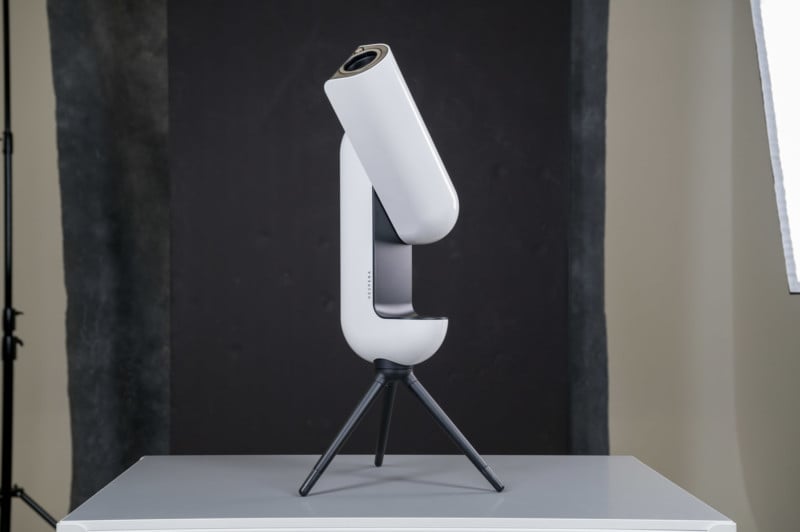
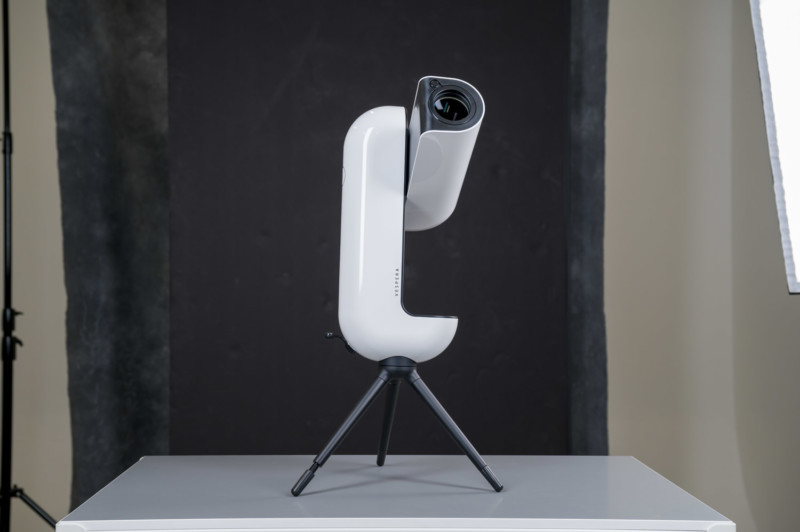
The unit itself looks much like an egg and is incredibly small and lightweight for what it does. Coming in at about 15 inches (40 centimeters) tall — not including the small tripod that adds about eight inches (20 centimeters) — and weighing just about 11 pounds, the device does seem to live up to the company’s claim of it being the “world’s lightest.”
The Vespera features a Sony IMX462 sensor and an Apochromatic (APO) quadrupled refractor with an aperture of 2″/50mm, a focal length of 8″/200mm, focal ration of f/4, magnification of x33, and a field of view of 1.6 x0.9 degrees. The company claims the device can operate for about four hours before needing to be recharged, but if you are near a power outlet (or even a USB-C battery/power supply), you can plug it in to allow for even longer operation.
The Vespera is capable of capturing 1920 by 1080 pixel images and is, for some reason, IP43 water resistant. The quadruplet 50mm lens consists of two lenses in two groups made with lanthanum glass that the company says results in zero distortion, zero chromatic aberrations, and zero astigmatism.
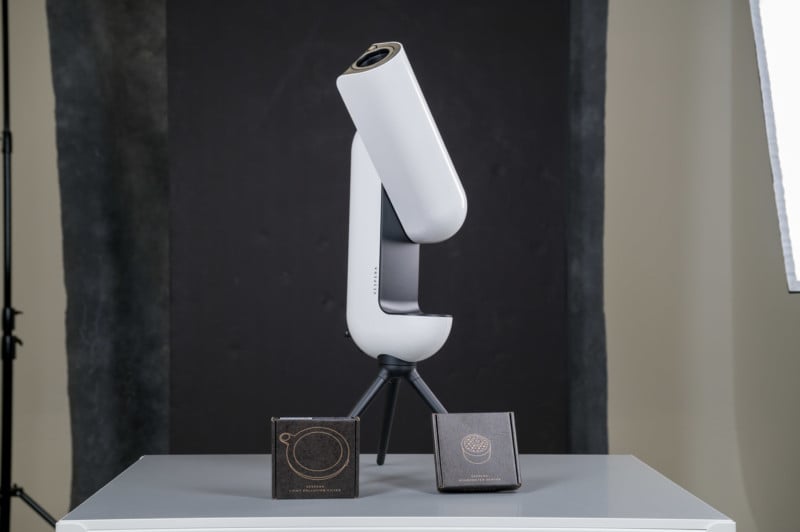
Out of the box, besides the sleek design, there’s not much to look at, as it really is quite small and unassuming. The company does offer a custom backpack that can store the observation station and all of its peripherals quite easily, continuing that promise of making it incredibly portable. But even without the provided backpack, the device is small enough that it can easily fit in most normal bags and backpacks on the market.
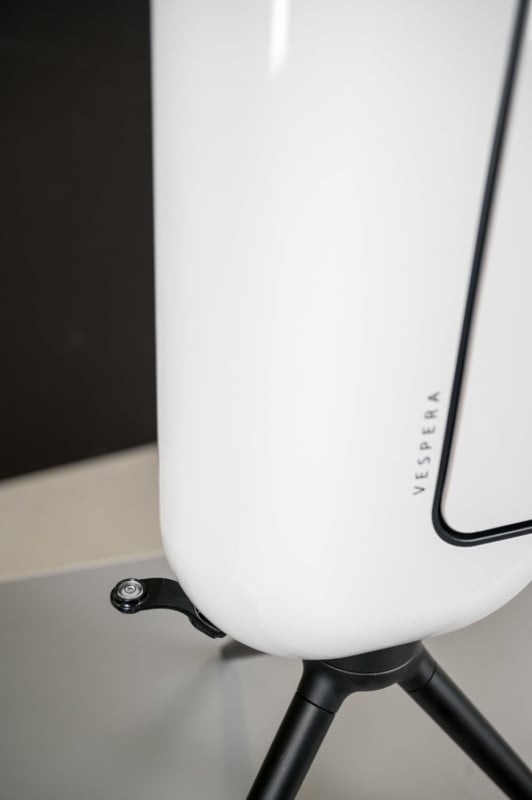
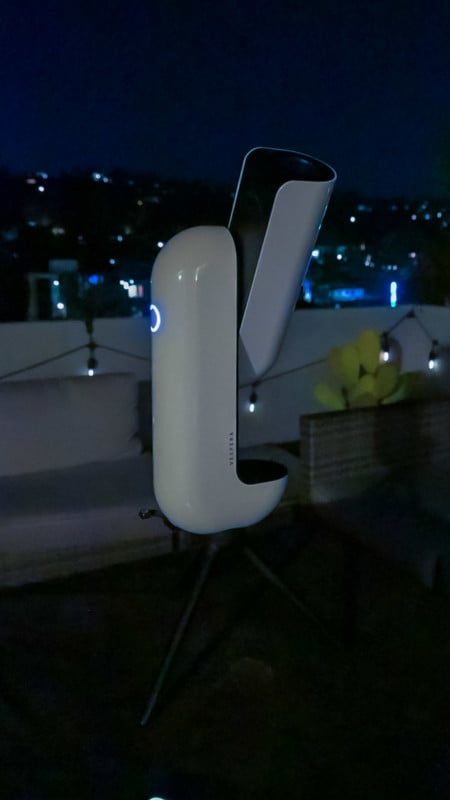
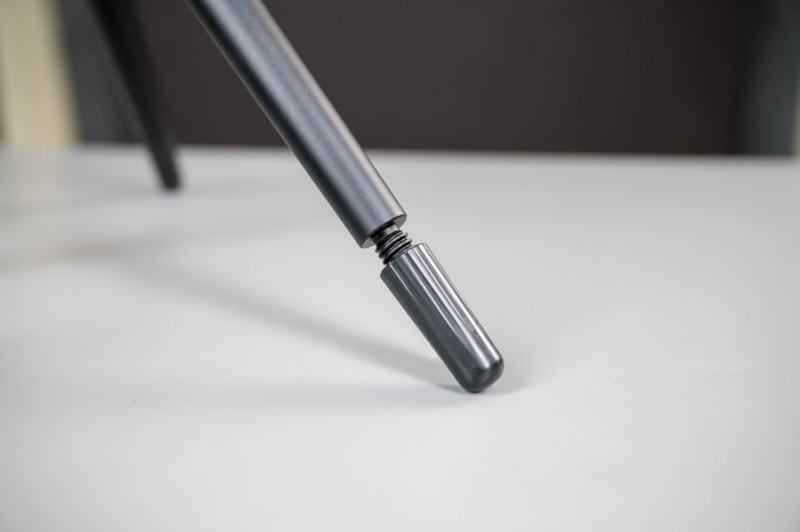
Setting up the device is rather straightforward. Just attach the included tripod base and legs, and connect the provided “level” bubble to the magnetic charging port near the base and tripod mount. After adjusting the legs of the scope to level out the scope as best as possible, you are ready to power up the device, connect the app, and start observing.
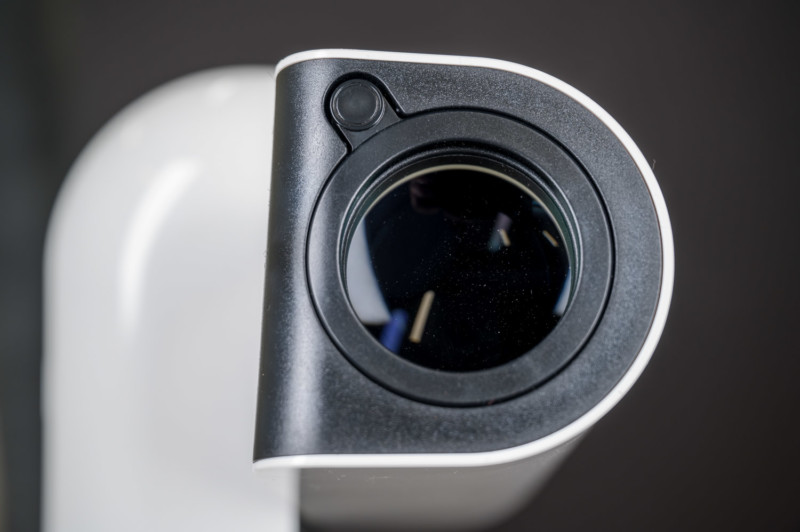
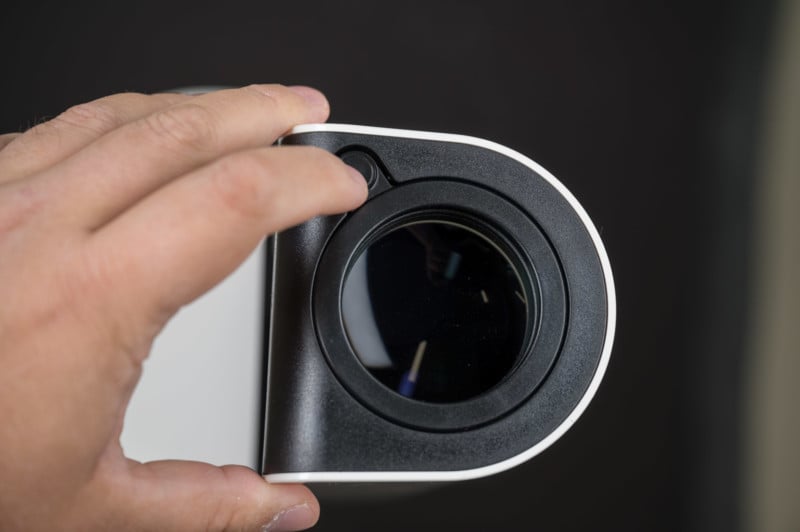
The Vespera is very smooth and sleek, leaving you with no real “grip points” to hold on to when installing the tripod or other accessories. I’d recommend you leave the Vespera in its bag (and the provided protective pouch) to avoid any dust, smudges, or scratches while connecting the tripod for initial use. That will also assure you don’t accidentally drop it.
Filters and Accessories
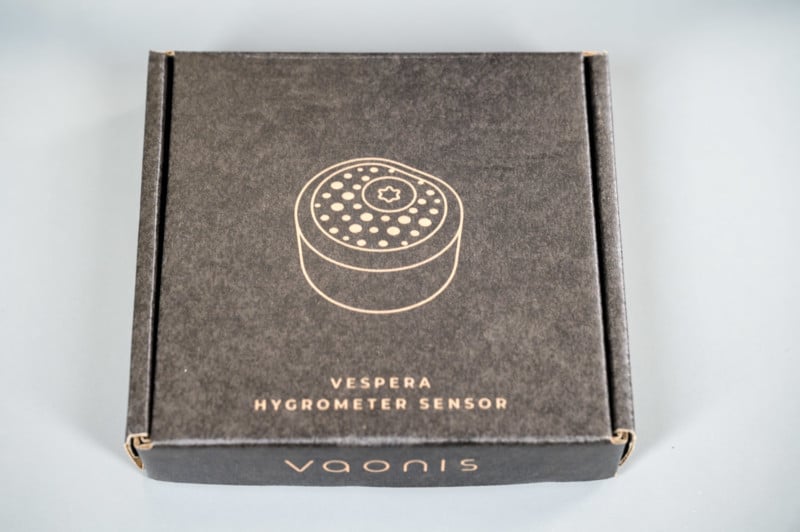
For our testing, Vaonis provided us with a Light Pollution Filter (which costs an extra $199) as well as a hygrometer sensor to measure and account for the humidity (another $99), all of which fit easily in the backpack provided. For those with a bit more in the budget, the company also offers a Solar Filter (for $99), a Dual-Band filter for better viewing of faint nebulae (for $399), and an extendable full-size tripod (for $149). The custom backpack from Vaonis is also available for $149.
If you decided to go all in on this device, which for the main unit already costs $2,499, you can see how expensive it could get.
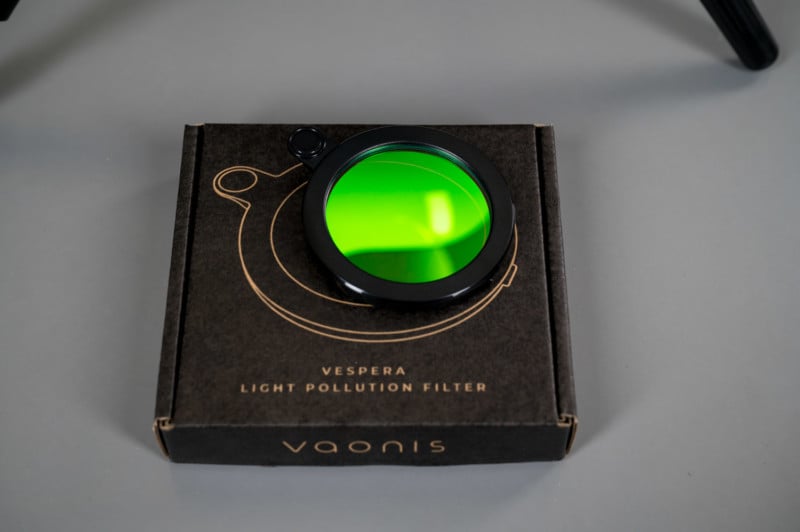
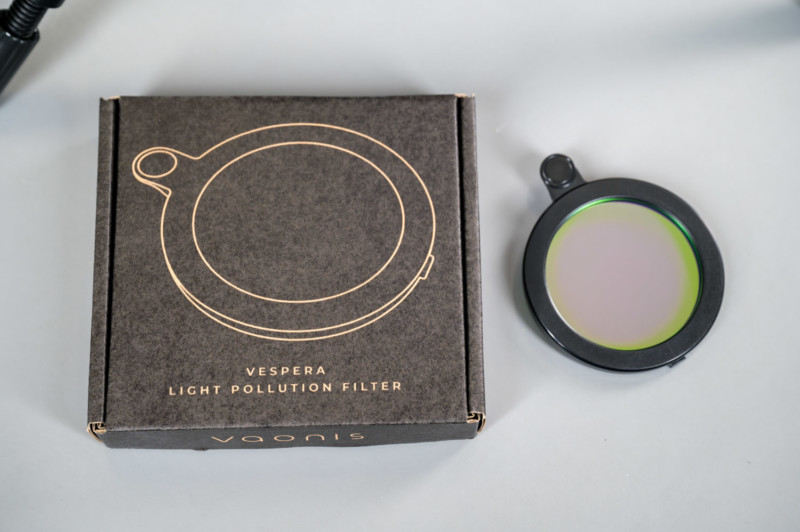
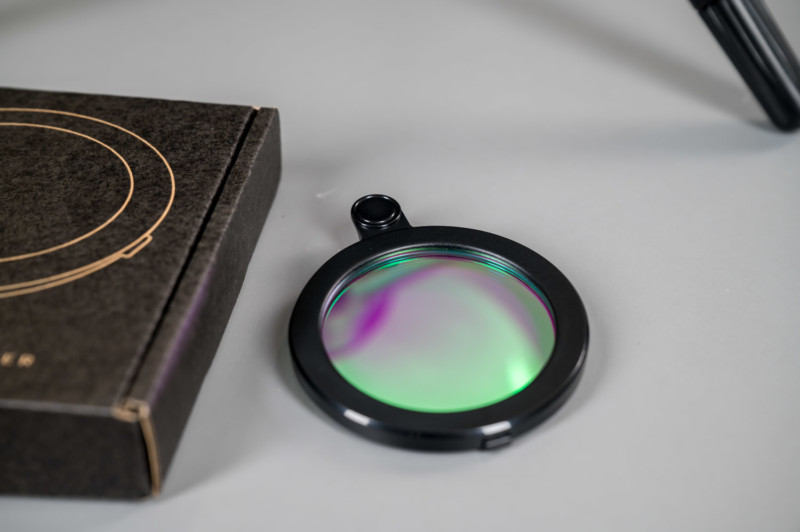

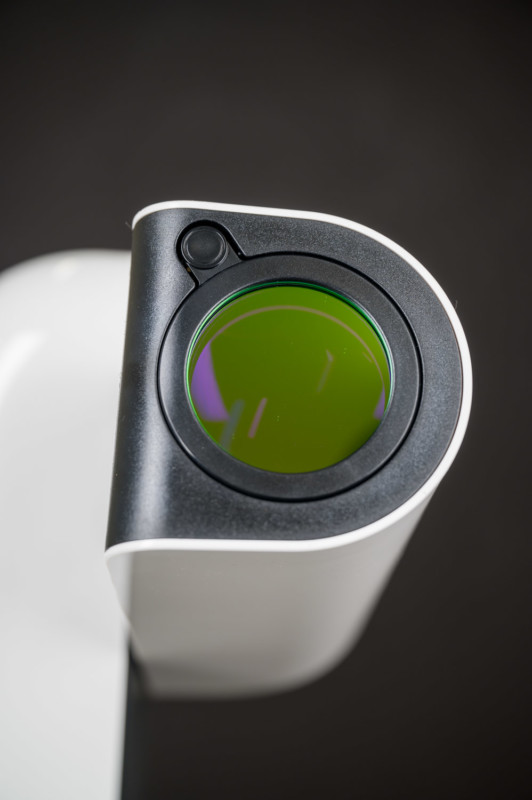
Changing the filters is as simple as a push-and-click to remove and install whichever ones you want. Sadly, they aren’t able to be stacked as you would be able to with more traditional scopes, but for the most part, this shouldn’t ever be a major issue especially considering the skill level of the target audience.
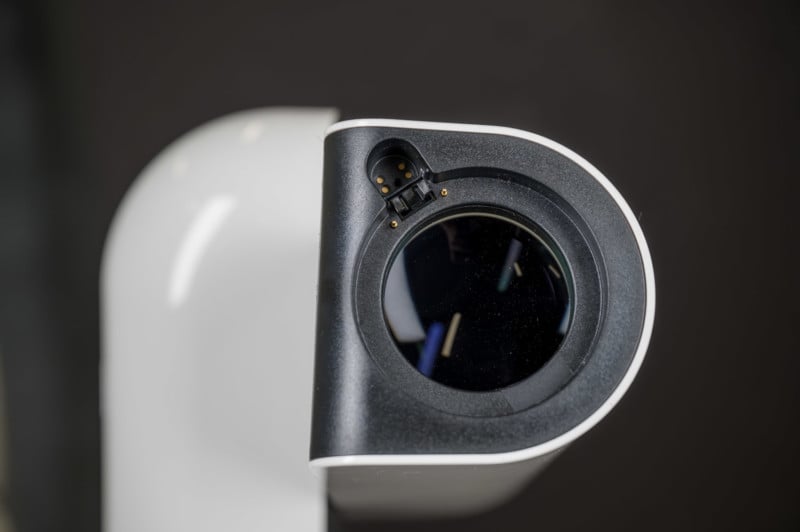
To install the hygrometer, you need to remove the lens filter (push/click) and then seat it in the slot clearly designed to contain it and screw it in with the provided toolset. The app should be able to detect which filter is attached once it initializes, allowing you for better viewing depending on the accessories used.

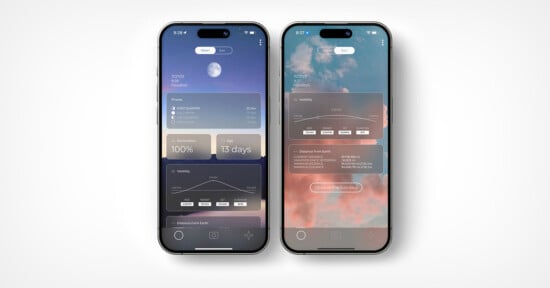
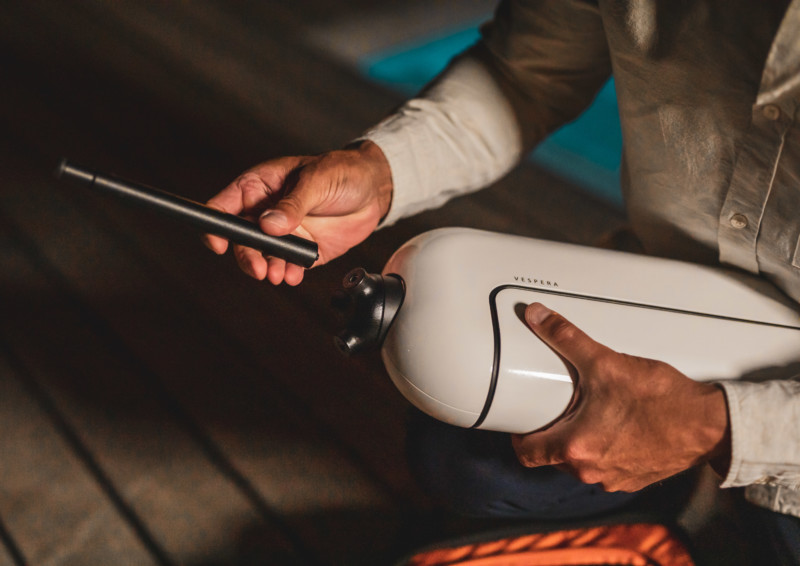
Mobile App and General Usage
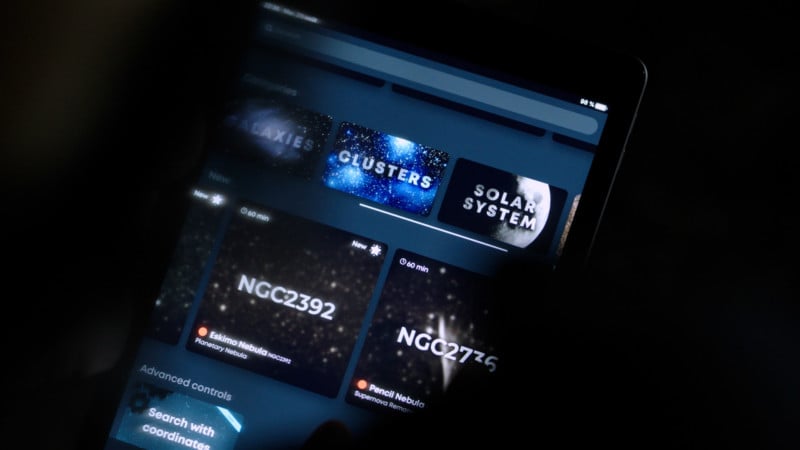
Since the Vespera is not a traditional telescope, everything needs to happen inside of the mobile app. Singularity, as the company says, is effectively your control room where everything happens. The app lets you access one of any stellar objects included in the company’s catalogs and you will get personalized recommendations on what to observe according to your geolocation and the astronomical calendar.
In addition to these screens, the app also provides notes about the “secrets of the Cosmos” and even has a trivia screen to look at for information on the celestial object being observed.
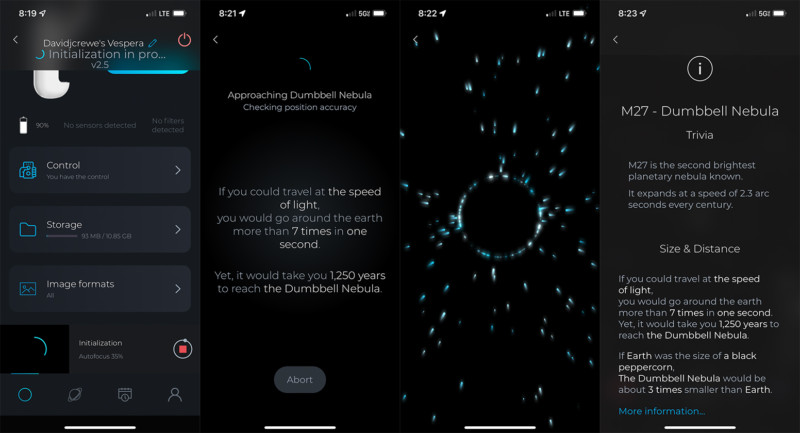
Once the device and app are connected, the Vespera uses star pattern recognition software to align itself with the night sky and presents you with a list of observable objects with recommended amounts of time it will take to produce a quality image.
The start-up initialization process will take about five to ten minutes and it does this automatically. Once you’ve selected the object you want to observe, the Vespera will move to capture it and starts its autofocus routine. Once this is complete, you will start to see the images that continue to improve (brighter and clearer) the longer and more images you allow the device to capture and stack.
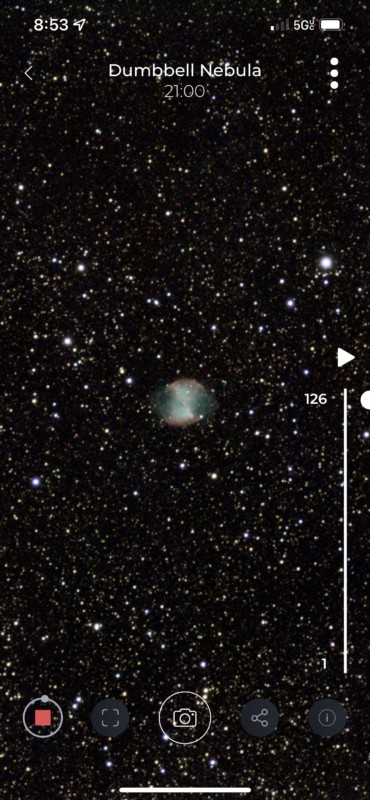
The Vespera will keep stacking the images and reducing the noise in them until you tell it to stop or the object is no longer viewable in the night sky. For most of the objects the observation station can capture, Vaonis recommends at least 10 to 15 minutes of capture time, with some objects needing well over an hour or two to provide a decent image. During this time users can hang out by the device checking in periodically at the updated image capture stack (even playing a mini timelapse of the progress within the app), watching the clarity improve over time.
The Vespera will use its motor that is controlled by an onboard computer to automatically track the stellar object you’ve selected to observe and continue to do so until you tell it to stop (or it loses sight of it), compensating for Earth’s rotation.
When you do get a photo though, you can download them directly onto your phone and save them either as a JPEG, a “lossless RAW,” or even as at TIFF for manual editing later, too.
I found myself wishing there was a way to save this whole process as a timelapse video. It is possible to simply create a screen recording on your device, but the process is rather clunky and you can’t maximize the resolution of the captures. I don’t know if anyone else would want this, but I feel like it’s a missed opportunity, personally.
One frustrating situation I ran into is that sometimes the autofocus doesn’t quite nail sharpness. If you happen to get some passing cloud cover during a capture time, if the device is shaken, bumped, or moved a little, or even if you happen to stand in front of it you could run into a problem. Once it does lock in on the celestial object, it can take between 10 and 30 minutes before you really notice the image isn’t actually focused properly. When that happens, you have to start the initialization process over again, then restart the photo-taking process which is a huge chunk of lost time.
Image Quality And File Access/Sharing
The images captured and created by this device are decent — not amazing, but decent. It is definitely something fun for beginners and families, but they are definitely not something a professional astrophotographer (or astronomer) would really go wild for.
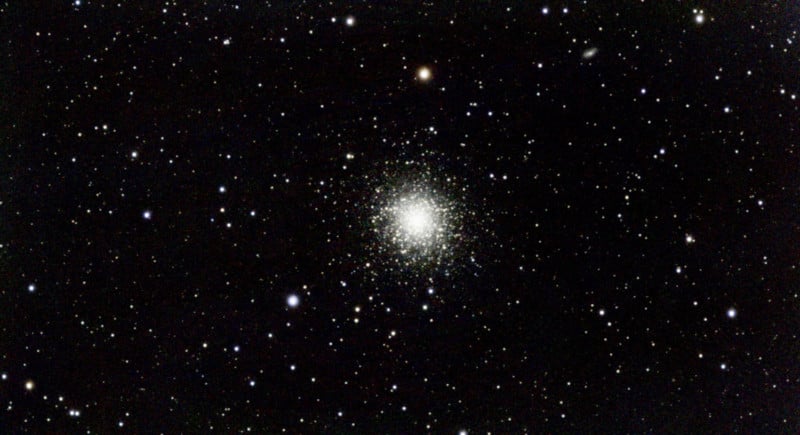
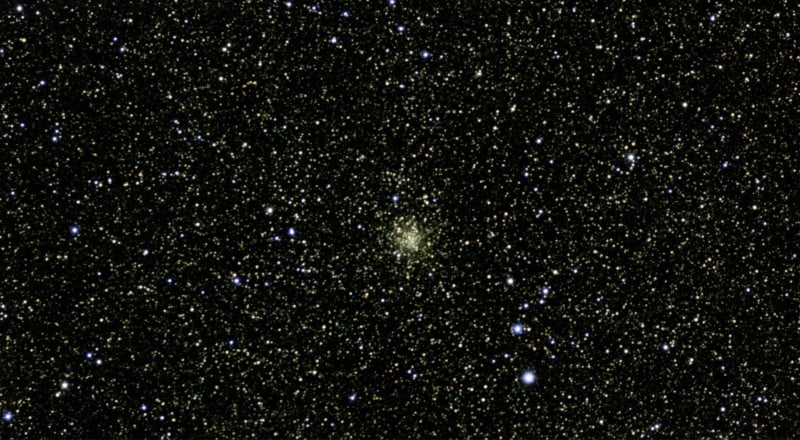
The system can produce 1920 by 1080 pixel images. For example, below is a capture of the M13 nebula captured on two different nights and from different locations. The first image was captured with over 300 images stacked in an environment pretty far out of Los Angeles with next to no light pollution obscuring the view.
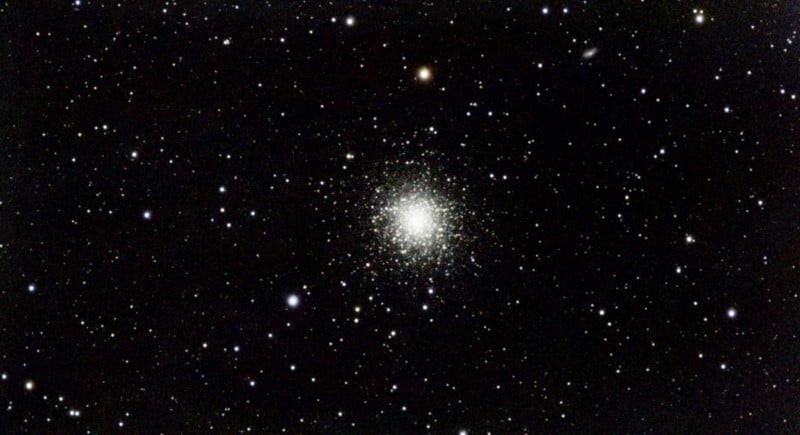
The second image (below) was captured in the heart of Los Angeles, just down the street from the Hollywood Bowl. For this one, I attached the Light Pollution filter to help but even then the nebular was very hard to see (by the device) and the captures were of far less quality. You can even see a bright streak of light across the top third of the image where one of the Hollywood Bowl Spotlights was pointed across the sky.
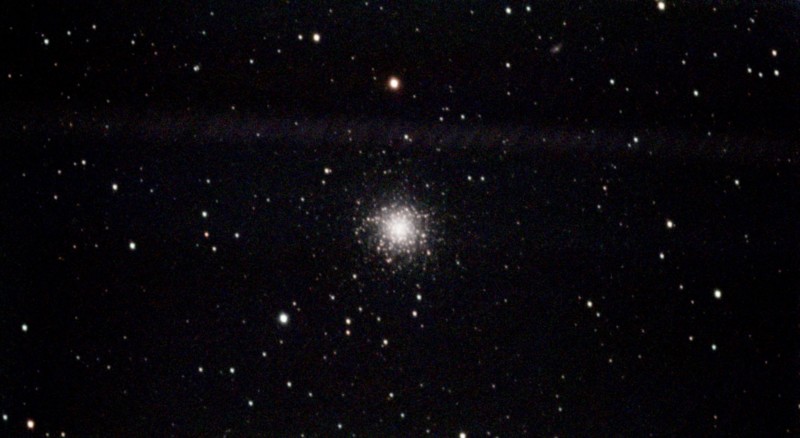
The light pollution filter helped a little, but it still left the image stack with much less clarity and quality. It also wasn’t even really in focus. With this in mind, if you’re in an area that has some significant light pollution like I do in Los Angeles, you may want to consider venturing further out of the hot spots before using the Vespera, even with the filters.
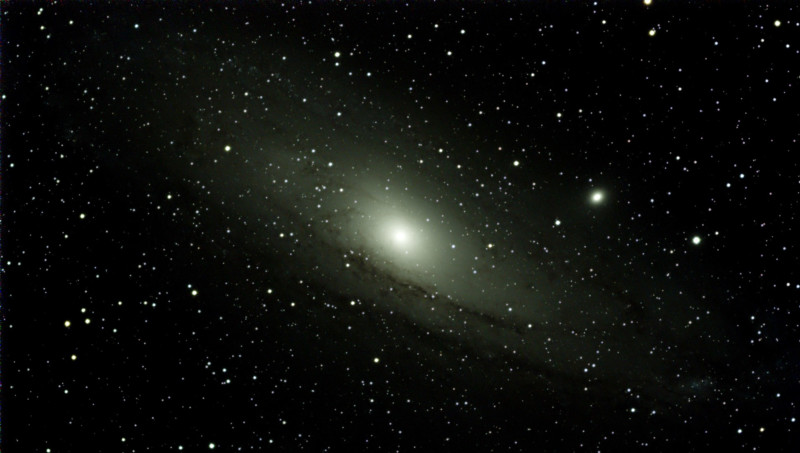
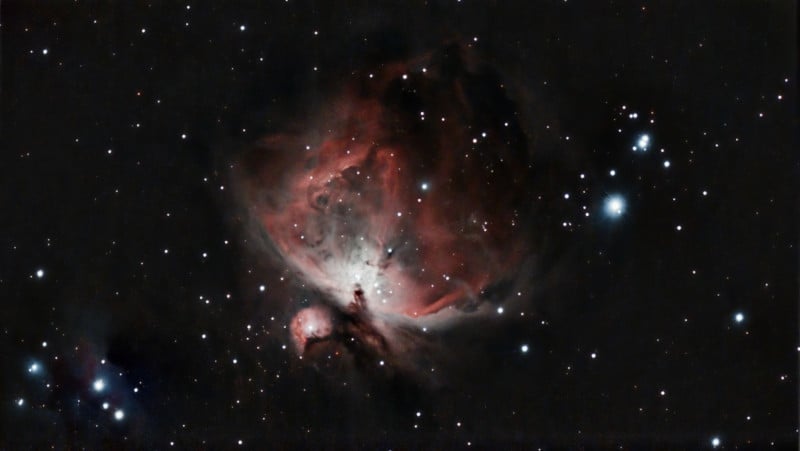
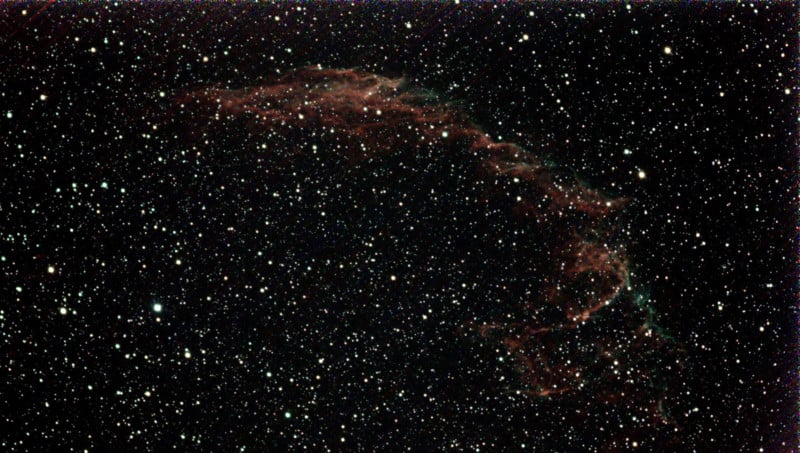
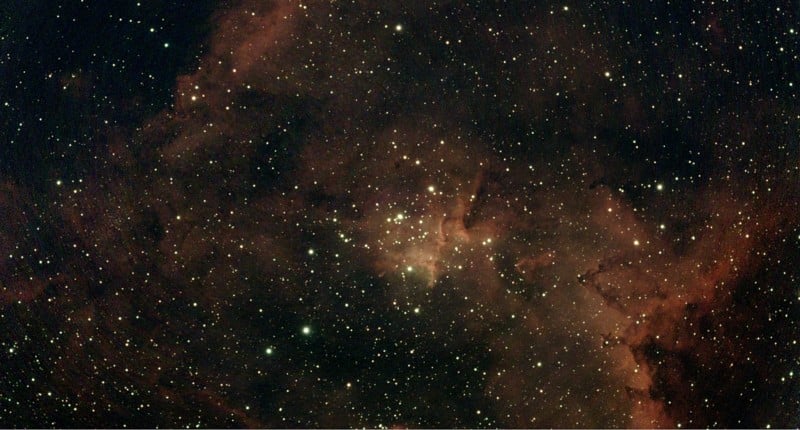
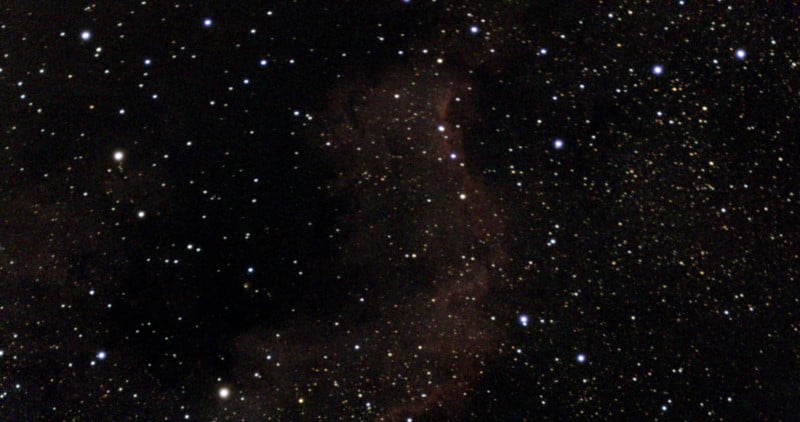
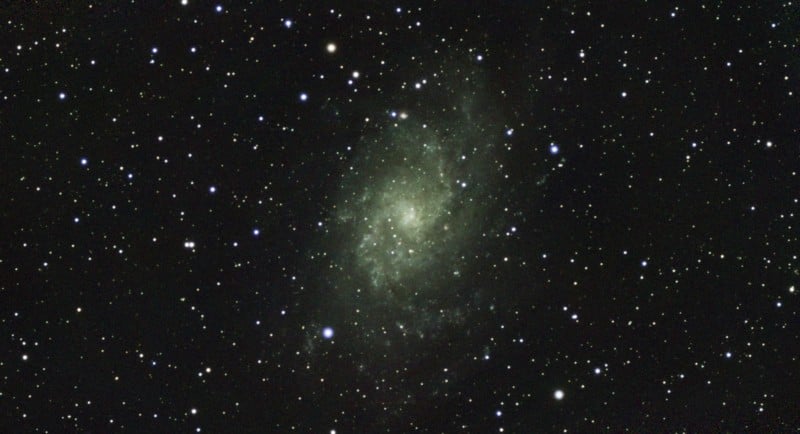
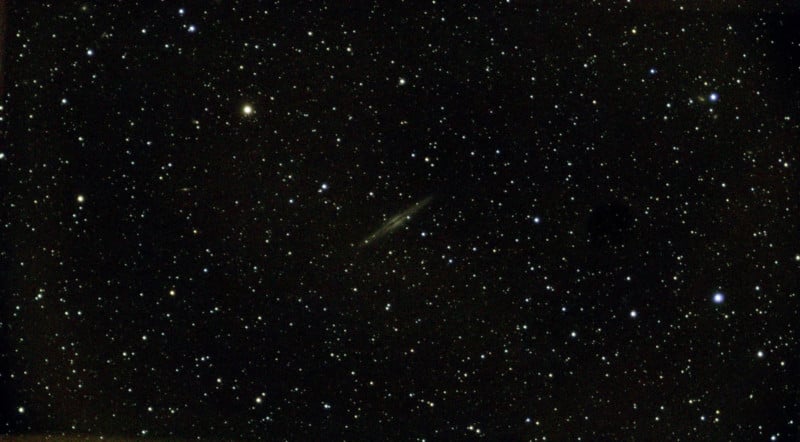
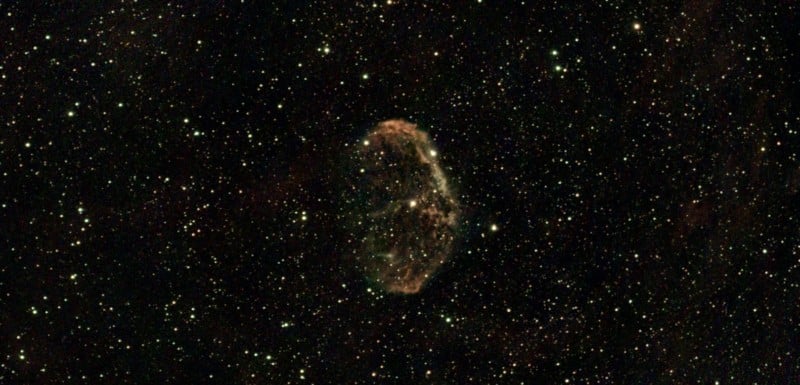
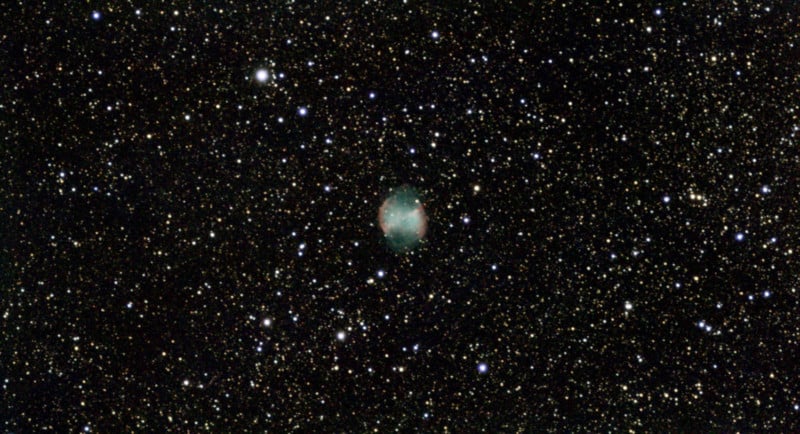
Below are some additional images I captured around Los Angeles and a few supplied by the team at Vaonis:

Another point worth mentioning is that actually getting files off the Vespera can be a little confusing at first. Through the Singularity app, you can save the JPEGS directly to your smartphone or tablet which makes those files easy to share, but getting the RAW files or exported TIFFS is not as simple.
To do that, you basically need to connect to the Vespera as if it were an FTP server and download the files that way. The good news is Vaonis has very detailed instructions on how to do this.
This process should be easier and more streamlined, and I hope Vaonis addresses that in the future.
It’s also worth mentioning that the Vaonis has a “Adjust Frame” mode that lets you take multiple images of the night sky to stitch together later and according to the company, in a future update, the app will include an automated version of this called “Mosaic Mode” which should go live in early 2023.
While using the observation station is actually quite easy, for more serious photographers and budding astrophotographers, the images and image quality are rather underwhelming. Yes, the device is really neat, fun to use, and is easy to deploy, but the images are effectively two megapixels in size, and you only get a good photo after upwards of an hour of stacking and enhancements. It is very fun to use with friends but not really something you’d focus your night around, but rather something to set up and let go while doing other things like simply enjoying the night sky or the company of those around you.
On the plus side, it can capture very faint objects that most normal optical telescopes couldn’t ever even hope to capture but closer celestial objects like other planets in our solar system — and even the moon — can leave you feeling quite underwhelmed with the results.
Basically, as cool and fun as this and other smart telescopes are, they are best utilized for rich and deep field observations. If you want to look at closer-up objects and/or take higher resolution images of them, it may be best to pair this device up with a normal optical telescope that you can scale out accessories and camera equipment with as your skills with photographing them advances.
One last thing: while a four-hour battery life sounds fine on paper, it took between 30 minutes and an hour to capture usable images where I am, which means that four hours go by quickly. For many, I don’t think that’s going to be enough, and they’ll be forced to bring along battery packs in order to keep the observations going long into the night.
Easy To Use, Easy To Carry, Underwhelming Image Quality
The Vespera can work in a wide range of environments but is best in a properly dark location, as you might imagine. It has some really neat features and does exactly what Vaonis advertises, but I think it lacks the performance that most who call themselves photographers would hope to find — the rather unimpressive image quality the biggest downside.
The app and software powering the Vespera is pretty great, it just let me down on the camera portion, which I argue is the most important detail to nail. Even after letting it run for over an hour to get the best possible image quality, I was disappointed with the results.
Overall, the Vaonis Vespera Observation Station is fun to use and is honestly pretty impressive given its size and portability. I also should say it is much easier to use than some other “beginner” telescopes on the market. While you don’t have an eyepiece to look through or anything that will allow you to make manual adjustments, the Vespera’s live image stacking technology makes up for that — as long as you have the patience to wait around for it.
The system isn’t cheap at $2,499, but if you are a casual stargazer or budding astronomer, you might enjoy what it offers.
Are There Alternatives?
There are a few other smart telescopes on the market with some more advanced and additional features for budding astronomers and astrophotographers, including the previously reviewed Unistellar eVscope 2 for $5,199, or the $3,999 Stellina, and the “coming soon” Hyperia (both from Vaonis) for an astronomical $45,000.
Should You Buy It?
Maybe. I can see the appeal for beginner photographers, families, or just those interested in a cool digital telescope camera they can use to explore the cosmos. But for more serious photographers, the Vaonis Vespera probably isn’t going to cut it.