Unistellar eVscope 2 Telescope Review: Fun, But Lacks Image Quality
A few months ago Unistallar and Nikon announced the launch of a new smart-telescope called the eVscope 2. The two companies claimed it was the world’s most powerful and simple-to-operate digital telescope for consumers. While I absolutely agree the system is incredibly easy and actually fun to use, dubbing it as the world’s most powerful is a hefty over-promise.
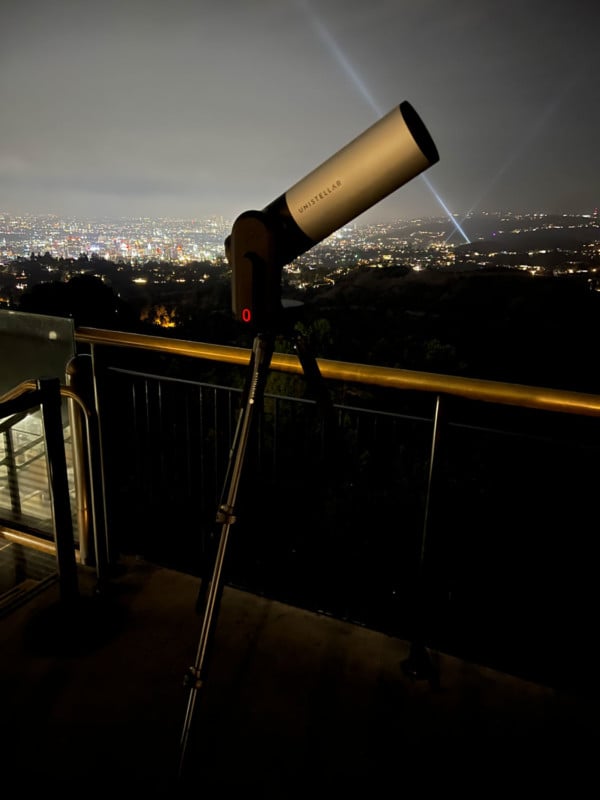
The company sent us the $4,200 telescope to test out around Los Angeles where light pollution would be a challenge but we also coincidently struggled with a period of consecutive cloudy and hazy days where visibility was incredibly low. Despite taking it out on multiple evenings over the two weeks I had the device, there were only really a few brief moments of clear skies available. That being said, despite my issues with mother nature I found the device to be really fun to use with my friends.
Design and Build Quality
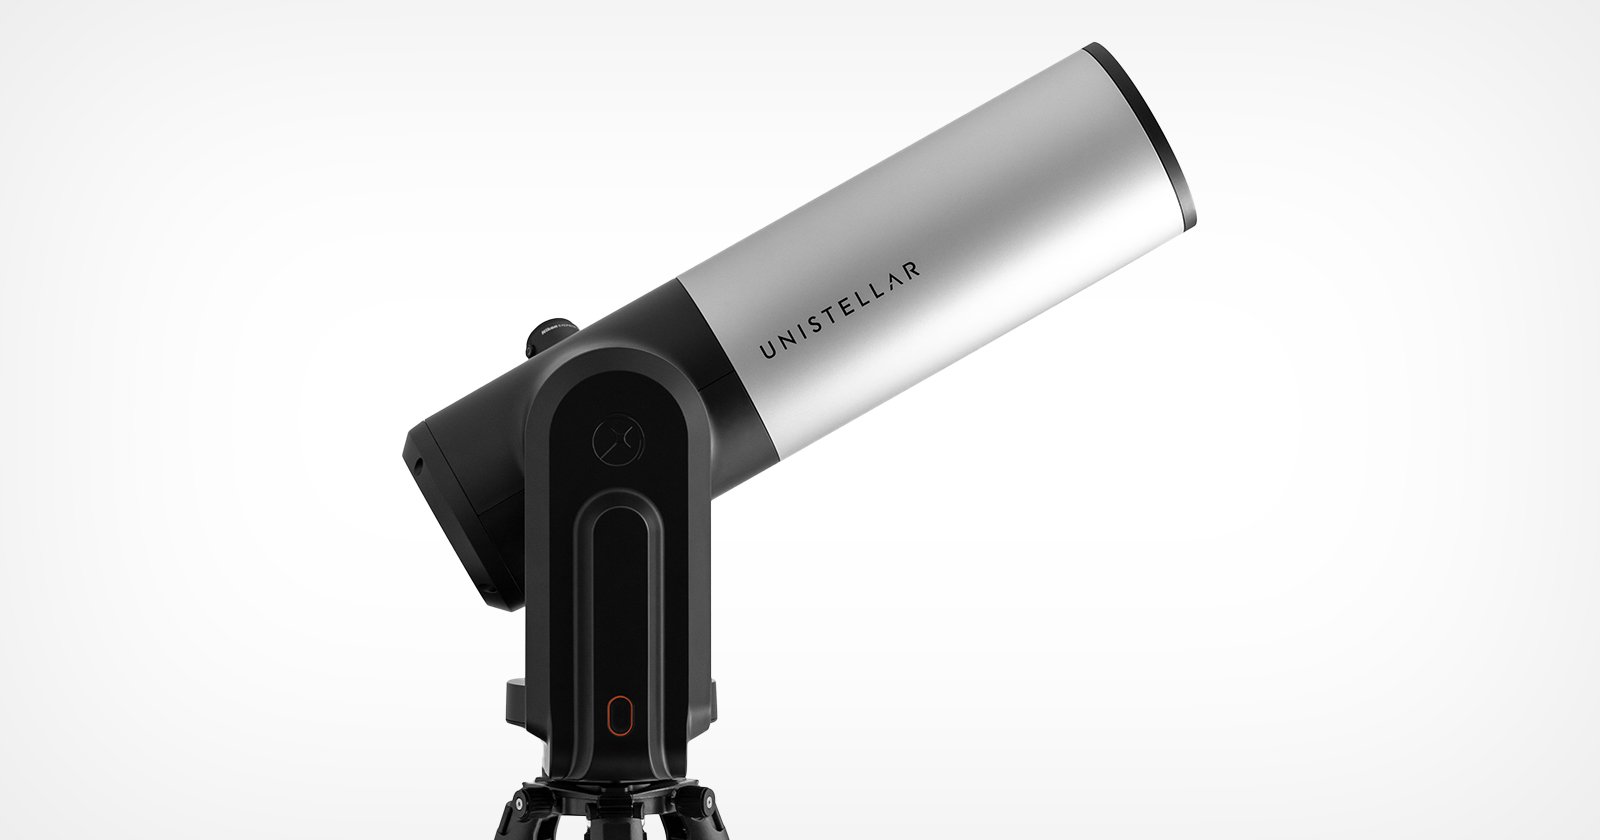
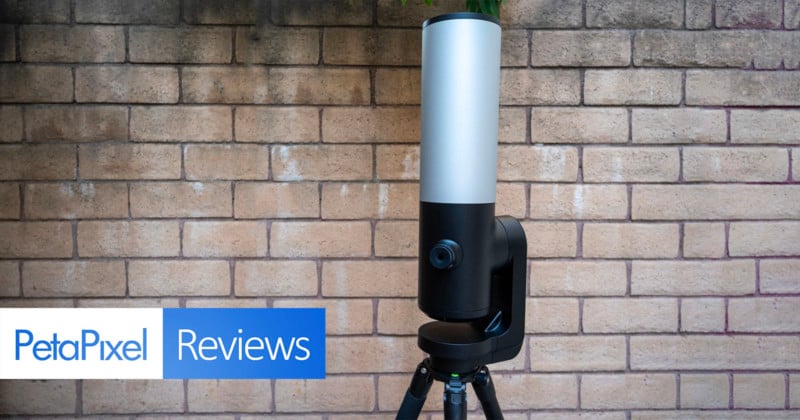
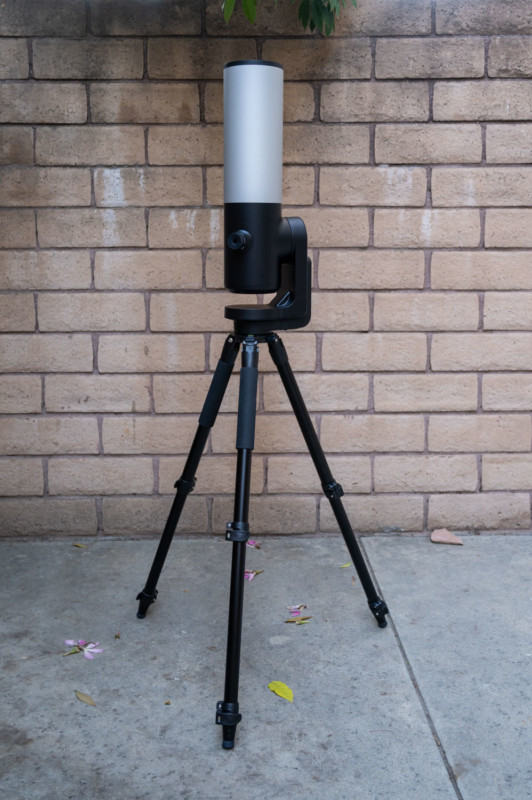
Out of the box, the telescope is surprisingly compact and comes with a comfortable and well-designed backpack and a “customized” tripod for safe and easy transport and setup. The tripod sits on the outside of the bag while the telescope itself slides into a custom-fitted backpack with foam inserts and straps to keep it safe while you’re moving around. This includes a small padded “bag” on the inside to hold extra USB-power supplies, cables, tools, and anything else you may find yourself wanting to store in there.
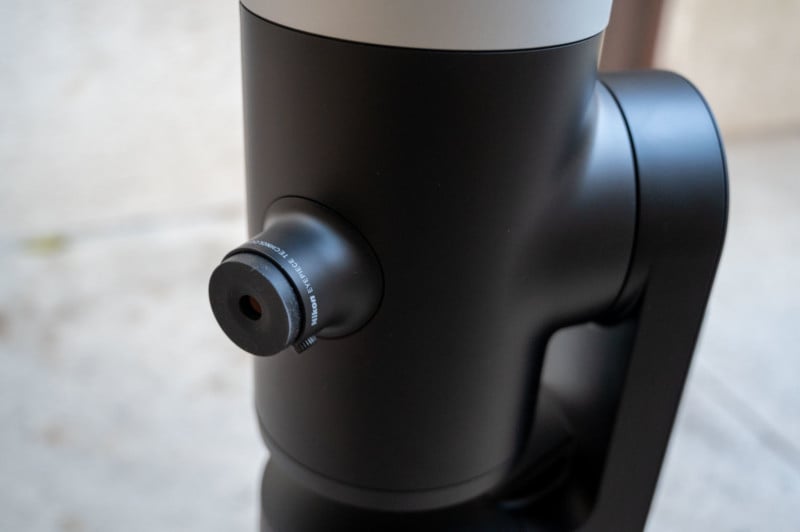
The new eyepiece, which is designed in partnership with Nikon, is a nice new feature that works relatively well. The previous (and much cheaper) model, the eQuinox, relies entirely on a connected app to be able to view and make adjustments.
I can kind of see why.
While I did use the viewfinder to see how things looked compared to on the screen of the app, I didn’t use it as much as I thought I would since you had to make movements for the telescope using the app anyway. It was often was much easier to rely on that than checking and making manual adjustments back and forth. It is worth noting that the telescope is an entirely digital device that requires it to be powered up to use. That means the eyepiece is also electronic so there is no real option for analog or manual adjustments, and you cannot modify the telescope to accept another camera like you could with traditional, non-electronic telescopes.
According to the company website and spec sheets, both the eVscope and the eQuinox telescopes are about the same size and weight, and both have a 4.5-inch diameter mirror inside. However, the eVscope does have better resolving power and a larger field of view. The company says the eVscope has an effective focal length of 450mm and a sensor capable of capturing 7.7-megapixel images with a digital magnification factor of up to 400x.
The only thing I didn’t really like is that the scope doesn’t have a “handle” on it, which made me really nervous when taking it out of the bag and mounting it on the tripod in a dark environment. It isn’t heavy or awkward, but it did feel nerve-wracking to handle such an expensive piece of technology without a real “grip” on it. The last thing I would ever want is to slip and drop the scope as I was getting it in position.
Mobile App and Focusing
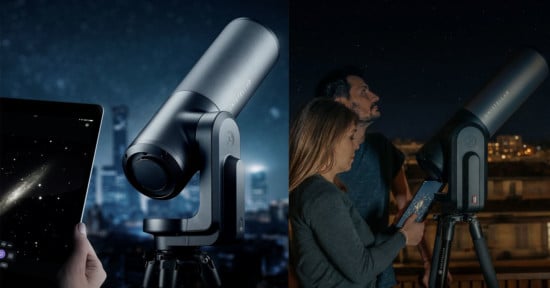
The telescope can be used to manually find and view stellar objects (if you happen to be more experienced with telescopes than I am) or you can pair it with the free app on Android and iOS devices and let it automatically seek out and find constellations, planets, and other celestial objects that are visible based on your GPS and elevation data.
The eVscope 2 can rotate a full 360-degrees on its base while tilting up and down to find and track celestial events, and while it may be a bit jumpy making adjustments manually, using the app’s list of available objects to choose from is impressively fast and smooth to locate and track.
As someone who is absolutely not familiar with using a telescope, I have to admit, the automation within the smartphone app was incredibly fun and easy to use. On the first use of the app, the telescope uses an autonomous field detection to find its own place on the planet (and relative space) by comparing the GPS information from the connected smartphone and comparing it to what it can see itself in the sky. From there it was quick and clear how to use the automated tools to find a celestial object and have the scope automatically slew to its position, leaving the user to ensure the focus was set.
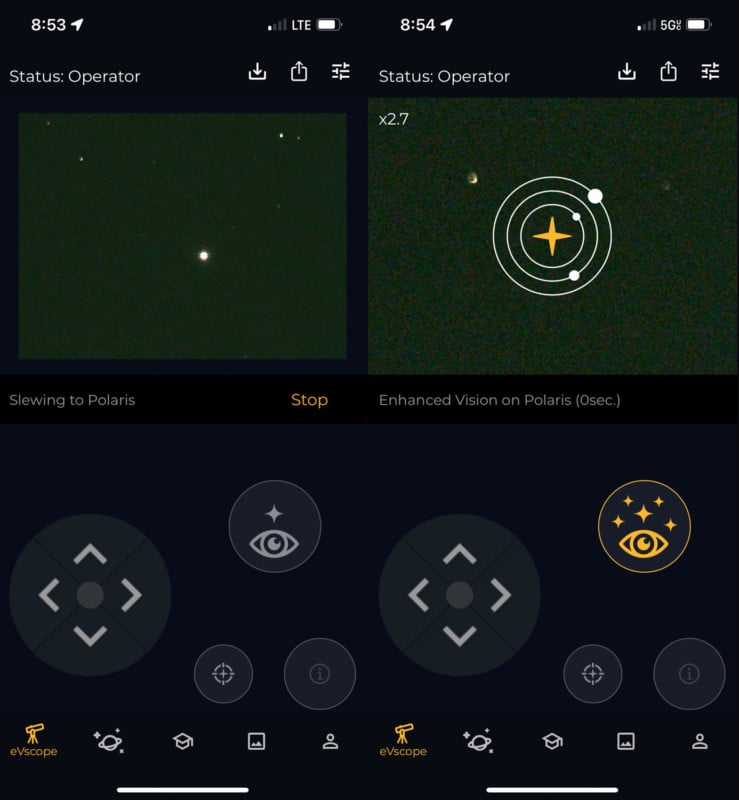
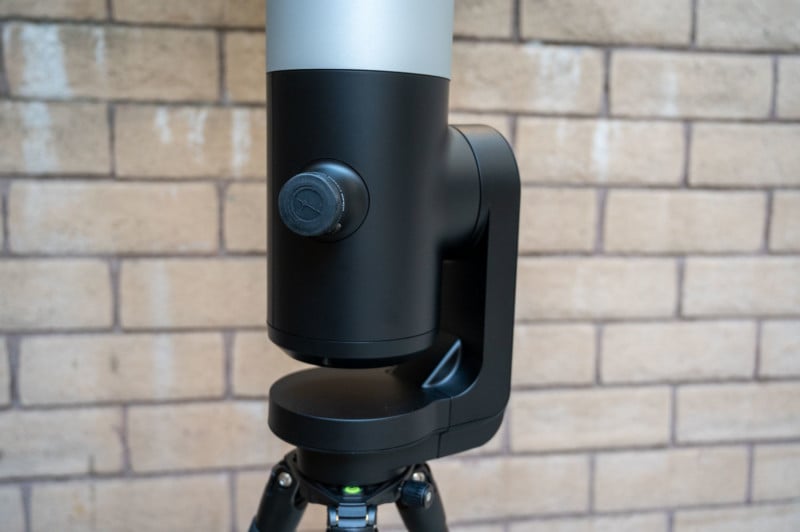
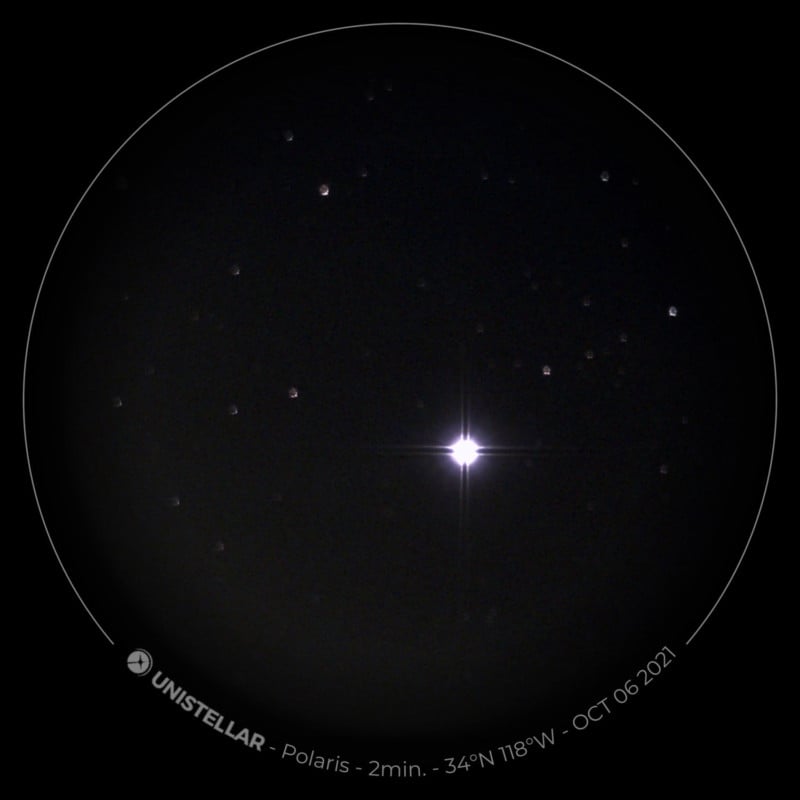
Based on whatever region the user is in, the app will tell you what is available to be seen through the scope, including recommended objects, leaving the user with just a click for the scope to get moving to the object. It is at this point where things get a little tricky for rookie users like myself. When focusing on objects at such a distance, the company recommends using a device called a bahtinov mask, which is conveniently built into the lens cover of the telescope.

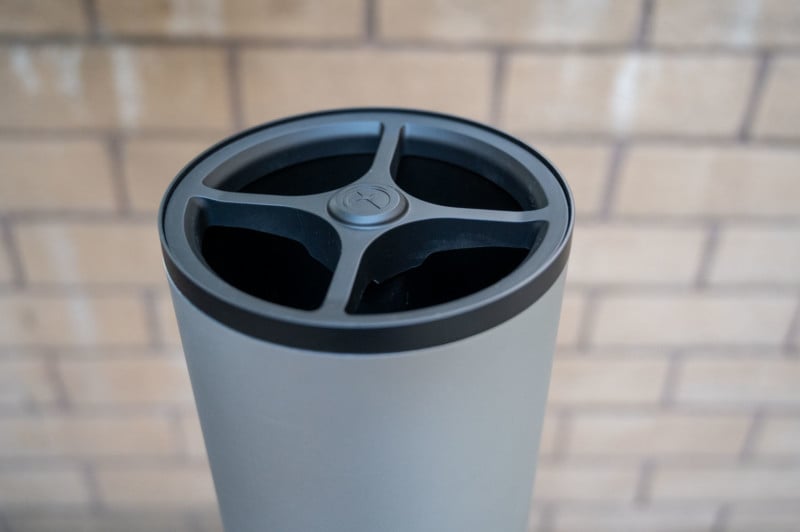
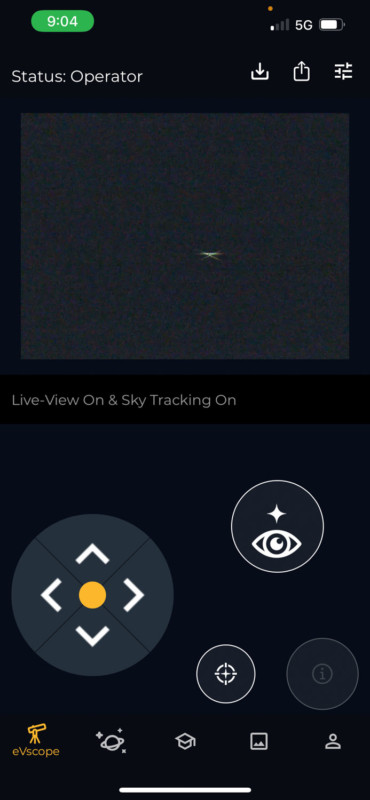
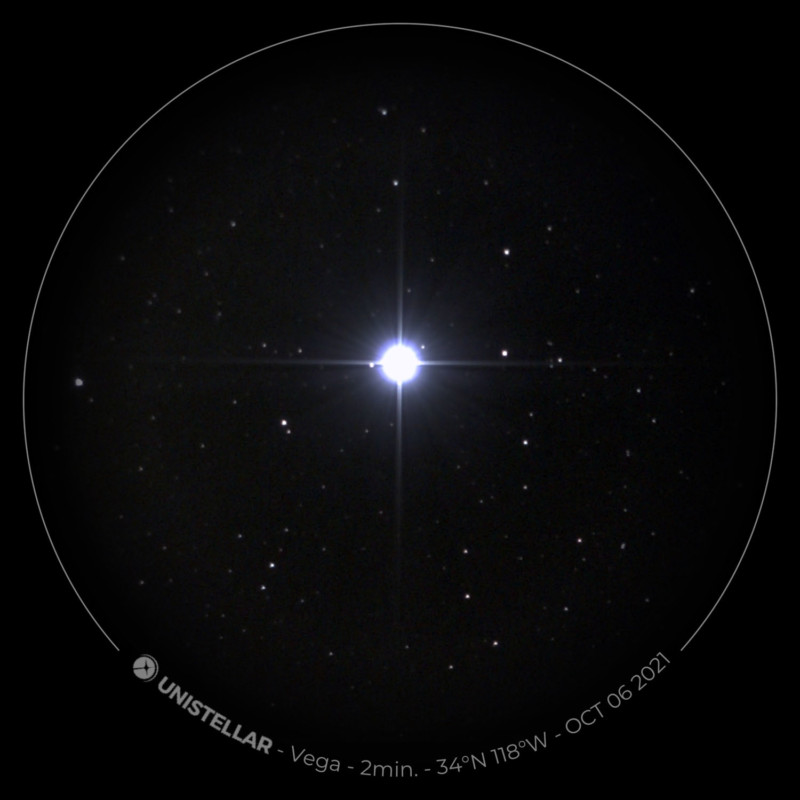
Using the mask and once pointed at a “bright” celestial object, it will create a distinct crosshairs pattern or diffraction spikes that you need to align together, creating a sort of X to achieve optimal focus (the middle spike will be dead center of the X). As an amateur, this was rather frustrating to do properly since when you touch the telescope to adjust the focus ring (located at the bottom of the scope) it can significantly shake and move the scope’s point of view. Pretty much all of the images from the first night out that I shot were at least slightly out of focus, if not entirely, but I feel as though that was still mostly my user error more than anything else.
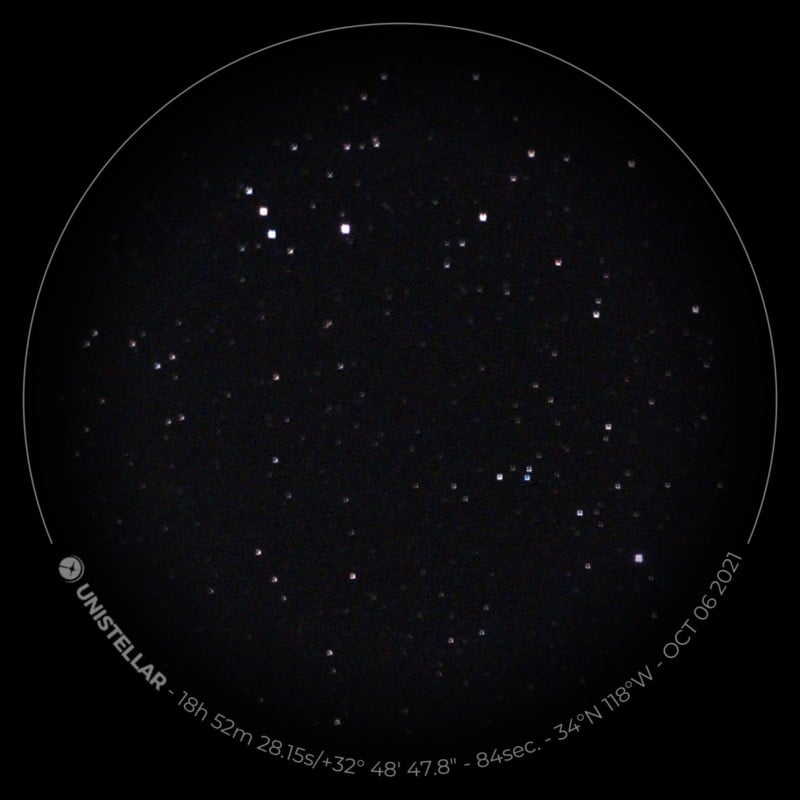
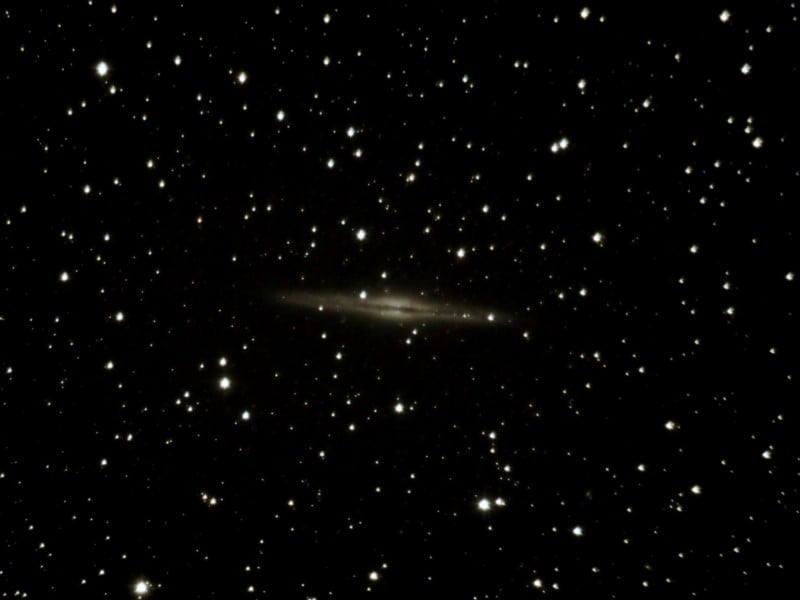
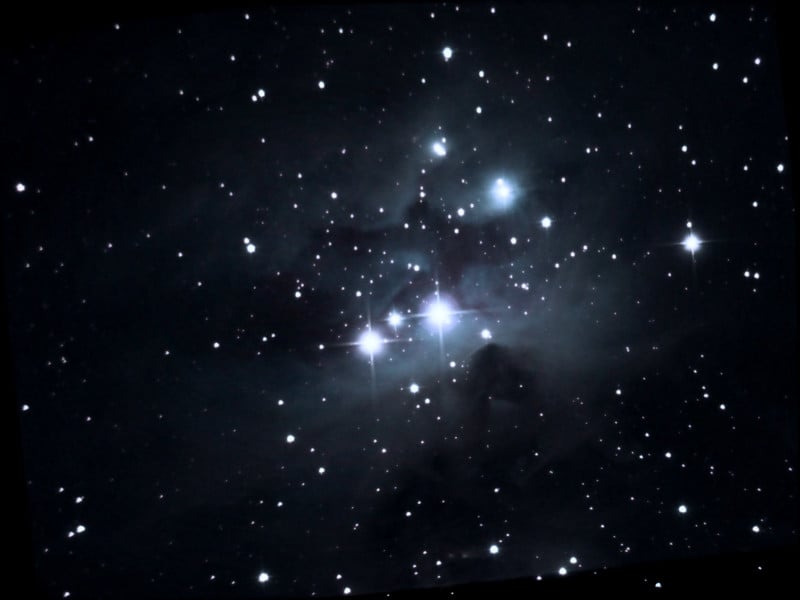
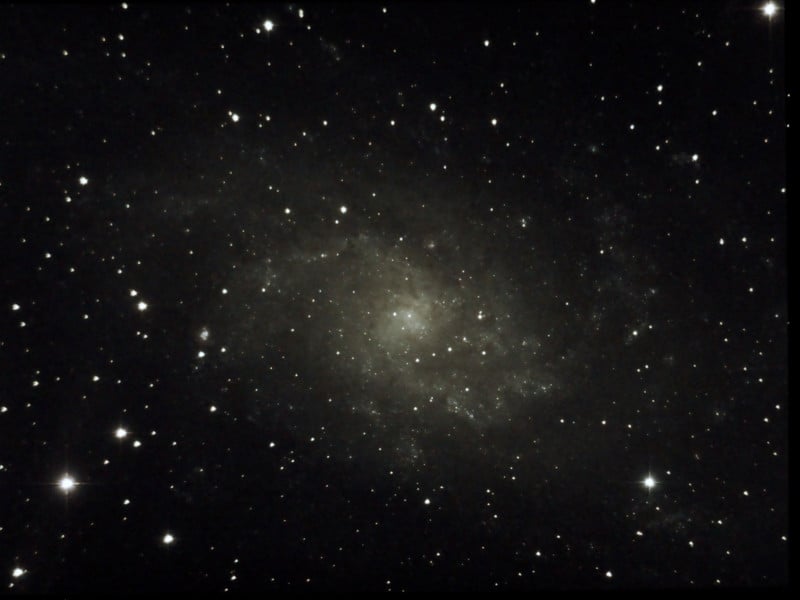
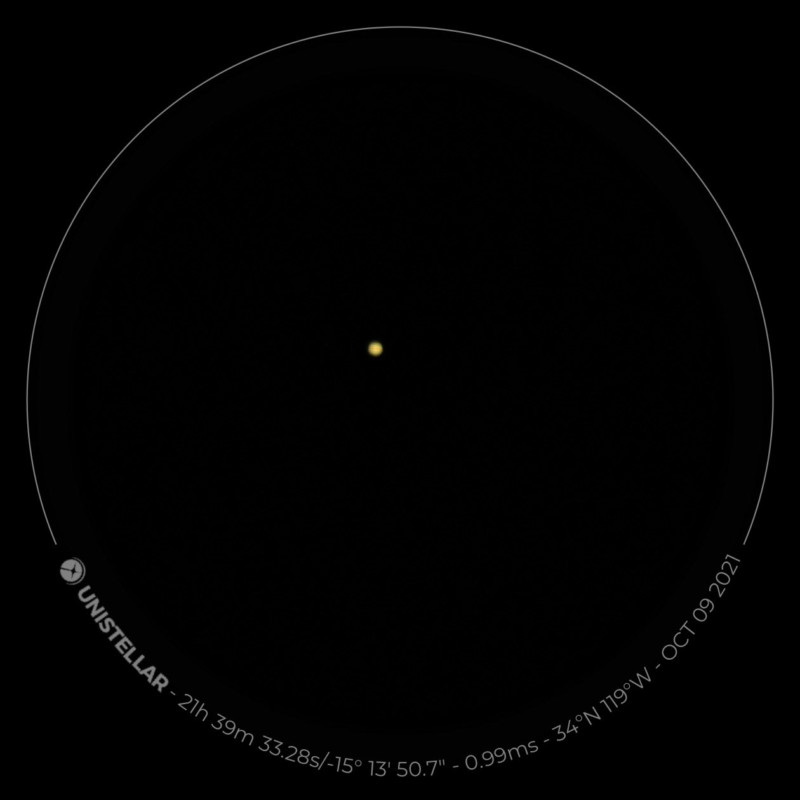
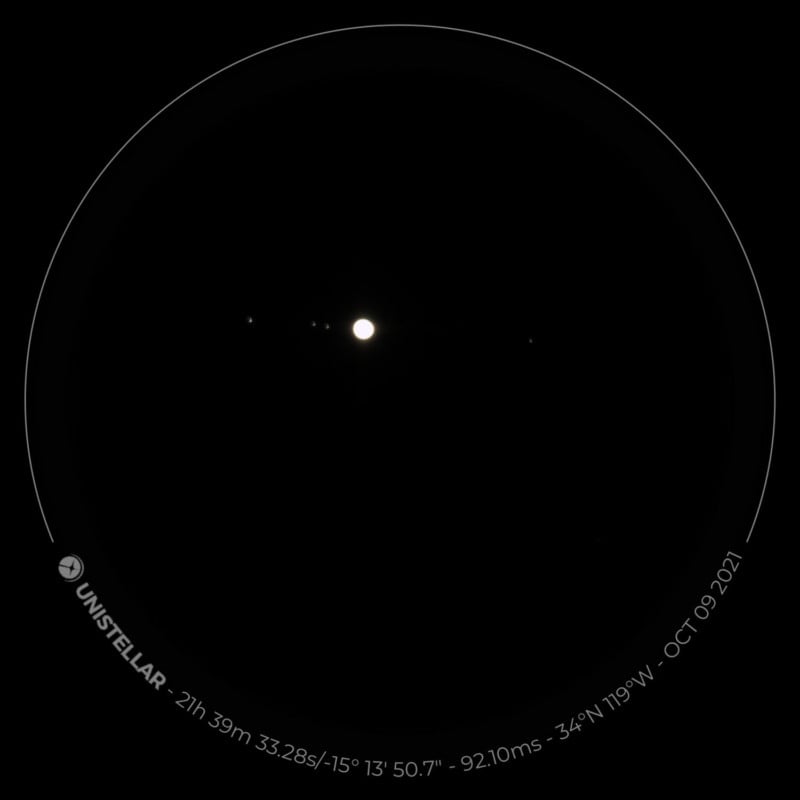
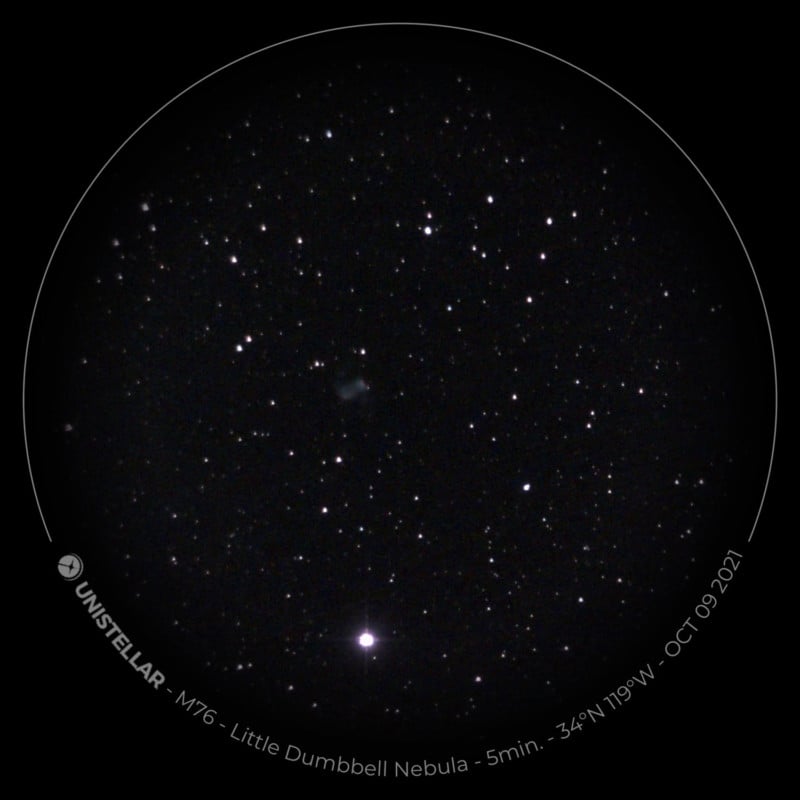
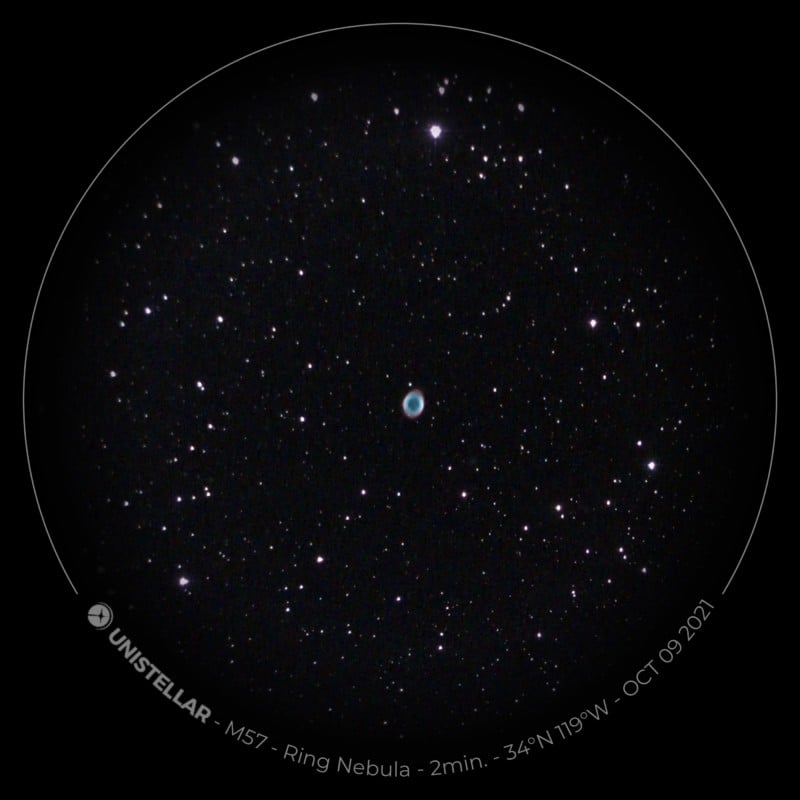
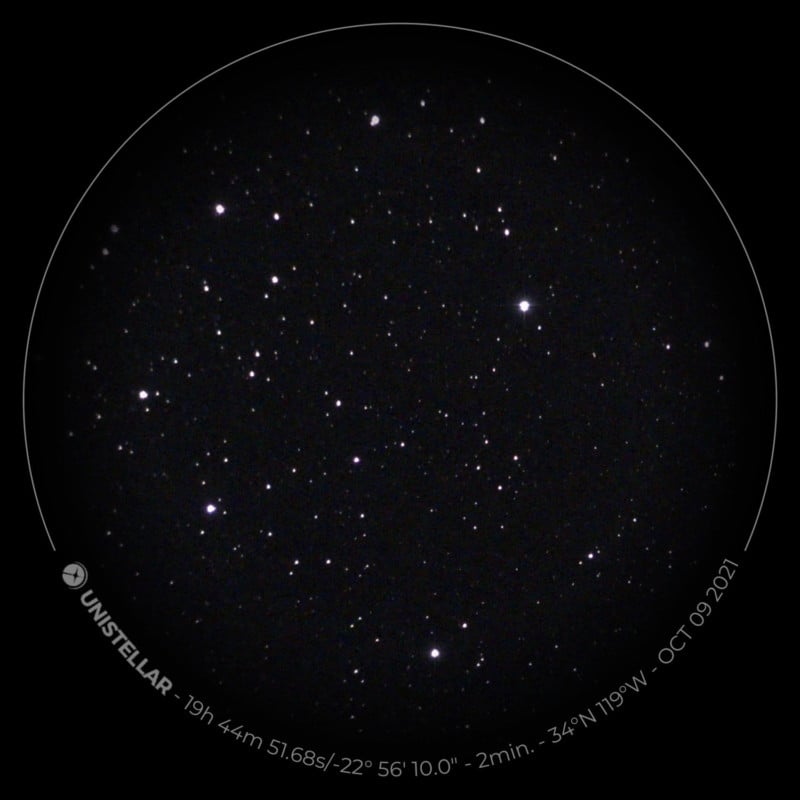
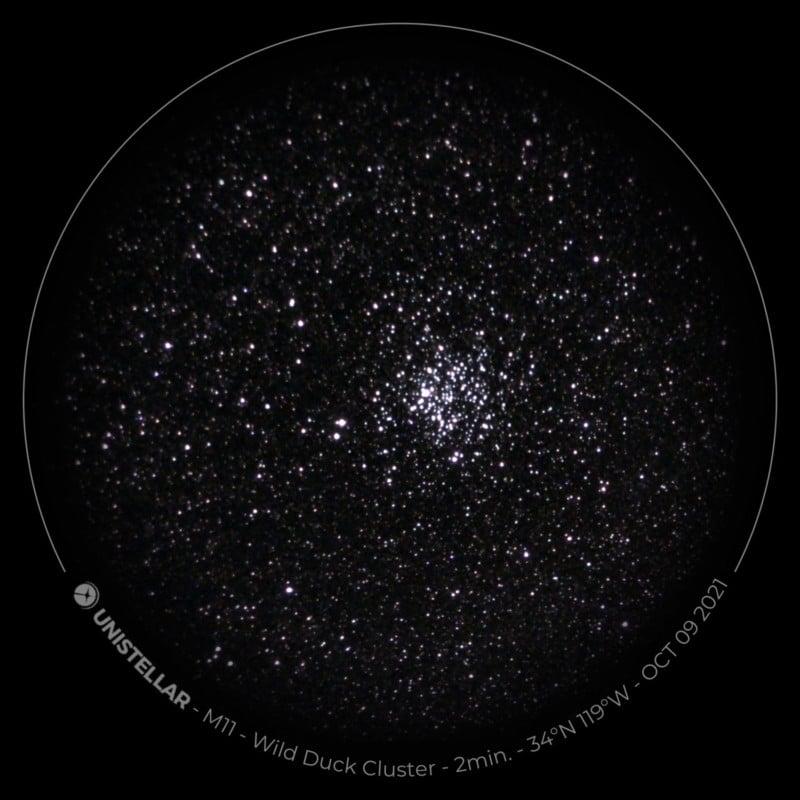
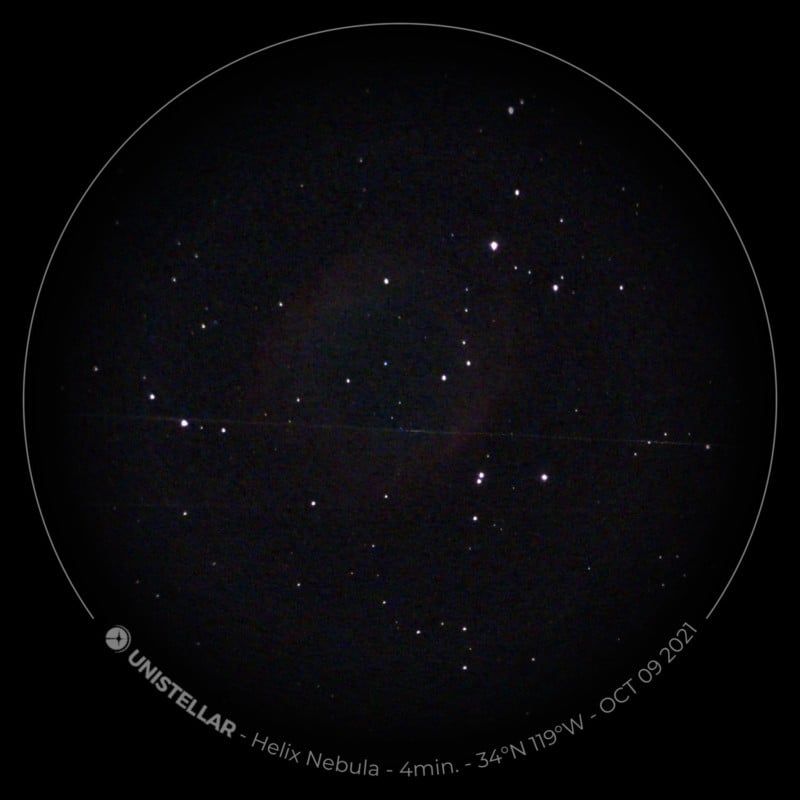
Once focus is achieved, the rest is rather easy. Just choose the celestial object you want to view, let the telescope find and center it, and then you can either save a quick image taken in just a few seconds or enable enhanced viewing mode where the telescope will track and take multiple exposures of the image up to several hours worth, automatically layering them in the app and providing a much brighter, and sharper image to view. My evenings of testing were rather short so I was not able to test out a completely overnight shot, however below you can view a few images that were captured using this method from the Unistellar community (shared with permission) and cleaned up in Adobe Lightroom and Photoshop.
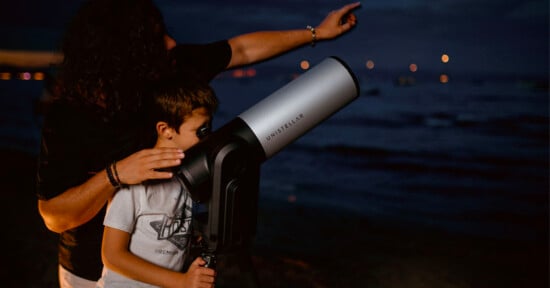
Despite the focusing headaches and weather not cooperating, the one thing I did find truly fun about this telescope is how you can share the experience with up to 10 people in the area using the app. As a primary user, you can share the device to multiple other smart devices and allow them to see what is happening in real-time as well as allowing them to take images for themselves while the primary user is making adjustments. The images that are captured on the smart devices are not exactly high-resolution, and are typically just a few megabytes in size and at a resolution even smaller than a typical smartphone photo (seven-megapixels or smaller).
While this can be a lot of fun for everyone with you, as a photographer or someone interested in astrophotography, the image quality is pretty underwhelming.
Image Quality and the “Process”
As mentioned above, the images taken with connection via a smartphone are typically a low resolution of seven megapixels or less in size. This is not by itself necessarily a bad thing, but I found it to be pretty underwhelming when you have a telescope of this price that also can’t provide any immediate method to create a high-resolution image. I say “immediate” because you can connect the eVscope to your network at home and tell the scope to upload the images to the Unistellar servers and have the company send you images at higher resolution.
Does it work? Yes. Is it easy to do and confirm? No, it is not. Are the images better than the tiny versions taken with a smartphone? Arguably, also no, they are not.
First off, this is one place where the application and workflow needs some significant improvements. When you have the telescope at home and on your network, you can tell it to upload the images stored on the telescope to the Unistellar servers. When you do this, the app kind of just shuts down and does not let you know the progress of the upload or if it even started it, let alone finished. The only thing you can do is, after a few hours, reconnect to the telescope to see if the memory is still being used or not. If it is now freed up, you can assume the images have been uploaded and the internal memory is cleared for additional use.
Getting these images as a RAW file is a whole additional challenging ballgame. To do so, you have to contact the Unistellar customer support, provide the serial number of the telescope (as well as your email and contact info) from which the representative will go through the servers to find and prep the images for delivery back to you. This could be as quick as a day or, in my case, nearly a week before the download links were provided.
Once received, I have to admit I was once again rather underwhelmed.
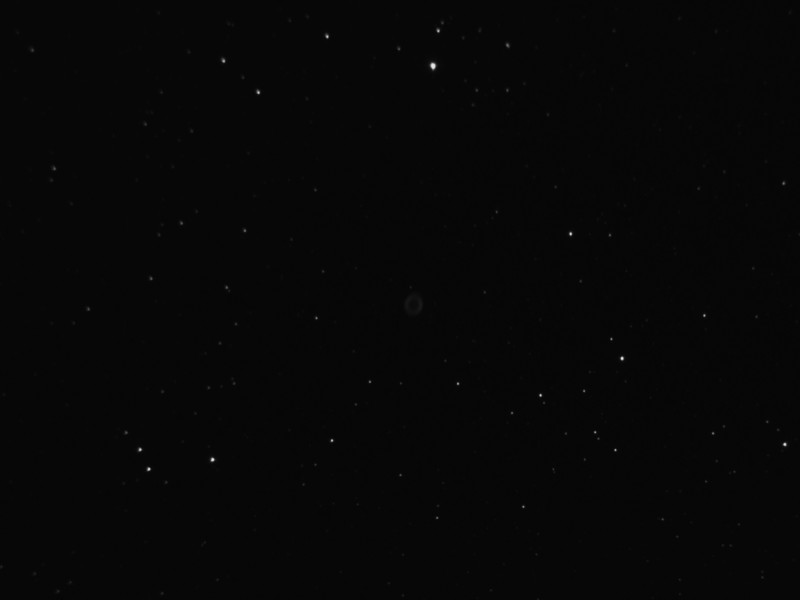
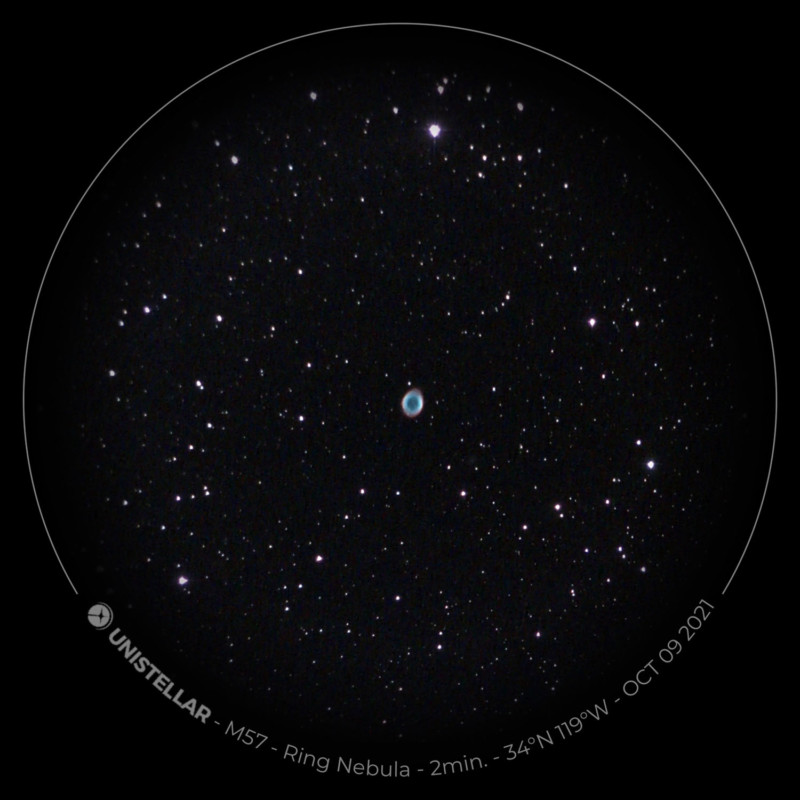
Granted I am no astrophotographer — and will never claim to be — but for some reason, I was expecting more out of the “RAW” stacked files than what was provided. In my short shooting tests of the M57 Ring Nebula for a two-minute exposure, somehow the mobile phone app was able to do some behind-the-scenes magic and create a better and more enhanced image than I was able to with the 47 image stack in Photoshop.
After speaking with the Unistellar team, the company did say that most of the user base only use the images saved directly to their smart devices, and only a small percentage request access to the larger RAW files. Unistellar says it still plans on making improvements to the interface and the backend tracking for users who want to gain access to the RAW files and access more advanced processing capabilities but were not able to provide any sort of timeline for that feature as of yet. So be aware, if you are looking to use this telescope to access and use the RAW files, currently you will have to contact customer support directly each time you make an upload.
This feels like a system that is destined to fail given any kind of load. I was one of only a handful of reviewers who even have access to the eVscope right now and I had to wait a week to see my images. I can only imagine how long that wait can extend to after the product gets into more people’s hands.

Really Fun, But Not for Photographers
While I honestly had an absolute blast with my friends each time I had the opportunity to take the eVscope out to test, as an imaging professional I was more than underwhelmed, especially given the $4,200 asking price. After speaking with the team at Unistellar, the company did confirm that it had no intention of competing with professional top-tier astrophotography telescopes, as its goal was to get the device in the hands of hobbyists and enthusiasts to share the experience of live celestial observation.
As a photographer, I was not overly impressed with the images I was able to get with the eVscope 2 telescope, but that does not mean I did not have a ton of fun using it. Sending this device back was actually a rather sad moment, and I wished I was able to use it more and in an environment with a darker night sky.
Still, you have to look at this device and understand that it’s basically a big camera made in collaboration with Nikon, a camera company. The method of accessing RAW files on a case-by-case basis in which you are required to get customer support involved instead of having a way to just connect the telescope to a computer for fast image downloads is honestly a glaringly huge missed opportunity.
The eVscope is not meant to be a professional photo level telescope, I get that, but it could be something incredibly fun and more useful for professionals or even hobbyists were that feature an option. Additionally, I found focusing the telescope to be very slow and frustrating as a rookie telescope user. Given the device is incredibly “smart,” I was left wondering why it could not autofocus on its own. The Unistellar team has said that they are researching and developing an autofocus mode, but for now, they say the fastest and easiest way is to use the provided Bahtinov mask.
Are There Alternatives
The STELLINA by Vaonis is one of the more recent alternative smart telescopes that is pretty close to the eVscope in its target market, similarly providing images on a smartphone at a price about $100 to $200 less, but weighs significantly more.
Otherwise, you might want to look into a standard telescope with a camera mount adapter. This is significantly less “smart,” but with a bit of practice, at least you have near-immediate access to higher resolution photos.
Should You Buy It?
Probably not. If you are even a beginner-level photographer who is looking for a telescope to help you get bigger and better night sky photographs or are just looking for a small “beginner” telescope to get started with astrophotography in your backyard, this is probably not the device for you. Higher skill level photographers will be even less impressed. While you can get some incredible images of the night sky quickly and easily, the resolution and quality are not there yet.